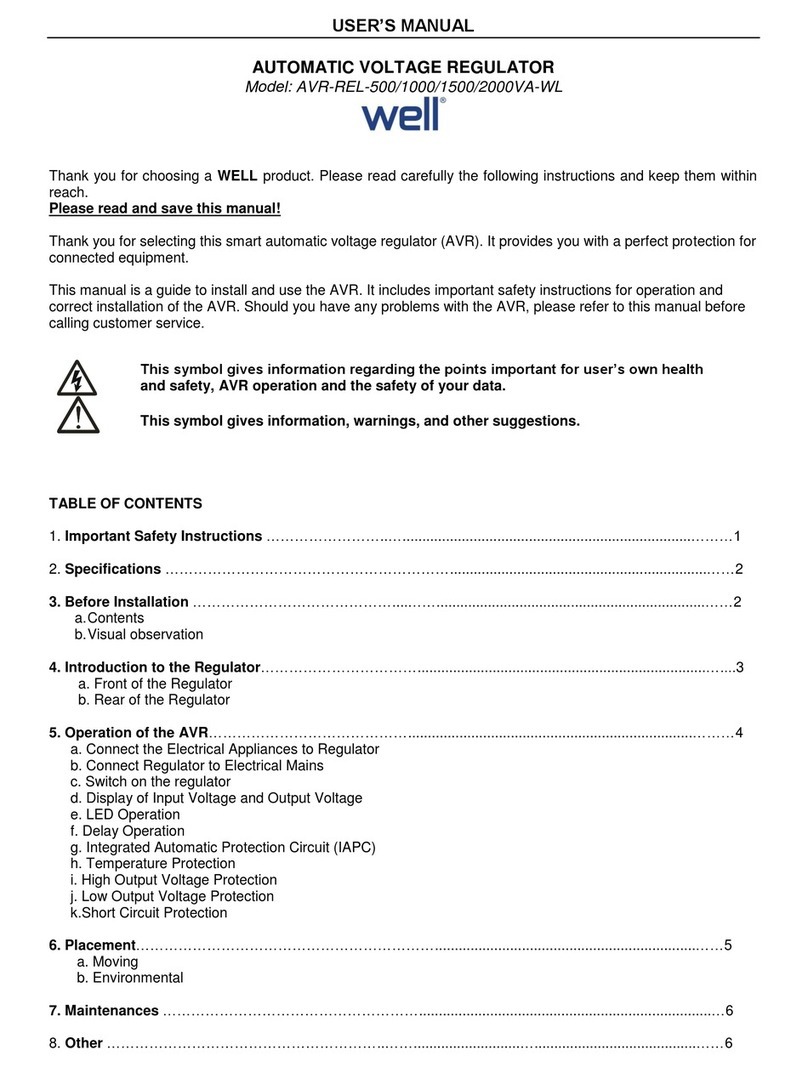
Well RC-AC-HOMY-WL User manual

INSTRUCTION MANUAL
UNIVERSAL A/C REMOTE CONTROL
Thank you for choosing WELL. Please read carefully the following instructions and keep them
within reach.
Reorder No: RC-AC-HOMY-WL

DESCRIPTION
This air conditioner remote control converts light energy into electric power. It has a built-in
storage capacitor and does not need to use traditional dry batteries. Users only need to put the
remote control next to the window or balcony at home to absorb the light. Absorbing the sunlight
for 3 to 4 hours can generate sufficient energy to allow the use of remote control for 3 months or
more. (Note: It is not recommended to expose the remote control under strong sunlight for a long
time.) By converting light to electricity, you can enjoy the wonderful life of green energy!
REMOTE CONTROL FUNCTIONS
1: Infrared Signal 22: Temperature-
Transmitter Port 23: 26 Degrees Celsius
2: Photovoltaic Panel Components 24: Timer Off
3: Signal Indicator 25: OK
4: Fan Speed 26: Power Switch of the remote
5: Automatic Wind Direction
6: Manual Wind Direction
7: Timer ON and Clock Display
8: Mode Option (Auto/Cooling/
Dehumidifying/Ventilation/Heating
9: Temperature
10: Timer OFF and Code Display
11: Power ON/OFF
12: Fast Cool
13: Manual Wind Direction
14: Auto Wind Direction
15: Fast Heat
16: Clock
17: Timer On
18: Setting
19: Change Mode
20: Temperature+
21: Fan Speed
•The process of converting light energy into electrical energy:
Before use, it is recommended to place the remote control in a sunny and natural light environment
such as windowsills, balconies, etc. for 3-4 hours, so that the built-in storage capacitor can obtain
enough power. Turn on the power switch on the back of that remote control then set up and use.

Tips:
1. After using 3-5 months, if the digits on the LCD do not appear clearly or the screen flickers, it
indicates that the remote control is in low power. Please place it in the light to absorb energy.
2. In case the air conditioner has no response to the remote control, please check if there is any
barrier in between or the distance is too far.
3. Turn on the power switch which is in the back of the remote control before you use it. And it is
recommended that turning off the power switch when you are not going to use it for a long time to
save the energy.
•This remote control is designed with a built-in capacitor for energy storage, there is
no need to use or replace the battery.
SETUP METHODS
This product can be used directly for: GREE (YBOF2), Mitsubishi 388, Midea, Toshiba, Haier,
HuaLing and so on. If it's not working, please try to do the setup with one of the methods below:
METHOD A: BRAND BUTTON
Automatically searches only the codes relevant to your A/C brand
1. Point the remote at your A/C and hold down the button which corresponds with your brand as
per the "Corresponding buttons" below. For example, the TIME OFF button for Fujitsu A/Cs. If
your brand is not listed, please refer to Method B& C.
2. lmmediately as your A/C responds (e.g. makes a beep sound) release the button. This may take
up to approximately two minutes. If the remote does not control the AC properly or your A/C
does not respond please refer to Method B&C.
Button Brand Corresponding Table

METHOD B: AUTOMATIC SEARCH
Automatically search every code
1. Point the remote at your A/C and hold down the "SET" button for approximately 6 seconds then
release. You will then see the remote start to scroll through codes 001 to 999 in the bottom right
hand corner of the screen.
2. Hover your finger over the "OK" button and immediately as your A/C responds (e.g. makes a
beep sound) press the "OK" button twice.
3. If the remote does not function as expected repeat steps 1 and 2 again and the remote will search
for another code that connects the remote with your A/C. Otherwise try Method C.
METHOD C: BRAND CODE
Manually search only the codes relevant to your brand one by one
1. Lookup your brand in the code list to determine the relevant codes.
2. Point the remote at your AC and hold down the "SET" button for 3 seconds until you see a
code start flashing in the bottom right hand corner of the screen.
3. Use the "TEMP +" or "TEMP-" to adjust the code to the first relevant code and the A/C will
respond if it is compatible, if the A/C responds press the "OK" button to select the code.
4. If the remote does not control the A/C properly or your AC does not respond please repeat
steps 2 and 3 using the next relevant code.
METHOD D: SEARCHING THE CODE MANUALLY
1. Point the remote at your AC and hold down the "SET" button for 3 seconds until you see a
code start flashing in the bottom right hand corner of the screen.
2. Press "TEMP+" or "TEMP-" button once each time, and pay attention to the A/C at the mean
time. The A/C will respond if it is compatible.
3. If the A/C responds, press the "OK" button to select the code.
4. lf the remote does not control the A/C properly or your A/C does not respond, please repeat
step 2 and 3.

ADDITIONAL FUNCTIONS OF THE REMOTE CONTROL
•RESTORE FACTORY SETTINGS
Press the "SET" + "FAN" buttons at the same time for approximately 3 seconds until the entire
remote screen flashes to restore factory settings.
•FAST COOLING AND HEATING FUNCTION
FAST COOLING
Point the remote at the A/C and press the "F.COOL" button. This will change the mode to
cooling, temperature to 21 degrees, fan speed to strong and direction to automatic.
FAST HEATING
Point the remote at the A/C and press the "F.HEAT" button. This will change the mode to
heating, temperature to 27 degrees, fan speed to strong and direction to automatic.
•CLOCK FUNCTION
1. Hold down the "CLOCK" button for approximately 3 seconds until the time on the screen
starts flashing.
2. Use the "TEMP+" and "TEMP-" buttons to adjust the time, please note if you hold down the
button it will scroll faster.
3. Press the "CLOCK" button to confirm the adjusted time.
•TIMER FUNCTION
Please note that the remote must be programmed with your A/C for this function to work. The
remote must also be turned on which you can determine by whether or not a temperature is
displayed on the remote screen, if it is not turned on then please press the power button.
Please note using the TIME ON and TIME OFF button may not work for all A/Cs.
1. Point the remote at the A/C and Press the "TIME ON" or "TIME OFF" button depending on
your desired function, the remote screen will then display "TIME ONO1" or "TIME OFFO1"
and your AC should respond by flashing a light or making a beep sound. "01" indicates the AC is
set to turn on/turn off automatically in 1 hour.
2. Press the same button again to increase the number of hours. The maximum is 15 hours and if
you press the same button once more after it shows "TIME ON15" or "TIME OFF15" on the
screen it will turn off this function.
Waste electrical and electronic equipment are a special waste category,
collection, storage, transport, treatment and recycling are important because they
can avoid environmental pollution and are harmful to health. Submitting waste
electrical and electronic equipment to special collection centers makes the waste
to be recycled properly and protecting the environment. Do not forget! Each
electric appliance that arrives at the landfill, the field, pollutes the environment!
Importer & distributor:
SC VITACOM ELECTRONICS SRL
CIF: RO 214527
Tel. 0264-438401*
office@vitacom.ro, www.vitacom.ro
Table of contents
Other Well Controllers manuals

Well
Well AVR-TRC-AGILE-1000-WL User manual

Well
Well AVR-SRV-XTREME 500-WL User manual

Well
Well AVR-REL-SLIMPOWER500-WL User manual

Well
Well AVR-REL-THUNDER500-WL User manual

Well
Well AVR-REL-GUARD1000-WL User manual

Well
Well AVR-REL-POWERUP500-WL User manual

Well
Well AVR-SRV-SPRY500BK-WL User manual

Well
Well AVR-REL-500-WL User manual

Well
Well AVR-SRV-PERF1000WE-WL User manual
Popular Controllers manuals by other brands

Altronic
Altronic DE-2500 Installation & operating instructions

Compur Monitors
Compur Monitors Statox 501 Operation instructions

Bollfilter
Bollfilter 2200 Operating and installation instructions

LSIS
LSIS XBF-AD04A user manual

Lippert
Lippert Curt 51189 installation manual

Acolyte
Acolyte DMXCTRL installation guide