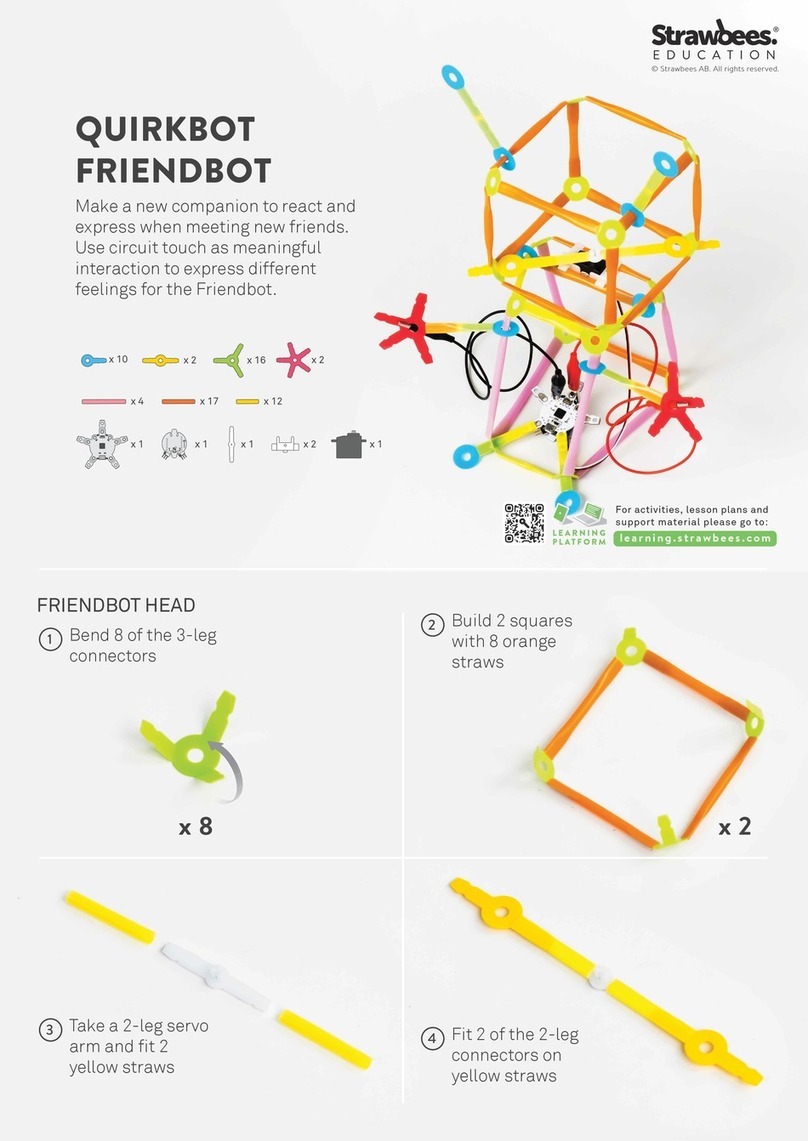
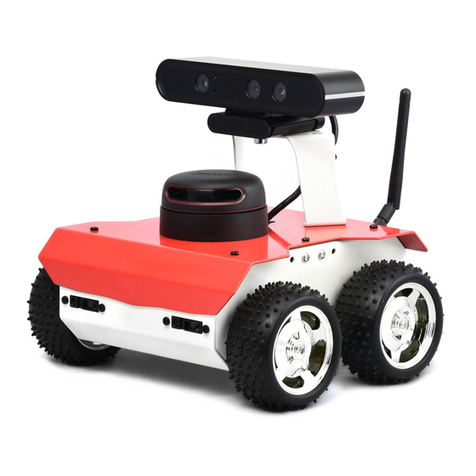
Strawbees CODINGS & ROBOTICS KIT Quirkbot User manual

MAKE YOUR OWN
MUSICAL INSTRUMENTS
BUILD MAGICAL
WEARABLES
CREATE ANIMATED
STRAWBEES CREATURES
RBOT
CODING&
KIT
ICS
EASY-TO-USE
CODING SOFTWARE
GUIDE BOOKLET

HI!
Before you start going crazy with your new Coding
and Robotics kit, let’s take a look at the basics, such
as its anatomy and how you can connect components.
If you’re new to both Quirkbot and Strawbees, we will
now give you a short introduction on how to get
started with both. Use this booklet as a quick
reference guide whenever you are stuck, but be sure
to stay updated with the latest content and
instructions online.
Please go to strawbees.com to check out all the
amazing things you can do with this kit. Below are just
a few of our favourites:
If you have any questions regarding anything,
Let’s get creative!
The Strawbees team
- Code and build a game controller and play your favourite game
- Build your own Strawbees robot and make it interactive with the Quirkbot
- Build and code a cardboard guitar
- Make your own light-meter that senses light
- Build a fruit piano and play your favourite song
- Build and code an automatic door bell
Copyright ©Strawbees AB & Quirkbot AB Sweden 2017
RBOT
CODING&
KIT
ICS

QUIRKBOT SERVO
BACKPACK
ELECTRIC
STRAWBEE
SERVO MOTOR
MINI
SCREWDRIVER
SERVO
EXTENSION CABLES
DUAL COLORED
LEDS
LIGHT
SENSORS
USB CABLE
IN THE BOX
CONNECTING
BUILDING
QUIRKBOT
STRAWBEES
ANATOMY
LEDS & SENSORS
ELECTRIC STRAWBEE
SQUEEZE SENSOR
SERVO MOTOR
CIRCUIT TOUCH
CODE
GUIDE BOOKLET
CONTENT
ALLIGATOR
CLIPS

JOINT
CONNECT
& LOCK
CLI C K
Strawbees are little pieces that
connect toeach other and to
straws. Toconnect the Strawbees
to each other, simplysnap one
into the other.
To make two or more
Strawbees sticktogether
in a hinge you can push a
third one intothem.
1) If you snap it intothe
groove, theywill be a
moving hinge,
2) If you push all the way
through, they will lock
intotheir positions.
Protip: Push onestrawbee
at a timeandif it’s hard to
fit them into each other, it
helps to fold, squeeze, etc.
Strawbees arequite
resistant.
F O L D THE
H E AD ALL T H E
W A Y TOT HE BA C K
PUSH THE A R M
THROUGH TH E
HOLE TO LO C K
REVERS E
SID E
You can alsofold the
Strawbee over itself to
create a friction lock.
PUSH HALFWA Y
UNT I L Y OU HEA R
ACLI C K
MOVI N G
P A R T S
L O C K
INTOP OSITION
CLIC K
STRAWBEES BASICS
Connect with the other Strawbee
either into the groove, or push it
all the way through.
CLI C K
TENSION
LOCK
EXTRUSION
CONNECTION
L O C K
INTO
POSI T I O N
When connecting a Strawbee toa
straw, squeeze the opening of the
straw to make it easier.
If your Strawbee starts toslide
another Strawbee.We call this
the tension lock and you make it
by pushing a Strawbee over the
straw till it clicks.
Another wayis topush the
Strawbee all the way in and then
add a straw.We call this the
extrusion connection and it might
look verysimilar tothe tension
lock, but it’s much easier totake
apart and is perfect for extruding
and sculpting.
CONNECT
TO STRAWS

START
BUILDING!
STRAWBEES BASICS
6 4
PYRAMID
It looks
like this in
the end!
It’s just a matter of creating the
very first connection, and
continuing from there! To follow
an instruction like this, place all
the pieces in front of you before
you start connecting them.
Try to make a basic shape like
the pyramid below. See how
strong a structure based on
triangles can be? Pro tip: Bend
the Strawbee arms to make the
edges sharper.
ARM
You can make an arm in so
many ways! This is a simple
but very stable way to build a
mechanical articulated arm.
8
8
4
It looks
like this in
the end!

OFF ON
HORN
USB IN
USB TO COMPUTER OR CHARGER
LEFT
ARM
LED
EYES
RIGHT
ARM
LEFT
LEG
RIGHT
LEG
LEDS & SENSORS
1
2
3
LED
MOUTH
Turn on your Quirkbot by gently sliding
the on-o switch to the right. The first
time you do this, the Quirkbot will run
its factory program and start blinking
to say hello!
You can program Quirkbot’s built in
LEDs – blue LEDs for eyes and two
green LEDs for its mouth. In the box
you will also find Dual Color LEDs you
can place on the Arms, Legs, and Horn
of the Quirkbot. These can be
programmed to be blue or red.
ORIENTATION IS ALWAYS
DESCRIBED FROM THE
QUIRKBOT’S PERSPECTIVE.
THE LEFT ARM IS ON YOUR
RIGHT – JUST LIKE WHEN YOU
FACE ANOTHER PERSON.
LIGHT SENSORS
CONNECT THE
SAME WAY.
LONG LEAD TO
THE FRONT!
USE THESE NODES WHEN CODING
BATTERY
The Quirkbot’s battery charges
when connected by a USB cable to
a computer or another power
source like a phone charger. When
the red LED turns o, the battery is
fully charged.
The long lead of the LED goes
on the front. Push it all the
way down!
Put a straw over the LED
and the Quirkbot arm.
This will help keep the
component in place.
Squeeze the leads gently
together to make them
grab the Quirkbot arm
better.
QUIRKBOT
QUIRKBOT BASICS

SERVO MOUNTSERVO BACKPACK
To connect the Servo Motor to your
Strawbees construction, Strawbees
themselves can be used to mount the
servo. Here are two examples:
Backpacks gives the Quirkbot extra
abilities, such as the Servo
backpack which makes it possible
to attach the Servo Motor to the
Quirkbot.
TIGHTEN CONNECTIONS
ON THE SHORT ENDS
PLACE YOUR CHOICE
OF STRAWBEE ON THE
ENDS HERE TO BEST
SUIT YOUR PROJECT.
*
*
*
CONNECT THE
SERVO MOTOR
UPPERMOST PIN ON
THE BACKPACK FIT
INTO THIS OPEN
SLOT ON THE
BATTERY COVER,
MAKING SURE IT’S
PLACED RIGHT!
ALIGN THE BLACK
MARKING WITH
THE BLACK CABLE!
QUIRKBOT BASICS

SERVO HORN
THE SERVO HORN AND
STRAWBEE ARE HELD IN
PLACE BY A STRAW
OVERLAPPING BOTH
THIS CAN BE A LITTLE BIT
TRICKY. TRY WIGGLING THE
STRAWBEE LEG UP AND DOWN A
BIT TO GET THE STRAW OVER
THE SERVO HORN. OR MAKE THE
OPENING OF THE STRAW A
LITTLE LARGER WITH A PENCIL.
Strawbees can connect to the the arm
on the Servo, called the servo horn.
You can snap any kind of Strawbee on
to any of the included servo horns. Do
this before you attach the servo horn
to the motor with the little screw.
QUIRKBOT BASICS

LED
LIGHT
SENSOR
This part makes it possible to have a
LED light up without attaching it to
the Quirkbot. Use a CR2032
battery with + side up. To turn an
electric Strawbee o and save
battery, slide a piece of straw under
the connector to disconnect it.
On one end of a straw, place an
electric Strawbee with a LED, and on
the other end place your Quirkbot
with attached light sensor. If you
squeeze the straw you will block more
or less of the light traveling through
it. Using this technique together with
the Squeeze Sensor node in CODE
gives you a fun way to control your
projects.
CONNECT A LED TO AN
ELECTRIC STRAWBEE JUST
LIKE ON THE QUIRKBOT.
THE INCLUDED LEDS CAN
BE PLACED IN EITHER
DIRECTION TO CHOOSE
DIFFERENT COLORS.
ELECTRIC STRAWBEE SQUEEZE SENSOR
QUIRKBOT BASICS

CIRCUIT TOUCH
QUIRKBOT BASICS
The Circuit Touch function can turn
any object that conducts electricity
into a touch interface. The arm of the
Quirkbot has pads on each side with
one hole each. The front pad (inner
hole) is the sensor, and the back pad
(outer hole) is ground. When a Sensor
is connected to Ground, it triggers.
The easiest way to make a trigger is to
simply pinch the Quirkbot’s arm. Since
your body conducts electricity, you
complete the circuit and trigger the
sensor. You can use the included
alligator cables to extend the touch
function in many ways.
STICK THE OTHER
ALLIGATOR CLIP
RIGHT INTO A FRUIT.
HOLD THE GROUND CLIP
GROUND IN ONE HAND
OR CONNECT IT TO
SOMETHING CONDUCTIVE
ON YOUR BODY.
CONNECTS
TO GROUND
CONNECT
TO TRIGGER
CONNECTS
TO SENSOR
TOUCH THE BANANA TO
TRIGGER THE SENSOR!
USB TO COMPUTER!

QUIRKBOT CODE
START
CODING
All coding of the Quirkbot is done
from our website. The first thing to
do is to go to code.quirkbot.com
and register as a user. Next, follow
the online Getting Started guide
and examples.
BRAINSINPUT OUTPUT
START PROGRAMMING AT
CODE.QUIRKBOT.COM
QUIRKBOT CODE IS BASED ON NODES
THAT ARE CONNECTED TOGETHER TO
MAKE UP THE PROGRAM.

CHECK OUT
STRAWBEES.COM
FORMORE
@strawbees
facebook.com
/strawbees
Table of contents
Other Strawbees Robotics manuals
