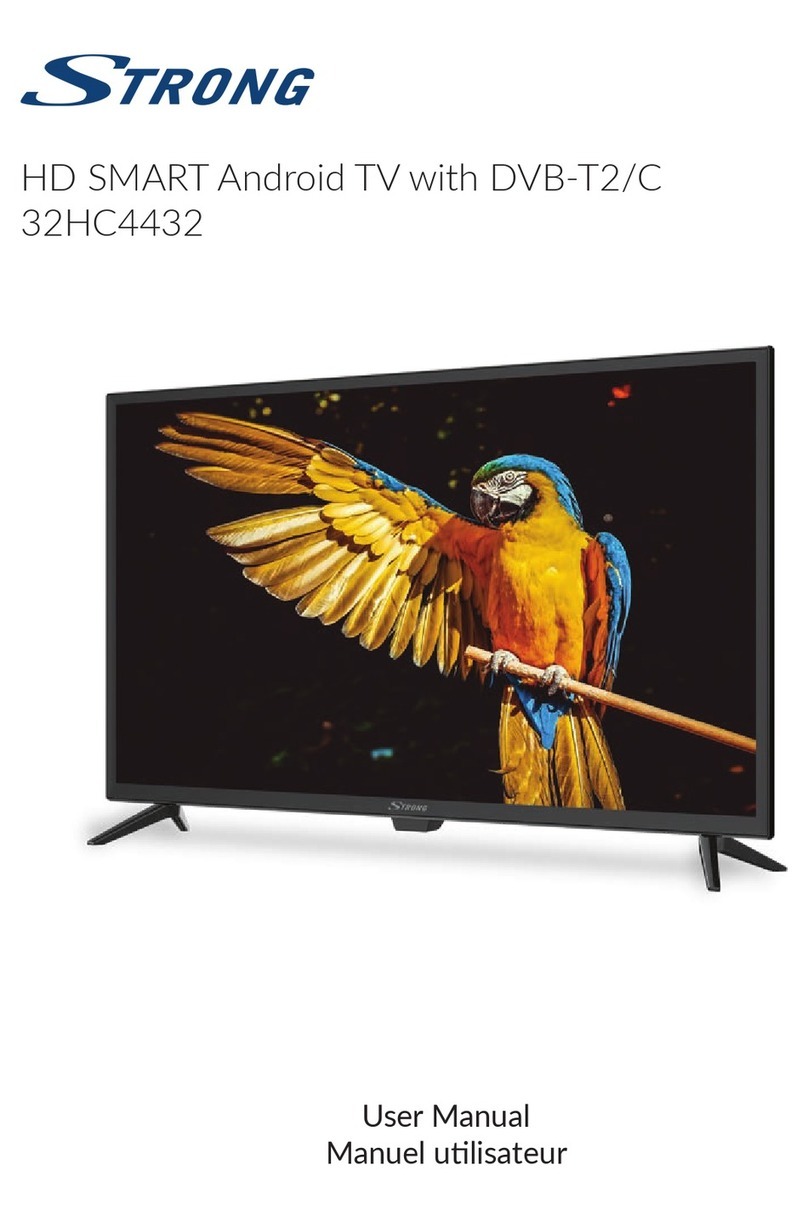
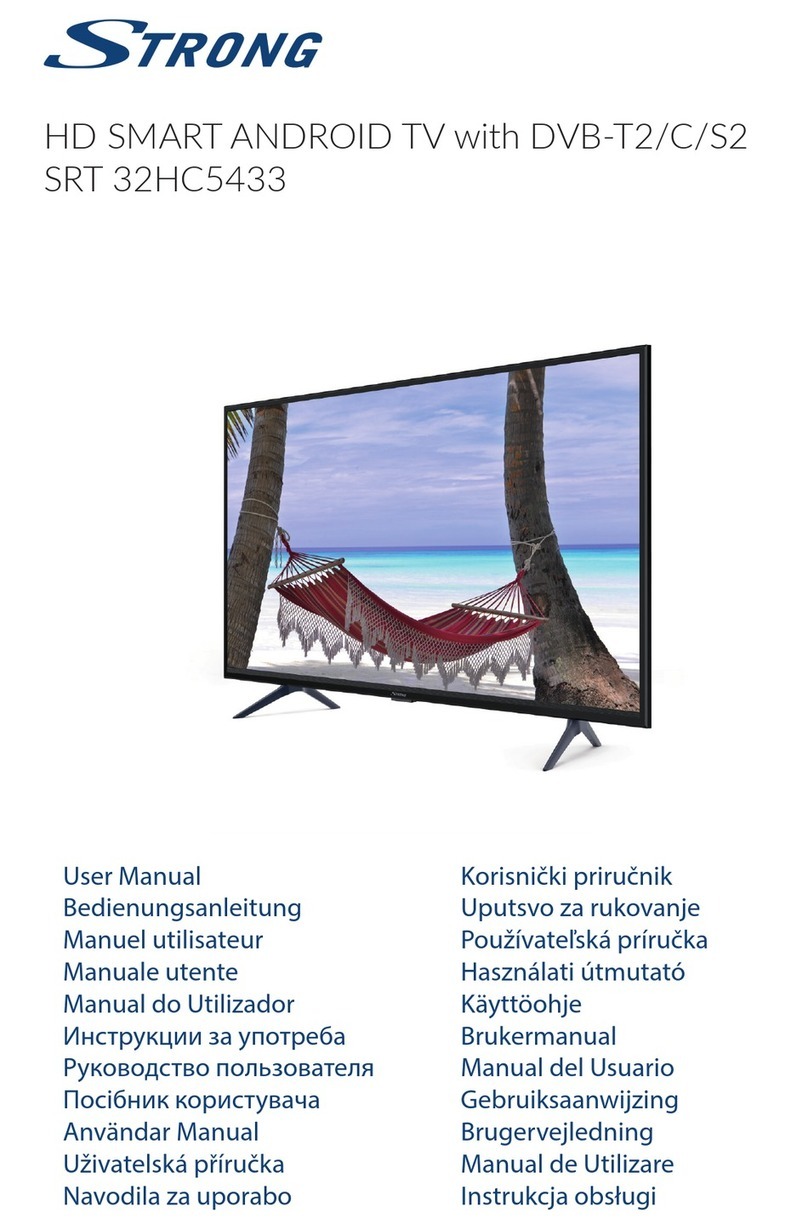
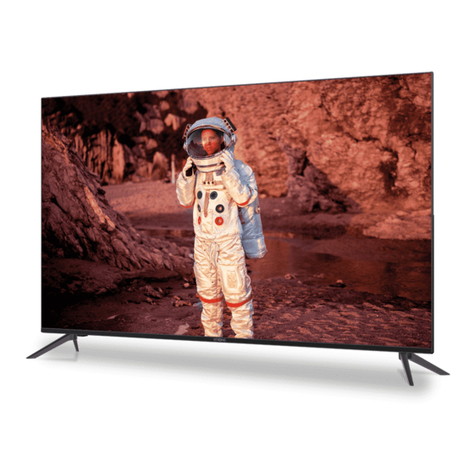
Strong 32HD5553 User manual

Bedienungsanleitung
Manuel d’utilisation
Manuale utente
Manual del usuario
Manual do utilizador
Használati útmutató
Uživatelský manuál
Brugervejledning
Brukerveiledning
Gebruiksaanwijzing
Användarhandbok
Korisnički priručnik
Ръководство на потребителя
Посібник користувача
SMART ANDROID TV
WITH DVB-T2/C/S2
32HD5553, SRT 40FD5553 – HD
43UD7553, 50UD7553, 55UD7553 – UHD
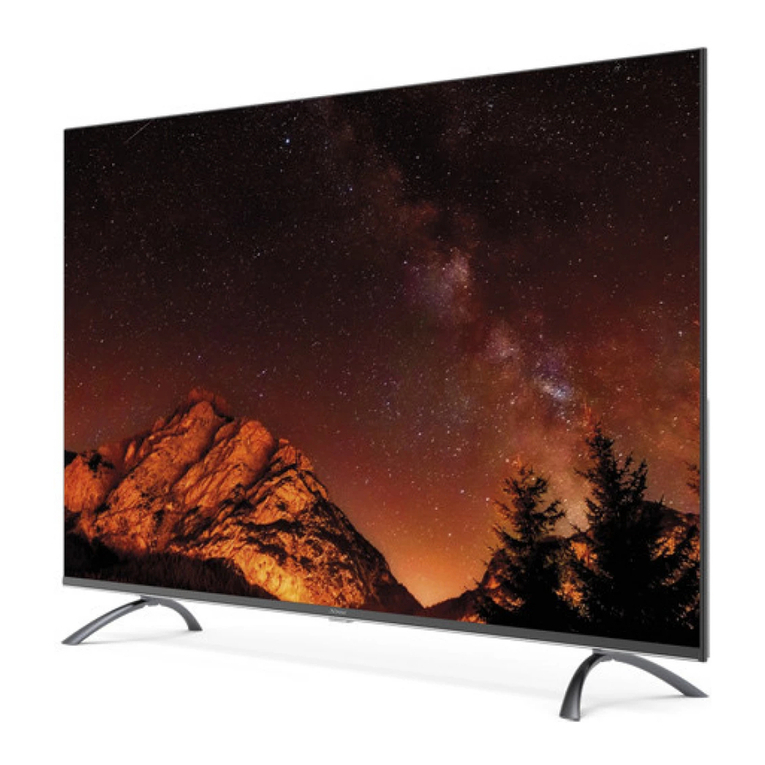
Picture similar
www.strong.tv
02/12/2022/14:59

Supplied by STRONG Austria
Represented by STRONG Ges.m.b.H.
Teinfaltstraße 8/4.Stock
A-1010 Vienna, Austria
Email: support_at@strong.tv
SERVICE CENTER
AT
HU
PL
PT
SK
UA
SL
NL
IT
BG
ES
CZ
DE
DK
FR
HR
0820 400 150
(€ 0,12/Min. österr. Festnetz)
+36 1 445 26 10
801 702 017
+351 2 100 06 125
0850 15 05 50
+380 (44) 238 61 50
+386 1 828 08 58
199 404 032
Da rete ssa 24,8 cent. al min.
12,5 cent. scao alla riposta
Da rete mobile max 49 cent. al min.
15,6 cent. scao allo risposta
+359 32 634451
+34 91 119 61 76
844 44 44 90
0180 501 49 91
(€ 0,14/Min. deutsches Festnetz)
(€ 0,42/Min. max. Mobilfunknetze)
+385 1 344 57 66
www.strong.tv

1
Licenses
THIS PRODUCT IS LICENSED UNDER THE AVC PATENT PORTFOLIO LICENSE FOR THE PERSONAL AND
NONCOMMERCIAL USE OF A CONSUMER TO (i) ENCODE VIDEO IN COMPLIANCE WITH THE AVC STANDARD
(“AVC VIDEO”) AND/OR (ii) DECODE AVC VIDEO THAT WAS ENCODED BY A CONSUMER ENGAGED IN A
PERSONAL AND NON-COMMERCIAL ACTIVITY AND/OR WAS OBTAINED FROM A VIDEO PROVIDER LICENSED
TO PROVIDE AVC VIDEO. NO LICENSE IS GRANTED OR SHALL BE IMPLIED FOR ANY OTHER USE. ADDITIONAL
INFORMATION MAY BE OBTAINED FROM <MPEG LA, L.L.C.> SEE HTTP://WWW.MPEGLA.COM
This product contains one or more programs protected under international and U.S. copyright laws as
unpublished works. They are condential and proprietary to Dolby Laboratories. Their reproduction
or disclosure, in whole or in part, or the production of derivative works therefrom without the express
permission of Dolby Laboratories is prohibited. Copyright 2003-2009 by Dolby Laboratories. All rights
reserved.
THIS PRODUCT IS SOLD WITH A LIMITED LICENSE AND IS AUTHORIZED TO BE USED ONLY IN CONNECTION
WITH HEVC CONTENT THAT MEETS EACH OF THE TH REE FOLLOWING QUALIFICATIONS: (1) HEVC CONTENT
ONLY FOR PERSONAL USE; (2) HEVC CONTENT THAT IS NOT OFFERED FOR SALE; AND (3) HEVC CONTENT
THAT IS CREATED BY THE OWNER OF THE PRODUCT. THIS PRODUCT MAY NOT BE USED IN CONNECTION
WITH HEVC ENCODED CONTENT CREATED BY A THIRD PARTY, WHICH THE USER HAS ORDERED OR
PURCHASED FROM A THIRD PARTY, UNLESS THE USER IS SEPARATELY GRANTED RIGHTS TO USE THE
PRODUCT WITH SUCH CONTENT BY A LICENSED SELLER OF THE CONTENT. YOUR USE OF THIS PRODUCT IN
CONNECTION WITH HEVC ENCODED CONTENT IS DEEMED ACCEPTANCE OF THE LIMITED AUTHORITY TO
USE AS NOTED ABOVE.
SIMPLIFIED EU DECLARATION OF CONFORMITY
Hereby, STRONG declares that the devices 32HD5553, 40FD5553, 43UD7553, 50UD7553, 55UD7553 are in compliance with Directive 2014/53/EU.
The full text of the EU declaration of conformity is available at the following internet address: https://www.strong.tv/en/doc
Subject to alterations. In consequence of continuous research and development technical specications, design and appearance of products may change.
Manufactured under license from Dolby Laboratories. Dolby, Dolby Audio and the double-D symbol are trademarks of Dolby Laboratories.The terms HDMI, HDMI
High-Denition Multimedia Interface, and the HDMI Logo are trademarks or registered trademarks of HDMI Licensing Administrator, Inc. Wi-Fi is a registered
trademark of Wi-Fi Alliance®. Netix is a registered trademark of Netix, Inc. YouTubeTM is a trademark of Google Inc. All product names are trademarks or
registered trademarks of their respective owners.
© STRONG 2022. All rights reserved.

2
02 Dec 2022 14:59
TABLE OF CONTENT
1. INSTRUCTION 3
1.1 Safety Instructions 3
1.2 Storage 3
1.3 Accessories 4
1.4 Equipment set-up 4
2. INSTALLATION 4
2.1 Password setting: 4
2.2 Front panel 4
2.3 Rear panel 5
2.4 Remote controls 7
2.5 Installing the batteries 10
2.6 Using the IR remote controls 10
3. FIRST TIME INSTALLATION 11
3.1 Channel installations for cable 13
3.2 Channel installations for Antenna 15
3.3 Channel installations for Satellite 16
4. HOME SCREEN 18
4.1 Inputs 19
4.2 Network & Internet 19
5.0 LIVE TV USAGE 21
5.1 Channel installation 22
5.2 Watching TV channels 22
5.3 Electronic Program Guide (EPG) 22
5.4 TV Menus 23
6 SMART TV POSSIBILITIES 24
7 SYSTEM SETTINGS 25
7.1 Settings main menu 25
7.2 Device Preferences menu 25
8. MULTIMEDIA 26
8.1 Reminder when using the USB storage devices 26
8.2 Multimedia Player 26
8.2.1 Play videos 28
8.2.2 Browse photos 29
8.2.3 Play music 29
8.2.4 Browse les 30
9. TROUBLESHOOTING 30
10. SPECIFICATIONS 32

3
1. INSTRUCTION
1.1 Safety Instructions
Read all of the instructions before operating the set. Keep these instructions well for later use.
Only use attachments/accessories specied or provided by the manufacturer (such as the exclusive
supply adapter, battery etc.).
Please refer to the information on the exterior back enclosure for electrical and safety information before
installing or operating the apparatus.
To reduce the risk of re or electric shock, do not expose this apparatus to rain or moisture.
The ventilation should not be impeded by covering the ventilation openings with items, such as
newspaper, table-cloths, curtains, etc.
The apparatus shall not be exposed to dripping or splashing and no objects lled with liquids, such as
vases, shall be placed on the apparatus.
The mark indicates a risk of electric shock. The external wires must be installed by an instructed person
or ready-made leads or cords must be used.
To prevent injury, this apparatus must be securely attached to the oor/wall in accordance with the
installation instructions.
Danger of explosion if the battery is incorrectly replaced. Replace only with the same or equivalent types.
The battery (battery or batteries or battery pack) shall not be exposed to excessive heat such as sunshine,
re or the like.
Excessive sound pressure from earphones and headphones can cause hearing loss. Listening to music at
high volume levels and for extended durations can damage one's hearing.
In order to reduce the risk of damage to hearing, one should lower the volume to a safe, comfortable
level, and reduce the amount of time listening at high levels.
The mains plug or appliance coupler is used as disconnect device, it shall remain readily operable. When
not in use and during movement, please take care of the power cord set, e.g. tie up the power cord set
with cable tie or something like that. It shall be free from sharp edges or similar which can cause abrasion
of the power cord set. When put into use again, please make sure the power cord is not damaged. In
case of damages, please get the power cord replaced by a similar one with the same specications. The
absence of a light indication on the apparatus does not mean that it is fully disconnected from the mains.
To disconnect the apparatus completely, the mains plug must be pulled out.
Attention should be drawn to environmental aspects of battery disposal.
No naked ame sources, such as lighted candles, should be placed on the apparatus.
To prevent the spread of re, keep candles or other open ames away from this product at all times.
A USB terminal can provide a maximum of 500 mA.
Equipment with this symbol is a Class II or double insulated electrical appliance. It has been designed
in such a way that it does not require a safety connection to electrical earth.
Operating Environment
Do not install this equipment in a conned space such as a bookcase or similar unit.
Do not use the set near damp, and cold areas, protect the set from overheating.
Keep away from direct sunlight.
Do not use the set near dust place.
Do not attach candle to accessible opening area, to avoid ammable foreign material
from entering the TV.
WEEE Directive
WEEE
Correct Disposal of this product. This marking indicates that this product should not be disposed with
other household wastes throughout the EU. To prevent possible harm to the environment or human
health from uncontrolled waste disposal, recycle it responsibly to promote the sustainable reuse of
material resources. To return your used device, please use the return and collection systems or contact the
retailer where the product was purchased. They can take this product for environment-safe recycling.
1.2 Storage
Your device has been carefully checked and packed before shipping. When unpacking it, make sure that
all the parts are included and keep the packaging away from children. We recommend that you keep
4
the carton during the warranty period, to keep your device perfectly protected in the event of repair or
warranty.
1.3 Accessories
1x installation instructions
1x Safety Instructions/Warranty Cards
2x remote controls*
2x AA batteries
2x AAA batteries
* It is possible to pair only one Remote Control, however the second remote control can still be used in the traditional way without a Bluetooth connection as the
rst one.
1.4 Equipment set-up
Fig. 1
Install the display on a solid horizontal surface such as a table or desk. For ventilation, leave a space of
at least 10 cm free all around the set. To prevent any fault and unsafe situations, please do not place any
objects on top of the set. This apparatus can be used in tropical and/or moderate climates.
This user manual provides complete instructions for installing and using this TV. The symbols serve as
follows:
WARNING Indicates warning information.
NOTE Indicates any other additional important or helpful information.
MENU Represents a button on the remote control or the TV.
Move to Represents a menu item within a window.
2. INSTALLATION
2.1 Password setting:
The Password is set by the user during the rst installation described in chapter 3 (Step 5). It is possible to
insert a code of your choice, but remembering that to reset the password it will be necessary to reset the
system making it return to the factory settings, losing all the settings set by the user.
2.2 Front panel
Fig. 2
1
2

5
NOTE: The graphics are for representation only.
1. Power indicator /remote sensor
2. Speakers
2.3 Rear panel
Fig. 3a
NOTE: The graphics are for representation only.
32FD5553
1. LAN Connect to your Internet router to access the internet/apps.
2. HDMI 2 Connect HDMI input signal from a signal source such as DVD, Blu-ray player or game
console.
3. ANTENNA IN 1 Connect a coaxial cable to receive signal from the DVB-T/T2 antenna or DVB-C cable.
4. ANT 2/ SAT IN Connect a coaxial cable to receive signal from the Dish LNB. Connect a coaxial cable
to receive signal from the DVB-T/T2 antenna or DVB-C cable.
5. HDMI 1 (ARC) Connect HDMI input signal from a signal source such as DVD, Blu-ray player or
game console or directly to a Digital Amplier that supports the ARC function. This
input is equipped with the ARC (Audio Return Channel) feature to implement audio
connections and for a full Dolby Audio support.
6. CI Insert a Conditional Access Module (CAM).
7. Mini AV IN To connect your video camera or other device using 3.5 mm AV cable to your TV to
play videos on your TV screen.
8. USB 2.0 USB 2.0 port.
9. HEADPHONE Headphone or Earphone audio output, speakers will be muted when earphone is
plugged in and headphone selected.
10. S/PDIF (optical) Use an optical cable to connect your TV to a compatible digital amplier or Home
theatre set.

6
40FD5553
1. HDMI 1 (ARC) Connect HDMI input signal from a signal source such as DVD, Blu-ray player or
game console or directly to a Digital Amplier that supports the ARC function. This
input is equipped with the ARC (Audio Return Channel) feature to implement audio
connections and for a full Dolby Audio support.
2. ANTENNA IN 1 Connect a coaxial cable to receive signal from the DVB-T/T2 antenna or DVB-C cable.
3. ANT 2/ SAT IN Connect a coaxial cable to receive signal from the Dish LNB. Connect a coaxial cable
to receive signal from the DVB-T/T2 antenna or DVB-C cable.
4. S/PDIF (optical) Use an optical cable to connect your TV to a compatible digital amplier or Home
theatre set.
5. CI Insert a Conditional Access Module (CAM).
6. Mini AV IN To connect your video camera or other device using 3.5 mm AV cable to your TV to
play videos on your TV screen.
7. USB 2.0 USB 2.0 port.
8. HEADPHONE Headphone or Earphone audio output, speakers will be muted when earphone is
plugged in and headphone selected.
9. LAN Connect to your Internet router to access the internet/apps.
10. HDMI 3 Connect HDMI input signal from a signal source such as DVD,
Blu-ray player or game console.
11. HDMI 2 Connect HDMI input signal from a signal source such as DVD,
Blu-ray player or game console.
12. USB 2.0 USB 2.0 port.
43UD7553
1. HDMI 1 (ARC) Connect HDMI input signal from a signal source such as DVD, Blu-ray player or
game console or directly to a Digital Amplier that supports the ARC function. This
input is equipped with the ARC (Audio Return Channel) feature to implement audio
connections and for a full Dolby Audio support.
2. ANTENNA IN 1 Connect a coaxial cable to receive signal from the DVB-T/T2 antenna or DVB-C cable.
3. ANT 2/ SAT IN Connect a coaxial cable to receive signal from the Dish LNB. Connect a coaxial cable
to receive signal from the DVB-T/T2 antenna or DVB-C cable.
LAN
HDMI2(CEC)HDMI3(CEC)
USB 2.0
(5V 500mA)
ANT1 ANT2
SATELLITE
DIGITAL
AUDIO OUT
AV
USB 2.0
(5V 500mA)
13/18V 400mA13/18V 400mA
HDMI1(ARC/CEC)
COMMON
INTERFACE (CI)

7
4. S/PDIF (optical) Use an optical cable to connect your TV to a compatible digital amplier or Home
theatre set.
5. CI Insert a Conditional Access Module (CAM).
6. Mini AV IN To connect your video camera or other device using 3.5 mm AV cable to your TV to
play videos on your TV screen.
7. USB 2.0 USB 2.0 port.
8. HEADPHONE Headphone or Earphone audio output, speakers will be muted when earphone is
plugged in and headphone selected.
9. LAN Connect to your Internet router to access the internet/apps.
10. HDMI 3 Connect HDMI input signal from a signal source such as DVD, Blu-ray player or game
console.
11. HDMI 2 Connect HDMI input signal from a signal source such as DVD, Blu-ray player or game
console.
12. USB 2.0 USB 2.0 port.
50UD7553 & 55UD7553
1. LAN Connect to your Internet router to access the internet/apps.
2. HDMI 3 Connect HDMI input signal from a signal source such as DVD, Blu-ray player or game
console.
3. HDMI 2 Connect HDMI input signal from a signal source such as DVD, Blu-ray player or game
console.
4. HDMI 1 (ARC) Connect HDMI input signal from a signal source such as DVD, Blu-ray player or
game console or directly to a Digital Amplier that supports the ARC function. This
input is equipped with the ARC (Audio Return Channel) feature to implement audio
connections and for a full Dolby Audio support.
5. ANTENNA IN 1 Connect a coaxial cable to receive signal from the DVB-T/T2 antenna or DVB-C cable.
6. ANT 2/ SAT IN Connect a coaxial cable to receive signal from the Dish LNB. Connect a coaxial cable
to receive signal from the DVB-T/T2 antenna or DVB-C cable.
7. USB 2.0 2x USB 2.0 port.
8. CI Insert a Conditional Access Module (CAM).
9. Mini AV IN To connect your video camera or other device using 3.5 mm AV cable to your TV to
play videos on your TV screen.
10. S/PDIF (optical) Use an optical cable to connect your TV to a compatible digital amplier or Home
theatre set.
11. HEADPHONE Headphone or Earphone audio output, speakers will be muted when earphone is
plugged in and headphone selected.
NOTE: If the TV turns o when you plug a cable to any connector, just turn it on again.
2.4 Remote controls
This TV model supplies with 2 Remote control units (RCU).
First one is simpler and more modern. It has minimalistic design, small quantity of buttons and is good
enough for everyday usage. This is IR and RF RCU. This meaning, that you could use it as traditional IR RCU,
pointing it on your TV and, if you made pairing of it via Bluetooth wireless connection, you will be able to
control your TV without pointing RCU directly on your TV. Please refer to <Chapter 3> and other chapters for
more information how to make pairing of this RCU with your TV

8
Fig. 4a
1. qPress to turn the TV on or standby.
2. !Press to mute or restore the volume.
3. Navigate the menu.
4. OK Conrm the selection.
5. Press to go back to previously viewed channel. In menu: Back to previous menu.
6. Enter the home desktop.
7. Press to access the TV settings.
8. NETFLIX Press for direct access to Netix*
9. YouTube Press for direct access to YouTube.
10. prime video Press for direct access to prime video**.
11.Google Play Press for direct access to Google Play.
12. VOL +/- Adjust the volume up or down.
13. Press to activate the voice control function***.
* Membership is not included. Netix is available in selected countries. Streaming Netix requires to set up an account. Broadband Internet required. See www.
netix.com/TermsOfUse for details.
** Membership is not included. Prime is available in selected countries. Streaming prime video requires to set up an account. Broadband Internet required. See
www.primevideo.com for details.
***Voice control and some other functions could work only when this RCU paired with your TV.
12
8
3
1
5
6
10
2
7
9
11
4
13

9
1
3
10
6
8
12
14
16
20
24
28
32
4
18
21
25
30
2
5
7
11
9
13
15
19
23
17
22
27
26
29
31
Fig. 4b
Second RCU is quite big and traditional. It is only IR and has complete list of buttons to control your TV.
1. qPress to turn the TV on or standby.
2. !Press to mute or restore the volume.
3. 0 ~ 9 Choose channel directly.
4. INFO Display information about the current source.
5. Press to display EPG info in TV mode.
6. Press to access the TV settings.
7. EXIT Exit the current menu.
8. Press to go back to previously viewed channel. In menu: Back to previous menu.
9. Enter the home desktop.
10. Navigate the menu.
11. OK Conrm the selection.
12. NETFLIX Press for direct access to Netix*
13. YouTube Press for direct access to YouTube.
14. prime video Press for direct access to prime video**.
15. Google Play Press for direct access to Google Play.
16. VOL +/- Adjust the volume up or down.

10
17. Press to activate the voice control function.
18. Press to access the TV sources.
19. P +/- Change programmes up or down.
20. Press to access the teletext in TV mode.
21. USB Enter the Multimedia menu.
22. Audio track selection
23. SUBT Enable/disable subtitles in DTV mode
24. 1Press to start playback.
25. 2Press to pause playback.
26. 3Press to stop playback.
27. 4No function.
28. 5Press to fast reverse.
29. 6Press to fast forward.
30. 7Press to play the previous le.
31. 8Press to play the next le.
32. COLOUR BUTTONS Press to execute the prompt function in TV or DTV
You could use the RCU which you preferred or both of them simultaneously to control your TV.
* Membership is not included. Netix is available in selected countries. Streaming Netix requires to set up an account. Broadband Internet required. See www.
netix.com/TermsOfUse for details.
** Membership is not included. Prime is available in selected countries. Streaming prime video requires to set up an account. Broadband Internet required. See
www.primevideo.com for details.
2.5 Installing the batteries
Fig. 5
Place 2x AA batteries in the battery compartment of the smaller remote control and 2 x AAA in the
battery compartment of the bigger remote control. Make sure to match the polarity markings inside the
compartment.
Note: Pictures are for reference only. Actual items may be dierent.
1 Open the cover.
2 Put batteries in the compartment and make sure the polarity is correct.
3 Close the cover.
Precautions for using the battery
Improper using of the battery will cause leakage. Carefully follow these instructions.
1. Please note the batteries' polarity to avoid short circuit.
2. When the battery's voltage is insucient which aects the use range, you should replace it with a new
battery. Remove the batteries from the remote-control unit if you do not intend to use it for a long
time.
3. Do not use dierent types of batteries (for example Manganese and Alkaline batteries) together.
4. Do not put the battery into re, and charge or decompose the battery.
5. Please dispose batteries abide by relevant environmental protection regulation.
2.6 Using the IR remote controls

11
English
Afrikaans
Bahasa Melayu
Català
Češna
Dansk
Connue
Language
Algeria
Agola
Albania
Australia
Bengal
Belgium
Locaon
• Use the remote control by pointing it towards the remote sensor. Items between the remote control
and the remote sensor could block normal operation.
• Do not cause the remote control to vibrate violently. Also, do not splash liquid on the remote control or
put the remote control in a high humidity place.
• Do not place the remote control under direct sunlight which will cause deformation of the unit by heat.
• When the remote sensor is under direct sunlight or strong lighting, the remote control will not work.
If so, please change the lighting or TV's position, or operate the remote control closer to the remote
sensor.
* to conrm your choices use OK button or right ARROW button.
NOTE: This TV is equipped with two remote controls. You can choose to use both remote controls or just
one. However, it is possible to pair only one Remote Control (no matter which one), in any case the
second remote control can still be used in the traditional way without a Bluetooth connection as
the rst one.
3. FIRST TIME INSTALLATION
After all connections have been made properly, switch your TV on. Please follow the initial First Time
Installation (FTI) procedure on your screen and complete the installation. It will take a few minutes.
Step 1
Select your preferred language and location on the welcome page, then select CONTINUE to go
to the next step.
Step 2
Press and -key simultaneously, while pointing to the TV bottom within the distance of 1 meter at least 3
seconds, Release your nger when the indicator light (red) of the remote ashes.
Press and key simultaneously,
while poinng to the TV boom within the distance
of 1 meter at least 3 seconds. Release your finger when
the indicator light (red) of the remote flashes.

12
Note: If you plan to use smaller RCU for TV control, we recommend to make pairing of it with your TV.
This will allow using extended features of it. Pairing screen appear after the country and language
selection during the First Time Installation. Follow simple on-screen instructions for this. If you miss
this screen, it is possible to make pairing later in Settings chapter of menu or by pressing key on
RCU at rst time of it usage.
Step 3
You can easily transfer your Android phone’s Wi-Fi network and Google Account to your TV.
Step 4
Select your Wi-Fi network to connect to the internet. Alternatively, it is also possible to connect an Ethernet
cable to the input on the rear panel.
Step 5
Password setting
Input password
Password
Please set password.
“0000” is invalid.
Connue
Skip
Quickly set up your TV
with your Android phone?
You can easily transfer your
Android phone’s Wi-Fi network and
Google Account to your TV
Select your Wi-Fi
network
You can also connect
an Ethernet cable
to connect to the internet.
1600_2.4G
1600_5G
Airport
Super_2.4GHz

13
Antenna
Cable
Satellite
Tuner Mode
Please select
your tuner mode:
Tuner Mode
Please select
your tuner mode:Antenna
Cable
Satellite
Step 6
To install channels for terrestrial, satellite or cable broadcasting please select Antenna, Cable or Satellite and
choose required type of channels Digital, Analogue.
3.1 Channel installations for cable
Select the tuner mode Cable and press OK to continue.
Select one operator from the following list, or select Other if you don't have a predened operator or it is
dierent from those listed. Once done press OK to continue.
Note: Not all countries have predened operators. If the country you have selected does not have one this
step will be skipped.
Select the operator
You can select only
one operator from
the following list :
Ziggo
Others

14
First step is to connect the cable. Then you must start the channel scan. You can choose between digital and
analogue channels, only analogue channels or only digital channels. If you skip this step, the channel scan can
be done later by accessing the TV menu. Press OK for your selection.
On the Scan Mode menu you can choose to perform a full scan by selecting Full, while selecting Advance you
can perform a scan using the Frequency and Network ID data provided by your operator. Use the OK button
for setting the value and to start the channel scan.
In the next step the channel scan started and will take some minutes to complete.
Scanning
The channel scan
may take a while
to complete.
Digital Channels: 0
Analog Channels: 0
Progress: 7%
Channel scan
First, please connect the cable.
Star the channel scan now?
If you skip this step,
the channel scan could
be performed in Menu.
Digital and analog channels
Only analogue channels
Only digital channels
Skip scan
Cable Scan Configure
Please configure the cable info.
Use “ENTER” key to seng value
and “RIGHT” key to next page.
Please tune to your country home
max transponder frequency.
Scan mode
Advance
Channel Scan Type
Only digital channels
Frequency (KHz)
474000
Network ID
5555

15
Scan direcon
Select the channel ordering method. Automac
channel ordering is the default method. Pay TV
ordering enable user presentaon of channel
numbers in a convenient form dedicated to Pay
TV customers. Use Automac channel ordering
in case Pay TV ordering fails to install channels.
Automac Channel Ordering
Pay TV Ordering
Tuner Mode
Please select
your tuner mode:Antenna
Cable
Satellite
3.2 Channel installations for Antenna
Select the tuner mode Antenna and press OK to continue.
Select the preferred method of channel ordering.
The Automatic channel ordering is the default method. Pay TV ordering allows the customer to select the
display of channel numbers that is suitable for them. Use Automatic channel ordering when Pay TV ordering
cannot install channels. Press OK to continue.
First step is to connect the Antenna cable. Then you must start the channel scan. You can choose between
Digital and analogue channels, Only analogue channels or Only digital channels. If you skip this step, the
channel scan can be done later by accessing the TV menu. Press OK for your selection.
Channel scan
First, please connect the cable.
Star the channel scan now?
If you skip this step,
the channel scan could
be performed in Menu.
Digital and analog channels
Only analogue channels
Only digital channels
Skip scan

16
In the next step, the channel search is started and takes a few minutes.
3.3 Channel installations for Satellite
Select the tuner mode Satellite and press OK to continue.
Press OK to start with the satellite channel installation.
Satellite installaon
Do you want
to start satellite
channel installaon?
Start
Antenna
Cable
Satellite
Tuner Mode
Please select
your tuner mode:
Scanning
The channel scan
may take a while
to complete.
Digital Channels: 0
Analog Channels: 0
Progress: 7%

17
Select
the operator General
vùsat
Antenna type
Next
More
Satellite
antenna type DiSEqC 1.0
DiSEqC 1.1
DiSEqC 1.2
Unicable I
Tone Burst
Single
By selecting Next you go to the Select the Operator page, while by selecting More you access the Satellite
antenna type page if it is necessary to set the DiSEqC or Unicable.
If you are looking for the LNB list you have to go to General and press OK.
LNB list Next
Astra4A/SES5 5E On
Eutelsat 7E Off
Eutelsat 9E Off
Hotbird 13E Off

18
With you can select the satellite (or satellites) to which your dish is addressed. Press OK to access the
submenu that allows you to activate or deactivate the selected satellite and to set its various parameters.
After all settings have been made, select 8to continue.
NOTE: To congure the DiSEqC or Unicable parameters it is necessary to select MORE in the previous
steps.
First step is to connect the satellite. Then you must start the channel scan. If you skip this step, the channel
scan can be done later by accessing the TV menu. Press OK for your selection.
In the next step, the channel search is started and takes a few minutes.
Congratulations! You have successfully completed the First time installation of your TV.
4. HOME SCREEN
The Home screen is the main screen of this model of TV.
It divided on few zones and lines and contains
- Search line with possibility to enter text to search information or content, related with this text.
- Notication corner, which provide information about system notications and messages. It also gives
quick access to TV inputs, connections, settings and show current system time.
- Application line Apps, which contain the list of most used applications, including Live TV application
and others, and icon Apps – for access to complete applications list, installed in the system, and to
Application Store to get to other new applications.
- Few more lines, which also called Channels, which shows detailed content, specic for each
application. It is possible to customize this area. Use Customize channels to make changes. Please note,
S-Channel line contains the list of recommended, but not installed on your TV applications.
Channel scan
First, please connect the cable.
Star the channel scan now?
If you skip this step,
the channel scan could
be performed in Menu.
Digital and analog channels
Only analogue channels
Only digital channels
Skip scan
Scanning
The channel scan
may take a while
to complete.
Digital Channels: 0
Analog Channels: 0
Progress: 7%
This manual suits for next models
9
Table of contents
Other Strong Smart TV manuals

Strong
Strong SRT 65UA6203 User manual

Strong
Strong SRT 43UA6203 User manual

Strong
Strong 32HC5433 User manual

Strong
Strong FC5433 User manual

Strong
Strong SRT 32HC4432 User manual

Strong
Strong SRT 50UC7433 User manual

Strong
Strong 32HC5433 User manual

Strong
Strong SRT 32HB5203 User manual

Strong
Strong SRT24HE4203 User manual

Strong
Strong SRT 65UC6433 User manual