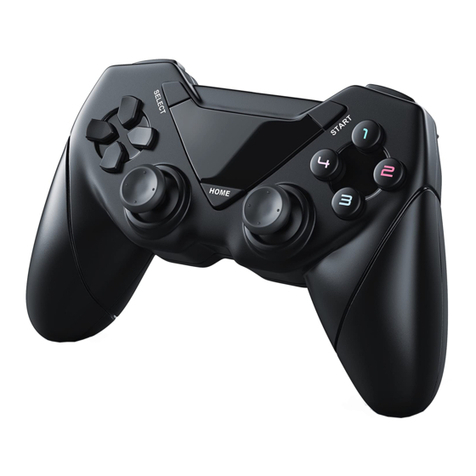
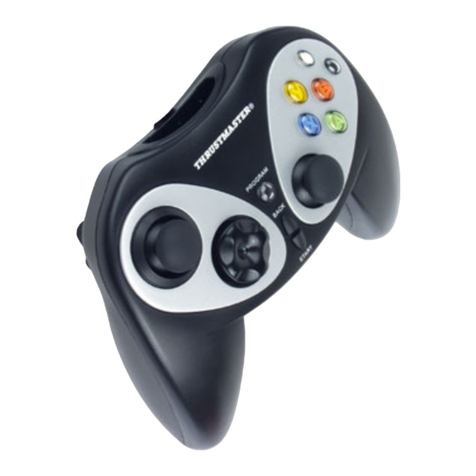
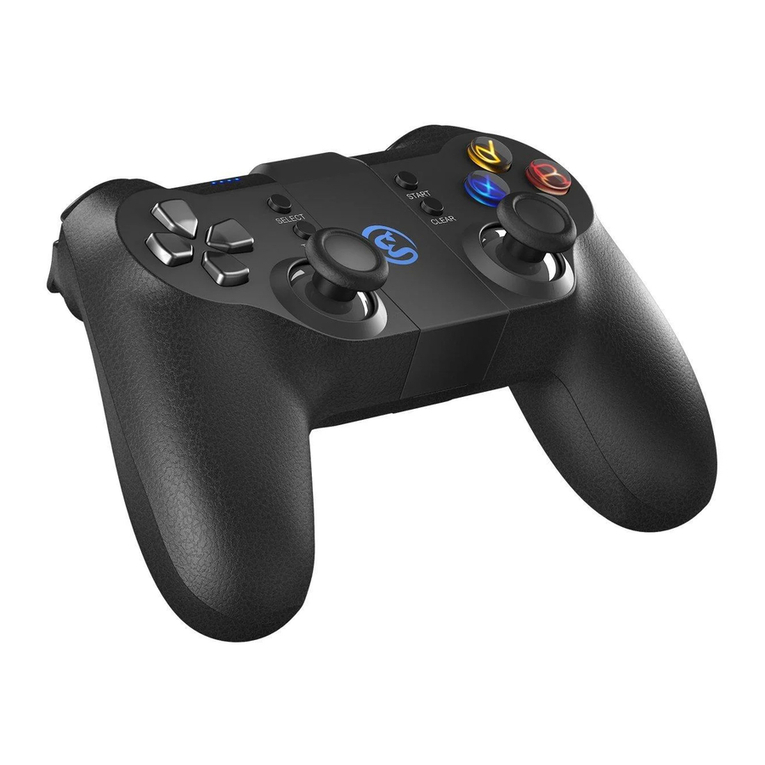
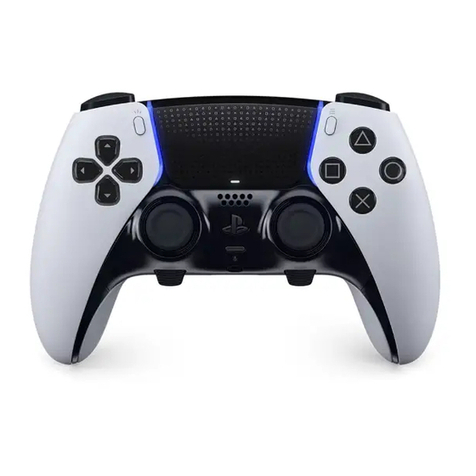
SubSonic Pro4 Use and care manual

2

3
Pro4 wired Controller for PS4 / PS3 –Firmware Update Instructions
To update the Pro4 wired controller, please read these instructions in full before you start, so that you
are familiar with the short process. The update has to be done from a computer.
STEP 1 : Use the link provided to download the .exe file for driver’s update. Click here to download
the .exe file.
STEP 2 : Once the .exe is run, this screen will appear.
BEFORE plugging your controller into the USB port of your
laptop/PC, you should place your controller on a hard
surface. With one hand, press the “L3”analog stick &
directional cross “Right”
While holding the L3 & right button down, only then should
you plug your controller in to the USB port. NB. If the
buttons aren’t pressed before plugging the controller
in, the update will fail.
STEP 3 : Once your controller is plugged in, this screen will appear with the message “Ready to
update firmware”. Click on “Update” button.
If successful, the following screens will appear.

4
Manette Filaire Pro4 pour PS4 / PS3 - Mise à jour du firmware
Afin de mettre à jour le pilote de la manette Pro4, lisez attentivement les instructions suivantes. La mise
à jour s’effectue depuis un ordinateur.
ETAPE 1 : Utilisez le lien suivant pour télécharger le fichier nécessaire à la mise à jour.
Cliquez ici pour télécharger l’exe.
ETAPE 2 : Une fois l’.exe lancé, cet écran va alors apparaître.
AVANT DE BRANCHER LA MANETTE dans un des ports
USB de votre PC, posez-la sur une surface plane. Avec une
main, appuyez sur le stick analogique gauche « L3 »
(enfoncé) & le bouton « droit » de la croix directionnelle,
comme montré ci-dessous. Maintenez L3 et le bouton droit
en pression et branchez la manette dans un port USB.
NB. Si ce bouton n’est pas maintenu en pression avant
de brancher le câble USB, la mise à jour échouera.
ETAPE 3 : Une fois votre manette branchée au PC, cet écran apparaîtra. Cliquez alors sur « Update »
À la fin de l’installation, les écrans suivants apparaîtront.
Stick analogique
gauche (L3)
Croix
directionnelle
(touche droite)

5
Mando Pro4 wired para PS4 / PS3 –Actualización del Firmware
Lea atentamente las instrucciones siguientes para actualizar el Firmware del mando Pro4 Wired
controller. La actualización se tiene que hacer desde un ordenador.
PASO 1 : Utilice el enlace debajo para descargar el archivo para la actualización del controlador. Le
sugerimos para descargar en su ordenador y ejecutarlo desde allí.
Haga clic aquí para descargar el archivo .exe.
PASO 2 : Una vez que se ejecuta el .exe, aparecerá esta pantalla.
ANTES DE CONECTAR EL MANDO a uno de los puertos
USB de su PC, colóquelo sobre una superficie plana. Con
una mano, pulse el stick analógico izquierdo “L3”&
“Derecho” de la cruz direccional (hundido), como se muestra
en la imagen.
Mantenga el L3 y derecho botone presionado y conecte el
mando a un puerto USB.
Nota. Si estos botones no se mantienen presionados
antes de conectar el cable USB, no se conseguirá
completar con éxito la actualización.
PASO 3 : Una vez que su mando esté conectado al PC, aparecerá esta pantalla. Hacer click en
“Update”.
Al final de la instalación, aparecerán las siguientes pantallas.

6

7
Pro4 Wireless Controller for PS4 / PS3 –Firmware Update Instructions
To update the Pro4 wireless controller, please read these instructions in full before you start, so that
you are familiar with the short process. The update has to be done from a computer.
STEP 1 : Use the link provided to download the .exe file for driver’s update. Click here to download
the .exe file.
STEP 2 : Once the .exe is run, this screen will appear.
BEFORE plugging your Pro4 dongle into the USB port of your
laptop/PC, you should press and hold the buttton in the hole
of the dongle with a needle, then plug the dongle and
release the button.
While holding the the needle pressed, only then should you
plug your dongle in to the USB port. NB. If the buttons isn’t
pressed before plugging the dongle in, the update will
fail.
STEP 3 : Once your dongle is plugged in, this screen will appear with the message “Ready to update
firmware”. Click on “Update” button.
If successful, the following screens will appear.

8
Manette Sans-fil Pro4 pour PS4 / PS3 - Mise à jour du pilote
Afin de mettre à jour le pilote de la manette Pro4, lisez attentivement les instructions suivantes. La mise
à jour s’effectue depuis un ordinateur.
ETAPE 1 : Utilisez le lien suivant pour télécharger le fichier nécessaire à la mise à jour.
Cliquez ici pour télécharger l’exe.
ETAPE 2 : Une fois l’.exe lancé, cet écran va alors apparaître.
AVANT DE BRANCHER LE RECEPTEUR dans un des
ports USB de votre PC, Avec une aiguille, maintenez
enfoncé le bouton de mise à jour (situé dans le petit trou)
du récepteur USB et connectez-le au port USB de votre PC,
comme montré ci-dessous. Une fois connecté, vous pouvez
relâcher le bouton.
NB. Si ce bouton reset n’est pas maintenu en pression
avant de brancher le récepteur USB, la mise à jour
échouera.
ETAPE 3 : Une fois votre récepteur branché au PC, cet écran apparaîtra. Cliquez alors sur « Update »
À la fin de l’installation, les écrans suivants
apparaîtront.

9
Mando Pro4 Wireless para PS4 / PS3 –Actualización del Firmware
Lea atentamente las instrucciones siguientes para actualizar el Firmware del mando Pro4 Wired
controller. La actualización se tiene que hacer desde un ordenador.
PASO 1 : Utilice el enlace debajo para descargar el archivo para la actualización del controlador. Le
sugerimos para descargar en su ordenador y ejecutarlo desde allí.
Haga clic aquí para descargar el archivo .exe.
PASO 2 : Una vez que se ejecuta el .exe, aparecerá esta pantalla.
ANTES DE CONECTAR RECEPTOR USB a uno de los
puertos USB de su PC, con una aguja pulse y mantenga
pulsado el boton dentro del agujero, luego conectar el
receptor.como se muestra en la imagen.
Mantenga el botón reset presionado y conecte el receptor a
un puerto USB.
Nota. Si estos botones no se mantienen presionados
antes de conectar el cable USB, no se conseguirá
completar con éxito la actualización.
PASO 3 : Una vez que su receptor esté conectado al PC, aparecerá esta pantalla. Hacer click en
“Update”.
Al final de la instalación, aparecerán las siguientes pantallas.
Table of contents
Languages:

