Instruction manual rev. 5.3 METRONIK BL-6
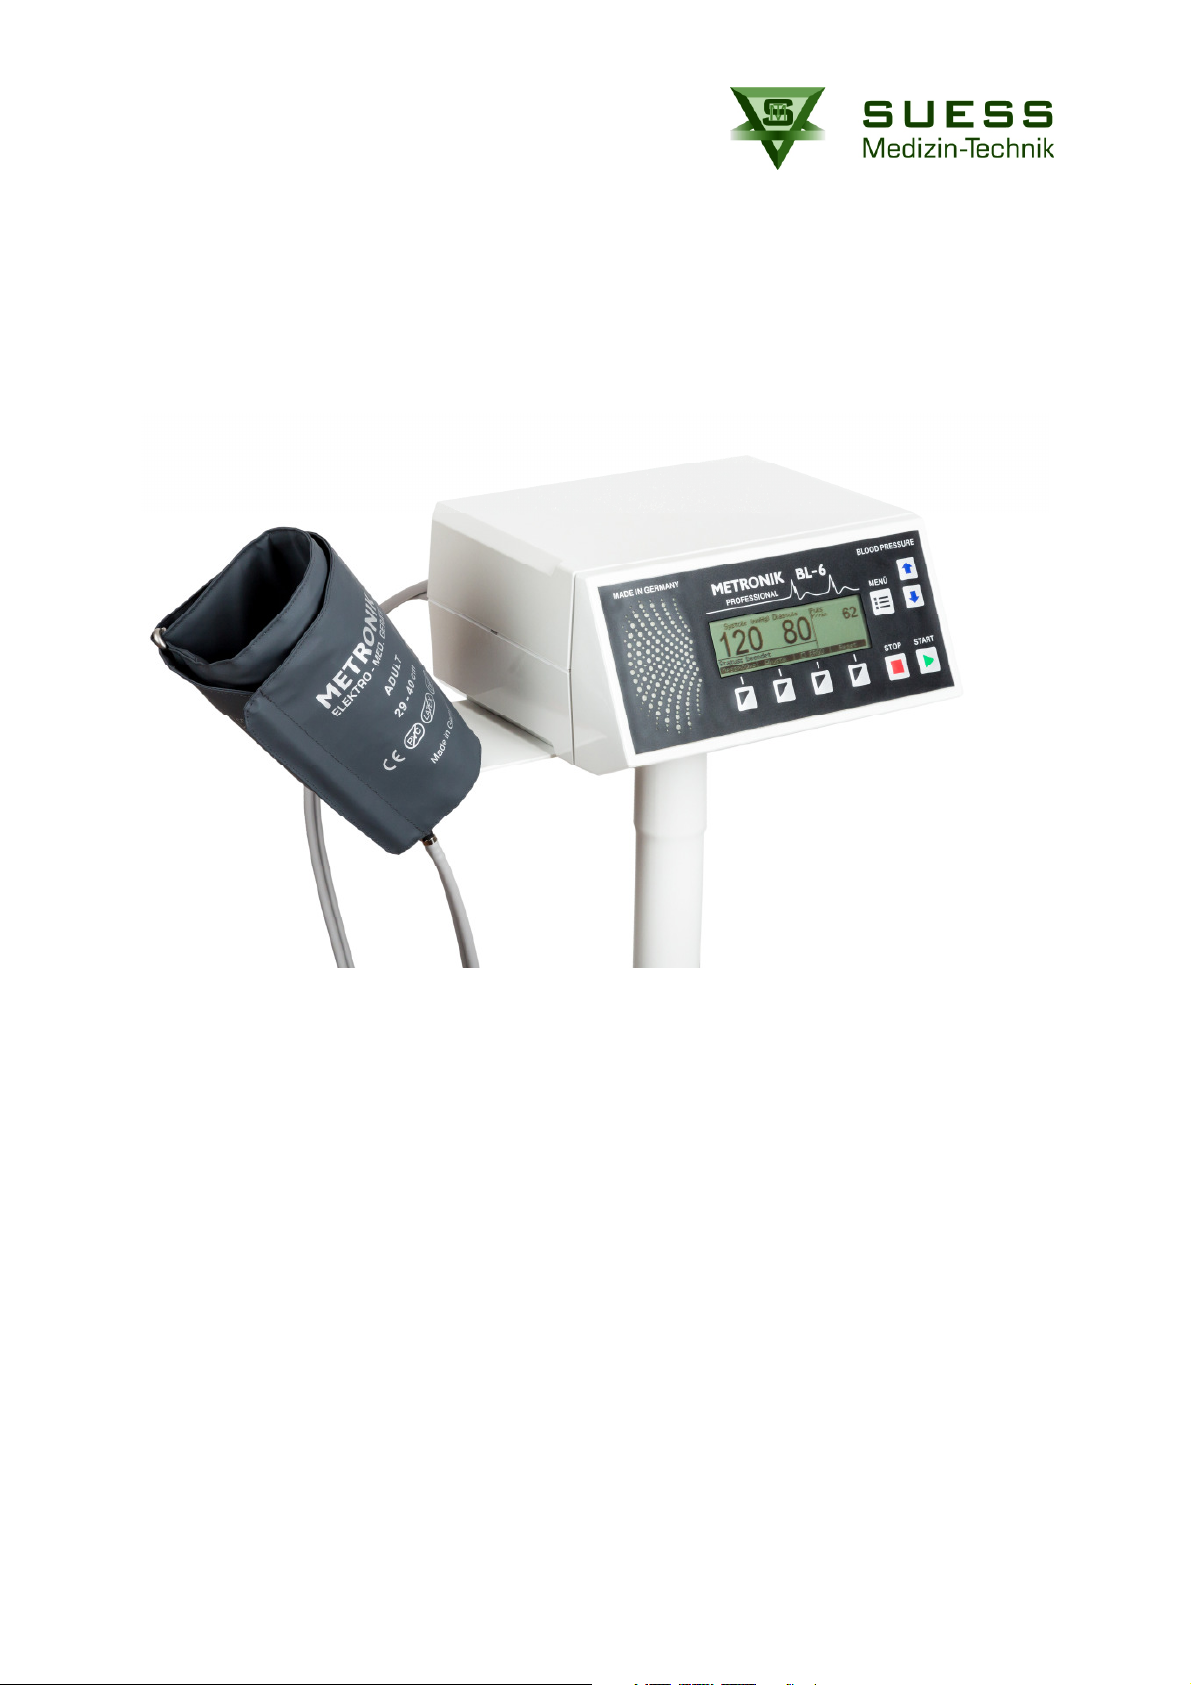
7 METRONIK Blood Pressure Monitor BL-6
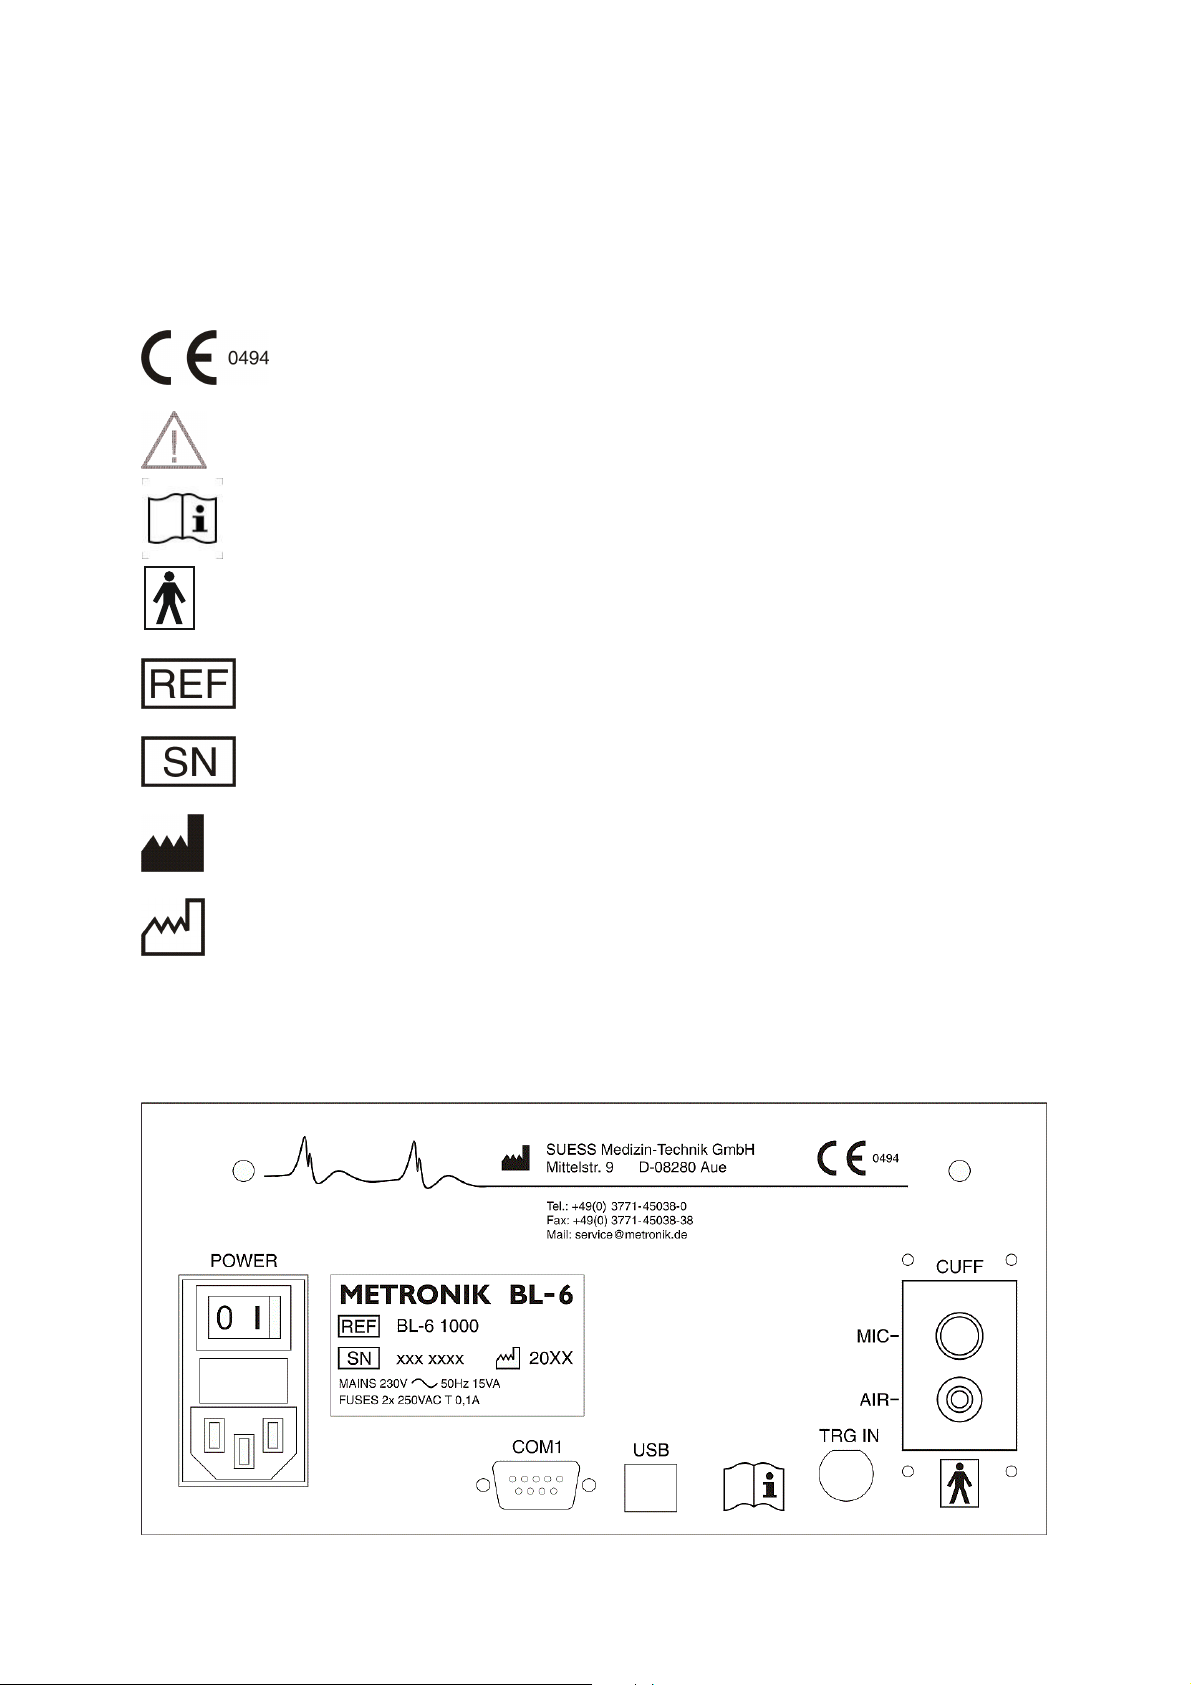
POWER: Connect Power to 230V Mains.
Attention: In order to avoid the risk of electric shock, this device may only be connected to a supply
network with a protective earth conductor.
The COM1 is special wired. So we recommend to use original METRONIK Interface cable. The data
level meets requirements of RS232 (± 12V).
If connecting USB cable first time, the USB Driver will installed and the PC emulates a virtual COM
Port. The driver data are on the attached CD or USB stick.
The COM1 and the USB interface can be configured as independent interfaces with same or different
data protocols.
TRG IN is a BNC connector. It can be connected to analogue QRS signal or R-Peak related TTL
trigger. So the Blood Pressure Measurement can be taken ECG triggered. Note, the TRG IN is not
galvanic insulated.
Important for ECG triggered measurements: The R-peak trigger is command variable. It must be
ensured, that the ECG trigger is free of artefacts and in time with the original occurring R-peak.
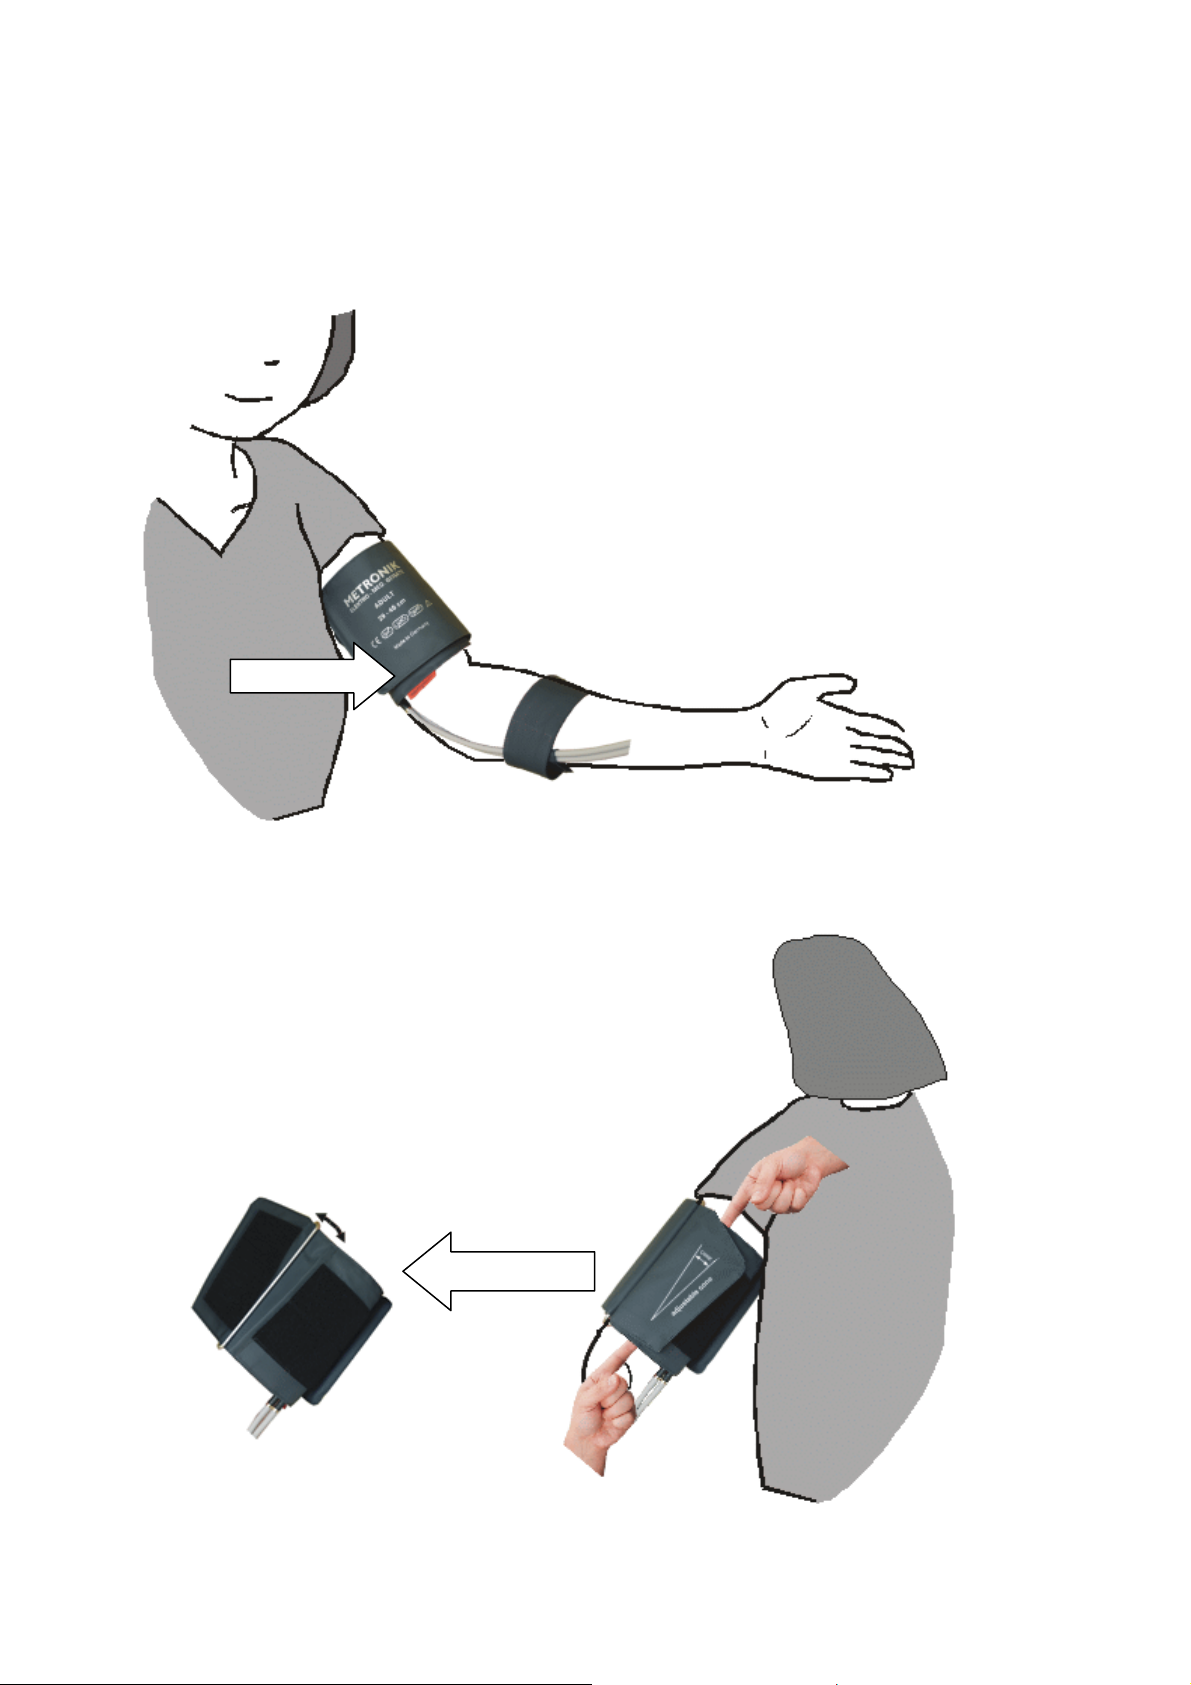
CUFF connection – there are two quick couplings, microphone and air. The matching push-pull
connectors are at the end of the cuff double tube.
We emphasize that only original METRONIK parts should be used for any spare or repair.
3. Method
The functioning of METRONIK devices is based upon the method of Riva Rocci / Korotkov. The RR
method is also known as golden standard in non-invasive blood pressure measurement.
Thus, METRONIK blood pressure measurement devices operate by use of an auscultatory measuring
method via a microphone in the cuff, making it precise and considerably robust.
The original Korotkov sounds are reproduced in high quality via loudspeakers.
By simultaneously listening to the Korotkov sounds during the measurement, the applicant can also
check that the real Korotkov sound occur at the same time as the blood pressure. So he can
recognize how exact and precise the automatic measurements are.
In addition to the automatic measuring, there is a manual mode where the user marks the pressure
levels at its corresponding systole and diastole values during deflation. By pressing the START button
during deflation at time with the first occurring Korotov sound, the systolic value will be locked at this
actual cuff pressure. By pressing the START button a second time, when the sound disappeares, the
diastolic value will be locked. The system deflates and the measurement is finished. This feature is
very important for stress measurements with high load or for resting measurements with patients with
weak sounds.
The ergometry filter can be switched on to reduce interferences and pulse wave noises, which occur
regularly during stress tests. There is an integrated compensation tank for mechanical suppression of
moving artefacts.
The METRONIK BL-6 is ideally suited for stress measurements with treadmill or bicycle ergometers.
The cuff is designed as a one-tube-system, even though it contains a double tube. That means one
tube is used for apply the air into the cuff, the other tube includes the microphone cable. The
microphone is built in the bladder, so there are no interferences. Both tubes each ends with an easy to
use quick connector for plugging in the device at the rear panel.