Suhr Hombre User manual

User Guide

2
Table of Contents
Overview � � � � � � � � � � � � � � � � � � � � � � � � � � � � � � � � � � � � � � � � � � � � � � � � � � � �3
Important Safety Instructions� � � � � � � � � � � � � � � � � � � � � � � � � � � � � � � � � � � � �4
Front panel overview � � � � � � � � � � � � � � � � � � � � � � � � � � � � � � � � � � � � � � � � � � �5
Rear panel overview � � � � � � � � � � � � � � � � � � � � � � � � � � � � � � � � � � � � � � � � � � �6
Normal Channel & Bright Channel � � � � � � � � � � � � � � � � � � � � � � � � � � � � � � � � � 7
Tube Bias Tremolo � � � � � � � � � � � � � � � � � � � � � � � � � � � � � � � � � � � � � � � � � � � �8
Rear Panel� � � � � � � � � � � � � � � � � � � � � � � � � � � � � � � � � � � � � � � � � � � � � � � � � � �9
Technical Specications � � � � � � � � � � � � � � � � � � � � � � � � � � � � � � � � � � � � � � �10
Warranty � � � � � � � � � � � � � � � � � � � � � � � � � � � � � � � � � � � � � � � � � � � � � � � � � � �10

3
Overview
Hombre, Suhr’s take on the classic Brownface tones that have inspired
John Suhr since his early days as a guitarist. The intention was clear: create
a modern take on these classic designs while preserving the vintage heri-
tage�
The purity of the signal path is part of Hombre’s beauty. It results in a play-
ing experience that is incredibly dynamic and touch-sensitive. A simple turn
of the volume and tone controls will put a shocking range of sound at your
ngertips.
Clean tones are classic, gorgeous and bell-like, but make no mistake, this
amp is a dirty little combo. It wants to be pushed into sweet overdrive, con-
juring tones from the 1970s era of Texas blues-rock.
The on-board Dynamic Tube Bias tremolo imparts an unmistakably rich,
sought after sound, that simply can’t be imitated. Hombre is driven by a
~20-watt 6V6 power section and features a lightweight cabinet loaded with a
12″ Celestion V-Type speaker.
Thank you for purchasing the Suhr Hombre™
Please take the time to read this User Guide to get the most out of the
Hombre. The more you familiarize yourself with the features of this unit, the
more you will enjoy its benets and maximize its potential.

4
Important Safety instructions
Please read this list of instructions to keep your
Hombre running safely�
1. Read these instructions
2� Keep these instructions
3. Heed all warnings
4� Follow all instructions
5. Clean only with dry cloth
6. Do not block any ventilation openings. Install in accordance with the
manufacturer’s instructions
7. Do not install near any heat sources such as radiators, heat registers,
stoves, or other apparatus (including ampliers) that produce heat
8. Protect the power cord from being walked on or pinched particularly at plugs
and the point where they exit from the apparatus
9. Only use attachments/accessories specied by the manufacturer
10. Unplug this apparatus during lightning storms or when unused for long periods of time
11. Refer all servicing to qualied service personnel. Servicing is required when the apparatus has been damaged in any way, such as power-supply cord
or plug is damaged, liquid has been spilled or objects have fallen into the apparatus, the apparatus has been exposed to rain or moisture, does not oper-
ate normally, or has been dropped
12. CAUTION: To disconnect the unit completely from the MAINS, unplug the unit. Turning the power switch off does not disconnect the unit completely
from the MAINS.
13. The unit shall not be exposed to dripping or splashing and that no objects lled with liquids, such as vases, shall be placed on the unit.
14. WARNING: This is a Class I apparatus. It should be connected to a MAINS socket outlet with a protective earthing connection.
15. This equipment design typically applies to commercial or industrial equipment expected to be installed in locations where only adults are normally
present�

Normal Input 1
High Input For Normal Channel.
Normal Input 2
Low Input For Normal Channel.
Bright Input 2
Low Input For Bright Channel.
Bright Input 1
High Input For Bright Channel.
Volume Knob (Normal Channel)
Controls the volume of the Normal
channel.
Tone Knob (Normal Channel)
Controls the tonal response of the
Normal channel.
Tone Knob (Bright Channel)
Controls the tonal response of the Bright
channel.
Volume Knob (Bright Channel)
Controls the volume of the Normal
channel.
Tremolo Intensity Knob
Sets the depth of the tremolo effect
making it more or less apparent.
Tremolo Speed Knob
Sets how fast or slow the volume is
modulated.

Tremolo Pedal (Footswitch)
In order to activate the Tube Bias Tremolo the included foot
switch must be connected to the Tremolo Pedal jack on the
back of the amp. Pressing the foot switch will turn the trem-
olo effect on and off.
See Page 8 for additional information.
Speaker Outs
Two speaker outputs, wired in parallel with an 8Ω output.
See Page 9 for additional information.
Mains Input
Connect the supplied AC cable
to this inlet to supply power.
ON/OFF Switch
Turns on/off the Hombre.
(No Standby Switch Required.)
Fuse
T 2.0A 250V - 110V-120V
T 1.0A 250V - 220V-240V

7
Normal Channel & Bright Channel
This guide will show the ways you can use your Hombre's Normal Channel
and Bright Channel.
Steps:
1�Connect your guitar to Input 1 to push the amp into breakup earlier or
Input 2 for more clean headroom or to tame high-output pickups.
2�Set Volume: Volume is one of Hombre's most sensitive and versatile con-
trols. In addition to setting the overall volume level, this control will deter-
mine how much the amp breaks up. The amount of clean headroom will
vary depending on the input used (High or Low) and how hot the guitar's
pickups are.
3�Adjust Tone Knob to dial in sounds that are warm and fat, bright and cut-
ting, and everything in between.
IMPORTANT NOTE: Since both channels are in parallel, we
recommend setting the volume control to zero when a channel is not
being used. For example, when plugged into the Bright channel the
volume of the Normal channel should be set to zero.
!!
Bright Channel
Normal Channel

8
Tube-Biased Tremolo
This section will explain how to use the Hombre's Tube Biased Tremolo
Circuit. Bias Tremolo circuits are truly unique in that the effect is created by
modulating the bias of the power tubes. As the power tube bias is lowered
and raised, it imparts an unmistakably rich, sought after sound, that only a
Tube Bias Tremolo can�
Steps:
1�First and foremost, in order to activate the Tube Bias Tremolo the included
foot switch must be connected to the Tremolo Pedal jack on the back of
the amp. Pressing the foot switch will turn the tremolo effect on and off.
2�Adjust Speed Knob to how fast or slow you wish the volume to modulate.
3�Adjust INTENSITY to set the depth of the tremolo effect making it more or
less apparent�
IMPORTANT NOTE: The included foot switch must be connected to
the Tremolo Pedal jack on the back of the amp in order to activate
Tremolo�
!!
☺☺HELPFUL TIP: There’s a distinct interaction that exists between the
tremolo and the dynamics of the musician. The intensity of the trem-
olo can be inuenced by how hard or soft the guitar is played. When
the amp is pushed harder, or the musician plays harder, the trem-
olo effect is less noticeable, yet as the signal decays the effect be-
comes more apparent. This results in a stunning effect that lives and
breathes with the music�
Tremolo Controls

9
Rear Panel
This section will explain the speaker outs and the rear panel of the Suhr
Hombre�
Steps:
1�Connect the MAINS INPUT with the include power cable.
2�Connect Hombre’s internal speaker (or primary cabinet) to the red jack
labeled Speaker using a 1/4” speaker cable.
3�Optionally connect a second speaker cabinet to the EXT SPKR jack
using a 1/4” speaker cable.
4�Turn on the POWER switch to turn on Hombre�
IMPORTANT NOTE: While the amp is optimized for an 8Ω load, it's
rather forgiving with impedance mismatches. Hombre may be safely
operated with a 4Ω or 16Ω load, however, the overall efciency of the
amp may be slightly reduced.
!!
Rear panel section (left)
Rear panel section (right)
IMPORTANT NOTE: While the speaker outputs are in parallel, they are
also prioritized. This means the output with the red ring that’s labeled
“SPEAKER” must be connected before the "EXT SPKR" jack will func-
tion. Simply put, If you are using one speaker cabinet, use the output
with the red ring, labeled "SPEAKER".
!!
IMPORTANT NOTE: The two speaker outs are also wired with a load
protection circuit which will cause the fuse to blow if no load is
connected. This is to protect your amps output transformer.
!!

10
Technical Specications Warranty
Channels: 1
Output: 18 watts
Front Panel: Normal Input 1, Normal Input 2, Normal Channel Volume,
Normal Channel Tone, Bright Input 1, Bright Input 2, Bright Channel Vol-
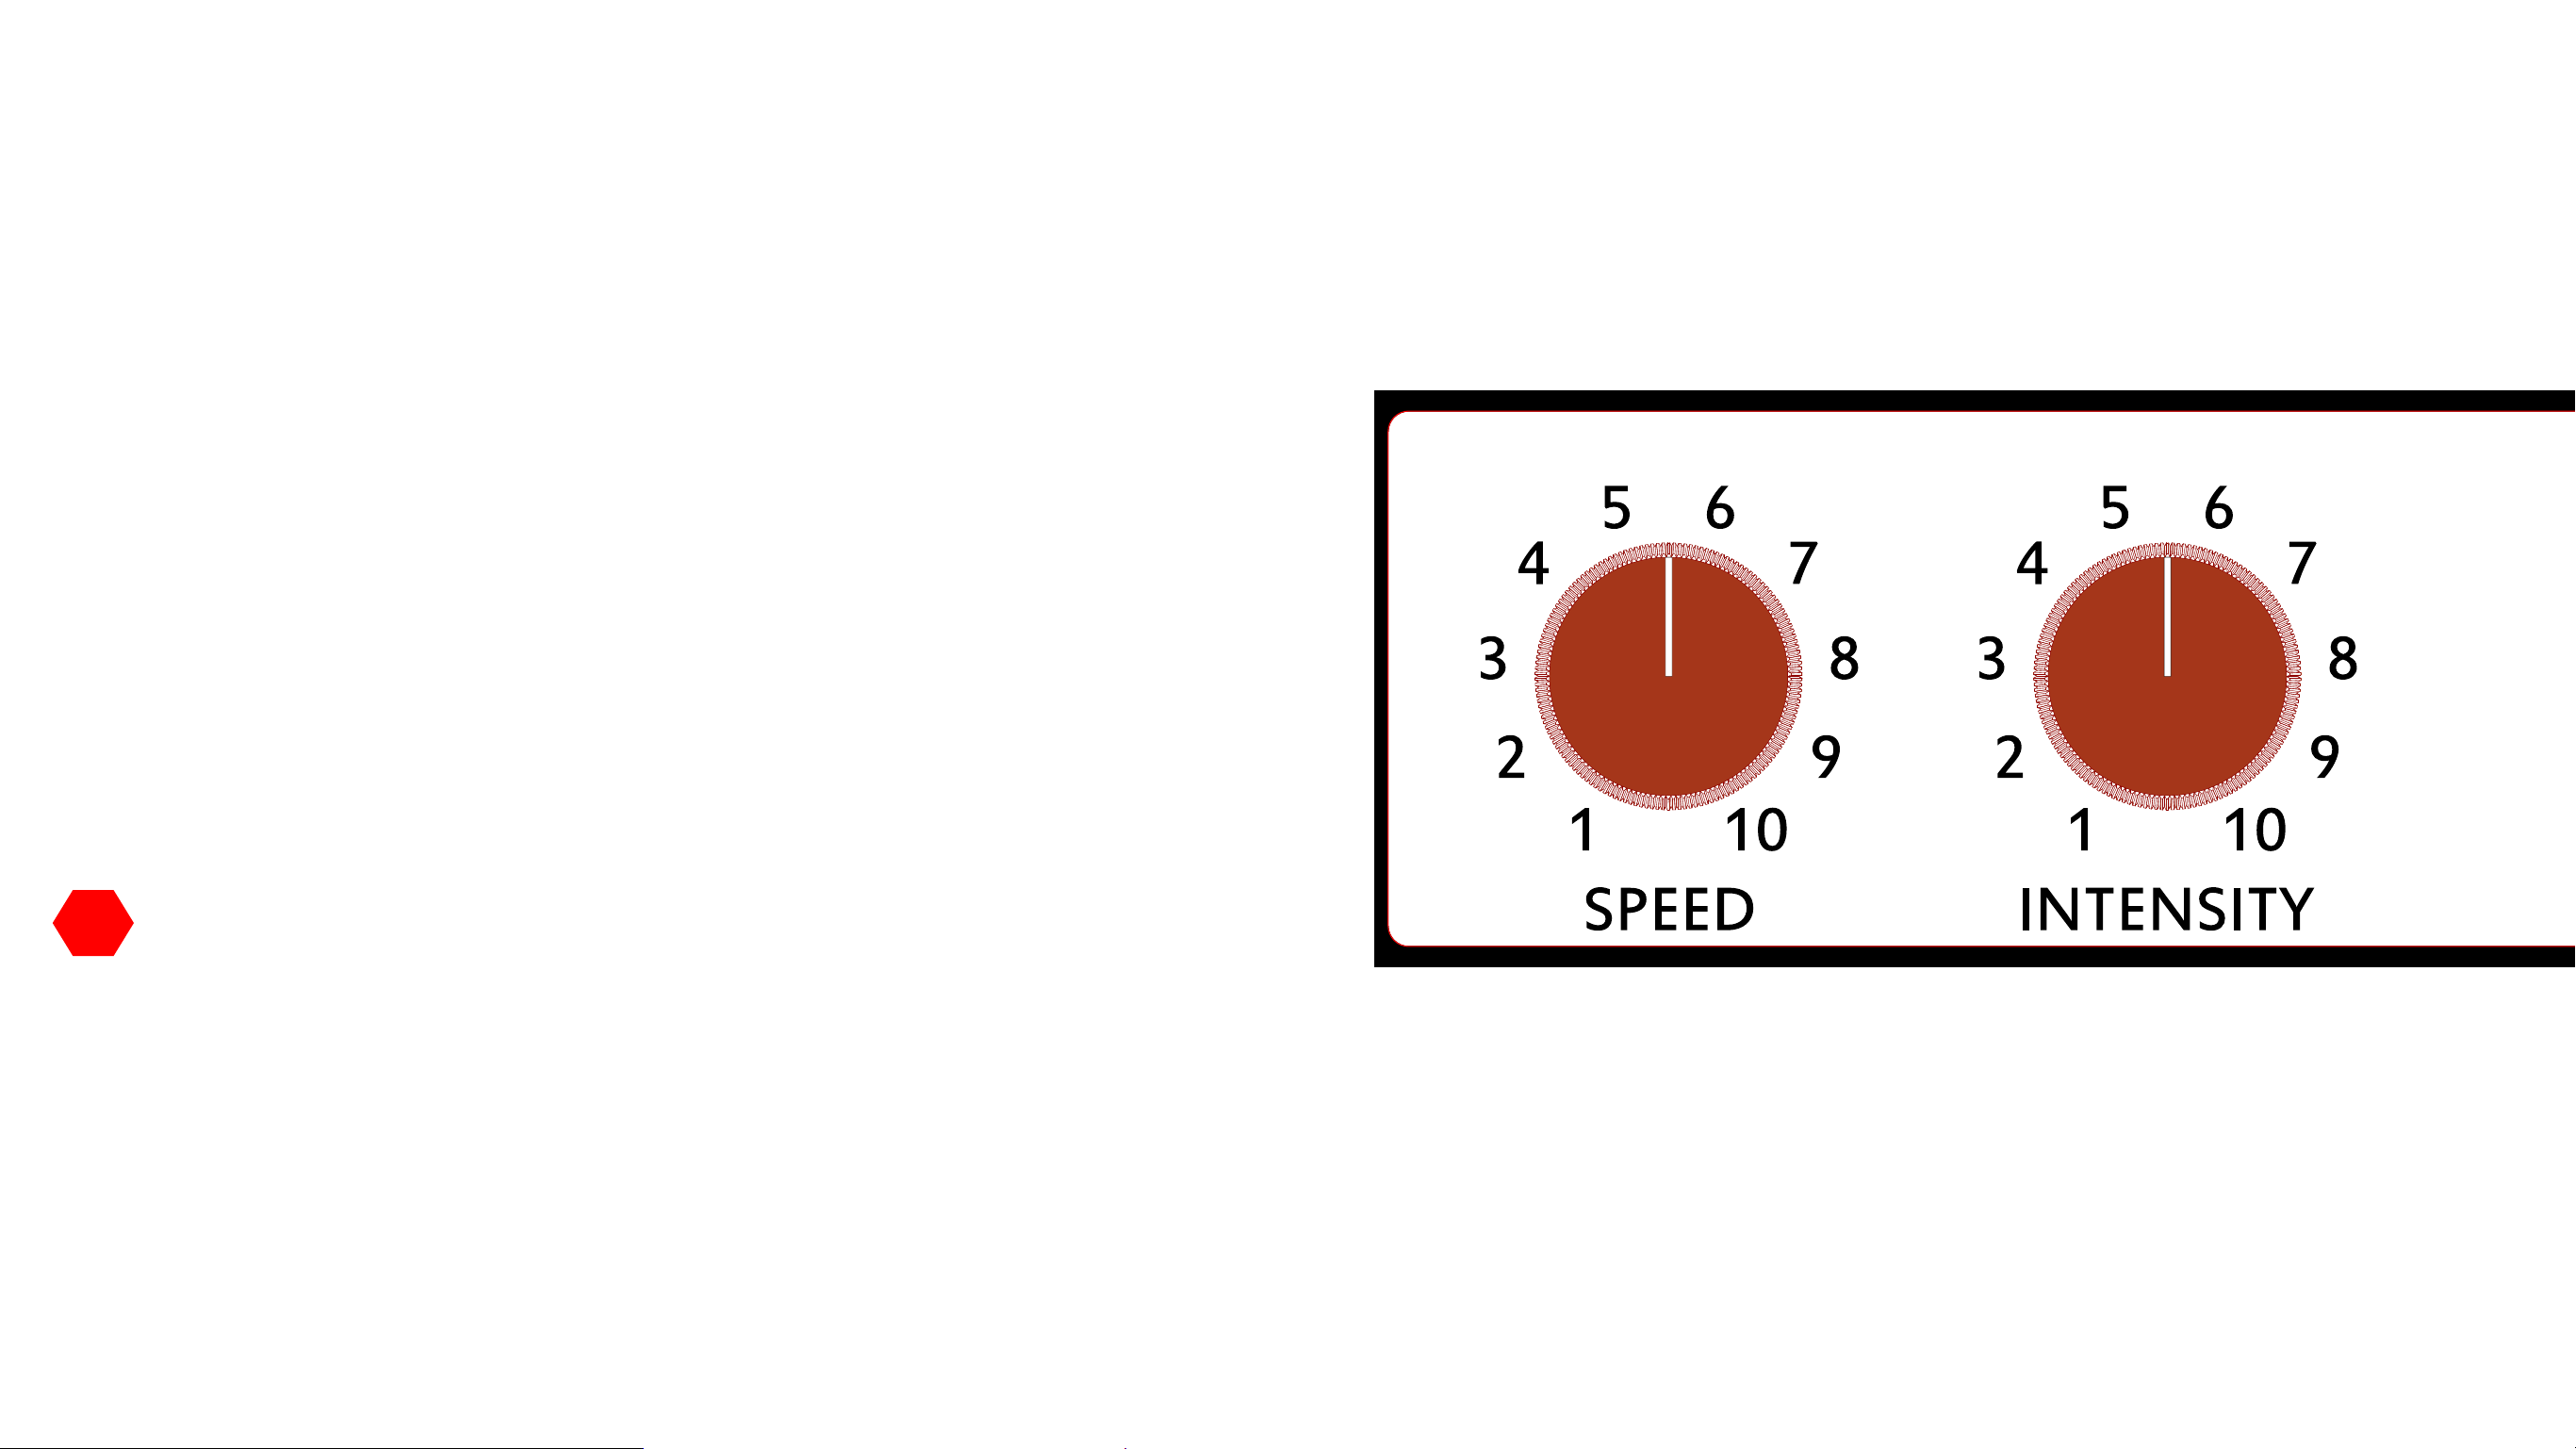
ume, Bright Channel Tone, Tremolo Speed, Tremolo Intensity
Back Panel: H.T. Fuse, Mains Fuse, Mains Input, Speaker output, External
Speaker Out, Tremolo Pedal
Speaker Out: 8Ω (safe to operate at 4Ω or 16Ω)
Tubes: 3x 12AX7, Power Section 2x 6V6, Rectier 1x 5AR4
Mains Fuse: T 2.0A 110V-120V T 1.0A 220V-240V
Dimensions: 20.84" W x 18.1" H x 9.52" D
Weight: 33 lbs.
ROHS Compliant: Yes
*All specications subject to change without prior notice
JS Technologies, Inc. (JST) warrants for lifetime from date of purchase by the
initial retail purchaser that this product shall be free from defects in workman-
ship. Electronic components such as capacitors, resistors, lters, transformers,
jacks, and pots are covered for 5 years. Any parts determined defective by JST
within the ve (5) year term shall be repaired or replaced by JST without charge
for parts and labor provided the unit is returned, transportation costs prepaid, to
JS Technologies, Inc., 601 Crane Street, Unit A, Lake Elsinore, CA 92530, or to
such facility authorized by JST. JST will pay shipping costs to return the unit to
its owner. Defects in workmanship will be determined by JST for limited lifetime
coverage�
This warranty does not cover damage caused by accident, misuse, abuse, ne-
glect, unauthorized or improperly performed repairs, alterations, and/or wear
and tear occasioned by use of the product, and does not include any expense
for inconvenience or loss of use while the product is being repaired or replaced.
JST expressly disclaims any liability for consequential damages arising from the
sale, use, or inability to use the product. Any warranty implied by law, includ-
ing any warranty of merchantability or tness, is expressly limited to the one (5)
year warranty term for the parts on our ampliers and electronic products. The
foregoing statements of warranty are exclusive and in lieu of all other remedies.
Workmanship lifetime warranty is limited strictly to the original retailer purchaser
of the instrument registered with JST within 10 days of purchase from an autho-
rized JST dealer or distributor. JST will pay shipping costs to return the unit to its
owner within the mainland U.S.
The above warranty policy only applies to customers in USA. If you are an in-
ternational customer, please check with your distributor and the dealer in your
country for warranty matters. Warranty issues must be handled through your
dealer or distributor. If you are an international customer who purchased (or
plan to purchase) from a US dealer, we can handle warranty matters direct but
you will be responsible for shipping both ways� We encourage international cus-
tomers to purchase through your local distributor or dealer for this reason. Our
international distributors are set up to handle warranty issues in their respective
countries. If you do not have an authorized Suhr dealer in your country, please
contact us direct for further details.

Table of contents
Other Suhr Amplifier manuals

Suhr
Suhr HEDGEHOG 50 User manual

Suhr
Suhr PT-100 SIGNATURE EDITION User manual

Suhr
Suhr CORSO User manual

Suhr
Suhr SL-67 User manual

Suhr
Suhr DUAL BOOST User manual

Suhr
Suhr BELLA User manual

Suhr
Suhr SL-67 MkII HAND WIRED User manual

Suhr
Suhr PT-15 I.R. User manual

Suhr
Suhr SE-100 User manual

Suhr
Suhr SL-68 User manual