1123
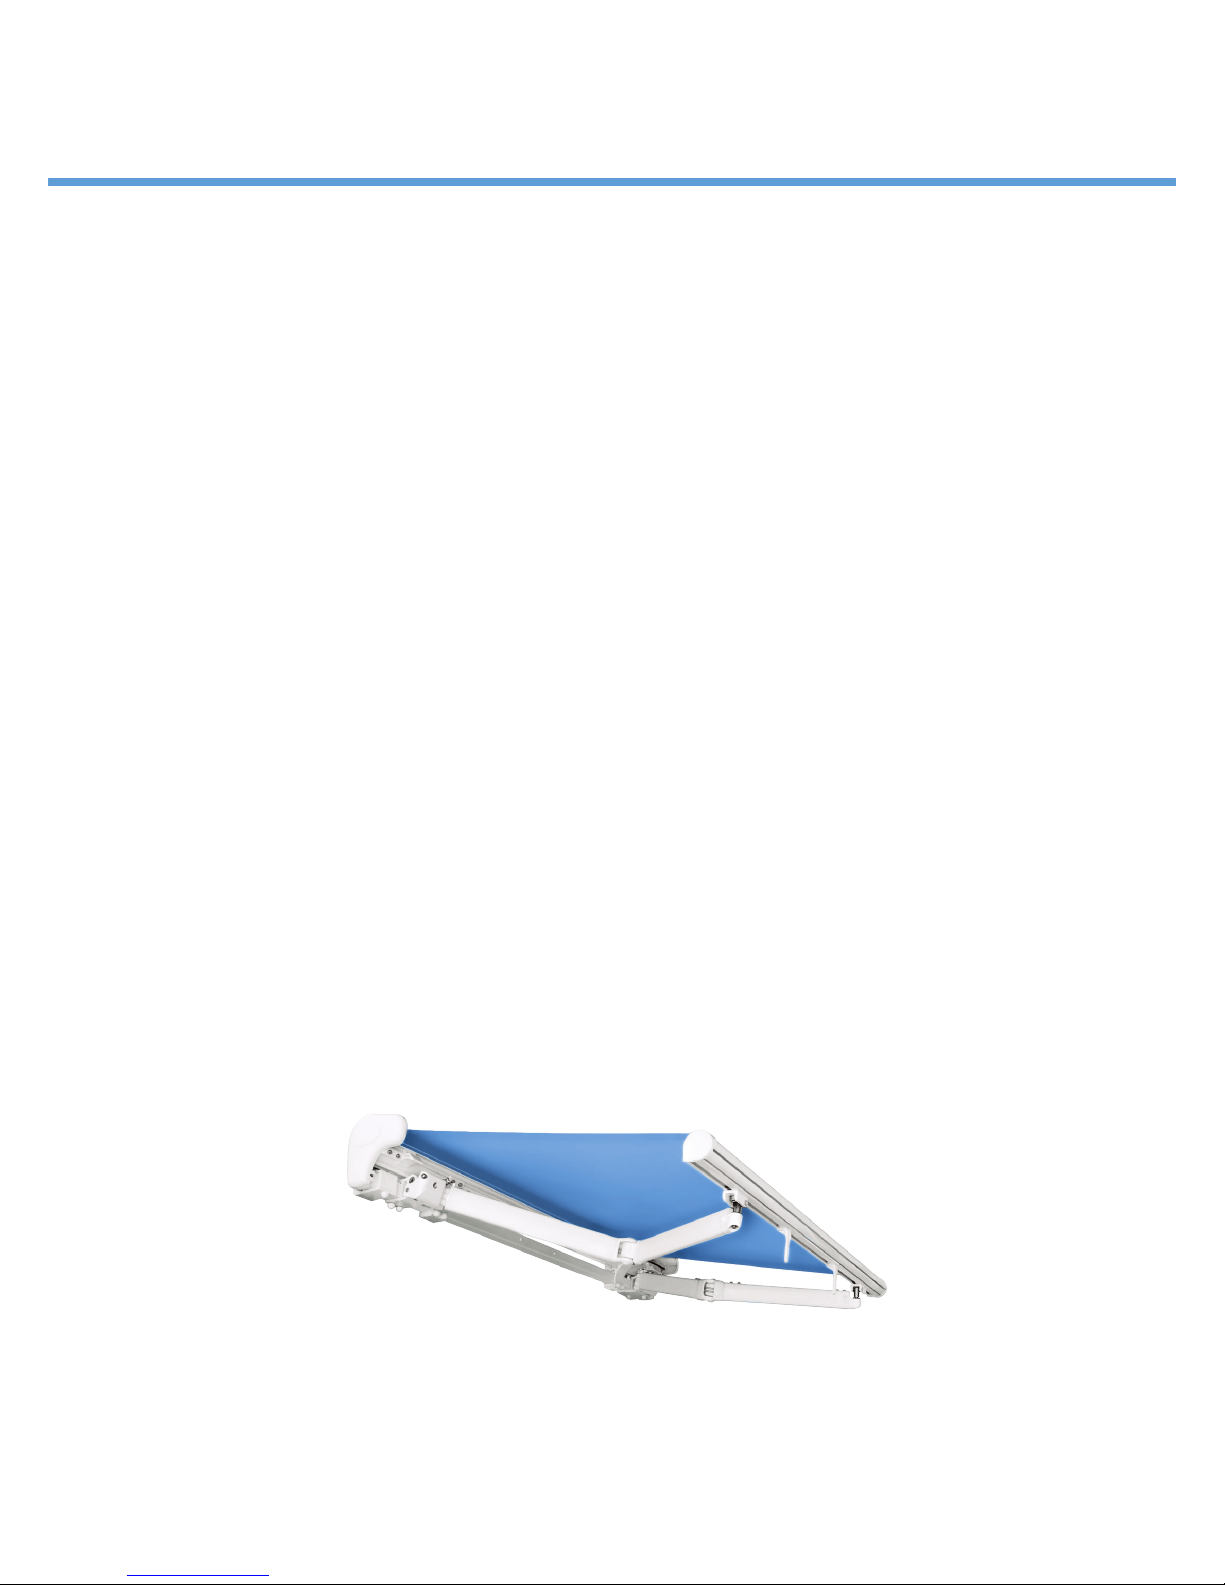
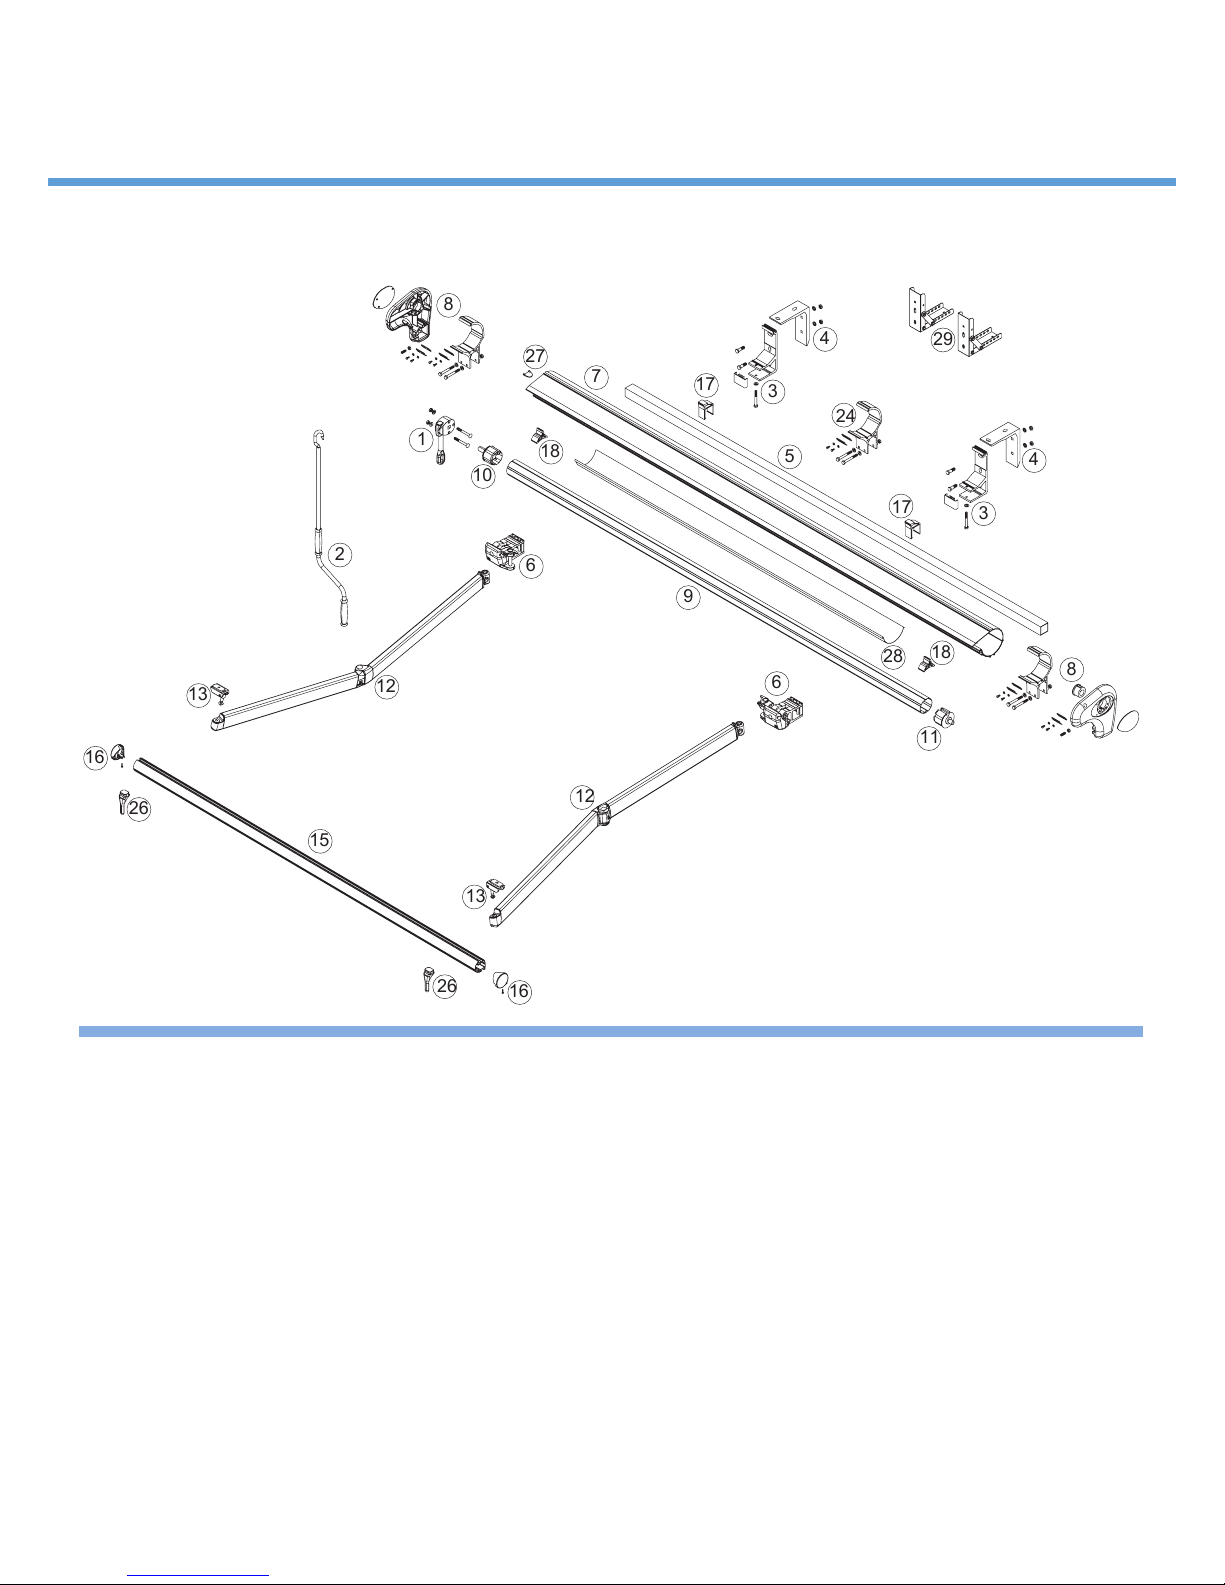
CATALINA SEMI CASSETTE AWNING
44
1.4 - Contents of packaging
The awning is delivered complete with arms, fabric, control (manual or motorized) and any requested optional.
INFORMATION AND PRECAUTIONS
Never move the shoulders from the position in which they are supplied.
2 SAFETY
2.1 - General Safety Information
• During all operations described in this manual, make sure that ONLY individuals involved in the work are in
the work zone (see Chap. 1.2 “Personnel requirements”) .
• Do not set objects on the fabric of the awning.
• IT IS prohibited to stand on or hang from the awning. This would create the risk of severe personal injury, as
well as damaging the awning.
• Wear personal protective equipment and clothing as required by current standards on safety in the workplace.
CAUTION
Installation, adjustment, and special maintenance of the awning must be carried out only by specialized,
skilled technical personnel.
CAUTION
IT IS necessary to ensure a distance of at least 20 INCHES between the end of the fully-opened awning
(outermost part) and any xed obstacle (wall, terrace, etc.).
CAUTION
IT IS prohibited to install or place ladders or other objects near the awning, as this would reduce the space
required for installation.
CAUTION
Never loosen the awning more than the tension in the arms as there is the risk that the awning return under
the tube and be ruined.
2.2 Requirements for working in safety
• Before use, check that all temporary structures (scaffolding, ladders, etc.) and all individual safety gear
(harnesses, belts, etc.) are compliant with standards and in good condition.
• Do not set objects on the fabric of the awning.
• Always use suitable individual protection gear.
• If there is more than one installation technician, their work must be coordinated.
• Operators must work in compliance with the safety instructions given to them.
• If the awning is to be installed above ground level, the area underneath the awning must be marked off and
guarded so that no one can get underneath the hanging load.
• Firmly tie the ropes or straps around the arm supports so that it does not slip and risk falling.
2.3 Working environment
• Installation and special maintenance must be carried out in a place that is sufciently illuminated (based on
specic standards) by either natural or articial lighting. The operator must have a clear view of the work to
be performed, and he must also prevent third persons from approaching the work area around the awning.
Installation Manual