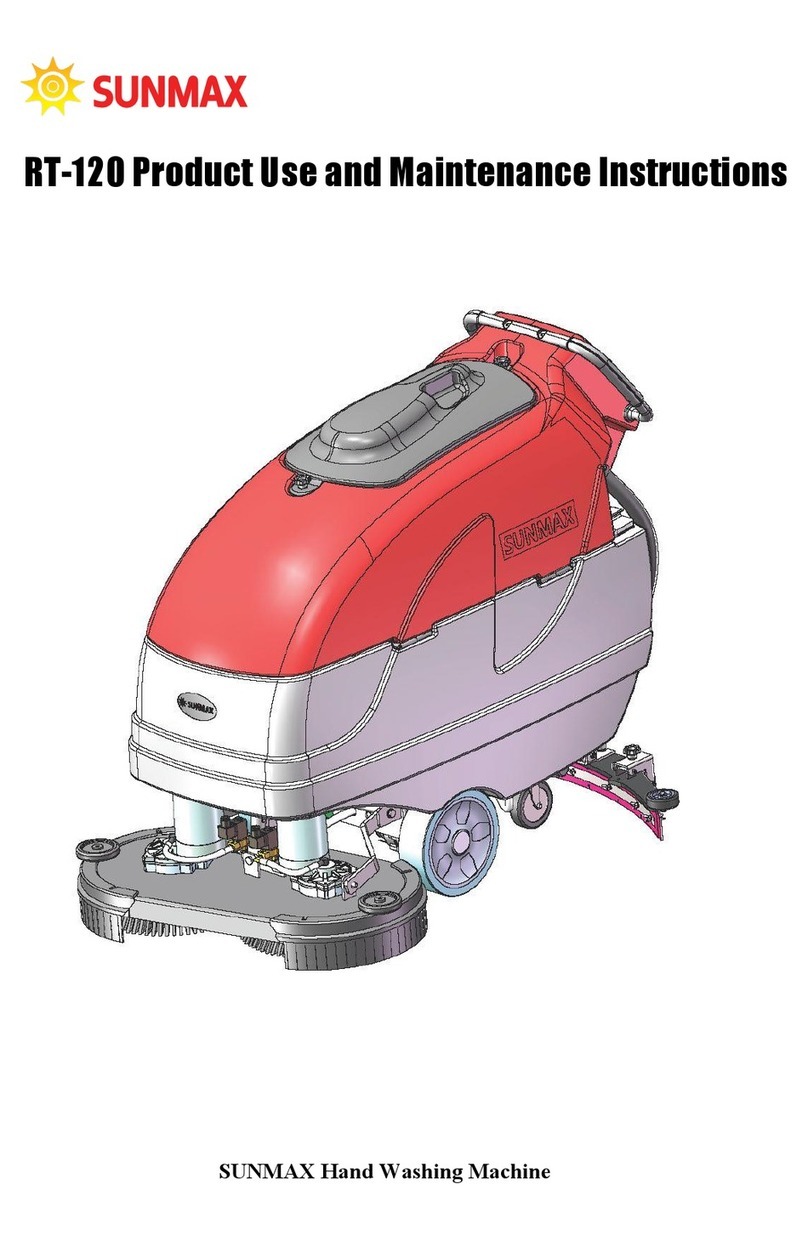
Sunmax RT-50D User manual

RT-50D Self-Propelled Battery
Powered Automatic Floor
Scrubber


Content
Safety Precautions......................................................................................
3
For industrial and commercial use .............................................................. 3
Please read all instructions before using the machine................................ 3
1. Machine assembly drawing..................................................................... 4
2. Control panel........................................................................................... 4
3. Squeegee release handle ....................................................................... 4
4. Brush lifting pedal....................................................................................4
5. Drive motor..............................................................................................4
6. Squeegee handle .................................................................................... 4
7. Squeegee................................................................................................ 4
8 Machine parameters................................................................................. 4
Battery installation....................................................................................... 5
Battery charge............................................................................................. 5
Squeegee installation.................................................................................. 5
Needle seat and brush installation ..............................................................5
Fill water tank ..............................................................................................5
Machine operating instructions.................................................................... 6
The “open” and “close” of suction motor ..................................................... 6
The lift and fall of cleaning unit.................................................................... 6
Water tank flow setting/ clean and replace filter.......................................... 6
Operation of the machine............................................................................7
Maintenance................................................................................................ 7
Wheel bracket assembly.............................................................................8
Control panel assembly............................................................................... 8
Suction motor assembly.............................................................................. 9
Floating head assembly .............................................................................. 9
Lifting assembly...........................................................................................10
Squeegee assembly...................................................................................10
Squeegee lifting assembly .........................................................................11
Vacuum hose assembly.............................................................................12
Drain pipe assembly...................................................................................12
Troubleshooting.......................................................................................... 13

Safety Precautions
For industrial and
commercial use
Please read all instructions
before using the machine
•For indoor use only. Do not expose the machine in rain
•Do not regard the machine as a toy. Be careful when children are around during operation.
•Please use the machine according to the instructions in this manual.
•Please use the accessories recommended by the manufacturer.
•
Please charge the battery in a ventilated place. The gas released during charging may ignite in a
narrow space. To avoid explosion, please open the top cover and ensure the battery cover is in place
when charging.
•
Before adjusting or repairing the machine, disconnect all positive and negative battery terminals.
The accidental starting of traction motors, suction motors and electrical components may cause
personal injury.
•Battery acid can cause eye or skin damage. Before installing or charging the battery, please wear
goggles, gloves, and protective clothing.
•If the charger does not work properly (due to being dropped, damaged, placed outside the house or
soaked in water), please return it to the after-sales service center.
•Do not pull the plug or touch the machine with wet hands.
•Do not put any objects into the machine port, keep it unblocked.
•Keep the machine away from dust, thread residues, hair and anything that may reduce airflow.
•Keep hair, loose clothing, fingers and any other body parts away from machine openings and
moving parts.
•Make sure the main power switch is turned off before removing the mounting brush and brush
connectors.
•Do not operate the machine if you are tired, drunk or taking drugs.
•Please operate behind the machine.
•Be careful when using electrical terminals as short circuit may cause burns.
•Do not put the machine on the slope.
•Keep the machine away from flammable liquid or gas, otherwise it will cause explosion or flash fire.
•Make sure all safety devices are in place and operated correctly before starting the machine.
•When leaving or repairing the machine, put the machine on a flat ground, turn off it and take out the
key.
•When repairing the machine, please use the parts supplied or approved by the manufacturer.
•Do not modify the original design of the machine.
3

g.Key switch
h.Forward/ stop/ reverse switch 10. Liquid level display pipe
11. Filter assembly
19. Drain pipe
20. Squeegee pipe
3. Squeegee lifting handle 12. Drive motor 21. Vacuum hose
4. Brush lifting pedal 13. Drive wheel 22. Measuring cap
5. Fender wheel 14. Brush
6. Squeegee mounting handle 15. Brush cover
7. Squeegee 16. Water tank
8. Squeegee angle regulating button 17. Water tank inlet
9. Battery` 18. Sewage tank
PRODUCT INFO
a b
c
d e f g h
1. Handle
2. Control panel
a.Speed control button
b.Power display
c.Timer
d.Sewage suction
motor switch
e.Brush switch
f.Water switch
Machine assembly drawing
4

Daily operation and maintenance
Battery installation
Warning: battery is heavy.
Install 2 12V maintenance-free batteries. The new battery shall be fully charged before first use, and can be fully charged
and discharged for 5 times.
1. Remove soft pipes (20, 21) form water tank (19).
2. Make sure the sewage tank is empty, and then lift it up.
3. Put battery on the pallet in place.
4. Connect all cables.
Warning: make sure the red terminal (+) is connected to positive pole (+), and black terminal (-) is
connected to the negative pole (-). If the connection is wrong, the machine will not work.
Failure to follow the above rules will result in battery damage and a risk of explosion. Add protective
lubricant on the battery electric pile and place the terminal protection device on all electric piles.
Battery charge
Warning: only use the battery charger designed for this machine,
otherwise it may cause battery damage.
Remove the sewage tank from the machine, and unplug the control panel. Then
connect the charger plug to the power plug of the battery terminal. Plug the other
end of the charger into the wall socket, the charger will automatically charge the
battery.
Squeegee installation
1. Push the squeegee release handle (3) up to locked position.
2. Put the squeegee assembly on the rotating arm, ensure that the guide wheel
is facing the rear end of the squeegee.
3. Tighten 2 squeegee mounting handles (6).
4. Insert the
squeegee pipe
(20) in the middle outlet of
squeegee,
make sure it fits tightly.
Needle seat and brush installation
1. Step on the brush lifting pedal (4) at the back of the machine to lift the brush mat.
2. When the needle seat/ brush (14) is lifted, insert it into the lower metal plate, rotate the
brush counterclockwise until it is locked.
Fill water tank
Note: please use a low-foaming detergent. To avoid a lot of foam, inject a little defoaming solvent before
cleaning. Do not use pure acids
Excessive foam can damage the suction motor, be sure to add the minimum amount of detergent
1. Open water tank cover (17).
2. Add required water into the tank (16), the water temperature shall not exceed 50℃, the max capacity of the water tank
is 50L.
3. Add cleaning chemicals without oxidizing agents, chlorine or bromine, formaldehyde, or mineral fluxes, such as acid or
alkaline cleaners.
5

1. Open the power (g), turn the key switch to the right to horizontal position. The power/battery indicator (b) pointer swings to the current
power position.
2. Check (b) whether the battery is fully charged; when the battery is fully charged, the pointer will point to the far right.
3. Step on the cleaning unit pedal (3) to lower the cleaning unit (10).
4. Start roller brush motor (e), suction motor (d), water tank switch (f).
5. Turn the speed knob (a) left to the minimum position, turn the forward switch (h) to the top, and slowly turn the speed knob (a) to
choose different walking speed according to the thickness of the carpet, and achieve the ideal cleaning effect.
The “open” and “close” of suction motor
1. Press the (I) of switch (d) to start suction motor.
2. To close suction motor, press (O) of switch (d).
T
he lift and fall of cleaning unit
1. Step on the brush pedal (3) to lift brush/ needle seat until
it is locked.
2. Step on the brush pedal (3) to unlock it, and slowly lift it up to lower
the brush.
Water tank flow setting/ clean and replace filter
Adjust water flow rate according to floor condition. Turn regulation knob (25) to control water flow. OFF shows the closed position. ON
shows the maximum water level.Clean the dirt in the filter (26) regularly according to the usage frequency (clean once every 1-3
days is recommended), and rotate to disassemble according to the direction of the arrow. Filter body (k), filter (L), sealing ring
(m), plug (n)
26
25
3
Machine operating instructions
6

4
1
3
2
Basic operation
1.
Before unpack the machine, please remove the fasteners and ropes fixed to the packing case first. Place the
uninstalled parts behind the machine, lift the cleaning unit, and remove the equipment with proper handling
tools.
2. Unpack the machine and connect the battery’s main power cable, refer to Figure 7-1
Preparation before operation
1. Add water into water tank, and add proper amount of detergent as required.
2. Add proper amount of defoaming solvent into sewage tank.
3. Turn on key switch, and operate according to machine operating instructions.
Empty sewage tank
1.
Open drain pipe (13) to empty sewage tank (14), and clean the sewage tank with clean water to prevent dirt
from accumulating for a long time and blocking the drain pipe.
Daily maintenance
1. Flush and empty the tank with clean water. Open the tank cover and let it dry.
2. Remove the wiper assembly, flush and wipe clean. Check if the inlet of the wiper for blockage or debris.
3. Clean and wipe the top of the battery with an ammoniated glass detergent.
4. each battery with distilled water as required. Do not use tap water. No filling is required for maintenance-free.
5. Charge the battery as the instructions in this manual.
6
5
Weekly maintenance
Do not test the strength of a battery unless it is fully charged and cooled.
Test the battery with a hydrometer.
Turn off the power and remove the key before
maintenance
1. Lubricate brush plate and wiper lifting device
with low viscosity oil.
2. Check if roller brush, wheel of synchronous belt,
gasket of synchronous belt are worn or damaged.
3. Clean all the cable terminals.
4. Check all electrical connections and tighten
them if they are loose.
5. Use multi-purpose detergent to clean the entire
machine.
Figure 7-1 Battery main power wiring
diagram
6. Regularly check if roller brush and its
squeegee for debris entanglement or
blockage.
Monthly maintenance
Maintenance
Operation of the machine
7

Wheel bracket assembly
Control panel assembly
No.
Description QTY
4
Bolt
6
5Control panel 1
6Screw 4
No.
Description QTY
1Control box 1
2
Nut
6
3Key switch assembly 1
No.
Description
QT
1
Battery tray
1
2
Base plate
1
3
Water filter assembly
1
4, 12
Drive wheel
2
5, 11
Bearing seat
2
6, 10
Bearing
2
7, 9 Drive shaft 2
8
Drive motor
1
13, 14, 15
Squeegee
t
1
16
Squeegee bracket
1
17
Squeegee
1
18, 19
Hand wheel
2
8

Suction motor assembly
Floating head assembly
No.
De scription
QTY
1
Top cover
1
2Sealing ring
1
3Matching grid
1
4Screw
3
5Filter
1
6Gasket
1
7
Cap
1
8Floating head
1
9Tank
1
10 Screw
1
11 Soft pipe
1
12 Pipe connector
1
13 Sleeve
1
No.
De scription
QTY
9Silencer 1
10 Foam 2
11
Core
1
12 Screw 2
13 Bolt 4
14 Bolt 4
No.
De scription
QTY
1Adaptor 1
2Bracket 1
3
Connecting bolt
3
4Gasket 1
5
Suction motor
1
6
Nut
3
7Soft pipe 1
8Sleeve 1
9

.
Lifting assembly
No.
Description
QTY
1Lifting bar
1
2
Gasket
2
3
Pin
2
4
Eccentric
sleeve
2
5Gasket
2
6Screw
2
7
Nut
2
8Panel cap 1
9Panel 1
10
Spring pin
1
11
Bolt
2
12
Pin shaft 1
13
Gasket
1
14
Split pin 1
15
Bar
1
16
Nut
2
17 Pin shaft
1
Squeegee assembly
Check whether the main switch is at “O” position. Warning: during maintenance, please power off the
machine, and remove the key.
Select the butterfly nut in the horizontal position.
Remove the rubber fastener nuts (6, 7).
Remove rubber (4), and replace it.
Warning: please wear gloves to avoid
direct contact with dangerous liquid.
Replace squeegee rubber strip
If the rear wheel of squeegee is worn, and cannot dry the floor, one of the four edges of the rubber is broken,
please replace. In such case, please remove and replace the squeegee in the following steps:
Loosen nut (6), disconnect squeegee.
Warning: during maintenance, please
power off the machine, and remove the key.
Select the butterfly nut in the horizontal position
Remove rubber (5), and replace it.
Adjust squeegee height according to the rubber
(please refer to “Adjust Squeegee Supporting Part Height”)
Warning: please wear gloves to avoid direct contact with dangerous liquid.
10

Squeegee lifting assembly
No.
Description
QTY
1
Bolt
1
2
Left guard plate
1
3
Hose
1
4
Handle 1
5Right guard plate
1
6Screw 2
7Gasket
1
8
Screw 1
9
Nut
1
10 Pad 3
11
Rope
assembly
1
12
Ring
1
13
Nut
1
14
Balance frame
1
15 Shaft 1
16
Cotter pin
1
17
Gasket 1
18
Pin shaft
1
19
Regulating nut
1
20 Supporting arm
1
21
Supporting arm
1
22
Nut
1
23
Gasket
1
24 Spring 1
25
Screw rod
1
26
Cotter pin
1
27 Gasket 1
28 Pin shaft 1
29 Regulating bolt 1
30 Regulating device 1
31 Spring pin
1
11

Vacuum hose assembly
Drain pipe assembly
Water tank assembly
3
1
2
4
5
No.
Description
QTY
Vacuum hose assembly
1
Soft hose
1
2
Bolt
3
3
Water inlet
1
4
Gasket
1
Dain pipe assembly
1
Darin pipe assembly
1
2
Hose clip
1
3
Screw
1
4
Hose clip
2
5
Screw
2
Water tank assembly
1
Water tank
1
2
Measuring cup
1
3
Inlet plug
1
4
Adaptor
2
5Water level pipe
1
12

Fault
Possible cause:
No detergent or detergent
is uneven, cleaning effect
is not ideal
Suction motor does not work
Filter is blocked
Sewage tank is full
Wiper or soft pipe are blocked, damaged or connected poorly
Sealing of water tank cap, suction motor, wiper is poor
Wiper pressure is inaccurate
Wiper arm does not work smoothly
Squeegee does not work
There is debris on the squeegee inlet
The bolts of squeegee are loose
The floor is not swept before cleaning
Fail to start or stop
cleaning
Soft or valve are blocked
The battery can’t be
charged
The battery needs to be replaced
High voltage suction disc leads to high battery current
The charger needs to be repaired
The battery runs out
The floor is not polished
and dirt is not sucked up
Suction motor does not work
Wear caused by excessive use of suction cu or pin seat
Clean the floor too fast
Insufficient supply of detergent
Poor cleaning
13


Other manuals for RT-50D
1
Table of contents
Other Sunmax Scrubber manuals
Popular Scrubber manuals by other brands

M-system
M-system Mini-M M2FL instruction manual

Kärcher
Kärcher KM 130/300 R LPG Original instructions

Cleanfix
Cleanfix Sparrow Safety, operation & maintenance manual

Nilfisk-Advance
Nilfisk-Advance Advance Retriever 6250 Instructions for use

CDA
CDA EVX110 Installation, use and maintenance

bora
bora CKAS Mounting and installation instructions