The charger should be matched with the alternating voltage of local power supply before connecting charger.
Traffic safety
Instruction
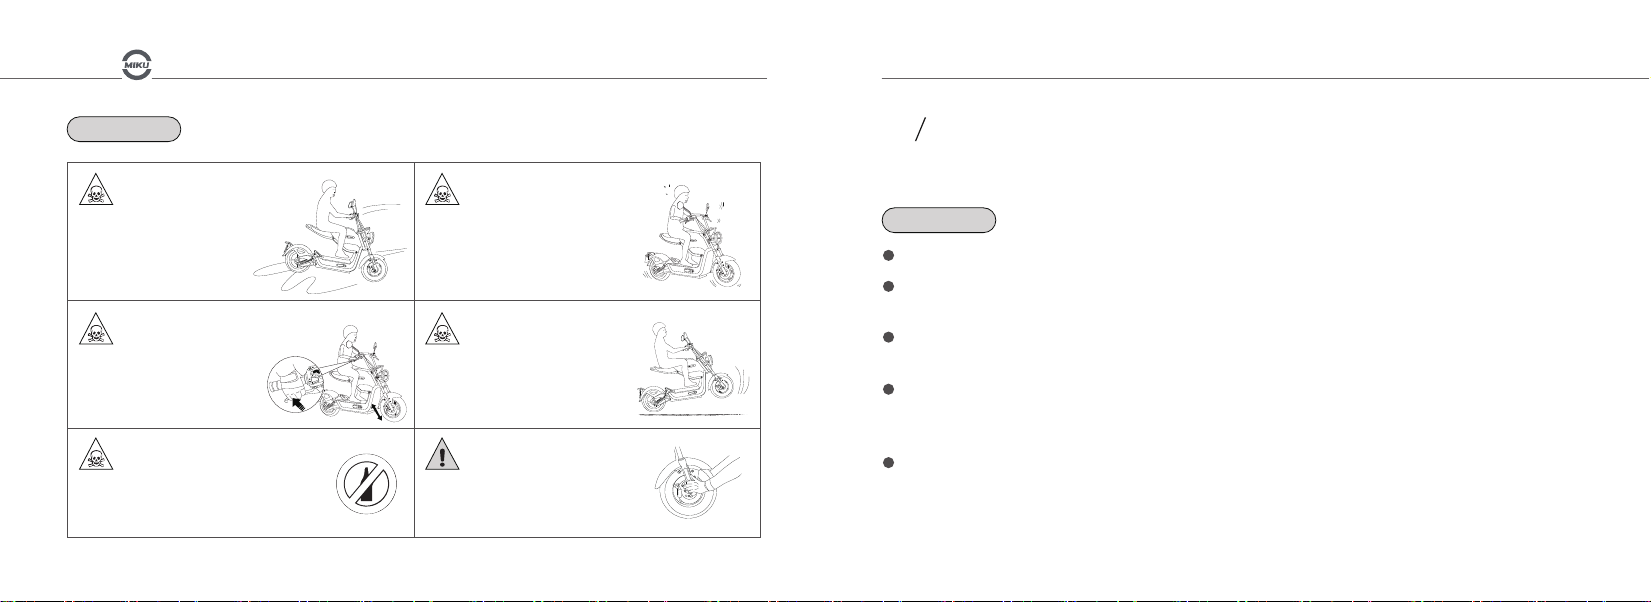
Use extreme caution when riding
on wet, slippery, rough, or sloped
terrain. There is an increased risk
of loss of control, which can
result in injury,death, and/or
property damage.
Stop the scooter and shut off the motor
immediately if the scooter makes unusual
noises or vibrations. Check the
scooter for damage. Excessive
noise or vibration is a sign
of loose or worn parts.
Never operate scooter while under the
influence of alcohol, drugs or medication
of any kind. Such operation is dangerous
to yourself and/or others and may be
illegal in your location.
Use extreme caution when riding on
wet, slippery, rough, or sloped terrain.
There is an increased risk of loss of
control, which can result in injury,
death, and/or property damage.
Never use this scooter to perform
any type of racing, stunt riding,
jumps, spin-outs, donuts, or
other maneuvers. You could
kill or injure yourself or others
and/or cause property damage.
Check tire pressure before operating
the scooter using a property
calibrated tire air pressure gauge.
DESIGNED BY MIKU TEAM
DESIGNED BY MIKU TEAM
03/04
The manual of smart chip charger
03
1
The charger is designed and tested for original battery from manufacturer. Do not use them for the other
mismatching batteries.
2
The charger is tested and matched with its scooter. If the charger is used on other scooter, it might make different
charging effect and/or cause battery damage.
3
Please connect charger and scooter before connect to local power supply, while you are going to charge the
battery. Please disconnect the charger from local power supply while the battery is fully charged. Don’t
disconnect charger and scooter while the charger is connected with local power supply for safety reason.
4
Do not violently shake the charger. It might cause damage of the charger.
5