Sunset Healthcare NEB400 User manual

Instruction Manual
Mini Mesh Nebulizer
NEB400
Rx only

1.1 Introduction and Warranty.....................................................................................1
1.2 Contents of the Mini Mesh Nebulizer Package....................................................2
1.3 Intended Use ...........................................................................................................3
1.4 Safety Precautions ..................................................................................................4
1.5 Classication and Explanation of Symbols...........................................................6
1.6 Components.............................................................................................................7
Table of Contents
1. Before Using the Device
2. Correct Use of the Unit
3. Correct Cleaning and Disinfection Procedure
4. Troubleshooting and Specifications
2.1 Operating with Batteries or USB Cord....................................................................9
2.2 How to Insert or Replace the Batteries...............................................................11
2.3 How to Connect the Power Adapter to Nebulizer..............................................13
2.4 How to Assemble the Unit and Fill the Medication Cup....................................15
2.5 How to Select the Nebulization Mode.................................................................17
2.6 How to Inhale with the Mini Mesh Nebulizer.....................................................17
3.1 How to Clean the Unit after Each Use..................................................................19
3.2 How to Disinfect the Unit......................................................................................21
4.1 Troubleshooting......................................................................................................22
4.2 Technical Data.........................................................................................................24
4.3 Electromagnetic Compatibility Data.....................................................................28

1
1. Before Using the Device
Thank you for purchasing the Sunset NEB400 Mini Mesh Nebulizer.
Before using the nebulizer for the rst time, please read the instructions
thoroughly and use it correctly. To further understand the device and suitable
medications, please be sure to follow a doctor’s instruction. Additional
questions can be directly addressed to your place of purchase/local supplier.
The Mini Mesh Nebulizer can be powered by two AA alkaline batteries or
USB cord.
Caution: Federal law restricts this device to sale by or on the order of
a physician
ONE YEAR LIMITED WARRANTY
Sunset Healthcare Solutions offers a limited 1-year warranty on the Mini Mesh
Nebulizer unit to be free from defects in material and workmanship under
normal use and operation for a period of 1 year from date of original retail
purchase. This warranty does not extend to failures resulting from accidental
damage, misuse, negligence, abuse, alteration, or improper operation. This
warranty does not extend to non-durable components which are subject to
normal wear and need periodic replacement nor does this warranty extend
to hospital or clinic use. All items returned must be properly packaged and
shipped in a manner to avoid shipping damage at the purchaser’s expense.
DO NOT return any product(s) or part(s) to Sunset Healthcare Solutions
without prior consent. For replacement under warranty, please call:
1-877-578-6738 (Monday to Friday, 9 am to 5 pm CST).
1.1 Introduction

2
The following items are contained in the package. Please check all parts for
visible damage. Replace any damaged parts before use. In the case of missing
parts, malfunction, or damage, please contact your local dealer/place of
purchase.
Check before use
1. Main unit
4. Instruction manual
7. Adult mask
NEB400-MASKA
5. Bag
8. Pediatric mask
NEB400-MASKP
NEB400-CUP
2. Medication cup 3. USB cord
6. Mouthpiece
NEB400-MP
1.2 Contents of the Mini Mesh Nebulizer Package
Instruction Manual
Mini Mesh Nebulizer
NEB400

3
Note
To order replacement part (medication cup) or accessories, please
contact your local supplier.
Information regarding serial number can be obtained by reading or
scanning QR code on the main unit.
The Mini Mesh Nebulizer is an ultrasonic vibrating mesh nebulizer system
designed to aerosolize physician-prescribed liquid medications for
inhalation to a patient except for Pentamidine. The device may be used
with patients 5 years and older in the home, hospital, and sub-acute care
settings.
1.3 Intended Use
**Please replace parts in the following situations:
• After using the main unit for 2 years.
• After using the medication cup for 1 year.
Medication cup should be inspected after each cleaning for physical
damage, cracks or leaks.
If medicine cup is not in good condition after inspection or takes longer
than 10 minutes to deliver 2mL of mediction, it should be replaced.
Warning
Do not use the device where it may be exposed to ammable gas.

4
WARNINGS
• The nebulizer is intended for aerosolizing respiratory medication and only doctor’s prescribed
medication can be used. The manufacturer cannot be held liable for any damage caused by
improper or incorrect use.
• To reduce the spread of infectious diseases, do not share the nebulizer, it is intended to be
used by a single user.
• Device needs to be cleaned and disinfected in accordance with the user manual to avoid
possible contamination.
• Do not operate the device if any of the parts are damaged or a fault is suspected.
• Do not connect nebulizer with other medical ventilation systems to avoid possible damage.
• Adult supervision is required when device is used by children and individuals who require
special assistance.
• Do not remove medication cup during nebulization to avoid possible electrical shock by
accidentally contacting the electrodes.
• Do not connect the adapter to the AC outlet under the following circumstances to avoid
possible electrical shock:
- when malfunction occurs during operation
- when cleaning and disinfecting the device
- when nebulizer is not used
• Do not expose the main unit or adapter to water in order to avoid malfunction or electrical
shock.
• Do not pull the cable of power adapter for disconnecting from the AC outlet.
To ensure safe and effective use of the nebulizer, please read the instruction
manual carefully before using.
1.4 Safety Precautions

5
CAUTIONS
• Clean the nebulizer before rst use, after each use and after extended storage to avoid
unwanted contamination.
• Clean and disinfect the mesh in accordance with the user manual to avoid possible damage.
• Operational temperature should be kept within 10 ~ 40°C / 50 ~ 104°F to avoid damaging
the device.
• Storage temperature should be kept within -20 ~ 70°C / -68 ~ 158°F to avoid damaging the
device.
• Do not drop the device to avoid potential malfunction.
• Do not poke mesh module. The device may be broken.
• Do not modify the device in any way to avoid potential damage.
• The device is MRI unsafe, do not use in an MRI environment.
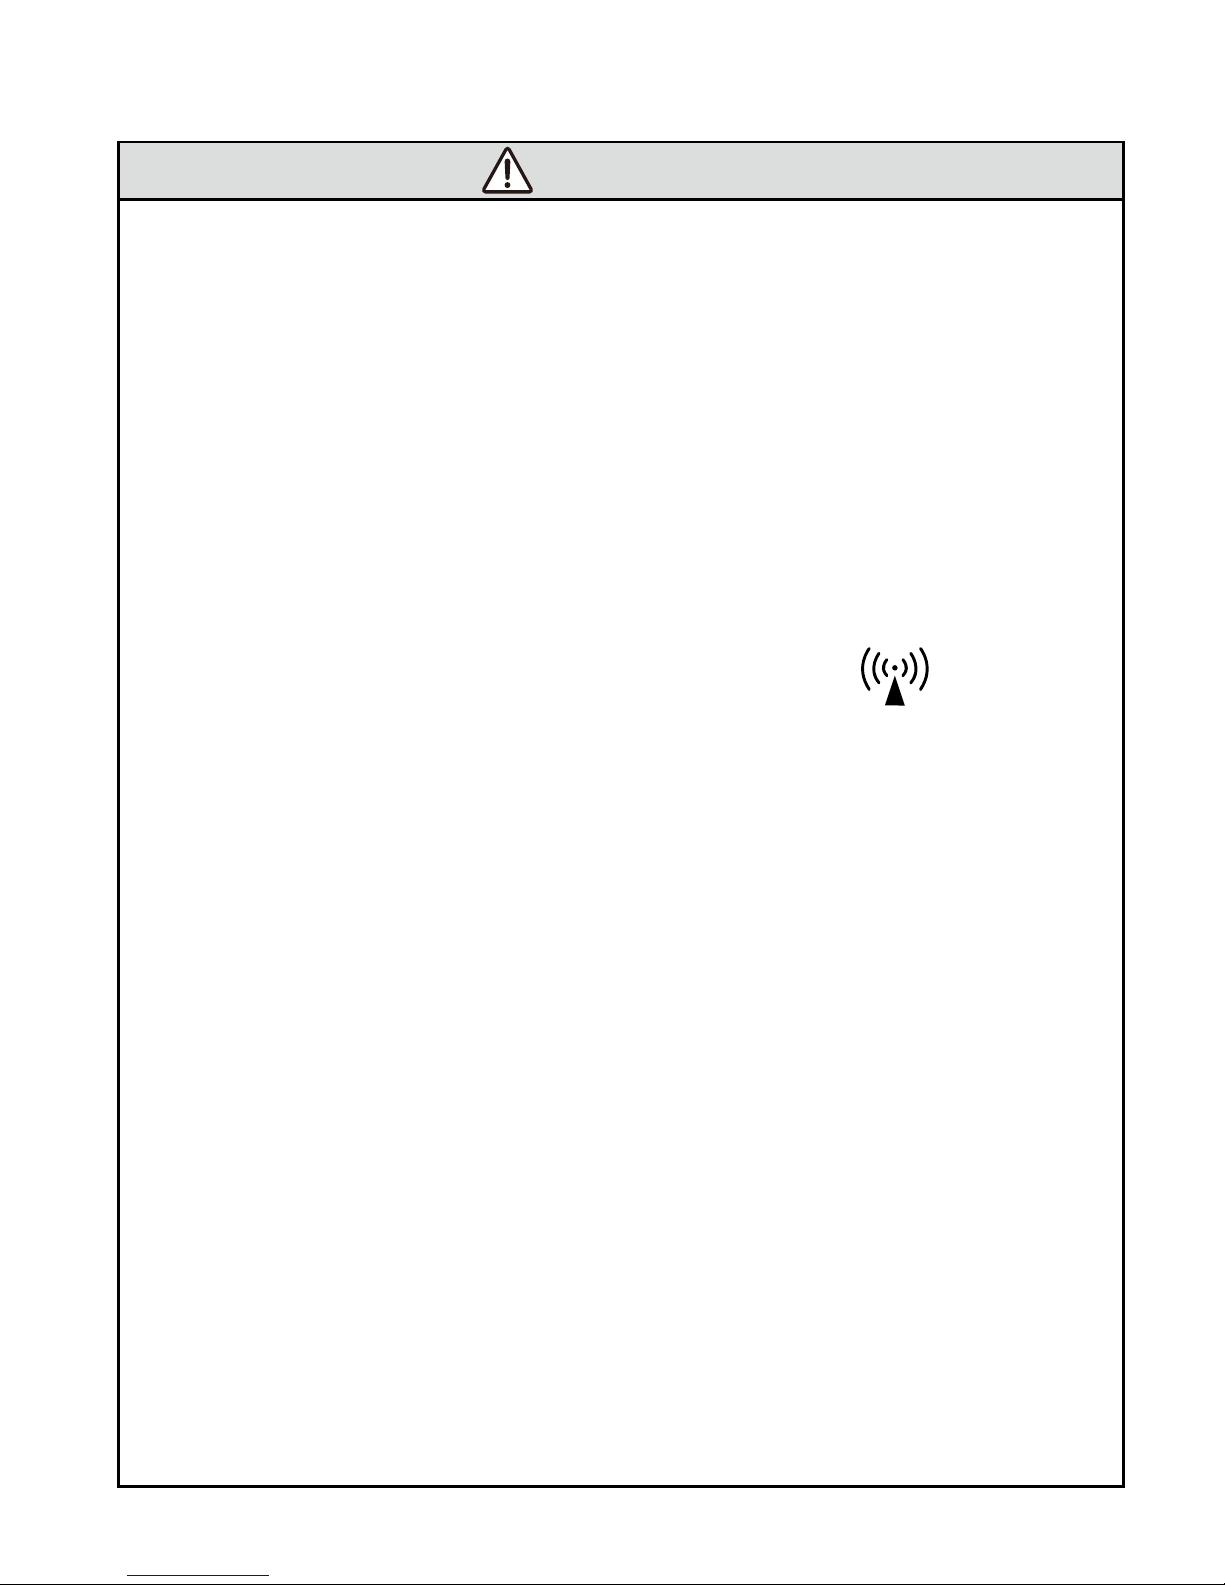
• Interference may occur in the vicinity of equipment with this mark:
• Do not use close to strong electrical or electromagnetic elds. This may result in incorrect
operation and create a potentially unsafe condition.
• Do not turn on the nebulizer when medication cup is empty.
Anti-theft systems and Radio Frequency Identication (RFID) readers are used in a wide
variety of settings, including supermarkets, shopping malls, libraries and hospitals. Metal
detectors for airport and facility security applications can either be portals that a person walks
through, or can be hand-held “wands” that are passed over a person’s body.
Exposure to these systems can result in thedevice turning off automatically. If this occurs,
move away from the system, turn the device off,remove batteries, insert again andthen
turnon. Normal operation should resume.
Patients should take the following precautions:
• Be aware that anti-theft systems and RFID readers in many commercial establishments can
be hidden or camouaged in entrances and exits where they are not readily visible.
• Do not stay near the anti-theft system, RFID reader or metal detector longer than is
necessary and do not lean against them.
• If you are scanned with a hand-held metal detector, advise the security personnel that you
have an electronic medical device and ask them not to hold the metal detector near the
device any longer than is absolutely necessary; or, request an alternate form of personal
search.

6
Symbols Meaning
Caution or Warning, consult accompanying documents
BF type is a degree of protection against electrical shock
(applied part).
Protects against solid foreign objects that are
>12.5 mm in diameter and drops of water falling at up to 15°
from the vertical.
Read the instruction manual carefully.
Serial number
Catalog number
Disposal of Electrical & Electronic Equipment (WEEE): Do not treat
this product as household waste.
Date of manufacture
Name and address of manufacturer
Unsafe for use with magnetic resonance imaging
SN
REF
MR
1.5 Classification and Explanation of Symbols

7
1. Medication cup cap
To be opened when lling the medication or cleaning the cup.
2. Cup
Prescribed nebulizer medication can be lled here by opening the cap
(8 ml/cc).
3. Mouthpiece
To be placed between teeth with lips rmly sealed around it, and to
facilitate inhalation of aerosolized medication.
4. Nebulizing mesh
The module oscillates at high frequency and pushes the medication through
the apertures on mesh.
Do not touch this portion with your ngers or other foreign objects.
Do not attempt to clean with a cotton swab or a pin.
5. Nebulization port
Nebulized medication exits here.
6. Medication cup lock
Medication cup is securely locked into the main unit before nebulization.
1.6 Components
Medication Cup
1
2
3
4
6
6
5
6

8
Main Unit
7. ON/OFF button
8. Electrodes
Connects the main unit with
the nebulizing mesh on
medication cup.
9. Inner latch
Medication cup is securely installed onto the main unit before nebulization.
10. Power indicator
A green light turns on when the power is on.
11. Low power/malfunction indicator
An orange light blinks when the batteries are low. No light indicates
malfunction.
12. Medication cup release button
Medication cup can be removed when the button is pushed.
13. Battery cover
14. USB power socket
15. USB power socket cover
Bottom side
Press Release Button to remove the
medication cup.
7
9
9
10-12
8
13
14
15

9
2. Correct Use of the Unit
2.1 Using the Nebulizer with Batteries or USB Cord
Battery Power
Step 1. Check the parts
(Refer to Chapter 1.2)
Step 2. Clean and disinfect the medication cup when using the
nebulizer for the rst time
(Refer to Chapter 3)
Step 3. Insert batteries
(Refer to Chapter 2.2)
Step 4. Assemble the main unit and medication cup
(Refer to Chapter 2.4)
Step 5. Fill the cup with medication
(Refer to Chapter 2.4)
Step 6. Press power button to turn on
Step 7. Inhale the aerosolized medication
(Refer to Chapter 2.6)
Step 8. Press power button to turn off
(Refer to Chapter 2.6)
Step 9. Clean the unit and disinfect the medication cup
(Refer to Chapter 3)

10
USB Power
Step 1. Check the parts
(Refer to Chapter 1.2)
Step 2. Clean and disinfect the medication cup when using the nebulizer
for the rst time
(Refer to Chapter 3)
Step 3. Assemble the main unit and medication cup
(Refer to Chapter 2.4)
Step 4. Fill cup with medication
(Refer to Chapter 2.4)
Step 5. Connect the USB cord to nebulizer and power source
(Refer to Chapter 2.3)
Step 6. Press power button on
Step 7. Inhale the aerosolized medication
(Refer to Chapter 2.6)
Step 8. Press power button off
Step 9. Clean the unit and disinfect the medication cup
(Refer to Chapter 3)

11
Before assembling the unit and lling the medication cup.
2. Remove the battery cover by
sliding in the direction of the
arrow.
3. Insert batteries (not included)
according to the battery polarity
shown inside.
4. Slide back the battery cover into
original position (in the direction
of the arrow) to complete
replacement.
1. Turn the unit upside down.
Inserting Batteries
1
2
3
4
2.2 How to Insert or Replace the Batteries
+_

12
Note
1. A constant green light indicates proper function.
2. Low battery power is indicated by ashing orange light. Replace both
batteries with new ones
3. No light indicates malfunction. Please contact local dealer/place of
purchase.
Warning
Batteries must be removed if the unit is not in use for extended period.
Failure to do so may result in damage due to battery leak.
Warning
• Do not touch electrodes
to avoid possible
electrical shock
• Battery life depends on capacity and condition of the batteries.
• In general, device can operate approximately 4 days with new batteries,
based on a usage of a 20-minute daily treatment, or 90 continuous
minutes.

13
When Using USB
(After filling the cup with medication)
Remove batteries before using nebulizer with USB cord.
1. Insert the large USB cable end into a USB power source.
2. Remove USB power socket cover on the bottom of the main unit and
insert the small USB cable end into the USB socket.
3. Turn power on.
4. Inhale. (Please refer to Chapter 2.6 for detailed information)
Please note that the USB cord powers the device, but does not charge
the batteries.
2
3
4
1
2.3 How to Connect Power Adapter to Nebulizer

14
Caution
• When using the device for the rst time, or after daily use, or
after not using it for an extended period of time, clean and
disinfect the medication cup. Refer to Chapter 3.1 for instructions.
• Make sure the power is turned off before lling medication.
2.4 How to Assemble the Unit and
Fill the Medication Cup

15
1. Assemble the medication cup:
Align
three locks.
Misaligned
Correct
A
AB
C
B
C
Assemble the device by rmly attaching the medication cup to the main
unit, making sure the three locks are aligned with the inner latches.
2. Open the medication cup cover.
X

16
3. Fill in the prescribed medication
as illustrated.
4.Carefully replace the cover
until it is firmly sealed
with a “click” sound.
5.The device is now ready for use. Refer to the next page
for instructions on how to select nebulization mode and
inhale with the nebulizer.
The maximum capacity is 8 ml/cc.
DO NOT EXCEED THE LIMIT.
(Max. 8ml/cc).
Note
If high-viscosity solution is used, nebulization rate may be reduced.
Click
2
4
6
8cc

17
• By quickly pressing the ON/OFF button once ( ), the device will
nebulize continuously for 30 minutes prior to automatic stopping.
• If the ON/OFF button is pressed again during nebulization, the
nebulizer will turn off.
• Green indicator lights up during proper nebulization.
Warning
Warning: For type, dose, and regimen of medication follow the instructions
of your physician or licensed healthcare practitioner.
1. Hold the device in the upright position as illustrated in the gure below.
In this position, the nebulizing mesh is completely immersed in medication
and able to become aerosolized when power is turned on.
Upright Position
2.5 How to Select the Nebulization Mode
2.6 How to Inhale with the Nebulizer
90

18
2. Gently position the mouthpiece between teeth
with lips rmly sealed around it.
Be calm and relaxed when inhaling and
exhaling through mouth.
Breathe in slowly and deeply to allow proper
deposition of aerosol in airway.
3. After completing the therapy, press ON/OFF
button to turn off the device.
Caution
In some positions (e.g. tilting backward), nebulization may stop after a
while. Re-adjust to upright position in order to re-immerse the nebulizing
mesh with medication.
Caution
1. If excessive medication builds up on the mesh, nebulization performance
may be impaired. Turn off the device and remove the uid. Please see
Chapter 3.1
2. Do not poke the mesh as it may be permanently damaged.
Tilting Backward
X
X
Table of contents
Other Sunset Healthcare Respiratory Product manuals

Sunset Healthcare
Sunset Healthcare NEB200 User manual

Sunset Healthcare
Sunset Healthcare NEB402 User manual

Sunset Healthcare
Sunset Healthcare TUB06HPR User manual

Sunset Healthcare
Sunset Healthcare SUNNY NEB300BEAR User manual

Sunset Healthcare
Sunset Healthcare NEB100-R User manual

Sunset Healthcare
Sunset Healthcare NEB100 User manual

Sunset Healthcare
Sunset Healthcare NEB401 User manual

Sunset Healthcare
Sunset Healthcare NEB300FISH Series User manual