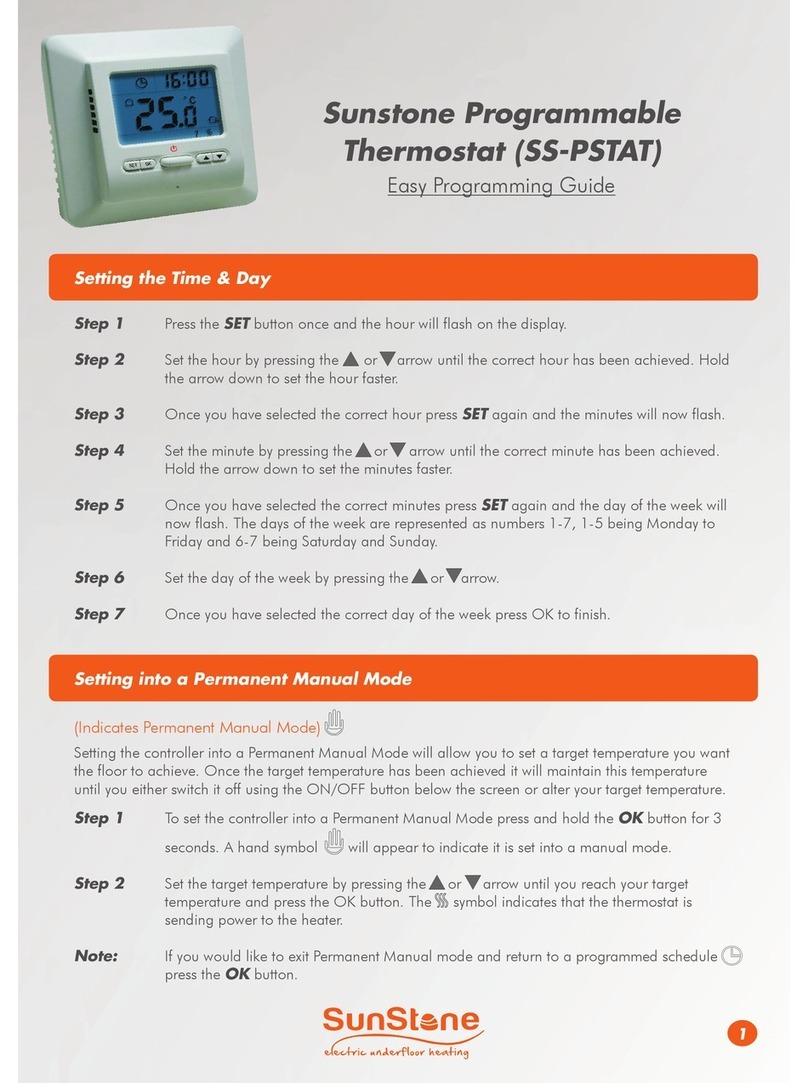
SUNSTONE P-Stat + User manual

P-Stat + Programmable Thermostat
EN - INSTALLATION INSTRUCTIONS
Installation
Safety Information
Technical Specications
Step 1 - Identify Suitable Location
Step 2 - Installation and Wiring Connection
Before making any permanent xtures it is recommended identifying your preferred location for the thermostat. It
should be located in an area with good ventilation. It should not be beside a window/door, in direct sunlight or above
another heat generating device (e.g. radiator or TV).
BATHROOM INSTALLATIONS: When installing the thermostat within a bathroom it MUST be mounted outside of Zone 2
in accordance with Wiring Regulations. If it is not possible to identify a suitable location outside of Zone 2 within the
bathroom, then it is recommended that the thermostat is installed in the adjacent room and set to control the heating
by oor temperature only. When installed in this way, it is not possible to directly control the heating based on the
room air temperature, only the oor surface temperature.
IMPORTANT INFORMATION: Installation should only be carried out by a qualied and competent electrician. The
P-Stat + requires a permanent power supply from a 30mA RCD protected circuit in accordance with the current edition
of the Wiring Regulations. The thermostat and its power supply should be isolated from the mains supply throughout the
installation process. Ensure that wires are fully inserted into the terminals, with no bare wire visible and secured. Any
free strands should be trimmed, as they could otherwise cause a short-circuit.
• Operating Voltage - 100 - 240 V AC 50/60 Hz
• Model - P-Stat +
• IP Rating - IP21
• Max. Load - 16 A (3840 W) • Installation Depth - Min 35mm Pattress
• Dimensions - (H/W/D): 81 x 81 x 25 mm (from wall surface)
• Sensors - Air & Floor
• Compatibility - eUFH
• Sensor Type - 2.5m NTC 100K (can be extended to 50 m)
• Er-P Class - I
• Insulation Class - II
• Standards - EN60730-1 & EN60730-2-9
Gently press a at head screwdriver
into the plastic release clips
highlighted above and pull face
outwards, unclipping from the base.
Place the frame and thermostat
face somewhere safe.
Wire as shown above and install to
a 35mm deep (min.) pattress
1 & 2: NTC100K Floor Sensor
(No Polarity)
3: PE - Supply and Load Earth
4: L1 - Load Live
6: N - Supply Neutral
5: N1 - Neutral Live
7: L - Supply Live
1
NTC 100K
SENSOR PE L1 N1
2 3 4 5 6 7
NL
Floor Sensor
(No Polarity)
Heaters
(Max. 16 Amps)
230V AC
Supply
1

To access advances setting, PRESS and HOLD and simultaneously for 5 seconds.
PRESS SET to navigate through the dierent advanced settings. Use or to adjust the setting. PRESS OK to
exit advanced settings
Display Function Range Default
CL Display temperature calibration -4 °C - + 4 °C 0
bL Backlight 1 = (OFF) 2 = (ON) 3 = (Always ON) 2
AF Sensor selection A = Air sensor F = Floor sensor AF = Air with
oor limit** AF
AH
Set maximum settable temperature
for oor sensor (F), air sensor (A)
and air sensor with oor limit (AF)
Floor Sensor
(F) + 18°C - + 45°C
Air Sensor/Air Sensor with Floor Limit
(A/AF) + 18°C - + 35°C
F = (45°C)
A = (35°C)
AF = (35°C)
FL Minimum oor temperature limit Floor Sensor (F) + 5°C - + 20°C 10°C
FH Maximum oor temperature limit Floor Sensor (F) + 25°C - + 50°C 50°C
PS Weekly schedule day selection 3 = (1-5 Block, 1 + 1) 7 = 7 Days 3
CS No. of programs per day P4 = 4 Programs per day / P6 = 6 Programs per day P4
CF Select °Celsius / °Fahrenheit C = °Celsius / F = °Fahrenheit °C
CO Set 24hr /12hr Clock 24h / 12h 24h
LD Set heating load* HH = (16 - 12 A), H = (11 - 8 A), L (≤7 A) H
SE Sensor Selection 100 = 100K / 10 = 10K sensor 100
To reset advanced settings to factory default PRESS and HOLD for 3 seconds when the thermostat is idle and the
heating schedule mode is displayed, . ConF will ash, PRESS OK to accept.
* Failing to set the Heating Load correctly will reduce the accuracy of the thermostats air temperature reading
** To view current oor temperature when the thermostat is set to AF (Air with oor limit), PRESS and HOLD for 3
seconds
Advanced Settings
Troubleshooting
Code Fault Action
E1 Floor sensor short circuit in type F or AF Check the sensor resistance and replace if it is damaged. Expected
resistance: 100kΩ at 25°C, 125.5kΩ at 20°C, 157.4kΩ at 15°C
E2 Floor sensor not installed or broken in
type AF
Check the sensor resistance and replace if it is damaged. Expected
resistance: 100kΩ at 25°C, 125.5kΩ at 20°C, 157.4kΩ at 15°C
E3 Air sensor short circuit Exchange device or operate using oor sensor only
E4 Air sensor damaged Exchange device or operate using oor sensor only
E5 Wrong oor sensor installed Remove oor sensor and install a 100K or 10K oor sensor
2
Open Window Function - The P-Stat + features open window function which detects when there is a sudden drop in
temperature (1.5°C or more within 3 minutes) when a window is opened and will switch your heating o saving you
energy. The heating will reactivate if the temperature increases again (1.5°C in 30 minutes). PRESS any button to
return to heating schedule mode.

To access advances setting, PRESS and HOLD and simultaneously for 5 seconds.
PRESS SET to navigate through the dierent advanced settings. Use or to adjust the setting. PRESS OK to
exit advanced settings
P-Stat + Programmable Thermostat
EN - OPERATING INSTRUCTIONS
1 2
6
3 4 5
87 9
10 16
15
11
13 14
12
1 - Set Button
2 - OK Button
3 - Power Button
4 - Navigation Buttons
5 - Factory Reset (Insert pin)
6 - Manual Mode
7 - Displayed When Programming
8 - Heating Schedule Active
9 - Heating Schedule Mode
10 - Advanced Setting Conguration
• PRESS SET when the thermostat displays current oor/air temperature.
• PRESS SET again, the minutes will ash. PRESS or to set the minutes.
• PRESS SET again, the hour will ash. PRESS or to set the hour.
• PRESS SET again, the day of the week will ash (1-7). PRESS or to set the day. PRESS SET to nish.
To view the current time PRESS SET while the thermostat is idle. The thermostat will revert to its idle display after 20
seconds or if you PRESS OK.
• PRESS and HOLD OK for 3 seconds to switch from schedule to manual mode.
• PRESS OK once to return to schedule mode.
Manual Mode - Allows you to set a xed temperature for the thermostat to maintain.
Heating Schedule - Setting a Heating Schedule allows you to set comfort temperatures at set times throughout the day.
The thermostat can bet set so that MON - FRI (1 - 5) is programmed as a block with SAT (6) and SUN (7) programmed
individually. Alternatively the thermostat can set so that you program each day individually, see advanced settings on
how to switch between schedule settings.
Typically when setting a 6 period schedule, periods 1, 3 and 5 will be heating periods with periods 2, 4 and 6 being
setback or “O”. To switch to a 4 period schedule see advanced settings.
11 - Displays current Floor/Air Temperature
12 - 1-7 Days of the Week
13 - Heating Indication
14 - Schedule Period
15 - Temperature (Clock)
16 -
Air mode Floor mode Air Mode with
Floor Limit
Setting Time/Day
Setting Manual Mode or Heating Schedule
Period Time Temperature Comment Schedule Period
Period 1 06:00 20°C Wake up. Initial heating period of the day
Period 2 08:00 15°C Leaving the house.
Period 3 17:30 22°C Back for lunch
Period 4 17:30 22°C Leave house after lunch
Period 5 17:30 22°C Back home
Period 6 22:00 15°C Go to bed. Final period of the day
3

• PRESS or to adjust your target temperature. PRESS OK to nish.
Operating in Manual Mode
NOTE: The target temperature must be above the current air and/or oor temperatures for the heating to be activated.
Operating in Schedule Mode
Warranty
Contact
The weekly schedule can be congured to operate on 3 schedules, (Weekdays, Saturday, Sunday) or 7 schedules, with
each day on own. The schedule format can be changed in the advanced settings.
• With the heating schedule mode displayed , PRESS and HOLD SET for 3 seconds until 1 - 5 block begins to ash.
• PRESS SET again to begin setting the start time of the 1st period.
• PRESS or to adjust the parameters.
• PRESS SET when done to move to the next adjustment (target temperature / next period).
• Repeat the steps above to program the time and target temperatures for the other periods.
• PRESS OK to nish.
To reset your heating schedule to factory default PRESS and HOLD for 3 seconds when the heating schedule mode
is displayed . ConF will ash, PRESS SET, ProG will ash, PRESS OK to accept.
NOTE: If set to 7 day in advanced settings each day will have to be programmed individually.
Setting a Heating Schedule
When the thermostat is set to heating schedule mode, setting a temporary override allows you to set a temperature
you would like the thermostat to reach until the next period. PRESS or to set the target temperature. When a
temporary override is set both and will be displayed.
The thermostat will resume its normal schedule at the start of the next period, alternatively to cancel a temporary
override and return to heating schedule mode PRESS OK.
Setting a Temporary Override
This SunStone thermostat is backed up by Warmup’s team of engineers and is guaranteed against any fault caused by
manufacturing defect for a period of 2 years from date of purchase. There is no other warranty, express or implied. No
claim can be brought against the manufacturer or its agents for any consequential damages whatsoever. This warranty
covers the cost of replacement or repair of the SunStone P-Stat + thermostat only, subject to the discretion of the
manufacturer. This is the sole warranty, express or implied. The manufacturer or its agents cannot be held liable for any
resultant damages. Visit sunstone.co.uk to complete the warranty registration. Proof of purchase is needed in the event
of a claim, so keep your invoice with this warranty. This warranty is subject to the following conditions:
1. This warranty must be registered online
2. The thermostat must have been installed and used in full accordance with this installation manual.
3. The thermostat must have been earthed and protected by an RCD at all times.
4. The warranty is returned to SunStone within 30 days of purchase of the heater(s).
5. If SunStone or its agents carry out diagnostic or remedial work as a result of a claim being made, agents shall have
the right to levy reasonable charges for the work undertaken by them.
6. All electrical regulations are complied with and electrical work is undertaken by a qualied and Part P certied
electrician.
This warranty does not cover heater failure due to incorrect installation or tiling. Please check that the heater is
working (as laid out in the installation manual) prior to tiling.
Technical Helpline - 0345 034 8272
Warmup Plc, 702 & 704 Tudor Estate, Abbey Road, London, NW10 7UW
4SunStone - IM - PStat+ - V1.3 2020-03-11
Other SUNSTONE Thermostat manuals
Popular Thermostat manuals by other brands

Micropelt
Micropelt MVA008 User manual and device specification

Lennox
Lennox ComfortSense 3000 Series Operation manual

Carrier
Carrier 33CS Installation and operating insctructions

Tekmar
Tekmar 511 User brochure

White Rodgers
White Rodgers 1E78-151 Basic Installation

Climatouch
Climatouch CTO-7TC-32ADH instruction manual