Sunvic TLX 6001RFPv Instruction manual

Page 1 of 3
What is a programmable room
thermostat?
A room thermostat works by sensing the air temperature,
switching the heating on when the air temperature falls below
the thermostat setting and switching the heating off when the
thermostat setting has been reached.
A programmable room thermostat allows you to choose
different room temperatures to be used at different times of the
day and night. It also allows you to set different temperature
profiles for each day of the week.
A programmable room thermostat does not switch your central
heating off in the same way that a central heating programmer
does. Instead, the boiler is always ready to provide heat if the
air temperature falls below the current thermostat set
temperature.
Turning a programmable room thermostat to a higher setting
will not make the room heat up any faster. How quickly the
room heats up depends on the design of the heating system,
for example, the size of boiler and radiators.
Neither does the setting affect how quickly the room cools
down. Turning a programmable room thermo stat to a lower
setting will result in the room being controlled at a lower
temperature, and saves energy.
The way to set and use your programmable room thermostat is
to find the lowest temperature settings that you are
comfortable with at the different times you have chosen, and
then leave it alone to do its job. The best way to do this is to
set low temperatures first, say 18°C, and then turn them up by
one degree each day until you are comfortable with the
temperatures. You won't have to adjust the thermostat further.
Any adjustments above these settings will waste energy and
cost you more money.
If your heating system is a boiler with radiators, there will
usually be only one programmable room thermostat to control
the whole house. But you can have different temperatures in
individual rooms by installing thermostatic radiator valves
(TRVs) on individual radiators. If you don't have TRVs, you
should choose a temperature that is reasonable for the whole
house. If you do have TRVs, you can choose a slightly higher
setting to make sure that even the coldest room is comfortable,
then prevent any overheating in other rooms by adjusting the
TR V s.
The time on the programmer must be correct. Some types
have to be adjusted in spring and autumn at the changes
between Greenwich Mean Time and British Summer Time.
You may be able to temporarily adjust the heating programme,
for example, 'Override', 'Advance' or 'Boost'. These are
explained in the manufacturer's instructions.
Programmable room thermostats need a free flow of air to
sense the temperature, so they must not be covered by
curtains or blocked by furniture. Nearby electric fires,
televisions, wall or table lamps may prevent the thermostat
from working properly.
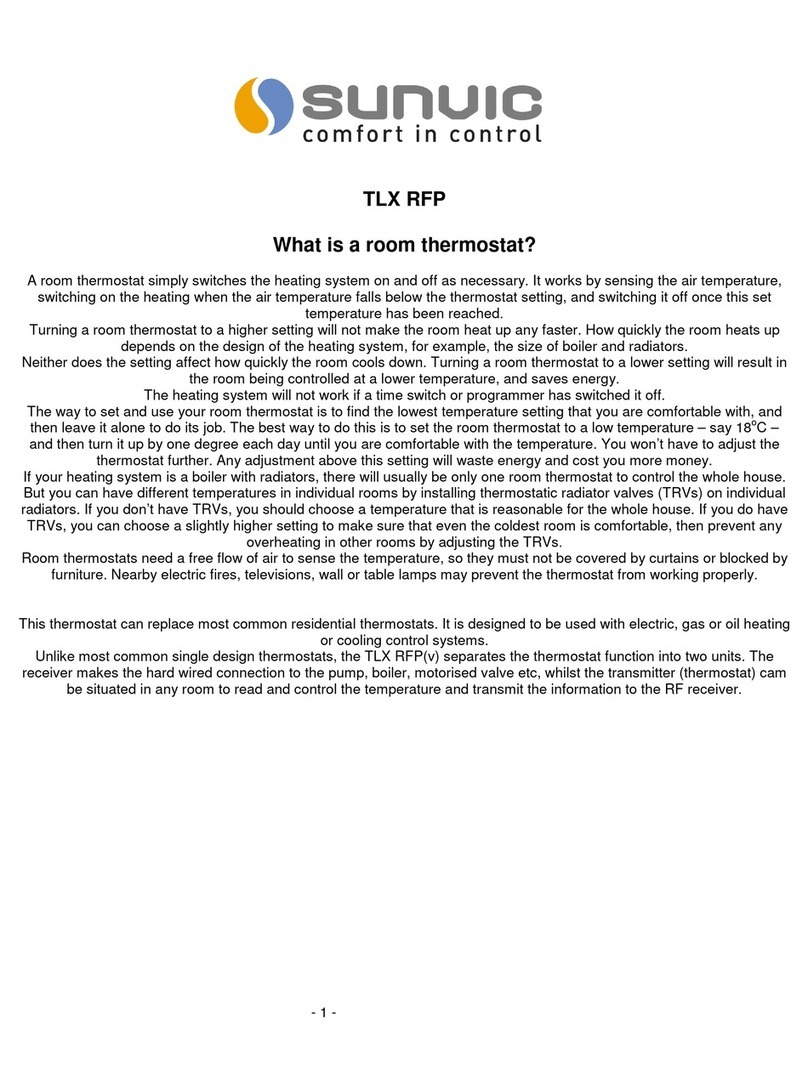
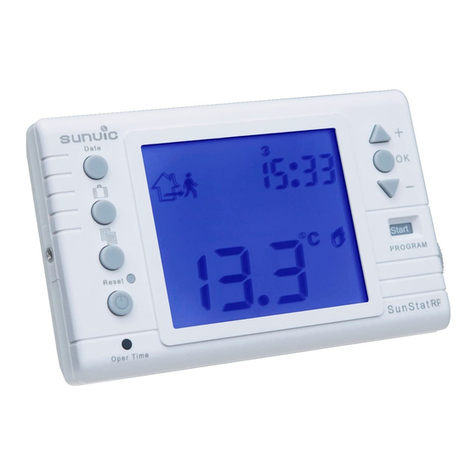
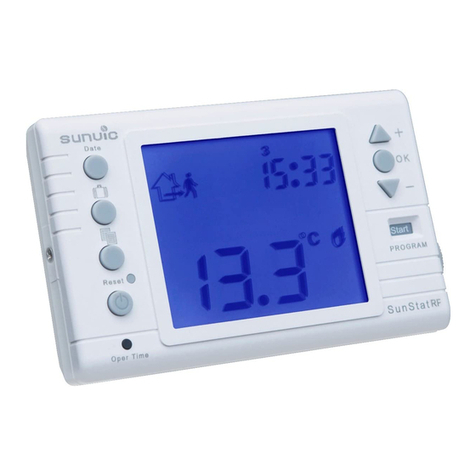
TLX RFPv Room Thermostat
The TLX RFPv is a radio-frequency programmable room
thermostat and receiver which allows the user to select two
different temperatures, i.e. comfort & economy, for different
times of the day. The thermostat can be configured for
7day, 5day/2day or 24hr programming and the user can
select between eight pre-defined temperature profiles. Six
of the pre-defined temperature profiles can be modified by
the user to meet their particular requirements.
Thermostat position: To be placed at a height of 1.5m
from the floor. Do not position on an outside wall, above a
radiator, next to a door, or in direct sunlight.
For fixed wiring only
Disconnect mains supply before fitting receiver, or
removing unit from back plate. A switch having a contact
separation of at least 3mm in all poles must be
incorporated in the fixed wiring as a means of fully
disconnecting the mains supply. An appropriate fuse
should also be fitted to the circuit.
Installation
N.B. All installations should be carried out by a
competent person and in line with current wiring
regulations
1 Remove the back plate from the receiver by
loosening the retaining screw at the bottom of the
unit.
2 Choose a suitable place near to the boiler. Fix the
back plate to the wall with screws, 3mm max
3 Route wires through the back of the back plate
and connect wires to the receiver in accordance
with the diagram on page 3 (fig.2) and current
Wiring Regulations
4 Position receiver into back plate and tighten the
retaining screw at the bottom of the unit.
WARNING
The cover must not be removed unless the
thermostat is isolated from the electrical supply.
INTERFERENCE WITH SEALED PARTS
RENDERS GUARANTEE VOID
TLX 6001RFPv PROGRAMMABLE ROOM THERMOSTAT

Page 2 of 3
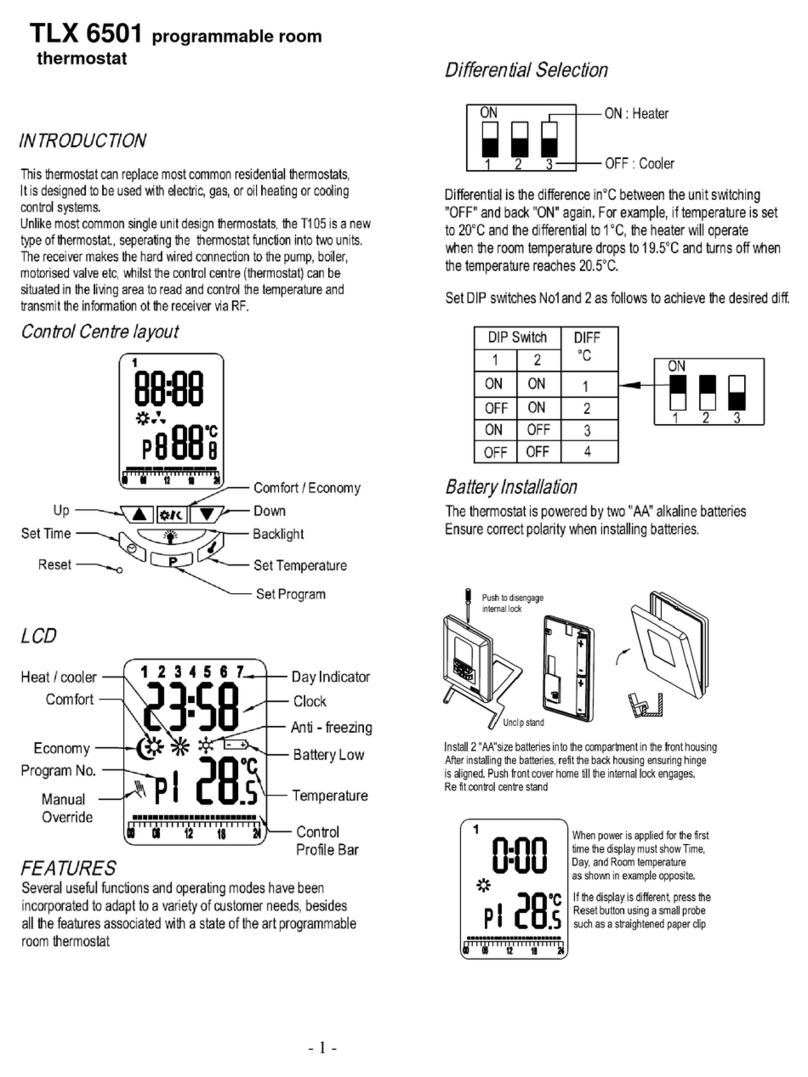
Initial set-up
Remove the battery cover from the back of the unit and
insert 4 x AA batteries into the room thermostat.
The display will power up to show the day of the week
(Mon), the time (0:00), the current room temperature e.g.
21.
0
o
C, the Default Program Value (P1), the Sun symbol
( ) and the temperature profile, indicated by black
squares along the bottom of the display. It may also show a
fan symbol if the actual room temperature is lower than
21
o
C
Setting the time
a) Press "TIME" key once to flash day of the week, press
“
△
”or “
▽
” to set day of the week.
b) Press "TIME" key again to flash hour, press “
△
”or “
▽
” to
set hours.
c) Press "TIME" key again to flash minute, press “
△
”or “
▽
”
to set minutes.
d) Press "TIME" key to exit or wait 15 seconds to exit
automatically.
Setting the Sun (comfort) and Moon (economy)
temperatures
a) Press "TEMP" to display “ ”and "21.0
℃
"
b) Press “
△
”or“
▽
” keys to set SUN temperature
(
factory
default value 21.0
℃)
.
c) Press “ / ” key to display“ ”and "18.0
℃
".
d) Press “
△
”or“
▽
” keys to set MOON temperature (factory
default value 18.0
℃)
.
e) Press "TEMP" key to exit or wait 15 seconds to exit
automatically.
Advance
a) Press
“ / ” key to change from “ ” to “ ” and vice
versa. The
symbol will be displayed. Normal program
function will be restored at the next program change.
Temperature override
a) To set an override temperature press “
△
”or “
▽
” twice
until the
symbol is displayed. Press “
△
”or “
▽
” again to
change the current set temperature to the desired override
temperature.
b) Press "OFF" key once to confirm and exit. The override
temperature will be used until next program change after
which the original set temperatures will be restored.
c) To cancel an override press the "OFF" key twice. The
symbol will disappear.
Frost protection
a) Press the "OFF" key once to display the
and “”
symbols. The system will now run at 7
℃
.
b) Press "OFF" key once to exit. The
and “” symbols
will disappear.
Resetting factory defaults
To reset the unit to its factory default condition press and
hold the ‘OFF’ button while pressing & releasing the
‘RESET’ button.
Low power indication / changing the batteries
A low power symbol “ ” will be displayed when the
power is below 1.3V. Replace all 4 batteries together. You
will now need to reset the time; however, the temperature
and program settings will not be affected.
Program
Program selection
To program the RFPv using the ‘Default Program Values’:
a) Press the ‘Prog’ key once. The day/days of the week will
flash.
b) To select the days to be programmed press the ’’ or
‘’ keys to scroll through & select either Mon to Fri, Sat &
Sun, Mon to Sun, or each day individually.
c) When a selection is made press the ‘Prog’ key once and
the ‘P’ symbol will flash. This enables one of the “Default
Program Values”, P1 to P8, to be selected (see fig.1).
d) Press ’’ or ‘’ key to select a ‘Default Program
Value’ to be applied to the time period selected at step (b).
e) Press ‘Prog’ twice to confirm your selection or wait 15
seconds to exit automatically.
f) If you selected 7 days, Mon to Sun, at step (b)
programming is now complete and all 7 days will use the
same program. If you selected Mon to Fri you now need to
program Sat & Sun. Repeat steps (a) to (e). If you selected
an individual day you now need to program the remaining
six days by repeating steps (a) to (e) for each day.
Program setting
Creating your own program values:
a) The line at the bottom of the display, marked from 00 to
24 is the ‘Time Line’ which is divided into 1hr time
segments. If a segment is represented by a solid black
square ‘’ the thermostat will use the Sun ‘ ’ temperature
during that time segment. When no black square is visible
in a segment the thermostat will use the Moon ‘ ’
temperature during that time segment. Programs P1 to P6
can be altered by switching solid black segments on or off
to create your own program values. (P7 & P8 can’t be
altered)
b) To create your own program values press ‘Prog’ twice
until the ‘P’ symbol flashes then press ’’ or ‘’ key to
select a Default Program that is as close to your desired
program as possible (see fig.1).
c) Press ‘Prog’ and the number ‘0’ will appear in the
display. A black flashing square will also appear at the
LH side of the time line at position’ 00’ (the number shown
in the display corresponds to the position of the flashing
black square on the time line)
d) To add a black segment or to keep an existing black
segment anywhere along the time line, the Sun ‘ ’ symbol
must be visible in the display. To remove a black segment
or to keep an existing blank segment, the Moon ‘ ’ symbol
must be visible in the display. Pressing the “ / ” key
toggles between Sun ‘ ’ and Moon ‘ ’ modes.
e) Pressing the ‘’ ’’ keys will move the flashing black
square along the time line. If the Sun ‘ ’ symbol is visible,
each time the flashing square is moved it will switch the
time segment on and turn it solid black ‘’ (if the segment
is already black it will remain black). If the Moon ‘ ’
symbol is visible, each time the flashing square is moved it
will switch the time segment off and delete the solid black
square (if the segment is already clear it will remain clear).
In this way segments can be switched on or off to create a
program to suit individual needs.
g) When you are happy with your program press ‘Prog’ to
confirm or wait 15 seconds to exit automatically. The
program number that you have re-programmed can now be
selected for any day of the week (see ‘Program selection’)

Page 3 of 3
Default Program Values
Communication
a) Hold the "on/off" key on Rx for 3 seconds, green LED
will flash. The learning mode has now been activated.
b) Press the "LEARN" key on Tx (on rear case) once. If the
green LED on Rx flashes then it means that Tx and Rx
communication has been successfully set up. The Tx can
now control the Rx to be on or off.
Rx operation
a) Press the "manual' key once. The green LED should be
lit (manual status has been entered).
b) Press the "on/off" key once. The red LED should be lit
and relay is on (COM and NO terminal is closed).
c) Press the "on/off" key once again. The red LED is off
and relay is off (COM and NC close).
d) Press the "manual" key. The green LED is off and the
automatic mode has been entered.
Technical specification
General Specification
Protection rating: IP 30
Max ambient temperature T 40
Storage temperature: -10°C to 50°C
Humidity limits: 20% to 80% rH
Tx specification
Power: 4 x AA 1.5V battery
Temperature measuring range: 5°C - 37°C
Temperature control range: 7°C - 30°C
Temperature differential: 0.1°C
Temperature accuracy: +/- 1°C (at 20°C)
RF Frequency: 868.35MHz
Low Power indication
7 day programming
CE mark
Rx specification
Power Supply: 230VAC ±10% 50HZ
Load rating: MAX 6(2)A, 250VAC
Contact type: 1 x SPDT
Volt free switching
CE mark
Wiring
i
Always replace all four (4) batteries at the same time. Only use
1.5 V alkaline batteries of the type LR06 (AA).
Safe Disposal
Do not dispose of batteries with household rubbish. They must be
returned in accordance with the local statutory requirements.
SUNVIC CONTROLS Ltd.
Units 1 & 2, Block 1
251 Low Waters Road
Cadzow Industrial Estate
Hamilton
ML3 7QU
Tel. 01698 812944
Fax 01698 813637
Technical Helpline 01698 810945
N.B. In line with a policy of continuous product
development, SUNVIC CONTROLS Ltd. reserves the right
to change the specification, design and materials of
products without prior notice.
ELECTRONICS
N N/O
23
0Vac
50/60Hz
COM
N/C
L
1
2
3
TLX RFPv
User Instruction Leaflet: LE/0222/6001/Mar 2011/Rev00
Fig.2
Fig.1
Fig.1
P1 0-24
P2 0-24
P3 0-6 6-23 23-24
P4 0-6 6-8 8-17 17-23 23-24
P5 0-6 6-8 8-11 11-13 13-19 19-23 23-24
P6 0-6 6-8 8-12 12-23 23-24
P7 0-24
P8 0-24
Other Sunvic Thermostat manuals

Sunvic
Sunvic SunStatRF User manual

Sunvic
Sunvic TLX RFP User manual

Sunvic
Sunvic TLX1009 User manual

Sunvic
Sunvic TLX 7506 User manual

Sunvic
Sunvic TLX 7506 User manual

Sunvic
Sunvic TL ONE User manual

Sunvic
Sunvic SunStat Installation instructions

Sunvic
Sunvic TLX 6501 User manual

Sunvic
Sunvic SunPro2000 User manual
Popular Thermostat manuals by other brands

OJ Electronics
OJ Electronics MCC4 user manual

Lennox
Lennox iComfort S30 user guide

Honeywell
Honeywell CT2800 Installation and programming instructions

MS Electronics
MS Electronics E810/M2S Product guide

American Standard
American Standard SELECTRONIC 605XTMV installation instructions

Honeywell
Honeywell SDC operating instructions