Sunwayi WSU43+ User manual

User Manual
WSU43+
WIRELESS
BACKUP CAMERA
Solar Charging
2.4G Digital
135°
WSU43+
APPLICATION S CENNARIO

Solar Powered Wireless Backup Camera can display image
behind the car and can be used when backing up or any time
you want to view behind the car (even while your car is in park).
WSU43+, suitable for passenger cars, conditionally suitable for other
relative vehicle.
Trouble Shooting
Camera Angle Adjustment
License Plate Holder Installation
Thanks for your choosing WSU43+ product, which provides value
and quality. Please read this User Manual carefully before using
the product.
Due to product upgrades or technical updates, the instruction manual
may sometimes be changed in need. The manufacturer reserves the
right to modify and update product specifications without prior notice.
1
4
5
6
8
8
9
12
13
13
14
15
16
17
19

B
C
12
13
17
1516
14
22
24
23
21
20
19
18
13
A
1
3
25
4
8
9
11
10
6
7
- 1 - - 2 -

Remove WSU43+ product packing or assembly and make
sure all components are included.
Under normal use, the camera maintains a charge with exposure to
sunlight. A battery status indicator is provided on the monitor when
the camera is in use. If you're storing your car in a garage (or not
exposing the camera to sunlight on a regular basis) for more than
one month, you may need to recharge it via the DC charging port.
During the whole DC charging, the red indicator light will keep on. It will turn of f when finishing
the charging.
When the DC charging is done for a period of time, you can vibrate the camera and immediately
touch the Touch-Sensor on the monitor to see the increase in charging. The battery capacity
icon on the screen shows the actual status of the camera's built-in battery power.
Charge the Camera with license plate holder
1. Connect the supplied DC cord to the
charging port of the Camera.
2. Plug the cable USB port into any
standard USB charging adapter with
an output rating more than 5V/1000mA.
3. Charge 4 to 5 hours.
1. Shake the camera in the air.
2. Touch the Touch-Sensor quickly and check the image after the
monitor is powered.
* In the process of use, there is wireless interference from outside sometimes.
If no connection normally, the device will shut of f automatically 10 seconds later.
Then please touch the Touch-Sensor to turn it on.
Camera has to be waken up from sleeping status by little vibration.
14Charging LED
1Camera with license
plate holder
2Monitor
3Suction cup holder
4Stand holder
5Vent holder
6USB connection
8Small screw x1
9Assembly tool
10 DC Charging cable
11Screws & nuts
12License plate
mounting hole
13Solar panel
15Charging socket cover
16Charging socket
17Backup camera
18Screw hole
19 + button
20 Menu / OK button
21 - button
22 Bracket holder
23 Touch sensor
24 Screen
Scope of delivery / parts.
Power cable with
car adapter
7
- 3 - - 4 -

1) If using the factory default stand mount
Stick on the dash board: Choose and
clean a right place on the dash board,
tear the paper of the monitor stand sticky
tape, put and press tight the stand mount
on the dash board.
2) If using the suction cup mount:
Use suction cup mount to replace the default stand via screwdriver.
2. How to mount the brackets:
Choose a right place on the windshield, and mount the suction cup mount
on the windshield. With the suction lever
in the released position, press the suction
cup against the windshield. Press the
suction ever toward the suction cup to
lock the mount. To adjust the angle of
monitor, loosen the collar on the ball joint,
tighten in the desired position again.
LICENSE PLATE HOLDER INSTALLATION
Align the license plate with the hole.
1
Align h oles
1. Monitor pedestal could be attached to stand, vent, or
windshield as your requirements.
There are 3 kinds of mounting brackets accordingly.
- 5 - - 6 -
Install the license plate holder on the car using screws, then tighten the screws.
2
or
or
ONTARIO
BFEJ 681

WSU43+
06.
05. Camera Angle Adjustment
When rotating the camera:
Please hold the license plate holder with one hand, and rotate up or down
the camera with the other hand to make the best Angle.
The parking guideline position can be adjusted
up or down, to mark the image area more realistic.
There are 5 levels for choice.
5 levels of adjustment
For detailed operation methods,
please refer to page P12.
2. Parking Guideline Position Adjustment
1. Please vibrate the camera, power the monitor, touch the Touch-Sensor on
the monitor to show the rear image situation of car, then adjust the camera
angle accordingly to the most suitable position.
1. Switch the DC power port with car ignition, the monitor will start work
accordingly after touching the
Touch-Sensor, the video signal
will be sent from camera and will
be displayed on the monitor.
2. If you want to see the backup image
when driving your car, just touch the
Touch-Sensor on the top of monitor.
3. Connect the monitor and car ignition lighter hole with power cord.
Use L-shaped screwdriver to
tighten the vent screw
Make sure the cross position of the
threaded base is correctly inserted
into the cross groove of the monitor
Insert the ball into the nut Press the vent mount ball inside
the thread ed base forcely
Rotate the nut and tighten it clockwise By lifting up and down, the clamp
can clamp or loosen the vent
- 7 - - 8 -
3) The monitor can be mounted on the air outlet of the air conditioner in the
car, allowing drivers to share the mobile phone bracket, and can avoid
traf fic violations (some country traf fic laws do not allow the windshield or
the center console to be installed anything to block the driver's view sight).
Please follow the steps:

It is best to have a video image displayed when making this selection.
(Short Press means press and hold 1 second, and Long Press means 3 seconds).
Only Short Press - button [DEC] to switch the Parking guide Lines
display modes (Display or No display)!
While the monitor is showing the rear image, short press the middle button
[MENU/OK] to enter the main menu interface, and 5 options are available
(Pairing, Image Parameters, Image Mirror, Parking Guideline Adjustment,
Software Information).
Pairing Image
Paramete
Image
Mirror
Software
Information
Parking Guideline
Position Adjustment
Meaning
Operating
Pairing Image
Paramete
Image
Mirror
Parking Guideline
Position Adjustment
Software
Information
Default setting,
no need to
operate again.
To adjust Brightness
Contrast, Color.
Operation details
as Image Parameter
info.
Set Upwards/Downwards
or Original/Mirror Image.
Operation details as
Image Mirror contents.
Select “Software Info”,
press [ADD] or [DEC]
button to display
software version
information.
The parking guidelines can
be adjusted up and down
as needed. Operation details
as Parking Guideline Position
Adjust info.
If you want the Backup Camera WSU43+ to keep working after the setting time
of image-display(for example, you cannot finish reversing your vehicle during the
first setting time), you have to touch the Touch-Sensor once again.
After you have been staying inside vehicle quietly (eg. sleeping) with vehicle
engine stopping, you want to see the backup image but only put your vehicle key
on the ACC-ON position (no starting the engine), there is no image on the monitor
after touching the Touch-Sensor. So you have to give the vehicle a light vibration
(such as re-open and shut car door, or tap somewhere lightly), then touch the
Touch-Sensor to start work.
3. When the vehicle is shut of f, power is removed from the monitor and
the monitor will shut of f automatically, and the camera will stop work.
07.
While the monitor is showing the rearview image again, short press
[MENU/OK] to enter the main menu interface, select the "Image Mirror"
icon and long press [MENU/OK], to set upwards or downwards image.
After setting, short press it twice again continuously to exit the setting.
-
+
M
+
-
- 9 - - 10 -

08.
Select the “Parking Guide Position Adjustment” icon, then long press the middle
button [MENU / OK] to enter the setting interface, short press the [+ADD] or [- DEC]
button to choose the most suitable one from 5 levels, then short press [MENU / OK]
twice continuously to exit the setting.
4. Parking Guideline Position Adjustment
A B C D E
Select Brightness icon, press [+ADD] or [- DEC] button to adjust the
brightness as shown bellow:
Select Contract icon, press [+ADD] or [- DEC] button to adjust the
contract as shown bellow:
Select Color icon, press [+ADD] or [- DEC] button to adjust the color as
shown bellow:
While the monitor is showing the rear image, short press the middle button
[MENU/OK] to enter the main menu interface. From the 3 options.
Select Image Parameter, long press the [MENU/OK] button again,
3 Images(Brightness/ Contrast/ Color) setting interface are shown bellow:
Brightness Contrast Color
2. Image Parameter
3. Image Mirror
[+ADD] or [- DEC]
- 11 - - 12 -

The Setting Time of Image-Display: 45 Seconds each time
Effective Transmission Distance 57.5ft (17.5m) Max.
(Installed in vehicles for test)
If the monitor doesn't display images within a few
seconds after touching the starting button:
3. If cannot display image after the two methods speaking above, please
try re-pairing:
Shortly press MENU key, long press MENU key to confirm the pairing
state when it is turned on. Under normal circumstances, the pairing will
2. In the process of use, there is wireless interference from outside. so if
you can't turn on the camera over 10 seconds after touching, please
touch the Touch-Sensor again to turn it on.
1. The battery in the camera may be depleted and require recharging.
1. Check to make sure the power source is active (if your cigarette lighter
is switched with vehicle ignition, your monitor will only work when the
engine is running or the key in the ON position).
2. Check to make sure the fuse and power cord are in working order.
10.
09.
WSU43+
When the monitor is powered on and still stay standby mode, the Red
indicator Light doesn't work. When touching Touch-Sensor, the Light will
blink quickly. When the monitor works, the light will extinguish.
the setting time
- 13 - - 14 -

WSU43+ product packing is designed to
provide years of service.
It should be recycled or safely disposed
of at a local recycling center.
13.
1. Turn the cap on the top of the power plug counterclockwise
(no tools needed).
2. Remove the cap, center pin and fuse.
3. Replace the fuse with a new 3-am fuse.
4. Replace the center pin and cap. Turn the cap clockwise.
WSU43+ Solar Powered Wireless Backup Camera is intended to assist
responsible driver, but it doesn’t relieve a driver from full responsibility
for operation of the vehicle. It is the driver’s sole responsibility to avoid
contact with any objects, animals, especially persons. By installing and/
or using WSU43+ Solar Powered Wireless Backup Camera, you agree
that you are solely responsible for the operation of your vehicle, the
WSU43+ supplier is not responsible for any property damage, personal
injury, or loss of life that may result from the operation of your vehicle.
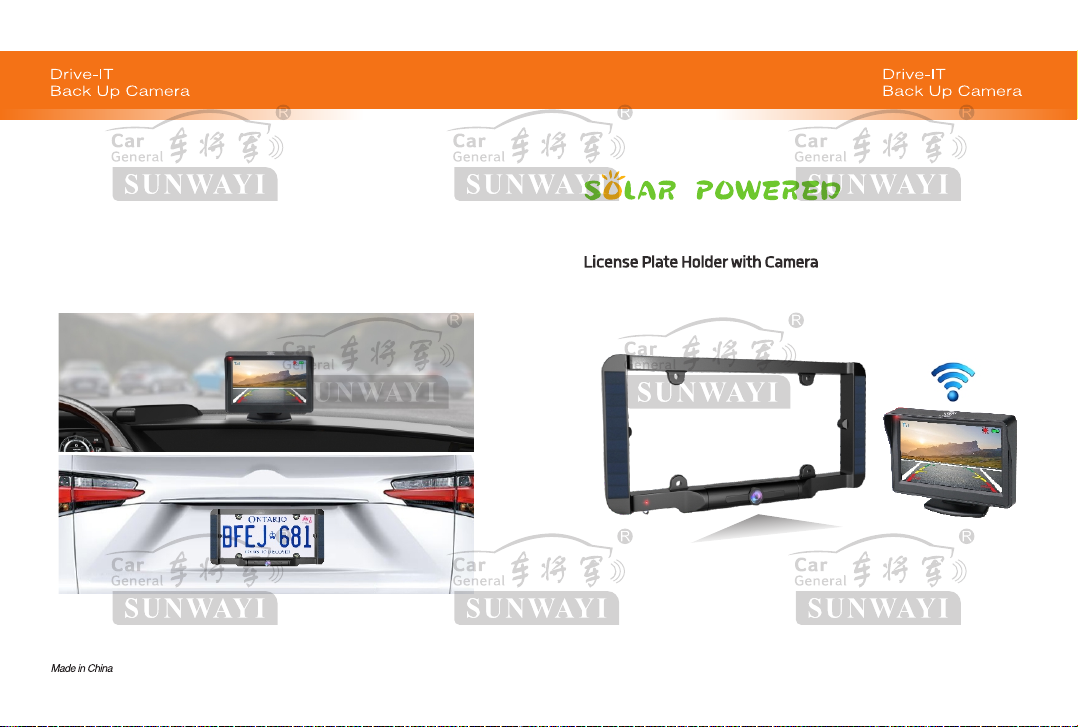
Some USA states or local government may have regulations or laws that restrict the
use of anything that might impair the clear view of a license plate. Check local laws
for explanation.
Do not use solvents or chemical materials to clean or wipe
WSU43+ camera (including the lens and all solar panels)
If necessary, use a soft cloth moistened with a neutral detergent
solution to remove dust or stains. Please clean the dirt or stains
of the solar panel.
take about 5 seconds, and the wireless signal will automatically reconnect,
the monitor will display the rear image accordingly.
Check if the camera solar panels are covered with mud, water, dirt, etc.
Please use soft cloth moistened with a neutral detergent solution to
remove dust or stains, so as not to af fect the solar power generation
ef ficiency.
If the video image does not last the setting time:
Recharge the camera battery.
If no image after touching Touch-Sensor in quiet
environment (no vibration at all) , such as testing
BC3000 in of fice or laboratory.
Vibrate the camera, touch the powered Monitor Touch-Sensor quickly
(not over 3 minutes from vibration) to wake up the sleeping camera
make it enter standby status.
Under the actual situation of installation, test, and use in car, the environment
is dif ferent totally. Little vibration must happen when open door, people
touching the vehicle, even the engine work. So the camera will stay at standby
status.
- 15 - - 16 -

14.
This warranty does not apply to persons who purchased this
product second-hand or used.
This warranty does not include adjustments, parts and/or repairs
required by circumstances beyond the control of Supperlier,
including but not limited to fire or other casualty, accident, neglect,
abuse, misuse, abnormal use or battery leakage damages.
CONSEQUENTIAL DAMAGES resulting from any failure, defect
or malfunction of this product. Some States do not allow limitations
on how long an implied warranty lasts and some States do not
allow the exclusion or limitation of incidental or consequential
damages, so the above limitations may not apply to you.
1. Send a copy of your original sales receipt showing original
purchase date, along with your mailing and shipping addresses,
the model name of the product and a note describing the nature
of the problem and a note describing the nature of the problem
to:
- 17 - - 18 -
2. You will receive a return authorization number via U.S Mail within
7-12 business days from the date your return request is received
if it is determined that there is a basis for a replacement product.
The return authorization form you receive will list the return
procedures, applicable charges, if any, and the correct shipping
address for the returned product.

15.
- 19 -
Table of contents
Other Sunwayi Dashcam manuals