KIT CONTENTS:
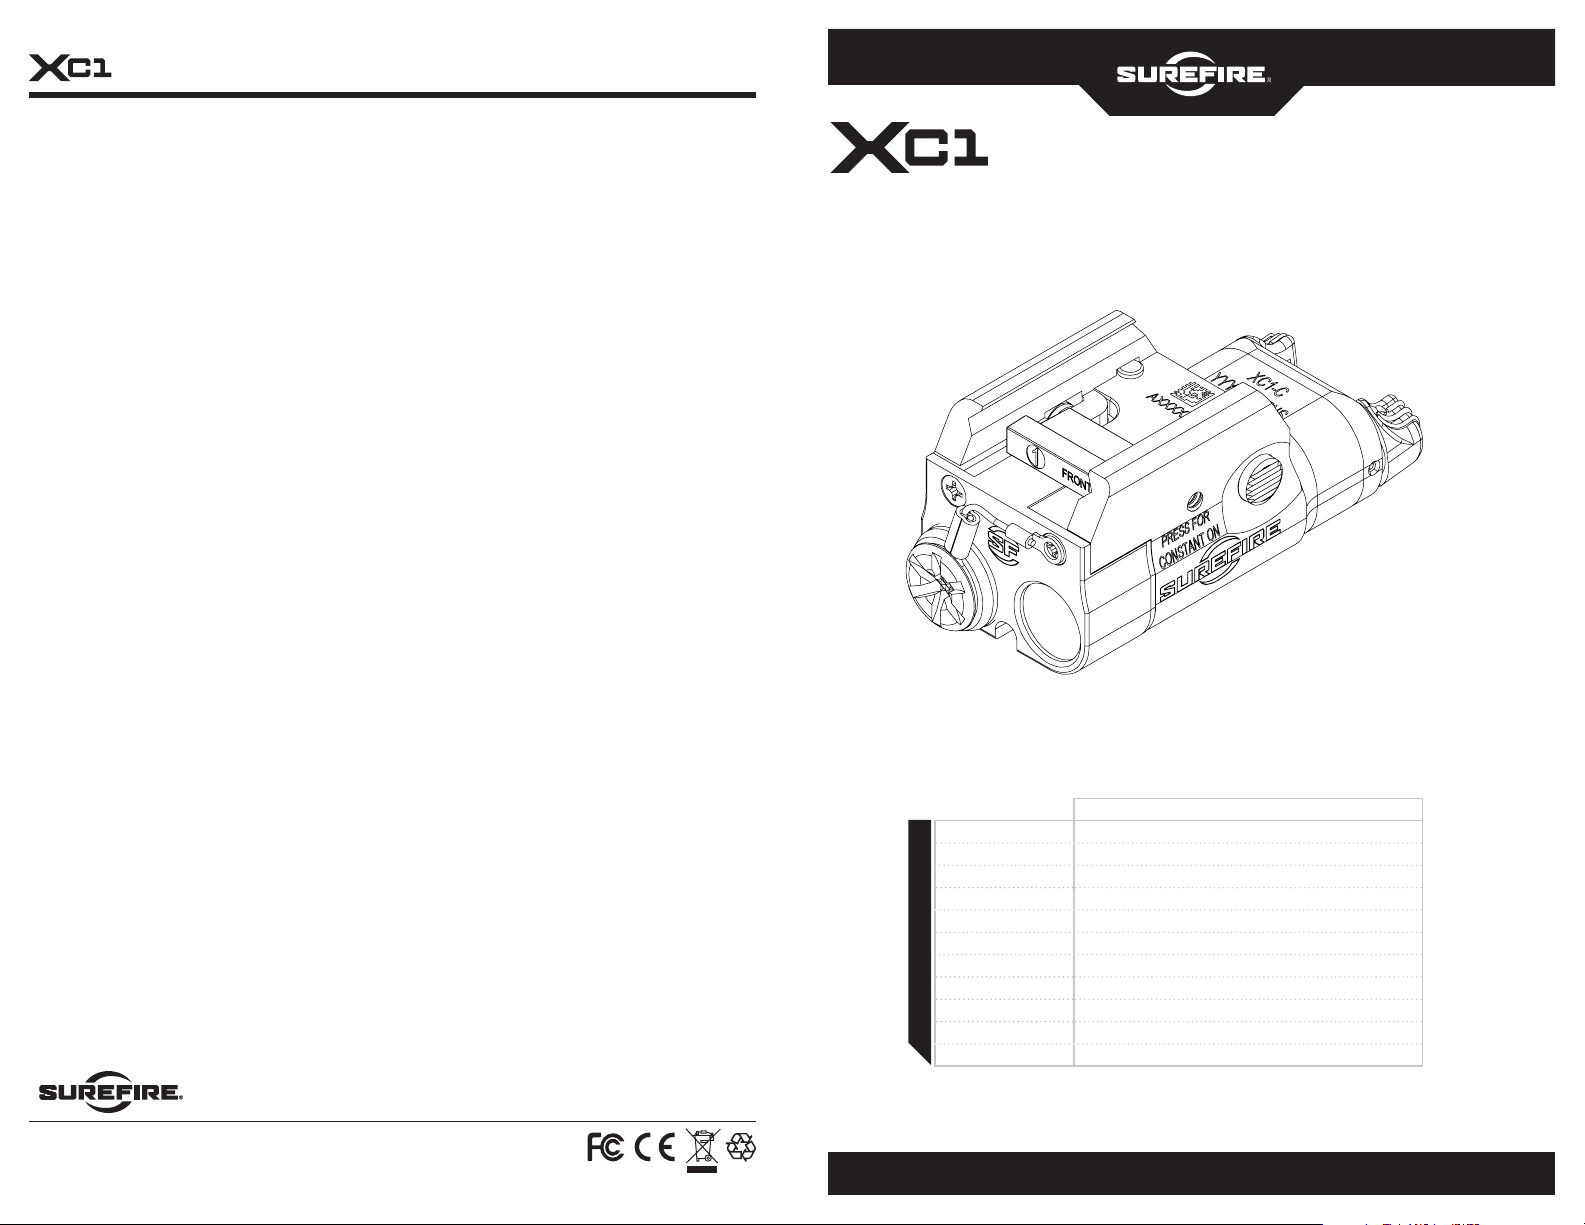
• XC1-C WeaponLight (Crossmember #1 installed)
• AAA Battery (Rechargeable)
• Spare Crossmembers
• 3/32-inch hex wrench for Rail Adjustment Bolt
LIGHT OPERATION
The XC1-C is designed to allow support-hand activation in both
momentary-on and constant-on modes when firing right- or
left-handed.
TOGGLE SWITCHING
Momentary-on activation: Press and hold either toggle switch
for more than a tenth of a second or as long as needed to
momentarily activate the XC1-C. Release to turn off (Figure 4).
Constant On Activation with Slide Switch: Press from left to
right for constant on activation. Press from right to left to turn
light off (figure 4).
NOTE: The light will not activate when either toggle switch is pushed
upward or side-to-side. This intentional design feature minimizes
unintended activation when drawing or holstering.
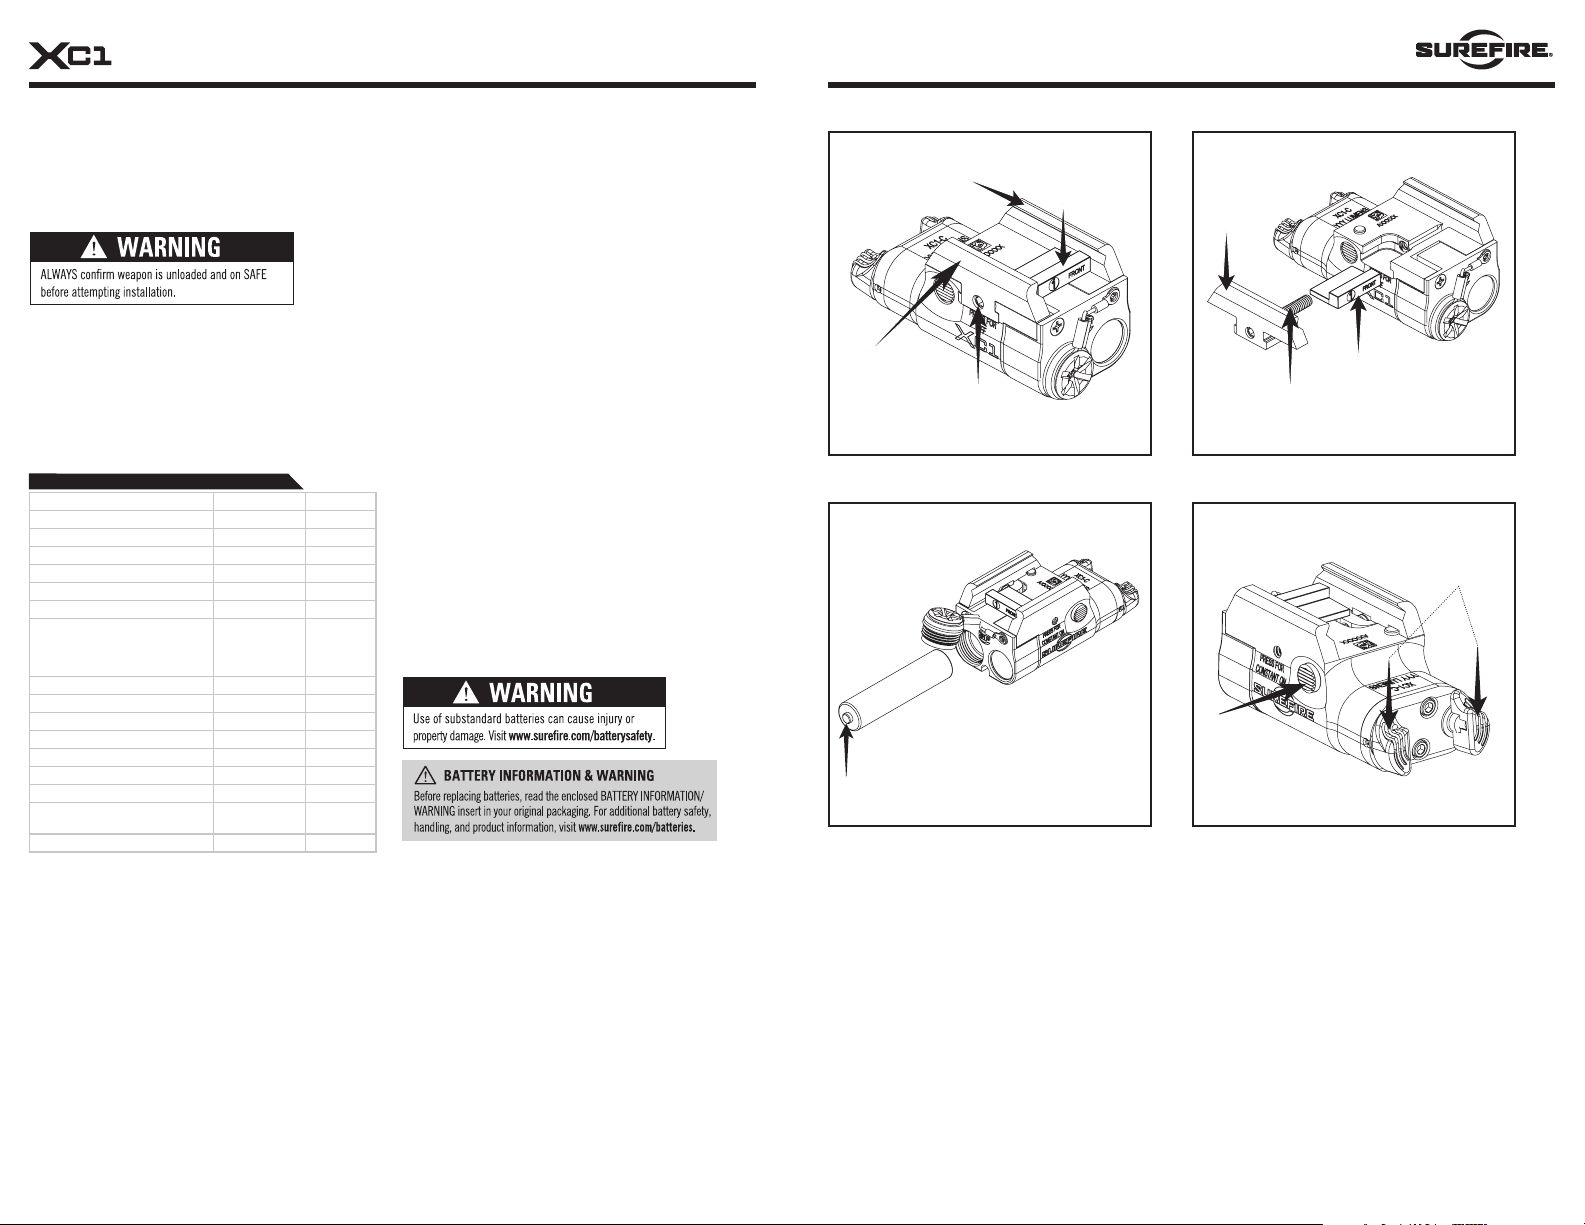
1. Loosen Rail Adjustment Bolt by turning counterclockwise to adjust
Rail Guide to the open position (Figure 1).
2. Align Fixed Rail with weapon’s accessory rail and hinge XC1-C over
the cross slot of host weapon.
3. Mate Crossmember with slot in weapon’s accessory rail.
4. Using a torque wrench and a 3/32-inch bit, tighten to 8 in-lb
onto a polymer pistol rail and to 8-9 in-lb on a metal pistol rail.
Do NOT overtighten! The Rail Adjustment Bolt will break if
excessive force is applied with a tool.
NOTE: If a torque wrench is not available, use a flat head screw driver
and hand tighten with light pressure until the screw stops rotating.
The XC1-C comes with five different Crossmembers (#1 comes installed)
which are designed to fit a variety of weapon accessory rails. Refer to the
chart below to find the appropriate Crossmember for your weapon.
FIGURE 4
FIGURE 1
CROSSMEMBER
RAIL GUIDE
FIXED
RAIL GUIDE
RAIL
ADJUSTMENT BOLT RAIL
ADJUSTMENT BOLT
POSITIVE TERMINAL
FACING FORWARD
PRESS FOR
CONSTANT-ON
FIGURE 3
FIGURE 2
PUSH DOWN FOR
MOMENTARY-ON;
QUICK TAP FOR
CONSTANT-ON
BATTERY REPLACEMENT
Confirm that your firearm is unloaded. Do not place hands in front of
muzzle when replacing and installing the battery in your XC1-C.
1. Remove the battery cap by turning any of starred slots counterclockwise
with coin or flathead/slot screwdriver (Figure 3).
2. Remove spent AAA battery and replace with a fully charged AAA battery.
NOTE: The supplied battery is rechargeable. Do not discard. AAA NiMH
batteries are recommended for optimum output and runtime. AAA
lithium batteries can also be used but runtime will be reduced. Do not
use alkaline batteries.
3. Ensure the positive battery terminal is facing toward the battery cap
and then tighten the battery cap.
CHOOSING THE APPROPRIATE
CROSSMEMBER FOR YOUR WEAPON
XC1-C MOUNTING
CHANGING THE CROSSMEMBER
(THE XC1-C MUST BE DETACHED FROM HOST WEAPON):
RAIL
GUIDE
CROSSMEMBER
PISTOL AND CROSSMEMBER COMPATIBILITY CHART:
FIREARM CROSSMEMBER # PART #
Beretta 90TWO 525248-41
Beretta APX 125248-1
Beretta PX4 Storm Sub-Compact 225248-11
Berreta 92/96 A1 325248-21
CZ P-07, P-10, P01, SP01, Shadow 2 325248-21
FN FNS-40, Five-Seven, 509 & FNX 325248-21
Glock Gen 3: 17, 19, 20, 21SF, 22, 23, 24, 29SF,
30SF, 31, 32, 34, 35, 36, 37, 38,
Glock Gen 4: 17, 19, 20, 21, 22, 23, 29, 30,
31, 32, 34, 35, 40, 41
125248-1
Glock Gen 5: 17, 19, 22, 23, 34, 45 325248-21
Heckler & Koch VP9 325248-21
Kimber: 1911 Custom 325248-21
Ruger SR-9 125248-1
SIG SAUER P226, P228, P229 425248-31
SIG SAUER P320 Carry & Full Size 525248-41
SIG SAUER P320 Compact, 1911 GSR 325248-21
Smith and Wesson M&P,
TSW (with riveted Rail), 99 225248-11
Springfield Armory XD 125248-1
1. Remove XC1-C from host weapon.
2. Use the included 3/32-inch hex wrench to rotate the Rail Adjustment
bolt counter-clock wise until the movable Rail Guide becomes
detached and set it aside.
3. Slide the installed Crossmember off of the XC1-C body (Figure 2).
Store for later use.
4. Slide the desired Crossmember into the XC1-C body ensuring the front
of the Crossmember faces forward.
5. Position the movable Rail Guide on the XC1-C body and thread the Rail
Adjustment Bolt into the movable Rail Guide.
6. Follow XC1-C MOUNTING instructions to attach XC1-C to host weapon.