Supreme Heating Nova User manual


This manual suits for next models
1
Table of contents
Other Supreme Heating Heat Pump manuals

Supreme Heating
Supreme Heating HEATSEEKER VORTEXPRO Instruction Manual

Supreme Heating
Supreme Heating NOVA-PRO290 Quick guide

Supreme Heating
Supreme Heating HEATSEEKER VORTEXPRO 10 KW Instruction Manual

Supreme Heating
Supreme Heating Heatseeker NovaS Instruction Manual

Supreme Heating
Supreme Heating HEATSEEKER VORTEXE Instruction Manual
Supreme Heating
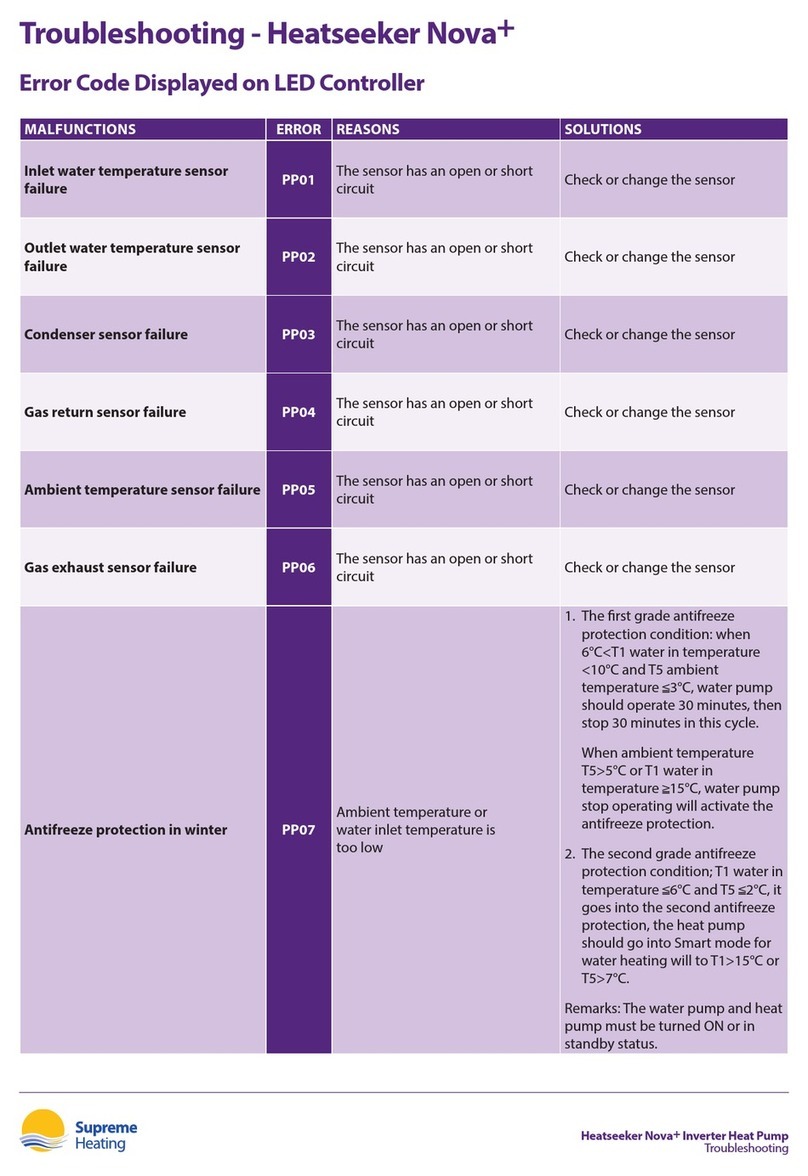
Supreme Heating Heatseeker Nova+ Programming manual
Popular Heat Pump manuals by other brands
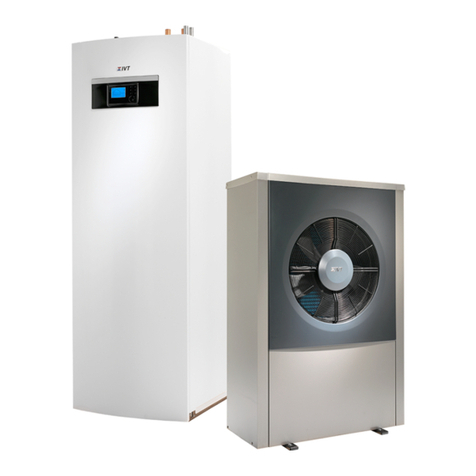
IVT
IVT AirX Series operating instructions
Daikin
Daikin ERLA-DV17 Installer's reference guide

Daikin
Daikin MicroTech III Sales and Engineering Data Sheet

Henden
Henden HHP16B Installation & owner's manual
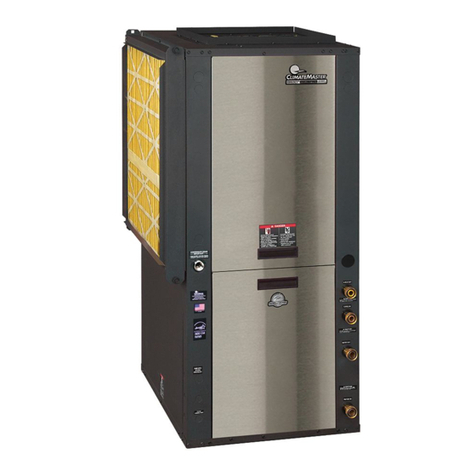
ClimateMaster
ClimateMaster trilogy 45 q-mode series user manual

EAS Electric
EAS Electric ThermoHome Series instruction manual

Zodiac
Zodiac Z550iQ quick start guide

Carrier
Carrier COMFORT SERIES 25HCB3 installation instructions

Carrier
Carrier Aquazone 50RWS036-360 Installation, Start-Up and Service Instructions

CTC Union
CTC Union 406 Installation and maintenance manual
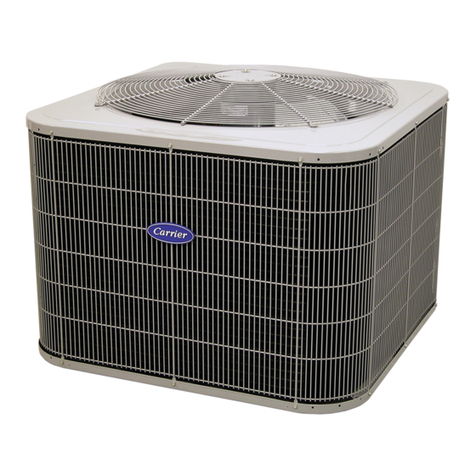
Carrier
Carrier 25HCB6 Performance Series installation instructions
Mitsubishi Electric
Mitsubishi Electric PCA-A KA7 Series Operation manual


