03 04
Safety Instructions
Requirements For Riders: (the following persons shall not ride the product)
Ⅰ.Persons under the age of 18.
Ⅱ.Pregnant women or persons unable to engage in vigorous physical activity due to illness.
Ⅲ.Persons under the influence of alcohol or drugs.
Ⅳ.Persons whose weight exceeds prescribed limits (see P26 "Model Parameters").
Pre-riding Inspection
●Check if tires have no cracks, no abnormal abrasion, no nails, stones, glass and other
foreign bodies embedded in.
●Tire pressure of 32.6 psi (225 kPa) is required for normal riding.
●Check if axle screws are tightened.
●Check if the handlebars and the front and rear wheels are fixed: to ensure that the handle-
bars are fixed, the front and rear wheels are stable without shaking, and can work normally.
●Check if the reflector is broken or contaminated.
●Check the status of power circuit and lighting circuit to ensure operate normally
●Check if the front and rear brake system can work normally.
●Make sure the battery capacity meets the riding requirements.
●Check the torque of spokes: tighten it immediately if loose (1.5N·m-2.5N·m)
●Check if the throttle is smooth without stuck and if it can return to idle position normally.
●Check the chain condition: the chain has its floating space under normal conditions. If it
gets stuck, please clean and lubricate the chain.
●Check the belt condition: Belt silencer can be used to eliminate the abnormal sound. Please
clean the belt if there are any obstacles.
●Check if the inner tube of the front fork is clean.
●Check the back shock absorption inner tube is clean.
●Check if the front and rear brakes can brake normally and ensure there is no damage to the
brake cable.
Riding Instructions:
●When riding, do not use mobile phone, camera, earphones, earplugs, etc, to avoid distrac-
tion.
supposed to ensure your safety. Do not wear slippers or high heels when riding.
●This product contains many electrical parts, so please do not leave it in the rain for too
long.
●Precautions for bike washing: please remove the battery before washing. It is prohibited to
use high-pressure washer to directly wash the battery or other electrical parts.
●Do not immerse the battery in water. (With damaged appearance, the waterproof perfor-
mance of the battery will be damaged.) The wading depth cannot exceed the center of the
wheel, otherwise it may damage the battery and cause severe injury. It is forbidden to
charge the battery under the circumstances above, otherwise it will cause fire, burning or
even explosion.
●Modifications to the Light Bee may render the vehicle unsafe and may cause severe
personal injury. For your safety, please do not modify this product without the manufactur-
er's permission.Surron will not take liability for non-approved modifications. If your parts on
the bike need to be replaced, please contact your local authorized dealer.
●If alarm or warning code is triggered, please stop using the bike immediately and contact
your local authorized dealer for professional guidance or maintenance service.
Requirements For Riding Conditions:
●Do not ride in extreme weather or if the rider is not in good health condition. When riding
in the rain or in the snow, braking distance will be extended, so please avoid riding in heavy
rain and other extreme weather conditions.
●Ride slowly and be careful under the complicated road conditions. When riding this bike at
high speed over obstacles including uneven, wet, loose ground, steep slope or sharp bend,
you may lose control of riding resulting in collision, fall or injury.
●Please avoid riding in heavy rain or ponding area. When the depth of the water on the road
exceeds the wheel center, it may affect the function of the motor and the brake. This bike may
be used in the rain and snow, but not for long time deep wading. The recommended wading
depth is within 20cm.
●The working temperature of this product is -10~45℃ (-50°F~113°F) and storage tempera-
ture is -10~50℃ (-50°F~122°F). The recommended storage temperature is 10℃ to 30℃
(50°F~86°F). Please store or ride under the temperature within the range above.
●According to the local laws and regulations, it is prohibited to ride in public road and bike
lanes.
●This is a performance motorcycle and should be treated with extreme caution. You are
obligated to know the laws in your area and to comply with related laws and traffic rules.
● User under 18 years old is not allowed to use this product.
●Before using this product, you must have motorcycle riding license and are recommended
to have the necessary proper motorcycle riding skills after professional training.
●Read all additional warnings and product instructions in this Owner’s Manual, as well as
safety labels, before operating your electric motorcycle. Please find an open and safe place
to practice in order to fully understand the bike and get the basic riding skills of the bike and
know its structure, which is the premise of safe riding.
●Never permit a guest to ride your electric motorcycle without proper instruction. Do not
lend this bike to people who are unfamiliar with it, so as to avoid injury. Please make sure
that the rider (you or others) has read the instructions and watched the instructional video
before riding alone. Persons unwilling or unable to take responsibility for their actions
should not use this motorcycle. You assume all responsibility while operating your bike.
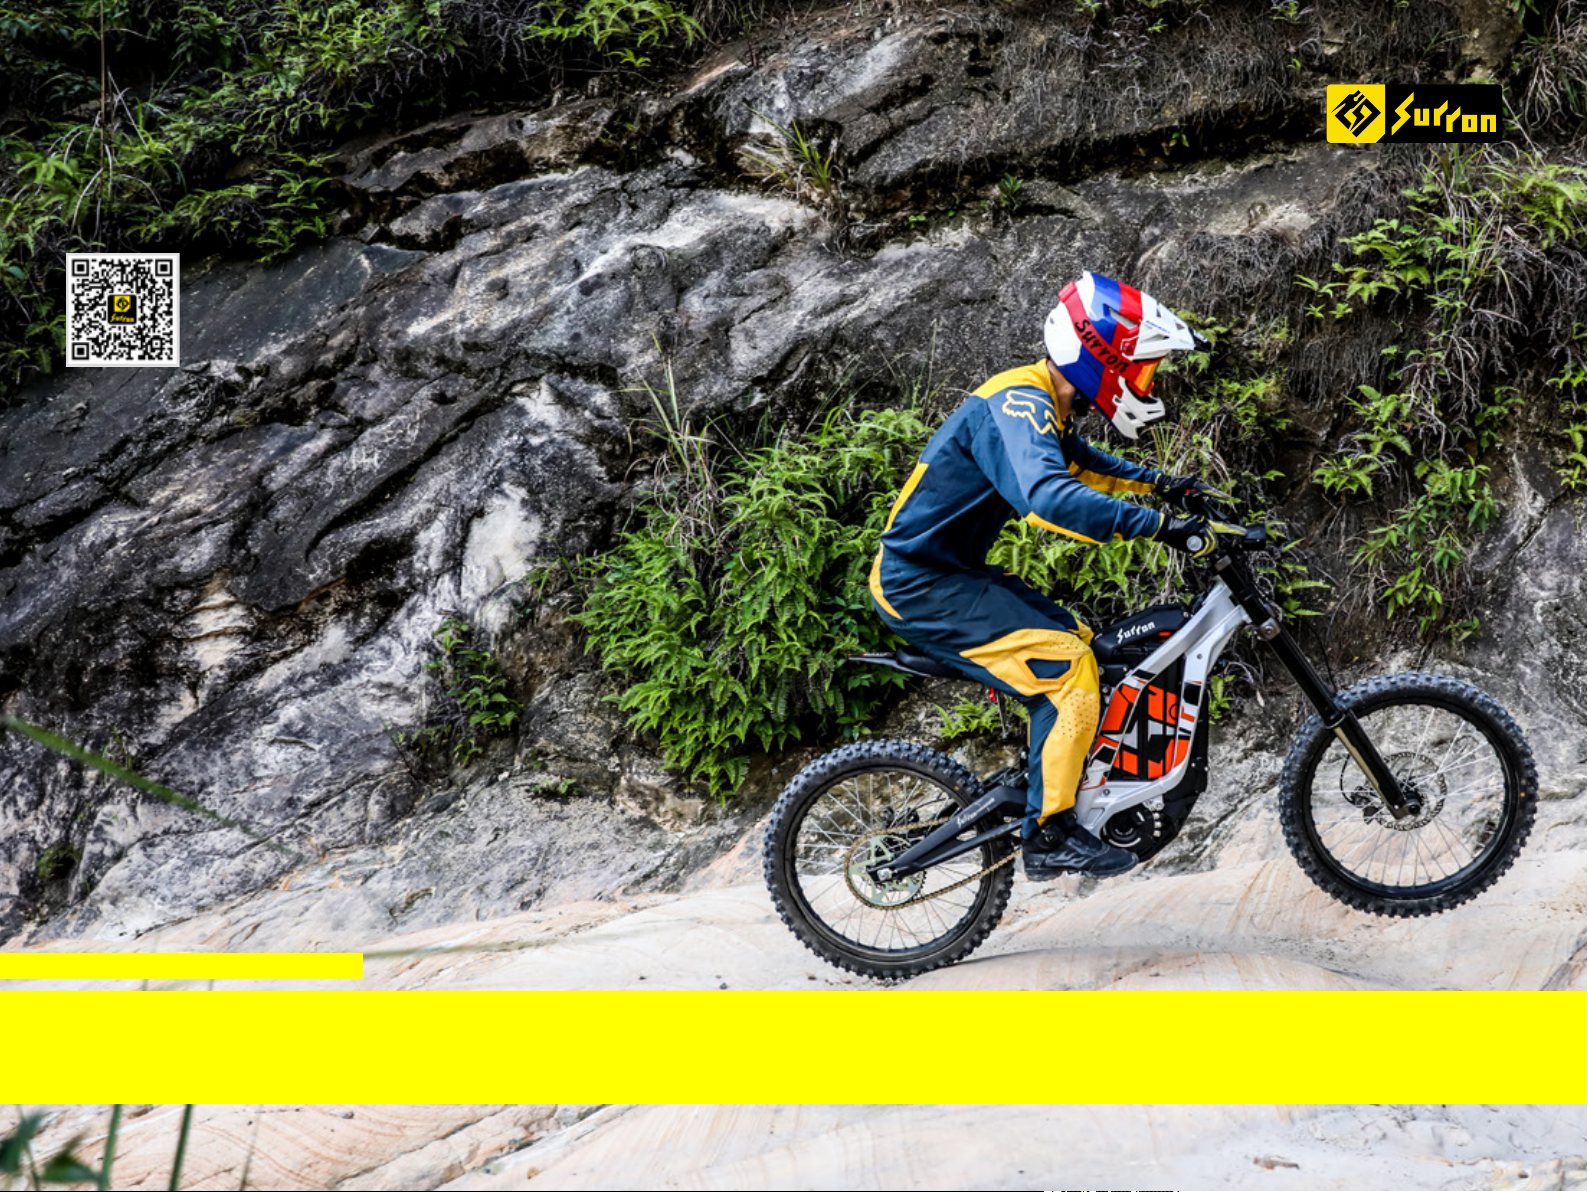
●Proper safety gear, including a regionally approved helmet, goggles, riding boots,
gloves, and protections should be worn while riding to reduce the risk of potential injury.
●Do not park inside the building, evacuation staircases, walkways and emergency exits.
●Follow the local fire hazard regulations and laws. Do not charge or park in residential
buildings. Charging should be kept away from combustibles and never over charging.
●This product is ridden by one person only, please do not take any passenger or carrying
other items.
●When riding, please wear loose, cuff-tightened clothes in bright colors which are
●Read all additional warnings and product instructions in this Owner’s Manual as well as
safety labels before operating your electric motorcycle. Please find an open and safe place to
practice in order to fully understand the bike and get the basic riding skills and be familiar
with its structure, which is the premise of safe riding. Proper safety gear, including a region-
ally approved helmet, goggles, riding boots, gloves, and protections should be worn while
riding to reduce the risk of potential injury. According to the local laws and regulations, it is
prohibited to ride in public road and bike lanes.
●During normal riding, do not use sudden acceleration and hard brake in order to save
battery power, protect parts on the bike, improve range and bike’s service life.
●If any abnormality occurs while riding, please stop riding immediately. Do not use this
product until the cause of the abnormality is identified and repaired. Please contact your
local authorized dealer immediately.
Usage Instructions:
●Place the product on a flat road and do not forget to turn off the key switch. Otherwise, it
could cause the bike slip which would cause injury to you and others. Do not place the bike
on a slope or on soft ground to prevent the bike from falling over!
●Please be sure to use the manufacturer’s lithium-ion battery charger. The charger input
voltage is 110V. Store the product safely before charging. Do not charge the bike if the
charger and charging port are damaged. Do not charge or park in the non-parking area.
Make sure the bike stays away from combustibles when charging and disconnect the power
supply after fully charged.
●Do not charge the battery below 0℃ (32°F), otherwise the battery cells will be damaged.
Please charge the battery when the temperature is appropriate for charging .