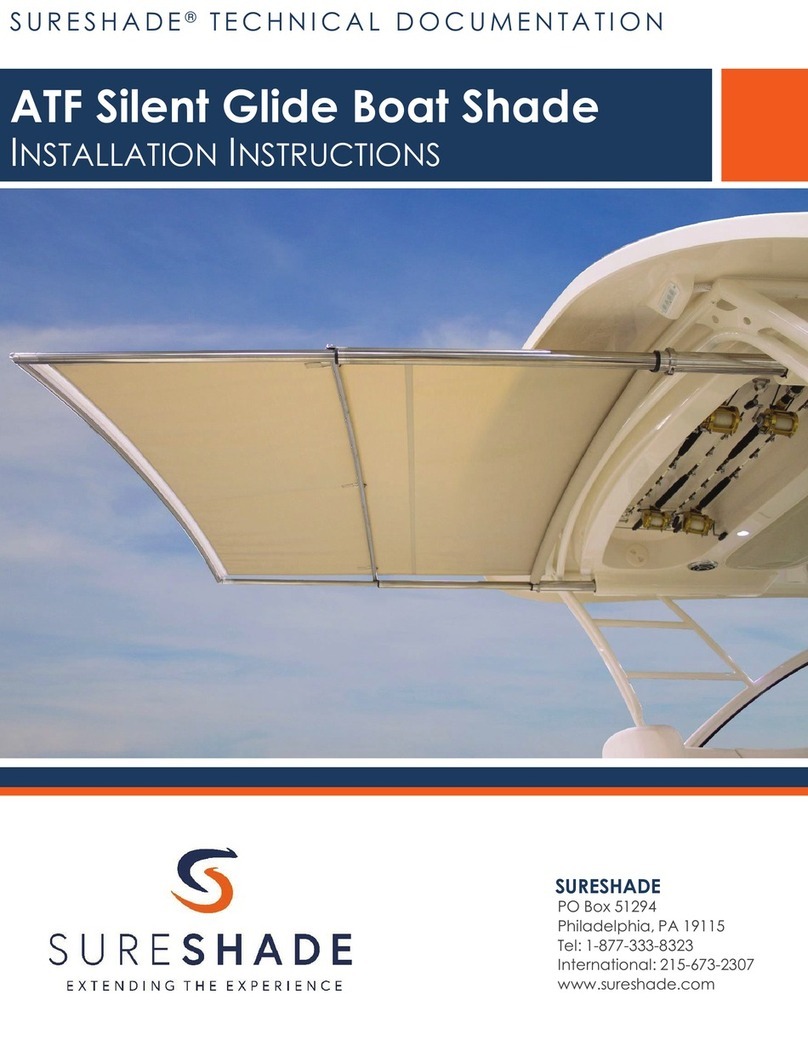
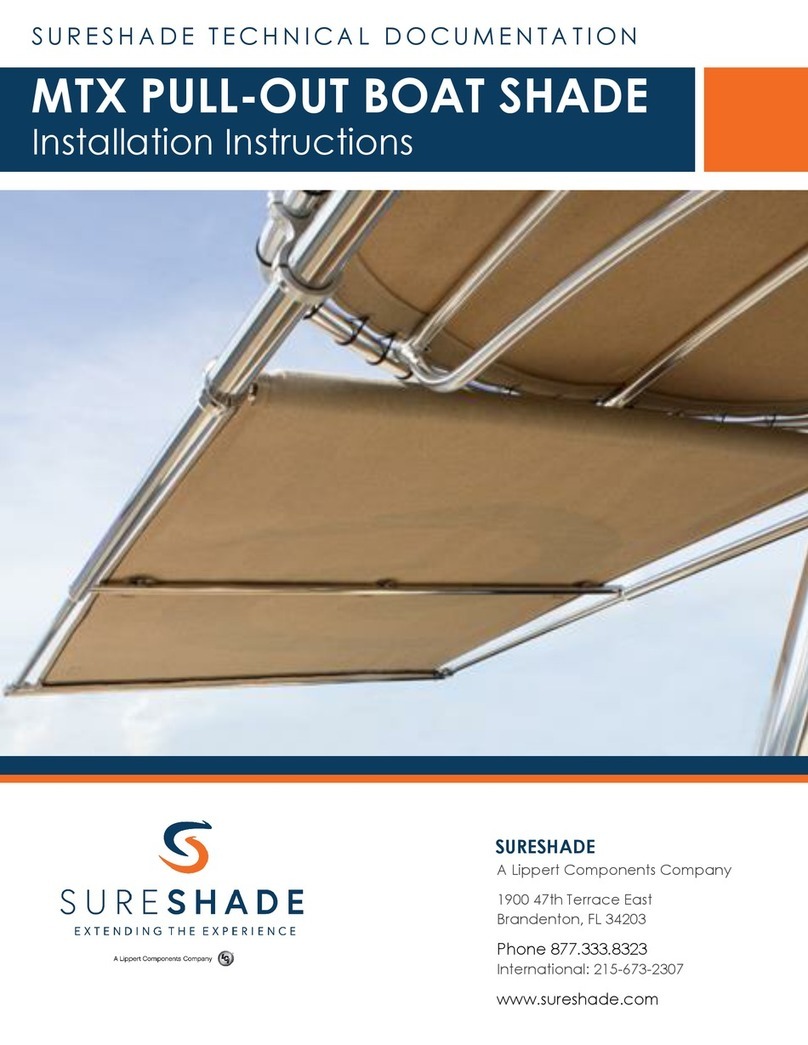
SureShade MTF Service manual

MTFINSTALL-082020
MTF Manual Boat Shade
Installation Instructions & Owner’s Manual
S U R E S H A D E T E C H N I C A L D O C U M E N T A T I O N
SURESHADE
A Lippert Components Company
1900 47th Terrace East
Brandenton, FL 34203
Tel: 1-877-333-8323
International: 215-673-2307
www.sureshade.com

SureShade MTF –Installation Instructions
CONTENTS
Introduction ……………………………………………………………….….3
Customer Support……………………………….……….………………….3
Warranty Information………………………………………………….….3-4
Important Instructions……………………………………………………….5
Safety Warnings………………………………………..………………….….5
Installation - Mounting Clamps…………………….….……………….….6
Installation –Steps and Tools Required……………………………….….7
Installation –Topside Mounting……...……………….…………………...8
Installation –Underside Mounting –Hanging…..…….………………...9
Installation –Underside Mounting –Standard….…..………………...10
Installation –Underside Mounting –Rod Holders…..………………...11
Installation –Underside Mounting –Radar Arch.………………...12-13
Installation –Side Mounting……...……………………..………………..14
Installation - Attach the Crossbars…………..………………………….15
Installation –Secure the Roller Assembly……….………………….16-17
Installation –Secure Outer Crossbars and Canvas……….……..….18
Shade Operation………………………………………………….……….19
Care and Maintenance…………………………….…………………….20
Page 2

SureShade MTF –Installation Instructions
INTRODUCTION
Thank you for purchasing a SureShade retractable shade for your boat. Invented by
boaters for boaters, SureShade is the new standard for shade on boats. Our automated
or manual retractable shade systems are featured on over 50 boat brands as factory or
aftermarket installations. SureShade is the only U.S.-made telescoping marine sunshade
on the market, with patents in the U.S., Canada, Europe and China. SureShade is
committed to improving sun safety on boats with shade systems that give boaters
more sun protection... where and when they need it.
CONTACT INFORMATION
CUSTOMER SUPPORT
We take pride in offering an unprecedented level of customer service to our boat
builders, dealers and —most importantly —the boaters who use our sunshade systems.
Whether you purchased your sunshade system as a factory-install option, an aftermarket
installation through your local boat dealer or directly from us, you can have confidence
in continued customer service resources from SureShade. Should you require assistance
with your SureShade installation, our technical experts are available from 9am - 5pm EST
Monday through Friday via email at service@sureshade.com or call us at 877-333-8323.
Further customer resources and information can be found on our website at:
https://www.sureshade.com/customer-resources/
MODEL AND SERIAL NUMBER TAG LOCATION
The canvas is identified by the white tag sewn into the canvas. Please do not remove
this label.
SURESHADE LIMITED PRODUCT WARRANTY STATEMENT
SureShade provides the following Limited Warranty of its electric and manual sunshade
awning systems. SureShade warrants that the shade framework —which consists of the
actuator drive assemblies, crossbars, roller assembly, mounts and in the case of an
electric shade, the motors, controller and wire that connects the actuators to the
controller —will be free from material defects and workmanship and will repair or
replace, at its sole discretion, any inoperable components that are reported within 3
years from the date of shade sale to original purchaser —boat builder, dealer or private
boat owner. SureShade will also replace, at its sole discretion, the canvas component of
the shade system (electric or manual) when reported defective within one year from
the date of canvas manufacture as indicated on the white manufacturer tag attached
to the canvas (tag must remain attached for warranty purposes).
Exclusions to this limited warranty are as follows:
•Damage resulting from abuse, misuse, neglect, improper installation, improper operation,
improper maintenance, attempted repair efforts resulting in further damage, power surges,
underpowering or forcing operation in low voltage situations, improper stowage for ground
transportation, inclement weather or other act of nature.
Page 3

SureShade MTF –Installation Instructions
•Damage resulting from leaving the shade extended unattended
during inclement weather.
•Damage resulting from leaving shade extended in conditions that exceed the shade
framework’s wind rating of 50 mph (Applies to aft facing shade only. Forward shade must be
stowed at all times while boat is underway).
•Damage resulting from corrosion.
•Any shade product that has been altered or modified from SureShade factory specifications.
•Any shade that’s installed without SureShade-supplied or approved mounting components.
•Removal and/or dismantling of the shade and its components (including actuator drive
system) without proper notification to SureShade.
•Attempted controller reset that results in loss of controller memory, specifically the
manipulation of dip switches 1-4.
•Deterioration of the canvas thread and stitching.
•Travel time to/from boat to troubleshoot, repair and/or replace components.
•Labor cost and expenses associated with removal or reinstallation of other components in
order to access the shade product components.
•Any cost associated with production downtime or time spent troubleshooting or reviewing
troubleshooting documentation/videos.
•Excessive labor cost beyond recommended standard labor repair rates.
SureShade reserves the right to utilize reconditioned, refurbished, repaired or
remanufactured products or parts in the warranty repair or replacement process. Such
products and parts will be comparable in function and performance to an original
product or part and warranted for the remainder of the original warranty period. In no
event shall any repair or replacement under this Limited Warranty exceed the fair
market value of the product as of the date of the owner’s claim. Acceptance of any
product returned for any refund provided by SureShade shall not be deemed an
admission that the product is defective. In order for a warranty claim to be deemed
valid, the following information must be provided to SureShade immediately after
discovery of any defect:
•Description of the nature of the problem
•Details of the boat that the shade is installed on —year, make, model and hull identification
number.
•Date of shade purchase, or in the case of factory install, date of boat purchase.
•Details of the installation —Factory install? Dealer install? Private install?
SureShade will make every effort to troubleshoot, determine root cause and fully resolve
the issue, either directly or with an experienced marine technician. SureShade is solely
responsible for determining and authorizing the remedial actions to be performed either
by a SureShade technician or an experienced marine technician approved by
SureShade. The remedy of repair or replacement of parts or materials that are found to
be defective in factory materials or workmanship covered by this limited warranty shall
constitute the owner’s sole and exclusive remedy against SureShade for any claims
whatsoever of economic loss resulting from product failure. Please contact us or call
877-333-8323 with any questions or concerns, or if replacement canvas or parts for
SureShade sunshade systems are needed.
Page 4

SureShade MTF –Installation Instructions
IMPORTANT INSTRUCTIONS
•In the event of malfunction please visit https://www.sureshade.com/service/
and review applicable videos and documentation before continuing to operate
the system or making any repairs. You may also submit a service request via
email at service@sureshade.com. Do NOT attempt to repair shade on your own
or you could risk voiding the warranty.
•Never disassemble actuators without permission from SureShade factory or you
will void warranty.
•Do NOT install the shade anywhere it will obstruct or interfere with the navigation
lights or any other boat accessories.
•When tensioning the canvas, refer to https://www.sureshade.com/service-and-
technical-documentation/ for proper roller pre-load instructions. Improper
tensioning can cause spring malfunction, which will prevent the roller assembly
from operating normally.
•Your SureShade product has been designed and tested to withstand wind
speeds of up to 50 mph. However, it is recommended to retract the shade while
underway.
•To protect the shade and components, always retract shade during inclement
weather. Retracting the shade when NOT in use will prolong the life of the
canvas and components.
•Refer to the SureShade website for maintenance and winterization procedures.
https://www.sureshade.com/customer-resources
•Do NOT operate the shade without the crossbars attached.
•It is important to understand the Warnings, Cautions and Notices BEFORE starting
the installation.
SAFETY WARNINGS
•Keep hands away from moving shade parts.
•Keep clear of shade while extending and retracting.
•Keep shade clear of obstructions.
Important Maintenance Warning: The actuators are spring-loaded. This means
that when in the retracted position, the actuators are under constant pressure to
extend the framework forward. Controlled operation of the unit is dependent on
the canvas, roller and gearbox components. The roller and gearbox are of robust
design; however canvas material and stitching can deteriorate, rip, or break over
time which could result in and uncontrolled extended movement of the
framework. It is important to conduct visual inspections of the canvas and stitching
and to replace or repair canvas when necessary. When removing canvas from the
framework, the framework must be in the extended position.
SAFETY LABEL LOCATIONS
Safety labels must be legible to alert personnel of safety hazards. Replace any
illegible or missing labels immediately. Safety labels removed during any repair
work must be replaced in their original position before operating the shade.
Page 5

SureShade MTF –Installation Instructions
Mounting Brackets
There are 3 types of mounting clamp configurations included with your shade system
depending on your install type (hardtop, T-top, tower or arch) as shown below here in
figures 1a thru 1c.
Most important part of the installation is to
make sure the actuators are installed
parallel to each other at the specified width
Fig 1a –standard mount Fig 1b –FIGURE 8 clamp Fig 1c –FIGURE 8 SWIVEL clamp
Installing MTF Manual Boat Shade
The following instructions detail how to properly install SureShade MTF Manual Boat Shade
system for DIY or aftermarket installations. SureShade MTF can be installed aftermarket on
a hardtop, arch, tower or T-Top. Installation instructions will vary per application.
Page 6

SureShade MTF –Installation Instructions
Installation Steps
Each MTF is custom-built to match the width of your top. Be aware that the
outside width includes two stationary actuators with a pair of mounting
clamps. These actuators require an area 4 inches wide by 18 inches long to
mount properly on each side. The roller and crossbars require another 7½
inches when retracted, but these elements need not be positioned
completely under the top.
Make sure the area aft is clear of obstructions that might interfere with
extension of the 6-foot-long shade.
Installation Steps to follow:
1. Mark the position of the mounting clamps
2. Secure the mounting clamps in place
3. Secure the actuators in place
4. Secure the mid crossbar in place
5. Secure the roller assembly in place
6. Secure the outer crossbar in place
Page 7
TOOLS & SUPPLIES NEEDED FOR INSTALLATION:
•SureShade MTF
•Tape measure
•Drill motor and 3/8-inch bit
•Adjustable wrench
•Allen wrenches (1/8 and 3/16 inches)
•Phillips screwdriver
•Marine sealant
Approximate Time: 3 Hours
Steps 1-3: Be sure to follow installation
instructions for the type of mounting
that will be used on your boat:
•Topside mounting
•Underside mounting
(hanging or standard)
•Underside mounting
with rod holders
•Underside mounting
with radar arch
•Sidewall mounting

SureShade MTF –Installation Instructions
Topside Mounting
Position and secure mounting clamps and actuators into place.
1. Position both actuators on top of the hardtop resting on the bottom half of
the mounting clamps (Fig 1). Make sure on top mount applications as shown
in Fig 1 that the crank handle will have enough clearance from the hardtop
when rotating.
Page 8
2. Position the actuators and ensure they are aligned / parallel (Fig 2).
NOTE –the actuators must be aligned (parallel) to ensure proper functioning of
the shade system.
Make sure handle has enough clearance
from the hardtop when rotating.
Note: A gap between the roller and the
hardtop is likely to occur.
3. Mark the forward and aft positions of the mounting plates
4. Drill and secure the mounting clamp to the hardtop in the marked locations.
5. Secure actuators to the mounting clamps.

SureShade MTF –Installation Instructions
Underside Mounting - Hanging
Position and secure mounting clamps and actuators into place.
1. Mark the hole locations for the mounting clamps, position and secure
mounting clamps and actuators into place.
NOTE –the actuators must be aligned (parallel) to ensure proper functioning of
the shade system.
Page 9
2. For each location, mark the bolt hole locations. Drill through the top structure
with a 3/8 drill bit and thru bolt the actuator in place using the 5/16 screws
provided along with the backing plates. Use Loctite with the thru bolts.
3. Secure the actuators to the mounting clamps. Keep in mind to position the
actuator so that the handle, gearbox, and roller do not interfere with
anything on the top structure.

SureShade MTF –Installation Instructions
Underside Mounting –Standard Clamps
Position and secure mounting clamps and actuators into place.
1. Mark the hole locations for the mounting clamps, position and secure
mounting clamps and actuators into place.
NOTE –the actuators must be aligned (parallel) to ensure proper functioning of
the shade system.
Page 10
2. For each location, mark the bolt hole locations. Drill through the top structure
with a 3/8 drill bit and thru-bolt the actuator in place using the 5/16 screws
provided along with the backing plates. Use loctite with the thru bolts.
3. Secure the actuators to the mounting clamps. Keep in mind to position the
actuator so that the handle, gearbox, and roller do not interfere with
anything on the top structure.

SureShade MTF –Installation Instructions
Underside Mounting –Rod Holders
Position and secure mounting clamps and actuators into place.
1. Mark the hole locations for the mounting clamps, position and secure
mounting clamps and actuators into place.
NOTE –the actuators must be aligned (parallel) to ensure proper functioning of
the shade system.
Page 11
2. For each location, mark the bolt hole locations. Drill through the top structure
with a 3/8 drill bit and thru-bolt the actuator in place using the 5/16 screws
provided along with the backing plates. Use Loctite with the thru bolts.
3. Secure the actuators to the mounting clamps. Keep in mind to position the
actuator so that the handle, gearbox, and roller do not interfere with
anything on the top structure.
4. Position to provide
access to rod holders
as needed.

SureShade MTF –Installation Instructions
Underside Mounting –Radar Arch
Position and secure mounting clamps and actuators into place.
1. Line up the two (2) mounting clamps on the underside of the arch to
determine the position of both actuators (Fig 1) and mark the position of the
mounting plates and mounting hole locations on the underside of the radar
arch. For a fiberglass arch we recommend using a piece of rubber between
the mounting plate (NOT SUPPLIED BY SURESHADE).
NOTE –the actuators must be aligned (parallel) to ensure proper functioning of
the shade system.
Page 12
NOTE: THE ACTUATOR AND LATERAL STANCHION TUBING IS NOT CUT TO LENGTH.
THEY WILL HAVE TO BE CUT TO LENGTH BY THE INSTALLER.

SureShade MTF –Installation Instructions
Underside Mounting –Radar Arch (continued)
2. Position one end of the actuator into the mounting clamp and have someone
support the other end of the actuator until you have determined the mounting
location and the length of the actuator stanchion to make the actuator level (Fig 3).
Page 8
3. Double check the second mounting plate location (Fig 4). Drill and mount second
mounting plate to the radar arch.
4. Position one end of the second actuator into the mounting clamp and have someone
support the other end of the actuator until you have determined the mounting location
and the length of the actuator stanchion to make the second actuator level (Fig 5).
5. With the spacer positioned in the
area of the actuator stanchions
(shown in Fig 5 above), next tie in
the actuator stanchions with the
lateral support stanchion to the
boat’s stationary top to set the
width of the SureShade and
prevent the SureShade from side-
to-side movement (Fig 6).

SureShade MTF –Installation Instructions
Side Mounting
Position and secure mounting clamps and actuators into place.
1. Mark the hole locations for the mounting clamps, position and secure
mounting clamps and actuators into place.
NOTE –the actuators must be aligned (parallel) to ensure proper functioning of
the shade system.
Page 14
2. For each location, mark the bolt hole locations. Drill through the top structure
with a 3/8 drill bit and thru-bolt the actuator in place using the 5/16 screws
provided along with the backing plates. Use Loctite with the thru bolts.
3. Secure the actuators to the mounting clamps. Keep in mind to position the
actuator so that the handle, gearbox, and roller do not interfere with
anything on the top structure.

SureShade MTF –Installation Instructions
Attach the Crossbars
With the actuators installed, you can reattach the roller and crossbars.
Page 15
Secure the mid-crossbar in place
Slide mid-section crossbar onto
actuators and secure in place.

SureShade MTF –Installation Instructions
Secure the Roller Assembly
Secure the roller assembly in place.
Hold the roller in position so you can slide the roller shafts (port and starboard) into
the roller (Fig 5 & 5A). Note: Position the roller so that the canvas unrolls from the
top of the roller (Fig 6). Do not secure roller to the shafts just yet.
Page 16
Unroll the canvas from the roller (Fig 5) and let the canvas hang over the mid
crossbar (Fig 6)

SureShade MTF –Installation Instructions
Secure the Roller Assembly (continued)
Line up the screw holes and secure the roller to the roller shafts on both port and
starboard sides of the roller (Fig 7, 8 & 9).
Page 17

SureShade MTF –Installation Instructions
Secure the Outer Crossbars and Canvas
Slide the outer crossbar thru the canvas pocket (Fig 10) and slide the crossbar
tube onto the sleeve and fasten in place with the screw (Fig 11).
Page 18
Slide the other end of the crossbar
into the actuator tube and secure
in place (Fig 13).

SureShade MTF –Installation Instructions
Shade Operation
To extend the MTF shade, simply crank the hand lever to extend canvas fully.
To retract the MTF shade, simply crank the hand lever in the opposite direction
until the canvas is full retracted to the boat top.
Important Maintenance Warning: The actuators are spring-loaded. This means
that when in the retracted position, the actuators are under constant pressure to
extend the framework forward. Controlled operation of the unit is dependent on
the canvas, roller and gearbox components. The roller and gearbox are of robust
design; however canvas material and stitching can deteriorate, rip, or break over
time which could result in and uncontrolled extended movement of the framework.
It is important to conduct visual inspections of the canvas and stitching and to
replace or repair canvas when necessary. When removing canvas from the
framework, the framework must be in the extended position.
If there are any questions, please call us at 1-877-333-8323,
or international 1-215-673-2307
Page 19

SureShade MTF –Installation Instructions
Care & Maintenance
SureShade recommends following basic care and maintenance of SureShade shade
components to maintain peak performance and prolong the life of your sunshade system.
REGULAR CLEANING
We recommend using the cleaning product Nevr-Dull® Magic Wadding Polish for cleaning
SureShade system components. Petroleum-based cleaners and abrasive metal cleaners
should not be used.
To clean and polish, extend the shade fully and wipe down all components using the
Nevr-Dull polish. Then, use a rag to wipe off any excess and polish the tubes.
Clean the shades no less than every other month and perhaps more frequently in saltwater
areas and areas with higher-than-average temperatures (e.g., southwest Florida or the
Caribbean).
CANVAS
NOTICE: SureShade does not recommend removing canvas from the roller system, as it
may be difficult to properly reinstall or may result in damage to the rollers. Under no
circumstances should the canvas supplied with any SureShade system ever be placed in
a washing machine.
SureShade sunshade systems use Sunbrella® fabrics for canvas, and we recommend
following Sunbrella’s basic canvas care and cleaning instructions to prolong the life of the
canvas.
Basic canvas care includes:
•General, light cleaning with a hose on a monthly basis with clear water to remove
debris.
•A thorough cleaning every 2-3 years, which may include fabric guard and/or mildew
treatments.
•Conduct an annual inspection of your canvas to ensure that all threading is intact.
•A pull test on the thread to confirm that threading has not become dry-rotted from the
elements.
LONG-TERM STORAGE
SureShade sunshade systems are built with quality marine-grade construction and materials;
however, just like other parts of your boat, SureShade canvas systems need to be shielded
from snow and other harsh winter weather conditions to protect the canvas and mechanical
components.
SureShade recommends that customers take proper precautions to avoid damage during
winter storage (or ground transportation for winter storage), which include fully retracting and
securing the SureShade sunshade system and properly tarping or shrink-wrapping your boat.
Many boaters transport their boats to a storage location or a warmer climate during the
winter months. To ensure that the SureShade system is properly transported and to avoid
potential damage, visit www.sureshade.com/sureshade-groundtransportation-guide/.
Page 20
Other manuals for MTF
2
Table of contents
Other SureShade Indoor Furnishing manuals
Popular Indoor Furnishing manuals by other brands

fantastic furniture
fantastic furniture MILFORD quick start guide

Whalen
Whalen TV Console BBAVCL54-SMB manual

RH
RH Secur24 user guide

abitare kids
abitare kids Color Flex Assembly & instruction manual

Seating Matters
Seating Matters ATLANTA Operation manual & product specification

JWA
JWA 68026 Assembly instruction

comfortel
comfortel Smart colour 8750 owner's manual

Home Decorators Collection
Home Decorators Collection LMBVT2522D Use and care guide

Rauch
Rauch M2697 Assembly instructions

Craftsman
Craftsman 320.28160 product manual

Bertini
Bertini BR1519-8 instruction manual

Happy Babies
Happy Babies B05 Assembly instructions