manuals.online logo
Brands
  1. Home
  2. •
  3. Brands
  4. •
  5. Surewood Cabinetry
  6. •
  7. Indoor Furnishing
  8. •
  9. Surewood Cabinetry BBC3642 User manual

Surewood Cabinetry BBC3642 User manual

Surewood Cabinets
Compass Manufacturing International / Louisville, KY / www.cmiproduct.com
Base Blind Corner Cabinet- Assembly Instructions
(Includes standard size BBC3642, BBC3945, BBC4248, BBc4851)
Parts with Universal Box
2 -Side Panels; 1 Left and 1 Right
1 -Bottom Panel
1 -Back Panel
1 -Shelf
1 -Toe Kick
4 -Wood Corner Brackets
1 -Hardware Package
1 –Drawer Slide set (1-left & 1 Right) for Single Door Base Cabinets
Note: Drawer Slide Set will contain, 2 - Drawer Slides, 2 - Orange Color Plastic Drawer Clips with screws,
2 –Plastic Grey Color Rear Brackets with screws.
Parts with Face Frame and Door
1 - Face Frame with Door/s & Drawer Fronts
1 - Drawer Front
1 - Drawer Bottom
1 - Individually Packed Dovetail Drawer sets.
(Note: Each set of these should contain 1 - Left side, 1 - Right side and 1 –Back. The Front of the Drawer Box is mounted to the
back of the Drawer Front and will be in the Face Frame and Door carton)
1) Identify all parts.
2) You should have 2 qty boxes for your base cabinet; one carton containing the Face Frame and Door/s attached. The
drawer front/s, will be packaged in the Face Frame box with the front of the drawer box attached. The other carton
contains the cabinet body parts.
3) Make sure to have a clean clear area to work with so the cabinet does not get damaged.
4) Lay Face Frame of Cabinet face down on a soft smooth protected surface (carpet, foam, rubber mat)(Diagram A).
5) Slide Right Side panel in left pre-cut slot on face frame making sure that the pre-cut slots on the panel are facing
towards inside of the cabinet (Diagram B). (Note: placing a thin bead of wood glue in the grooves before sliding panels
in will help with the sturdiness and assembly of cabinets. If the panels are a little too tight to slide freely, use a rubber
mallet to gently tap into place.)
6) Repeat step 5 with Left side panel.
7) Slide base bottom panel into pre-cut slot provided by side panels (Diagram C).
Tools Required Tools Optional
Philips Screwdriver Power Drill/Screw driver
Wood/Rubber Mallet Power Pin gun w/ 5/8” pins
Hard Wood Block Square
Utility Knife
Fine Sandpaper 240 grit
Tape Measure
Square
Small wood chips or toothpicks
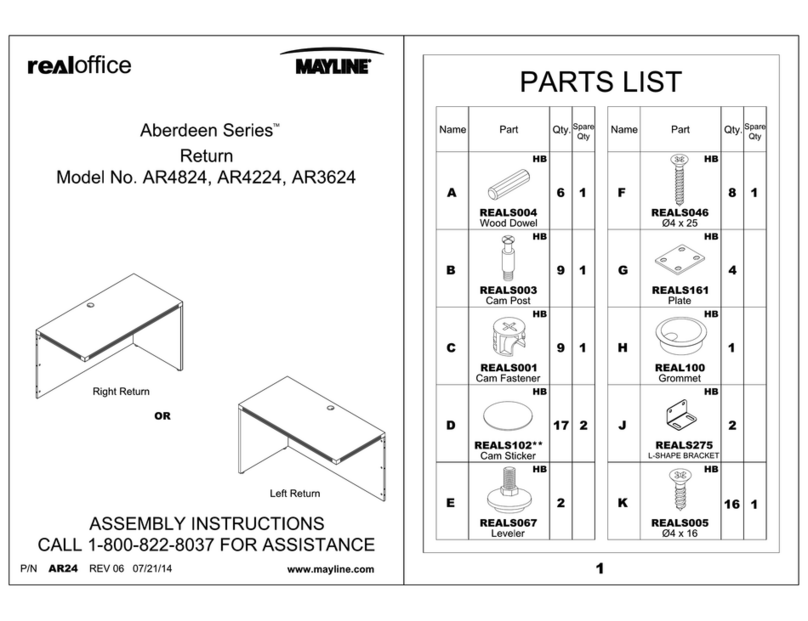
Diagram A
Diagram B
Diagram C
Diagram D
8) Place back panel in the grooves provided in the side panels and the bottom in the groove in the back (Diagram D).
9) Use ¾” screws to fasten side panels to the back (Diagram E). There are 3 screws for each side. We suggest you put
these in using a screwdriver vs. a screw gun unless you have one with a low torque setting. MAKE SURE SCREW HEADS
ARE PAST THE SURFACE OF THE SIDE PANEL. TIP: If you should strip the screw just back it out and put in a wood chip or
a couple of tooth picks and put the screw back in. BE CAREFUL!
10) Place 2 –¾” Screws into the holes provided in the back panel.Screw back into bottom of cabinet (Diagram F).
11) Stand cabinet up and lie on its back (Diagram G).
12) Use clear “L”brackets to mount toekick. Screw brackets into side panels first. 4 brackets are supplied but only 2 are
necessary. If you are using other material to cover the toe kick this step may not be necessary. Make sure toekick
extends past side panel ¼” on each side (Diagram H).
13) Stand cabinet up.
14) Locate the predrilled holes near the top of the base cabinet back panel and place the grey plastic drawer glide brackets
in the 2 pre-drilled holes and secure in place with the screws in the drawer slide hardware bag. (Repeat process based
on Base Cabinet type).
15) Take your Drawer slides and place the left slide on the Right side of the base with the back of the slide resting in the
bracket on the back panel (Diagram I).
16) Push the slide all the way to the Right of the face frame opening and line up with the predrilled holes in the bracket and
screw it in.
17) Repeat Step 15 for the Left side drawer slide and all remaining drawer slides based on Cabinet type.
Diagram E
Diagram F
Diagram G
Diagram H
¼” Inch
Diagram I
Building the Drawer Box
18) Take the Drawer front with the Dovetail drawer box front attached and push the left side of the drawer box into the
Dovetail joint making sure all grooves for the bottom are pointing to the inside of drawer. (Use a hard rubber mallet
and piece of wood to gently tap the pieces into place). (Diagram J).
19) Repeat Step 17 with right side.
20) Place drawer bottom into pre-cut grooves and slide into place making sure the bottom goes all the way into the groove
on the drawer box front (see drawing). TIP: a couple of small drops of glue could be used to make sure drawer box
bottom is not loose but it is not required (Diagram K).
21) Place the back of the Dovetail Drawer box in place making sure the drawer bottom is all the way in the pre-cut groove.
(Diagram L)
22) Turn drawer upside down and place Orange plastic drawer clips in the front of the box. The 4 holes in the clips should
be against the inside bottom edge of drawer (Diagram M).
23) Screw these into place with screws supplied.
24) Repeat Steps 17 through 22 for all remaining drawers (based on Cabinet type).
25) Stand Cabinet up.
26) Pull the Drawer slides out of the cabinet body and place drawer box on the slides (Diagram N).
27) Make sure when putting drawer box onto slides that they snap into the Orange plastic drawer clips and metal hooks to
go into the pre-drilled holes on the back of the drawer box
Diagram J
Diagram K
Diagram L
Diagram M
Diagram N
28) With cabinet fully assembled take the Wood corner brackets and place in each corner at the top of the cabinet at a 45
degree angle. Make sure they are properly touching the side and back/face frame. Screw into place using screws
supplied in the hardware bag (Diagram O).
29) Determine the desired shelf height then push the shelf clips into the predrilled holes in the side panels. Place shelf on
clips (Diagram P). Optional –you may screw the shelf to the shelf clip if desired.
If you have any questions please contact the dealer you purchased the cabinets
from or contact us through our web site at www.cmiproduct.com
Diagram P
Diagram O

This manual suits for next models

3

Other Surewood Cabinetry Indoor Furnishing manuals

Surewood Cabinetry Lazy Susan User manual

Surewood Cabinetry

Surewood Cabinetry Lazy Susan User manual

Surewood Cabinetry NS-WDC2430-F User manual

Surewood Cabinetry

Surewood Cabinetry NS-WDC2430-F User manual

Surewood Cabinetry Advantage Series User manual

Surewood Cabinetry

Surewood Cabinetry Advantage Series User manual

Popular Indoor Furnishing manuals by other brands

Mayline Realoffice Aberdeen Series Assembly instructions

Mayline

Mayline Realoffice Aberdeen Series Assembly instructions

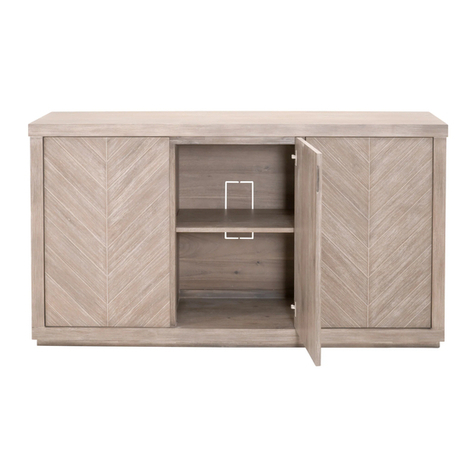
Essentials For Living ADLER SIDEBOARD WITH WOOD TOP 6130.NG Assembly instructions

Essentials For Living

Essentials For Living ADLER SIDEBOARD WITH WOOD TOP 6130.NG Assembly instructions

SHANGRI-LA ORLANDO SLORLAWBDNA user guide

SHANGRI-LA

SHANGRI-LA ORLANDO SLORLAWBDNA user guide

Royal Classics ANASTASIA DP1731-20 Assembly instructions

Royal Classics

Royal Classics ANASTASIA DP1731-20 Assembly instructions

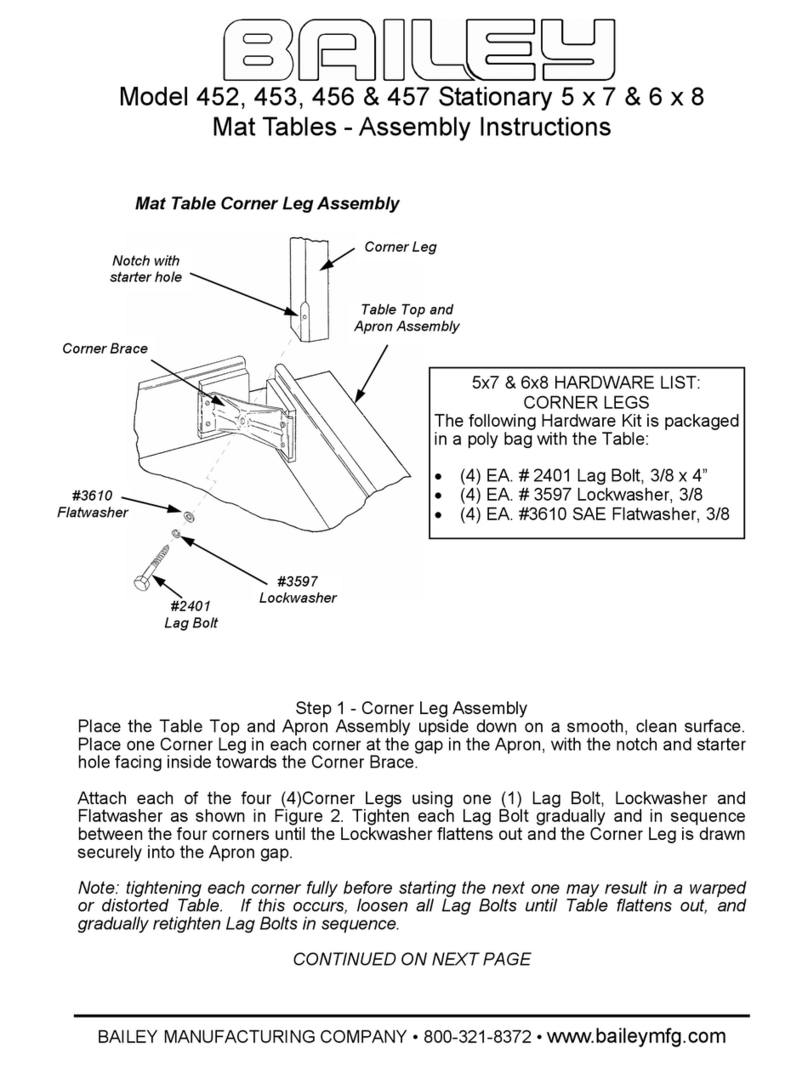
Bailey 452 Assembly instructions

Bailey

Bailey 452 Assembly instructions

KidKraft 16612A Assembly instructions

KidKraft

KidKraft 16612A Assembly instructions

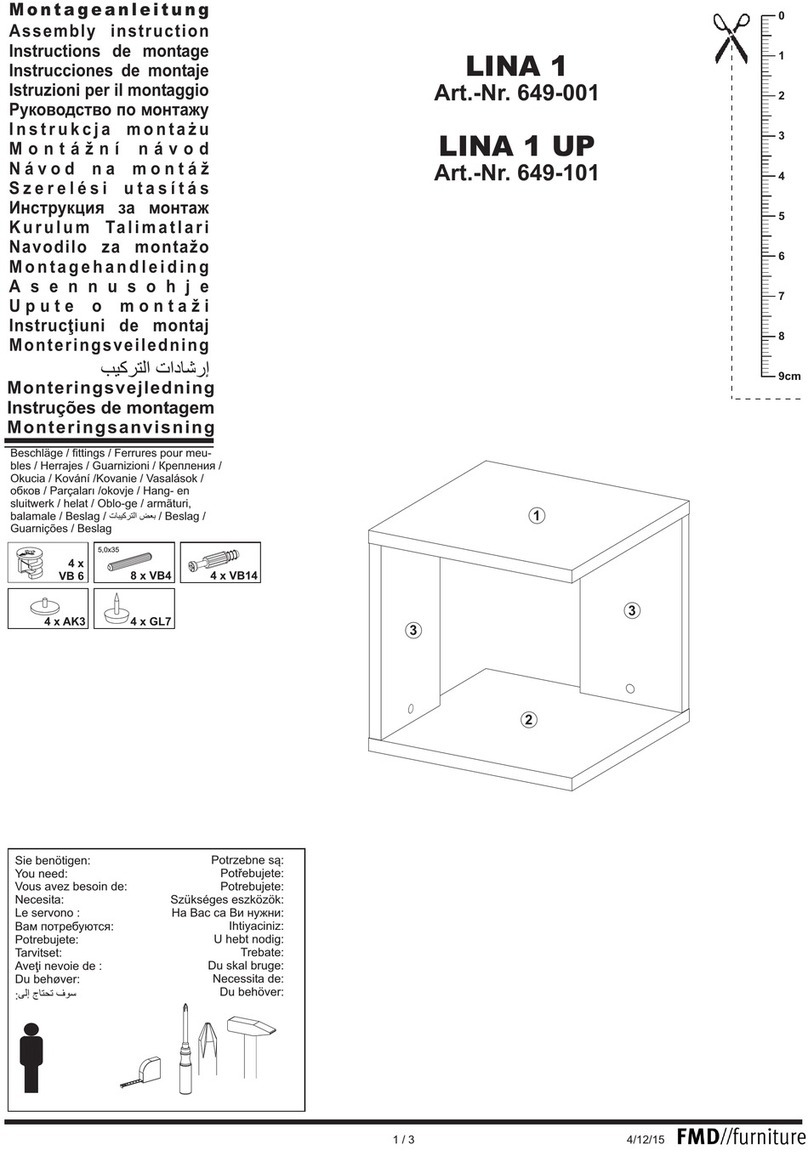
FMD Furniture LINA 1 649-001 Assembly instruction

FMD Furniture

FMD Furniture LINA 1 649-001 Assembly instruction

Home Decorators Collection 32BM7024-O134 Use and care guide

Home Decorators Collection

Home Decorators Collection 32BM7024-O134 Use and care guide

Lightolier QVS1GPFOS2FT specification

Lightolier

Lightolier QVS1GPFOS2FT specification

Costway HU10334 manual

Costway

Costway HU10334 manual

Karla Dubois Manhattan Assembly instructions

Karla Dubois

Karla Dubois Manhattan Assembly instructions

aspenhome I205-9102 Assembly instructions

aspenhome

aspenhome I205-9102 Assembly instructions

Relax The Back ZERO GRAVITY PR128 Series owner's manual

Relax The Back

Relax The Back ZERO GRAVITY PR128 Series owner's manual

Gami TOSCANE J36 275 Assembly instruction

Gami

Gami TOSCANE J36 275 Assembly instruction

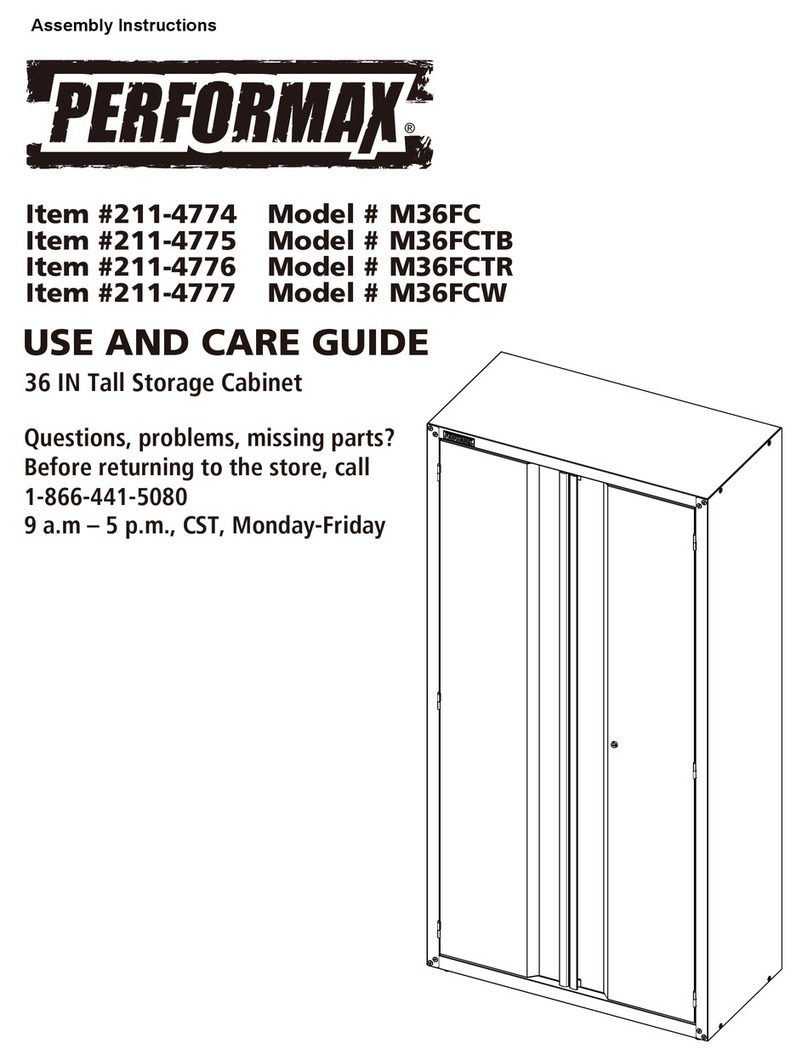
Performax M36FC Use and care guide

Performax

Performax M36FC Use and care guide

EXPEDO SIGMA S1D manual

EXPEDO

EXPEDO SIGMA S1D manual

Wampat B-SCT1501W Assembly instructions

Wampat

Wampat B-SCT1501W Assembly instructions

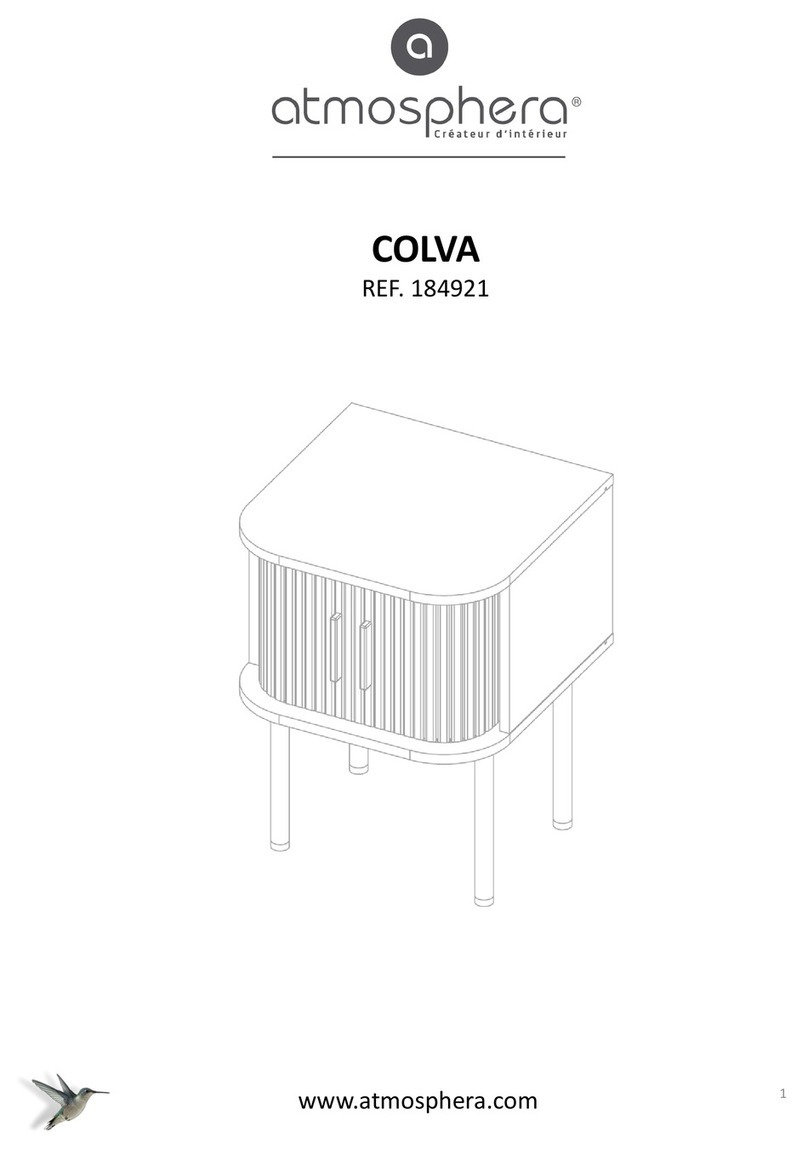
atmosphera COLVA 184921 manual

atmosphera

atmosphera COLVA 184921 manual

manuals.online logo
manuals.online logoBrands
  • About & Mission
  • Contact us
  • Privacy Policy
  • Terms and Conditions

Copyright 2025 Manuals.Online. All Rights Reserved.