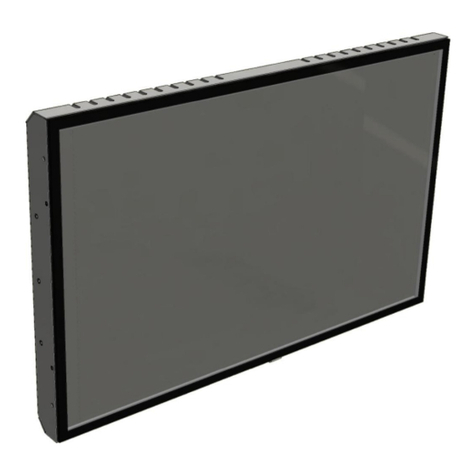
Suzohapp Vision Pro 150TFT 2302 Series User manual

Page 2 of 10
Index
1. Introduction..................................................................................................................................... 3
2. Safety............................................................................................................................................... 3
3. Model descriptions.......................................................................................................................... 3
4. Monitor connection......................................................................................................................... 3
5. Monitor specifications..................................................................................................................... 4
6. Operation ........................................................................................................................................ 5
7. OSD MENU....................................................................................................................................... 6
8. Driver software touch screen (optional 150TFTS2302MG)............................................................. 8
9. Mounting instructions ..................................................................................................................... 9
10. Accessories ................................................................................................................................ 10

Page 3 of 10
1. Introduction
Congratulations with the purchase of your monitor. This LCD monitor is a color active matrix thin-film-
transistor (TFT) liquid crystal (LCD) to provide superior display performance.
2. Safety
This monitor is only be suitable for use in an interior environment where there are not sealed, not
subject to dust, dirt, condensation (Pollution Degree 2) (IP20).
It is not allowed to connect appliances to the monitor which does not comply to SELV or Class II
qualification.
Turn off the monitor before cleaning.
The slots located on the backside of the monitor case are for ventilation. Do not block or insert
anything inside the ventilation slots.
It is important that your monitor remains dry. Do not pour liquid into or onto the monitor. If the monitor
becomes wet do not attempt to repair it yourself.
To unplug the monitor from the power outlet before cleaning. Do not use alcohol (methyl, ethyl or
isopropyl) or any strong dissolvent. Do not use thinner or benzene, abrasive cleaners or compressed
air. To clean the monitor, use a cloth lightly damped with a mild detergent.
If the liquid crystal materials leaks from the panel, it should be kept away from the eyes or mouth. In
case of contact with hands, legs or clothes, it must be washed away thoroughly with soap.
Warning: This is a class A product. In a domestic environment this product may cause radio
interference in which case the user may be required to take adequate measures.
3. Model descriptions
Part number
Description
150TFT2302
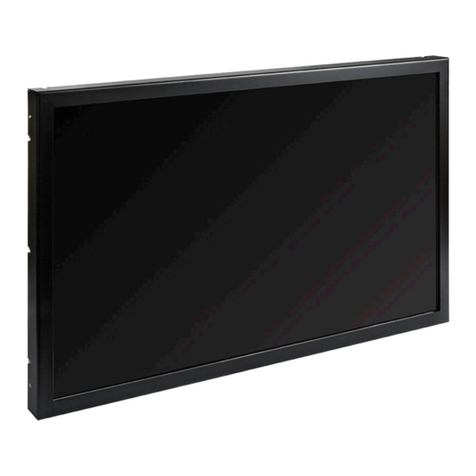
Monitor 23”included VGA cable
150TFTG2302
Monitor 23” with tempered glass
150TFTG2302G
Monitor 23” with tempered glass included VGA cable
150TFTS2302M
Monitor 23” with 3M touch USB panel
150TFTS2302MG
Monitor 23” with 3M touch USB panel included VGA cable and USB cable
Further models to be announced.
4. Monitor connection
1. Connect the 12V power supply to the monitor.
2. Connect one end of the video cable to the computer and the other to the monitor. Tighten by
turning the two thumb screws clockwise to ensure proper grounding.
3. Connect one end of either the touch screen cable to the computer and the other end to the
monitor.
4. Press the power button on the rear panel to turn the monitor power on.
Page 4 of 10
5. Monitor specifications
Panel
Manufactures
Part No.
LG
LM230WF3-SLE1
Absolute Maximum Ratings
Item
Unit
Min
Typical
Max
Remarks
Operating Temperature
°c
0
-
50
Storage Temperature
°c
-20
-
60
Operation Humidity
%
10
-
90
Storage Humidity
%
10
-
90
Input characteristics
Description
Signal
Unit
Min
Typical
Max
Remarks
Power in (2,5mm plug)
Input
VDC
11.4
12
12,6
Consumption
A
1,9
RGB Input
Analog RGB
VPP
0
0.7
-
Sync
VDC
0
5
5.5
H Frequency
KHz
31
64
80
V Frequency
Hz
55
60
75
DVI-D Input
DATA/CLK
VPP
450
500
900
Display Characteristics
Item
Unit
Specifications
Screen Diagonal
[inch]
23
Active Area
[mm]
509.184 (H) x 286.416(V)
Pixels
1920x1080
RoHS Compliance
RoHS Compliance
Optical Characteristics
Item
Unit
Conditions
Min.
Typ.
Max
Remarks
White Luminance
[cd/m2]
Center point
200
250
-
-
Contrast Ratio
600
1000
-
-
Response Time
[msec]
Gray to Gray
-
14
25
-
Viewing Angle
[degree]
[degree]
Horizontal (Right)
CR = 10 (Left)
170
178
-
-
[degree]
[degree]
Vertical (Upper)
CR = 10 (Lower)
170
178
-
RGB input format
Item
Description
Resolution
Resolutions
XGA
1024x768
720P (HD)
1280x720
WXGA
1366x768
SXGA
1280x1024
WSXGA+
1680x1050
1080P (FHD)
1920x1080

Page 5 of 10
6. Operation
Color LED: This LED shows the state of controller.
Green is the “normal state”.
Red is the “Off mode”. (Can’t find Sync. signals)
Amber is the “DPMS mode” (Display Power Management Signaling).
PC Settings: The PC needs to be set to an appropriate graphics mode that has the same resolution
with the LCD panel to have clear screen image. And the vertical refresh rate should be set to one of
56~75Hz, non-interlaced signal.
LCD display System Settings: The OSD (On Screen Display) provides certain functions to have
clear image and others. This board supports 5 buttons OSD operation as a standard. The control
functions defined on OSD operation are as below.
Pc Graphics Output: Signal quality is very important, if there is noise or instability in the PC graphics
output this may result in visible noise on the display. Refer to the graphic modes table in specification
section for supported modes. Non-interlaced & interlaced video input is acceptable.
(If installed) USB cable: Plug the USB cable to the connector on the backside of the monitor.
VGA cable: Plug the VGA cable to the connector on the backside of the monitor.
DVI-D Cable: Plug the DVI-D Cable (Not included) to the connector on the backside of the monitor.
Power supply: Plug the 24V power supply (Not included) to the connector on the backside of the
monitor (separate power supply 182-0520).
Power on: Switch on the monitor by using the on/off switch on the OSD control buttons.
PC Setting: The controller has been designed to take a very wide range of input signals however to
optimize the PC’s graphic performance we recommend choosing 60Hz vertical refresh rate this will not
cause screen flicker.
OSD Control Board: The OSD (On Screen Display) provides certain functions to have clear image
and others. This board supports 4 buttons OSD operation as a standard. The control functions defined
on OSD operation are as below.
The chosen OSD settings will be stored in memory. The OSD menu can be cleared from the screen
from the screen by moving the selection bar to the EXIT MENU icon pressing the SEL button
otherwise it will be automatically cleared after a few second ofnon-use.

Page 6 of 10
7. OSD MENU
The chosen OSD settings will be stored in memory. The OSD menu can be cleared from the
screen by pressing the MENU button otherwise it will be automatically cleared after a few seconds of
non‐use.
OSD Main Menu
[PICTURE] [COLOR]
[OSD] [SETUP]

Page 7 of 10
OSD GUI Control Table
MAIN
MENU
SUB MENU
CONTROL
Picture
Brightness
50(0~100)
Contrast
50(0~100)
Sharpness
2( 0 ~ 4)
H Position
50(0 ~100)
PC ONLY
V Position
50(0 ~100)
Clock
50(0 ~100)
Phase
30(0 ~100)
Color
Color Status Management
User(User, Warm, Normal, Cool)
Red
50(0~100)
PC ONLY
Green
50(0~100)
Blue
50(0~100)
Auto Color
To Start
OSD
Language
English(English, Deutsh, Francais, Italiano,
Espanol, Korean)
H Position
50(0~100)
V Position
50(0~100)
Transparency
33 (0~100)
OSD Time
10(3~30)
SETUP
Source
RGB, DVI, AUTO
Factory reset
To Start
Aspect
Off(On/Off)
Set ID(option)
Off(On/Off)

Page 8 of 10
8. Driver software touch screen (optional 150TFTS2302M[G])
3M TouchSystems provides driver software that allows your touchmonitor to work with your
computer. Drivers are located on “3M Touch Systems” web site for the following operating systems:
• Windows
• Linux (2.6/3.0 Kernel)
• Mac OSX
The latest versions of drivers and driver information for other operating systems are available on the
“3M Touch Systems” web site at:
http://solutions.3m.com/wps/portal/3M/en_US/TouchSystems/TouchScreen/
Your monitor is Plug-and-Play compliant. Information on the video capabilities of your
monitor is sent to your video display adapter when Windows starts. If Windows detects your
monitor, follow the instructions on the screen to install a generic Plug-and-Play monitor.
Depending upon whether you connected the USB communication cable, you should install
only the USB driver.

Page 9 of 10
9. Mounting instructions
Monitor Mounting
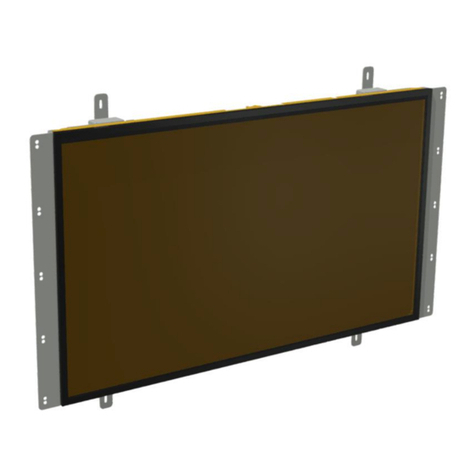
This monitor can be mounted with eight M4 mount holes. Follow the steps described below:
Place the monitor into the machine.
Place the M4 screws on the both sides of the monitor. Tighten the nuts until the monitor is firmly
secured to the machine (do not use screws longer then 5mm in the monitor).
* Thickness variants
150TFT2302 : 53,0
150TFTG2302[G] : 57,5
150TFTS2302M[G] : 57,3±0,5

Page 10 of 10
10.Accessories
Part number
Description
150-0049
Power supply input 100/240V
output 12V 5A
22-0012-4
Power cable Euro lead 1.80M
149-0112-11
VGA cable 1.80m
149-0147
USB cable type a-b m/m 1.80M
149-0121
DVI-D Cable 2 mtr 18+1
149-0111-2
Serial cable 2m
98-0003-2687-0
23“ Touch screen (without
controller)
This manual suits for next models
5
Table of contents
Other Suzohapp Monitor manuals

Suzohapp
Suzohapp VISIONPRO 150TFT 2504 Series User manual

Suzohapp
Suzohapp Vision Pro 150TFT 1910 Series User manual

Suzohapp
Suzohapp VISIONPRO 150TFT 2411 Series User manual

Suzohapp
Suzohapp VisionPro 150TFT 2303 Series User manual

Suzohapp
Suzohapp 103-02 Series User manual

Suzohapp
Suzohapp VisionPro 150TFT Series User manual

Suzohapp
Suzohapp Vision Pro 150TFT 2414 Series User manual

Suzohapp
Suzohapp Vision Pro 150TFT 2206 Series User manual

Suzohapp
Suzohapp Vision Pro 150TFT 2214 Series User manual

Suzohapp
Suzohapp VisionPro 150TFT2157 User manual