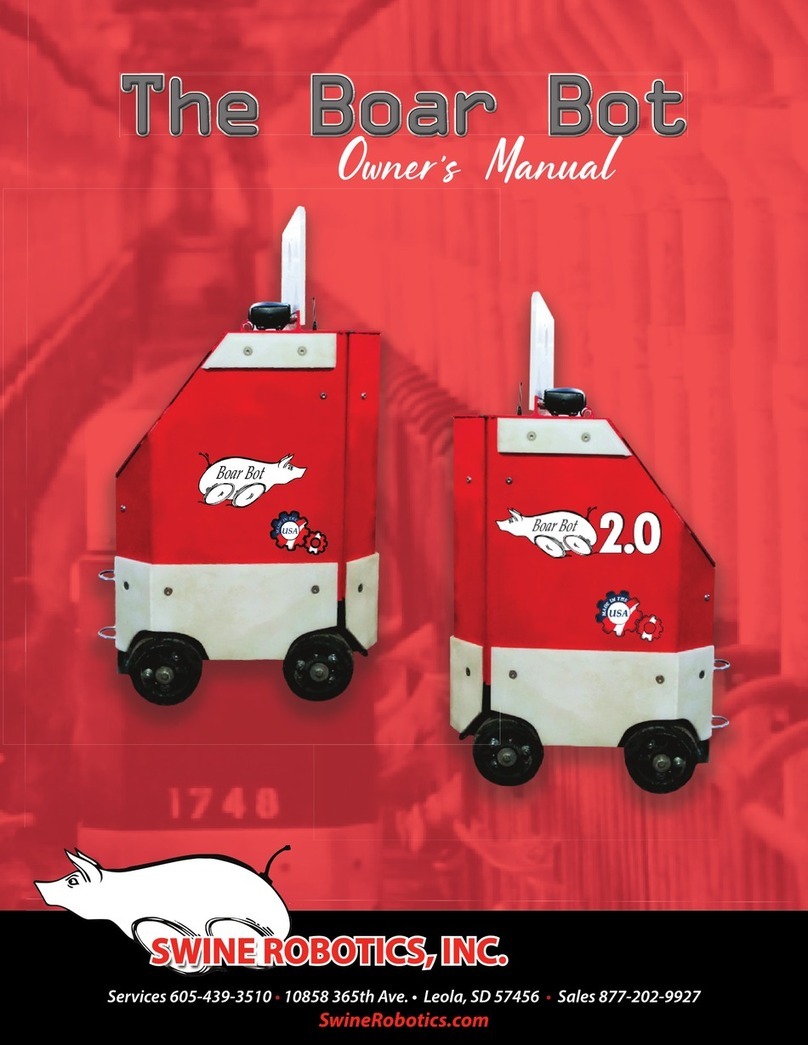
Swine Robotics Envirologic EVO Cleaner User manual

User manual
©Copyright: This manual may not be circulated to third parties, nor be copied or quoted without authorisation from
Rev.2018-04-01

Swine Robotics, Inc Services: 605-439-3510 www.SwineRobotics.com
Leola, SD 57256
Contents
1. IMPORTANT INFORMATION ..............................................................................................................1
2. SAFETY ...............................................................................................................................................1
Safety instructions.....................................................................................................................................................1
Warnings ...................................................................................................................................................................1
Built-in safety devices...............................................................................................................................................2
3. TECHNICAL SPECIFICATIONS ..........................................................................................................3
Technical data, EVO Cleaner....................................................................................................................................3
Accessories................................................................................................................................................................3
4. GENERAL INFORMATION..................................................................................................................4
5. STARTING THE ROBOT......................................................................................................................4
6. MOVING THE ROBOT .........................................................................................................................4
Manual mode.............................................................................................................................................................4
Transport wheel.........................................................................................................................................................4
7. MANIPULATING THE ROBOT.............................................................................................................5
Joystick commands (see Picture 8)............................................................................................................................5
Motion selected (see picture 7)..................................................................................................................................5
8.TEACH..................................................................................................................................................5
Put the robot into the starting position for the cleaning process................................................................................7
11. TEACHING HINTS .............................................................................................................................7

1
1. Important information
Signs that are used in the manual
Intended use
The robot is designed to be safe to use provided it is operated in accordance with the user manual.
EVO Cleaner is an automatic cleaning robot that is intended to replace manual high-pressure cleaning, for
example cleaning of pens.
Any other use of the robot is inappropriate. If the instructions in this manual are ignored, this could lead to
accidents and harm to people, the environment or animals.
Robot Type
Information in this manual applies to the robot type referred to as EVO Cleaner. A machine plate is attached to
the robot showing the CE mark, robot type, serial number, year of manufacture and other important information,
as shown in Picture 1.
Picture 1, machine plate
Envirologic AB
Fyrisvallsg. 24
SE-752 28 Uppsala
Sweden
Type
EVO Cleaner
S/N
XXXXXXXX
Manufact.
year
XXXX
Max IN
pressure
210 bar
Ambient
temp.
+1°C - +55°C
DC-power
24 V
Weight
270 kg
Restrictions on use
• EVO Cleaner must only be used by trained staff.
• EVO Cleaner must only be used in accordance with the instructions in this manual.
2. Safety
Safety instructions
In this manual important information is provided regarding safe use and maintenance of the robot.
The user manual should be regarded as part of the product and should be kept accessible.
The robot is designed in conformity with applicable standards and directives. Up-to-date information on these will
be found in the declaration of conformity (CE document). The instructions in this manual must be followed to
ensure that the safety and performance of the robot will be maintained.
Warnings
The safety devices and warning labels on the robot are designed to prevent accidents. The main responsibility for
safe use lies with the persons that are using, maintaining or carrying out repairs on the robot.
To ensure safe use, instructions and warnings should be followed and respected.
Emergency stop switch
As an additional precaution an emergency stop switch is installed, within easy reach on the side of the operator
panel. If the switch is pressed the robot and the water jet will immediately stop.
Important information is shown in a grey
box marked with an information symbol
Safety-related information is shown in a
grey box marked with a red triangle
It is important that the use of the robot complies with the safety instructions and warnings in
this chapter. Read this even if you are already familiar with the use of the robot.
If there are other health and safety requirements in the country of use, an appropriate supplement to
this manual will be created to meet these requirements.
It is not permissible to remove or modify the design of safety devices on the robot and
accessories.
Only qualified staff are allowed to repair the robot.
i
i
i

2
Transportation of the robot with a vehicle (for example with a truck or a trailer)
Moving the robot.
Recording (programming) and starting a robot program
Cleaning and maintenance
Risk of overturning
Built-in safety devices
The robot has a built-in safety system with several different alarms. If an alarm occurs, the robot will immediately
stop the operation, shut off the water jet and display an alarm text in the operator panel. The alarm must be
acknowledged before the operation can ultimately be restarted.
•Protection against current faults is provided by separate fuses for charging and for the print-board.
•Protection against low battery voltage is controlled by the computer and generates an alarm if this occurs
•Protection against collision during operation is detected by each individual motor and generates an alarm
if the current consumption becomes higher than expected.
•The robot must only be transported in an upright position, turned On, safely fixed so that the
robot cannot overturn or suffer any other form of mechanical damage.
•If a malfunction is suspected due to a mishap while undergoing transport the robot must be
functionally checked before it is put into use.
•The robot must only be moved when it’s turned On.
•The robot must only be moved with both hands on the handle when the clutch is used.
•Methods for moving the robot must be adapted to the ground and personal capabilities.
•If the ground is steeply inclined (upwards or downwards) the motor must be used, do not use the
clutch or the pivot wheel!
•Before cleaning, the section must be cleared of humans (except for the person carrying out the
recording) and animals; aisles and pens must be clear of obstacles and doors and gates must be
closed.
•Warning signs must be placed by the entrance of the section during cleaning.
•The person carrying out the recording must use ear defenders and safety goggles. Other
recommended equipment is protective clothing, boots, gloves and a mask.
•During recording the operator must keep a safe distance from the moving parts of the robot and
the high-pressure water jet.
•During recording the robot must be manipulated in such a way that the water jet or the moving
parts of the robot are not in contact with sensitive electronics or other sensitive equipment.
•When using markers these must be firmly fixed and be capable of remaining in the same
position throughout the cleaning process.
•Rinse the robot thoroughly after use. Do not use a high-pressure water.
•The batteries must be recharged in a well-ventilated area free of flammable materials.
•During maintenance the robot must be switched off.
•Only qualified personnel are allowed to carry out repairs on the robot.
•Do not transport the robot in the parking position if the ground leans more than 20 degrees
sideways.
•If the tower is turned 90 degrees from the centre position and the telescope + arm are in their most
extended positions, the ground should not lean more than 5 degrees (depending also on whether
the water jet is directed up or down).
•During cleaning behind the robot in the marked area in picture 3, there is a risk of overturning that
is dependent on the ground and the position of the boom, telescope and arm. If working in this
area the recommendation is to have the telescope in its most retracted position.

3
Nozzle
Magnet-switch
Hose reel
Side-wheel (front
and rear)
Batteries
Tower
3. Technical specifications
Picture 2, parts of the robot
Technical data, EVO Cleaner
Total width: 680 mm (with special wheels, 600 mm)
Total length: 2100 mm (incl. guidance wheel)
Total height when retracted: 1610 mm
Max reach of arm: 4015 mm
Effective working range: up to 6000 mm from centre of unit
Weight: 270 kg
Power supply: 24 V DC (2 lead acid batteries at 12 V)
Electric motors: 24 V DC (7 in total)
Ambient temp: 1°C to 55°C (33.8°F - 131°F)
Storing temp.: Empty of water, -10°C to +75C (14°F - 167°F)
Control system: Horner PLC Picture 3, the reach of the arm
Alarm: Alarm by SMS in the event of operational breakdown.
Water supply: From external high-pressure cleaning unit
Nozzle: Rotor jet 0.55
Hose reel: 50 m high pressure hose (operated separately from the robot).
Connected to a normal cleaning unit.
Recommended water
pressure: 180-210 bar (18-21MPa)
Recommended water flow: 15-18 l/min
Accessories
Charger: see separate specifications supplied with the charger
Markers: design and quantity are dependent on the installation
Nozzle: alternative nozzles may be available depending on the working area.
Arm
Operator panel
Connector
joystick
Transport wheel
Telescope
Clutch handle
400º
6 m incl. water jet
Connector
charger
Boom

4
4. General information
Instructions and documents that are included with the cleaning robot: User manual.
The user manual, together with help text in the Operator panel, includes all the information needed for preparing,
making recordings (teaching), managing locations, programs and recipes, performing and ending a cleaning process.
It also includes necessary information on how to use the robot in the best and safest way.
Short functional description
The cleaning robot obtains its 24-volt power from two 12-volt lead acid batteries. The robot cleans with high-
pressure water (warm or cold) with or without additives. The water is supplied from an external high-pressure water
supply via a 50 m hose installed on a hose reel that is operated separately by the robot according to how the robot
moves. The cleaning is carried out by a telescopic arm, moveable in all directions, with a maximum reach of 4015
mm (effective working range including the water jet = 6000 mm). By using the joystick, you can teach the robot to
move and clean in a satisfactory way. After this teaching operation the robot will be able to carry out the moves on
its own as many times as are necessary to achieve satisfactory cleaning.
5. Starting the robot
The main switch is found on the right side of the operatorspanel.
When charging the batteries, the cleaning robot must be switched off.
The batteries cannot be charged when the robot is on.
Starting the system
When the robot is switched on, the startup process takes
about 30 seconds. When the picture to the right is shown
the robot is ready to operate.
Every screen have a ?-mark. When pressing and holding
that button help text concerning this particular screen will
be displayed.
6. Moving the robot
Manual mode
Manual mode means using the cleaning robot without a previous teaching process. Manual mode is used for
example when the robot is moved from its storage place to the house to be cleaned. Before moving the robot should
be turned On. We recommend that you use manual mode to become familiar with the joystick and the different
movements.
The robot can be manually moved either by manpower or by using the motors for transport. For unpowered
transport, the robot is declutched using the clutch handle on the right-hand side of the handlebar. The robot can also
be manually operated using the transport motor from the operator panel or the joystick.
Transport wheel
To make it easier moving or turning the robot, the transport wheel can be used, see Picture 2. This is controlled on
the manual screen.
•If the ground is inclined towards or away from you the motor must be used, do not use the
clutch or the transport wheel!

5
7. Manipulating the robot
The cleaning robot can be controlled from either the operator panel or the joystick.
Joystick
The joystick is connected to the black socket, which can be found at the rear of the cleaning robot, see Picture 2.
The same socket is used for charging the batteries. The plug must be turned 90 degrees for secure tightening when
connected. The joystick is used to control all motions of the cleaning robot, including turning water on and off.
Picture 7 Picture 8, joystick
8.Teach
The cleaning process requires magnetic position markers, see Picture 9. The position markers which
can be S or U shaped are placed in a bracket, mounted on the house equipment before the cleaning
process takes place. The cleaning robot reaches the markers during the cleaning process and position
information is transferred to the computer.
Picture 9, position marker
Joystick commands (see Picture 8)
Press 1and 2, move joystick forwards/backwards
Press 1, move joystick forwards/backwards
Move joystick forwards/backwards
Press 1, move joystick left/right
Move joystick left/right
Press 2, move joystick left/right
Press 3
Motion selected (see picture 7)
1Robot forwards/backwards
2Telescope out/in
3Raise/lower boom
4Arm in/out
5Rotation of tower
6Rotation of nozzle
Water on/off
We recommend that you use the joystick during the teaching process. The joystick is connected to
the cleaning robot via a six-metre cable, which facilitates the teaching process and unwanted
contamination by manure or collision with the robot’s telescopic arm is avoided.
i
2
3
6
4
5
1
1
3
2
Joystick
•Before programming, read “Hints for teaching”.
•The programming should be done in a dirty pen with working water pressure.
•Any breaks during the programming process will not appear during automatic cleaning. Therefore, the
programming can be carried out in a relaxed way, with no requirement for haste.
The directions above are as seen from behind the robot
i

6
1
FLOOR LEFT FIRST
FLOOR RIGHT
FIRST
FLOOR LEFT
FLOOR RIGHT
FLOOR LEFT
FLOOR RIGHT
FLOOR LEFT
FLOOR RIGHT
FLOOR LEFT LAST
FLOOR RIGHT
LAST
FLOOR RIGHT
FLOOR LEFT
min. 100 cm
min. 65 cm
With good result,, 6 m
1
3
2
To be able to run the robot automatically three things must be instructed to the robot: LOCATION, PROGRAM
and RECIPE.
The LOCATION is a map of how this particular path, which the robot shall travel, looks like. The process starts by
giving the Location a name, e.g. “Finishing 2-5”, instruct on which side the side-wheels are set and how many
markers that have been installed. Make sure the robot is within 1 meter behind the first marker when pressing start.
The robot is now moving forward, registrating where these markers are. After the last marker it will turn backwards
and move all the way back to the position behind the first marker.
PROGRAM is the cleaning, where the joystick is used to manipulate the robot. These programs will be stored
under the chosen location.
RECIPE is up to 14 programs that can be used at each marker. You pick the program from a list, place it on the
correct place on the screen and when you have placed all programs you wan’t to run by this marker, you go to next.
The programs chosen on previus marker stays as default, if you need to make changes you can delete or add
programs.

7
When starting to run a work scheme it should be entered in the START menu. In the work scheme, you enter which
recipes will be used and their individual order.
Put the robot into the starting position for the cleaning process
Put the robot within 1 meter behind the first position marker. Make sure the side-wheel is in contact with the wall
on the side of the aisle where the markers are located.
Press START and follow the instruction under the ? mark on the screen.
11. Teaching hints
1. The teaching process should take place using working pressure, because the arm is affected by the power
from the flowing water.
2. Avoid retraction of the telescope when the boom is in its maximum elevated position, since this causes a
high level of stress on the telescoping motor.
3. The teaching of programs should be done in dirty pens in order to observe the track of the water jet.
4. Ensure that there are no local obstacles in one pen such as gas extraction equipment, posts, etc. If so, the
teaching process should take place in this particular pen to avoid collisions.
5. Keep some clearance (approx. 15 cm) from house equipment during the teaching process. This is important
when changing the position of the boom, to avoid collision if the cleaning robot has a slightly different
position during the cleaning process. There can also be a discrepancy in the house equipment when going
from one pen to another.
6. If it is not possible to take point 5 into account, because of a lack of space or similar problems, you should
consider moving away from the area that could cause a collision before you change the height of the boom,
for example, or retract the telescopic arm. In this way you can be sure that there will not be a production
stoppage due to collisions, even if some parts of the arm touch the equipment.
7. Take care of the house equipment; keep the nozzle at the right distance.
8. Remember that the robot obtains different parking positions by driving forwards or backwards to the
marker. Therefore, try to teach it in the order that it will subsequently be given in the recipe.
9. It is important that no major obstacles are located in a position that could interfere with the guidance wheel
during movement in the cleaning process. This could cause the robot to skid and lose its exact positioning.
To avoid this, extra position markers can be used.
Before cleaning, check the following:
1. That no magnetic position marker brackets have been moved or are missing
2. That each magnetic position marker is fixed in the correct bracket
3. That the magnetic switch is set in the same position it was in during teaching.
4. That the aisle and pens are clear of obstacles, which can interrupt the cleaning process
5. That the high-pressure cleaning unit is powered up
6. That water is connected to the high-pressure cleaner
7. That the high-pressure hose is free to move and secured centrally behind the hose reel
8. That the charger is disconnected
9. That the side-wheels is placed in the correct position, see screen.
10. That you know where to start the cleaning process, check for the first position marker

8
10. If you are using a double nozzle, be very careful in turning the water on, so the correct nozzle is chosen.
When you change nozzle, turn the water off, move the arm out into a horizontal position, run the tower,
boom, telescope or the machine in for at least 5 seconds and only then turn the water on.
11. Try to perform the teaching process for new pens efficiently. Time measurement for each pen is a good
working tool. It is very important to divide the pen into smaller parts. It is very easy to maintain
concentration for a few minutes but after a while you lose focus and start to make mistakes.
Always do one program for course cleaning and one fine cleaning!
In the first programming session, the floors of the slaughter pen will be washed and saved as a program.
Limit yourself to the standard pens i.e. whatever type you have many pens of. It is an obvious error to carry
out teaching in a sick pen or a half pen for the first time when you are in a new section.
12. Next time you clean a section which looks like the one you installed the robot in, you should redo the worst
program. This means that it is useful for you to make some notes about how it worked out after you cleaned
last time, so you will remember what you want to do. Maybe you were not satisfied with the floor in the
right-hand pen, so you re-teach that program. If you do it this way you will take 15 to 30 minutes on
teaching during each cleaning session for some time to come. The result will be that you will constantly
reduce the cleaning time, improve the result and you will also learn how to use the robot in the most
effective way.
When you are completely satisfied with the standard pens it is time to carry out teaching on the rest. Take
one per cleaning session and add it into the recipe with the add function.
Address:
10858 365th Ave
Leola, SD 57256
Services: 605-439-3510
Sales: 877-202-9927
E-mail: mackfarm@valleytel.net
Internet: www.SwineRobotics.com
Do not use high pressure for cleaning the robot
When the robot is not in use it must be kept in an area that is frost-free.
Table of contents
Other Swine Robotics Farm Equipment manuals