TA CMI-S Guide

ta.co.at
CMI-S
CONTROL AND MONITORING INTERFACE
for switching cabinets
Quick guide:
Mounting and installation
Startup guide
EnglishManual Version 1.00


3
Table of contents
Note on compatibility with UVR1611
To use the full scope of functionality, the controller has to have an operating system with a version
of at least A3.25.
Manual Version 1.00
1. Delivery scope . . . . . . . . . . . . . . . . . . . . . . . . . . . . . . . . . . . . . . . . . . . . . . . . . . . . . . . . . . . . . . 4
2. Mounting and connection . . . . . . . . . . . . . . . . . . . . . . . . . . . . . . . . . . . . . . . . . . . . . . . . . . . . . . 4
2.1. Connections . . . . . . . . . . . . . . . . . . . . . . . . . . . . . . . . . . . . . . . . . . . . . . . . . . . . . . . . . . . . . . . . . . . . . . .4
2.2. Making the connections . . . . . . . . . . . . . . . . . . . . . . . . . . . . . . . . . . . . . . . . . . . . . . . . . . . . . . . . . . . . . .5
3. IP address . . . . . . . . . . . . . . . . . . . . . . . . . . . . . . . . . . . . . . . . . . . . . . . . . . . . . . . . . . . . . . . . . 5
3.1. Network with DHCP server (standard) . . . . . . . . . . . . . . . . . . . . . . . . . . . . . . . . . . . . . . . . . . . . . . . . . . .5
3.2. Network without DHCP server . . . . . . . . . . . . . . . . . . . . . . . . . . . . . . . . . . . . . . . . . . . . . . . . . . . . . . . . . .5
3.3. Fixed IP address . . . . . . . . . . . . . . . . . . . . . . . . . . . . . . . . . . . . . . . . . . . . . . . . . . . . . . . . . . . . . . . . . . . .5
4. Access via browser . . . . . . . . . . . . . . . . . . . . . . . . . . . . . . . . . . . . . . . . . . . . . . . . . . . . . . . . . . 5
4.1. Access via LAN or port forwarding . . . . . . . . . . . . . . . . . . . . . . . . . . . . . . . . . . . . . . . . . . . . . . . . . . . . . .5
4.2. Access via CMI web portal https://cmi.ta.co.at . . . . . . . . . . . . . . . . . . . . . . . . . . . . . . . . . . . . . . . . . . . .6
5. Resetting and loading of factory settings . . . . . . . . . . . . . . . . . . . . . . . . . . . . . . . . . . . . . . . . . . 8
6. CMI App . . . . . . . . . . . . . . . . . . . . . . . . . . . . . . . . . . . . . . . . . . . . . . . . . . . . . . . . . . . . . . . . . . 9

4
1. Delivery scope
The following parts are included:
1 pc. Control and Monitoring Interface CMI-S
1 pc. SD card
1 pc. 4-pole plug for the CAN bus
1 pc. quick guide
2. Mounting and connection
The C.M.I can be mounted on a top-hat rail TS35 to EN 50022 standard.
Measurements:
2.1. Connections
Connections are labelled and must not be confused.
Power consumption: typ. 1,5W
Width: 22 mm = <1,5 HP
Micro SD card slot
Ethernet port
CAN bus
CAN bus
termination

5
2.2. Making the connections
Connections must be made in the following sequence:
1. Connect LAN cable
2. Connect CAN bus cable
3. IP address
Access requires and IP address
3.1. Network with DHCP server (standard)
The network settings are determined automatically.
3.2. Network without DHCP server
Direct connection between CMI-S and Windows PC
DHCP must be activated on the PC. Both PC and CMI-S automatically get IP addresses this way. This
process may take a few minutes.
3.3. Fixed IP address
1. Create a text file called fix_ip.txt with the required IP address and UTF-8 encoding in the root
directory of the SD card. The content of this must be only and IP address (example:
192.168.0.10).
2. Insert the SD card into the CMI-S
3. During the next start, the CMI-S adopts this IP address and deletes the .txt file on the SD card.
The network settings must then be configures locally (CMI-S menu Settings/Ethernet).
The fixed IP address can only be removed via a reset to factory settings. A new IP address can
be assigned normally
4. Access via browser
4.1. Access via LAN or port forwarding
1. Start browser
2. In the address field of the browser, enter: http://cmi (factory settings, only on Windows) or the IP
address
The POWER LED must now light up in green.
The LAN LED now has to flash green or permanently light up green.
http://cmi IP address (example)

6
3. Authentication: Enter username and password
The factory-set predefined username is
admin, the password also admin.
Confirm with Sign in.
The language in this window depends the
language settings in the PC‘s operating sys-
tem or the browser.
4. Now the menu of the CMI appears.
Additional instructions can be found in the online manual (help.ta.co.at).
4.2. Access via CMI web portal https://cmi.ta.co.at
For access via internet, the CMI can be connected to the CMI web portal. The web portal is a server
set up by the Technische Alternative company.
1. Visit the address https://cmi.ta.co.at, and click „Log in“ or „Registration“
2. Fill out the registration form and accept the terms of use
3. After completing registration, an e-mail with an activation link will be sent to the e-mail address
used for registration. This process may take up to 30 minutes.

7
4. After clicking the link, the landing page of the web portal will be displayed.
5. Add the CMI to the web portal.
Click the tab „Overview“
6. Click „Add CMI“
7. Enter the CMI‘s data

8
The serial number is on the label rear of the device, the key is on the key label. The key must be
entered without spaces.
Caution! All warranty becomes void of the rating place or key label are removed.
The „designation“ helps with distinguishing several owned CMIs and is visible in the list of „My
CMIs.“. If service by the super user (e.g. the Technische Alternative company) is to be allowed at
all time, the appropriate field should be checked.
8. After updating the page, CMI appears in the list „My CMIs“.
Clicking the serial number takes you to the C.M.I. menu
5. Resetting and loading of factory settings
Briefly pressing the reset key on the rear of the CMI restarts the CMI
The CMI can also be restarted (rest) by unplugging the CAN bus connection/power supply and plug-
ging it back in.
If the reset button is pressed and released while the red LEDs are still illuminated, the device is reset
to factory settings.
Caution: Holding down the reset button until the red LEDs are no longer illuminated starts a firmware
update using the CMI firmware data saved on the SD card. Up to the boot sector 1.04, the firmware
files in the folder „UPDATE“ on the SD card must be named „CMI.BIN“. From boot sector 1.05 on-
wards, it must be called „FIRMWARE.cmi“. The boot sector can be identified by the four red LEDs,
which being to glow faintly when the device is started.

9
6. CMI App
To access the CMI via smartphone, a mobile app is available for free in the Play Store and Apple‘s
App Store. This emulated the access via PC.
Android
iOS
Subject to technical modifications as well as typographical and printing errors. This manual is only
valid for devices with the corresponding firmware version. Our products are subject to constant tech-
nical advancement and further development. We therefore reserve the right to make changes without
prior notice. © 2023

EU Declaration of conformity
Document-No. / Date: TA17021 / 02.02.2017
Company / Manufacturer: Technische Alternative RT GmbH
Address: A-3872 Amaliendorf, Langestraße 124
This declaration of conformity is issued under the sole responsibility of the manufacturer.
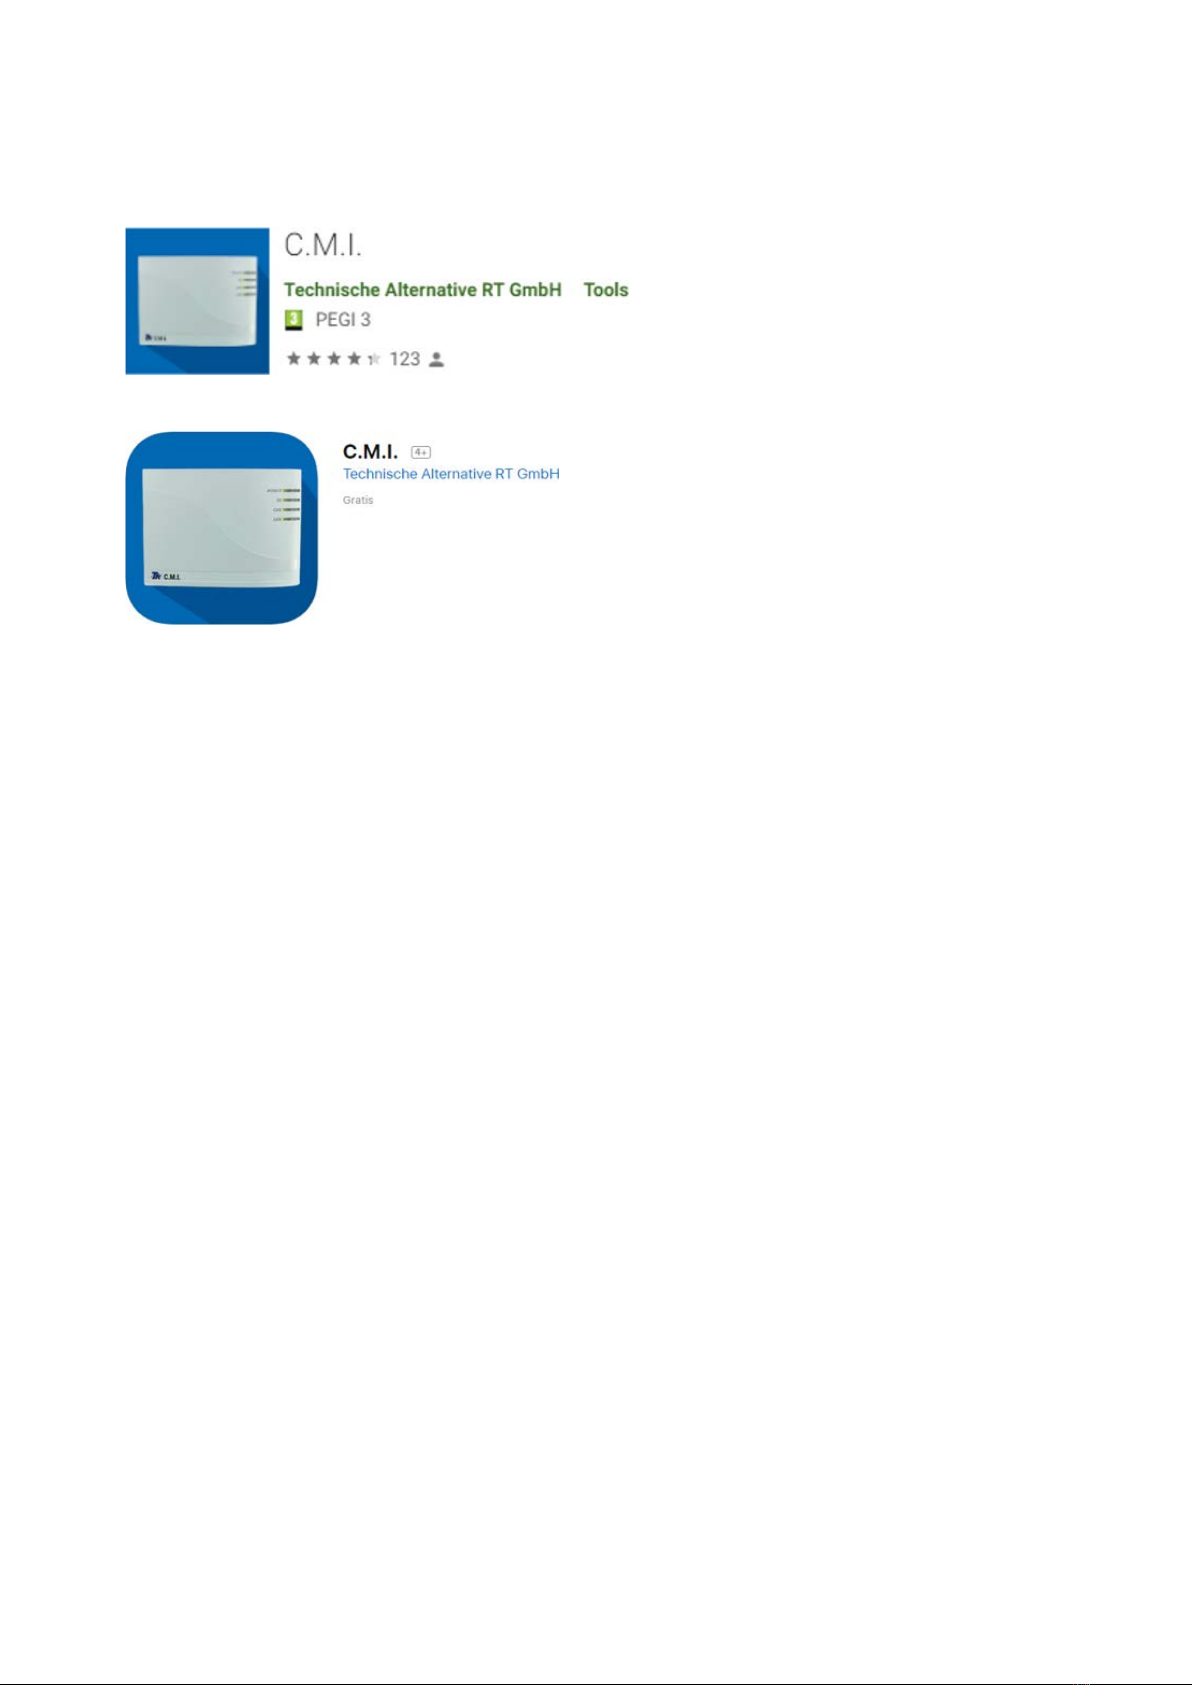
Product name: CMI, CMI-S
Product brand: Technische Alternative RT GmbH
Product description: Control and Monitoring Interface
The object of the declaration described above is in conformity with Directives:
2014/35/EU Low voltage standard
2014/30/EU (11/09/2018) Electromagnetic compatibility
2011/65/EU (01/10/2022) RoHS Restriction of the use of certain hazardous substances
Employed standards:
Position of CE - label: On packaging, manual and type label
Issuer: Technische Alternative RT GmbH
A-3872 Amaliendorf, Langestraße 124
This declaration is submitted by
Dipl.-Ing. Andreas Schneider, General manager,
02.02.2017
This declaration certifies the agreement with the named standards, contains however no warranty of character-
istics.
The security advices of included product documents are to be considered.
EN 60730-1: 2011 Automatic electrical controls for household and similar use – Part 1: General
requirements
EN 61000-6-3: 2007 Electromagnetic compatibility (EMC) - Part 6-3: Generic standards - Emission
standard for residential, commercial and light-industrial environments+A1: 2011
+AC2012
EN 61000-6-2: 2005 Electromagnetic compatibility (EMC) - Part 6-2: Generic standards - Immunity for
industrial environments
EN 50581: 2012 Technical documentation for the assessment of electrical and electronic prod-
ucts with respect to the restriction of hazardous substances
Table of contents


