manuals.online logo
Brands
  1. Home
  2. •
  3. Brands
  4. •
  5. Taco Comfort Solutions
  6. •
  7. Water System
  8. •
  9. Taco Comfort Solutions 2400 Series User manual

Taco Comfort Solutions 2400 Series User manual

APPLICA ION:
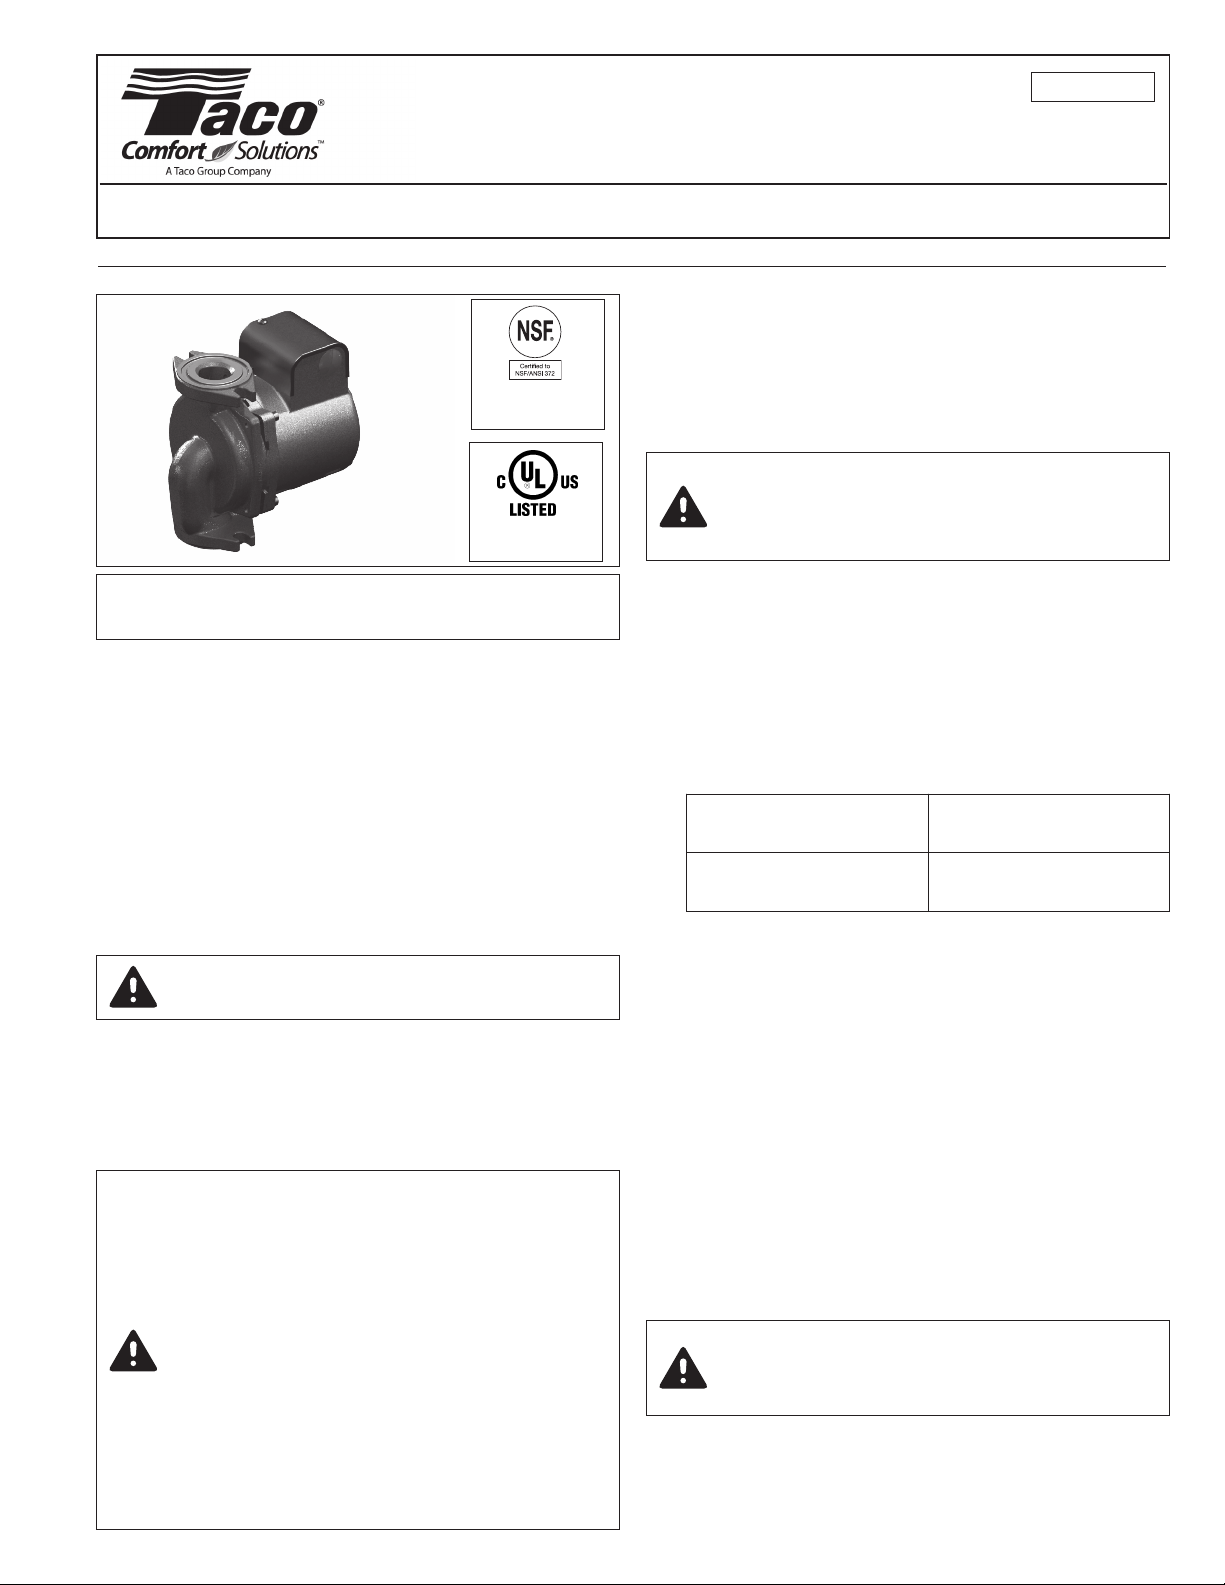
The Taco 2400 Series Hi-Capacity circulators are designed
for use on a wide range of hydronic heating, cooling or
domestic water re-circulating systems. Features include a
quiet running, close-coupled, thermally protected motor
assembly with permanent split-capacitor and permanently
lubricated bearings. A stainless steel face plate and shaft,
carbon/silicon-carbide mechanical seal and non-ferrous
impeller make the 2400 series an ideal choice for years of
maintenance-free operation on open or closed systems.
Note: Always use Stainless Steel body circulators on
open, fresh water systems.
OPERA ING SPECIFICA IONS:
• Maximum Working Pressure: 150 psi (1000 kPa)
• Maximum perating Temperature: 225ºF (107ºC)
• Electrical Rating: 115V/60Hz/1Ph or 230V/60Hz/1Ph
REMOVAL OF EXIS ING PUMP FROM SYS EM PIPING:
1. Disconnect and lock-out electrical supply to pump.
2. Close isolation valves on suction and discharge sides
of pump. If valves are not installed, the system may
need to be drained.
3. Remove capacitor box cover and disconnect electrical
supply lines to pump.
4. Loosen flange bolts and shift pump body slightly to
relieve any remaining system pressure.
5. Remove flange nuts/bolts and pump from system.
REPLACING HE MECHANICAL SEAL: Refer to Fig. 1
on back page.
1. Follow steps 1 thru 5 in section “Removal of existing
pump from system piping”.
2. Loosen the four body bolts that attach the motor hous-
ing to the casing. While supporting the motor, remove
the four bolts and carefully remove the motor and
impeller assembly from the casing.
3. To remove the impeller, first insert a screwdriver into
the motor ventilation slots to make contact with one of
the rotor cooling fins. While holding the rotor in place
with the screwdriver, turn the impeller clockwise to
loosen and remove from shaft.
4. Remove the seal assembly from the impeller shaft.
Note: 2400 models with suffix “3P” are provided with a
3-piece rotating seal.
5. Remove the seal face plate by gently prying it away
from the housing.
Instruction Sheet
Mechanical Seal Replacement
2400 Series Hi-Capacity Circulator
102-414
SUPERSEDES: December 19, 2014 EFFECTIVE: March 2, 2015
Plant ID# 001-3933
INS ALLER: Please leave these instructions for
owner’s use.
CAU ION: aco “2400 Series” circulators are
designed for indoor use only.
CAU ION: o prevent injury, allow system
water to cool to 100ºF before removing old
pump or draining system. Leave drain valve
open until service/replacement is complete.
* Includes new body gaskets
CAU ION: Do not allow screwdriver to make
contact with motor windings or insulation.
Permanent damage to motor may result.
MECHANICAL SEAL
OP IONS SEAL KI NUMBER*
Standard Seal
Carbon/Silicon-Carbide 2400-029RP
CAU ION: he majority of mechanical seal
failures are due to poor media (fluid) quality
in the system. o maximize seal life, media
quality must be maintained in the system,
and DS ( otal Dissolved Solids)/ SS ( otal
Suspended Solids) should not exceed
500ppm with standard Carbon/Silicon-
Carbide seals. he use of inhibitor based
glycols is acceptable, but additional
inhibitors should not be added. Always fol-
low the glycol manufacturer’s specification
for system preparation and water quality.
reatment with silicates should not be used.
Failure to maintain media quality will void the
standard aco warranty.
STAINLESS STEEL
MODELS ONLY
FOR INDOOR
USE ONLY
6. Remove the old seal seat and cup from the seal face
plate. Lubricate the new cup with soapy water and
install new parts in the face plate recess. Replace the
face plate to its original position. Carefully tap the face
plate evenly into the recess in the motor housing.
7. Clean the impeller shaft before installing the new seal.
8. Lubricate the impeller shaft with soapy water. Do not
install new seal on a dry impeller shaft or damage to
seal may result.
9. Slide the new carbon seal and spring assembly onto
the shaft until it contacts the seal seat.
10. While holding the rotor in place as in Step 3, thread the
impeller onto the shaft in a counter-clockwise direction
until it stops. Check to make sure the pump will rotate.
If the impeller will not spin freely, contact Taco Technical
Support at 1-401-942-8000.
11. Remove old body gasket and replace with new gasket
provided in seal kit. Press gasket into seal face plate,
then attach motor to casing. Use caution not to pinch
body gasket or leaks may result.
12. Attach the pump casing to the motor housing and
secure with the four body bolts. Be sure flow arrow on
casing is pointing in proper direction. Tighten the four
bolts evenly in a criss-cross pattern to 70 in-lb of
torque. There should be a small, even gap between the
casing and the motor mounting bracket.
13. Re-install circulator into system using new flange
gaskets, if required.
14. Reconnect electrical wiring. Do not open electrical sup-
ply to pump until “System Start-Up” steps are complete.
SYS EM S AR -UP:
1. Prior to pump start-up, closed heating and cooling sys-
tems should be thoroughly cleaned, flushed and drained.
2. pen isolation valves and re-fill system with clean water.
Check for any leaks.
3. Vent all air from system at an air vent located at the
high point in the system.
4. Start circulator to check for proper operation.
PERIODIC INSPEC ION, MAIN ENANCE:
Taco 2400 Series Hi-Capacity circulators are designed to
provide years of trouble-free service. However, periodic
inspection and routine maintenance is recommended for all
hydronic systems and mechanical equipment. If any evi-
dence of leakage or damage is present, take preventive
steps to repair or replace the circulator immediately.
CAU ION: Do not start the pump until the sys-
tem has been completely filled and vented.
Running the pump dry may damage the
mechanical seal and void warranty.
CAU ION: Do not allow screwdriver to make
contact with motor windings or insulation.
Permanent damage to motor may result.
Fig. 1: Exploded View of Pump
SEAL SPRING
BODY GASKET
SEAL RETAINER
CASING
MOTOR ASSEMBLY
FACE PLATE
ROTATING SEAL
IMPELLER
BODY BOLTS (4)
TORQUE TO
65 15IN-LBS
STATIONARY SEAL
2400 (3P MODELS)
ACO, INC., 1160 Cranston Street, Cranston, RI 02920    Telephone: (401) 942-8000    FAX: (401) 942-2360.
ACO (Canadá), Ltd., 8450 Lawson Road, Unit #3, Milton, ntario L9T 0J8.    Telephone: 905/564-9422.    FAX: 905/564-9436.
Visit our web site at: http://www.taco-hvac.com
Printed in USA
Copyright 20150
TAC , Inc.

Other Taco Comfort Solutions Water System manuals

Taco Comfort Solutions 0034e User manual

Taco Comfort Solutions

Taco Comfort Solutions 0034e User manual

Taco Comfort Solutions 007e-2 User manual

Taco Comfort Solutions

Taco Comfort Solutions 007e-2 User manual

Taco Comfort Solutions 0026e User manual

Taco Comfort Solutions

Taco Comfort Solutions 0026e User manual

Taco Comfort Solutions 00e VT2218 Series User manual

Taco Comfort Solutions

Taco Comfort Solutions 00e VT2218 Series User manual

Taco Comfort Solutions 0015-MSF-IFC User manual

Taco Comfort Solutions

Taco Comfort Solutions 0015-MSF-IFC User manual

Taco Comfort Solutions Plumb n' Plug 00 Series User manual

Taco Comfort Solutions

Taco Comfort Solutions Plumb n' Plug 00 Series User manual

Taco Comfort Solutions 0018e-SF4 User manual

Taco Comfort Solutions

Taco Comfort Solutions 0018e-SF4 User manual

Taco Comfort Solutions 007e Series User manual

Taco Comfort Solutions

Taco Comfort Solutions 007e Series User manual

Taco Comfort Solutions 1900e Series User manual

Taco Comfort Solutions

Taco Comfort Solutions 1900e Series User manual

Popular Water System manuals by other brands

Bradley Terreon Extra Height WF3203 installation instructions

Bradley

Bradley Terreon Extra Height WF3203 installation instructions

ChlorKing CHLOR-2.0 user guide

ChlorKing

ChlorKing CHLOR-2.0 user guide

DAB FEKABOX 200 Instruction for installation and maintenance

DAB

DAB FEKABOX 200 Instruction for installation and maintenance

Axeon Water Technologies BT-1500 user manual

Axeon Water Technologies

Axeon Water Technologies BT-1500 user manual

Weishaupt WHI circuload 9 1 manual

Weishaupt

Weishaupt WHI circuload 9 1 manual

Zip Chilltap CH103 Installation and operating instructions

Zip

Zip Chilltap CH103 Installation and operating instructions

Stratasys Objet WaterJet Site preparation guide

Stratasys

Stratasys Objet WaterJet Site preparation guide

HotSpring ACE owner's manual

HotSpring

HotSpring ACE owner's manual

EPS POWERBOOST PRO E Series manual

EPS

EPS POWERBOOST PRO E Series manual

flamco Flexair 1 G Installation and operating instructions

flamco

flamco Flexair 1 G Installation and operating instructions

Everpure OW2-Plus Filter Cartridge EV9634-01 Specification sheet

Everpure

Everpure OW2-Plus Filter Cartridge EV9634-01 Specification sheet

Everpure Single Head EV9259-14 Specification sheet

Everpure

Everpure Single Head EV9259-14 Specification sheet

ICMA WILO PARA Quikc Start Guide

ICMA

ICMA WILO PARA Quikc Start Guide

AL-KO HW 800/MC instruction manual

AL-KO

AL-KO HW 800/MC instruction manual

Everpure 2K-Plus EV9612-61 Specification sheet

Everpure

Everpure 2K-Plus EV9612-61 Specification sheet

Everpure QC Twin Series RO Head EV9272-26 Specification sheet

Everpure

Everpure QC Twin Series RO Head EV9272-26 Specification sheet

AmeriWater CHIE VARIABLE SPEED BOOSTER PUMP SYSTEM Operation & maintenance manual

AmeriWater

AmeriWater CHIE VARIABLE SPEED BOOSTER PUMP SYSTEM Operation & maintenance manual

Craftsman 390.252158 owner's manual

Craftsman

Craftsman 390.252158 owner's manual

manuals.online logo
manuals.online logoBrands
  • About & Mission
  • Contact us
  • Privacy Policy
  • Terms and Conditions

Copyright 2025 Manuals.Online. All Rights Reserved.