manuals.online logo
Brands
  1. Home
  2. •
  3. Brands
  4. •
  5. Taco Comfort Solutions
  6. •
  7. Water System
  8. •
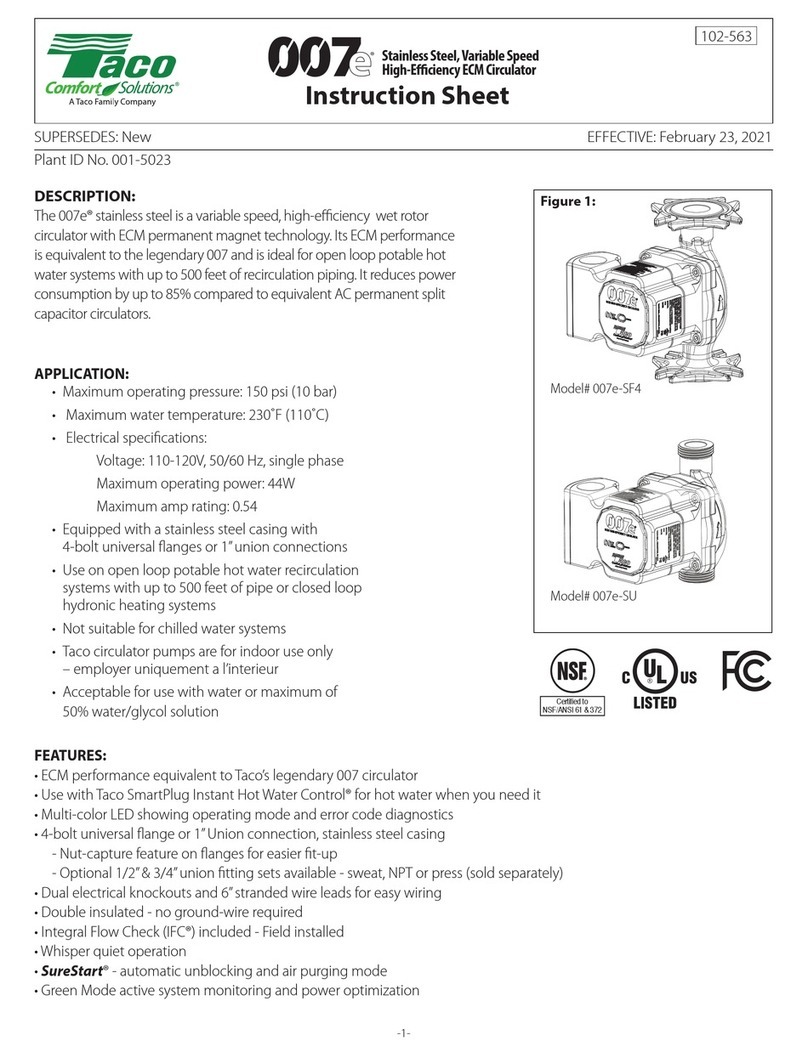
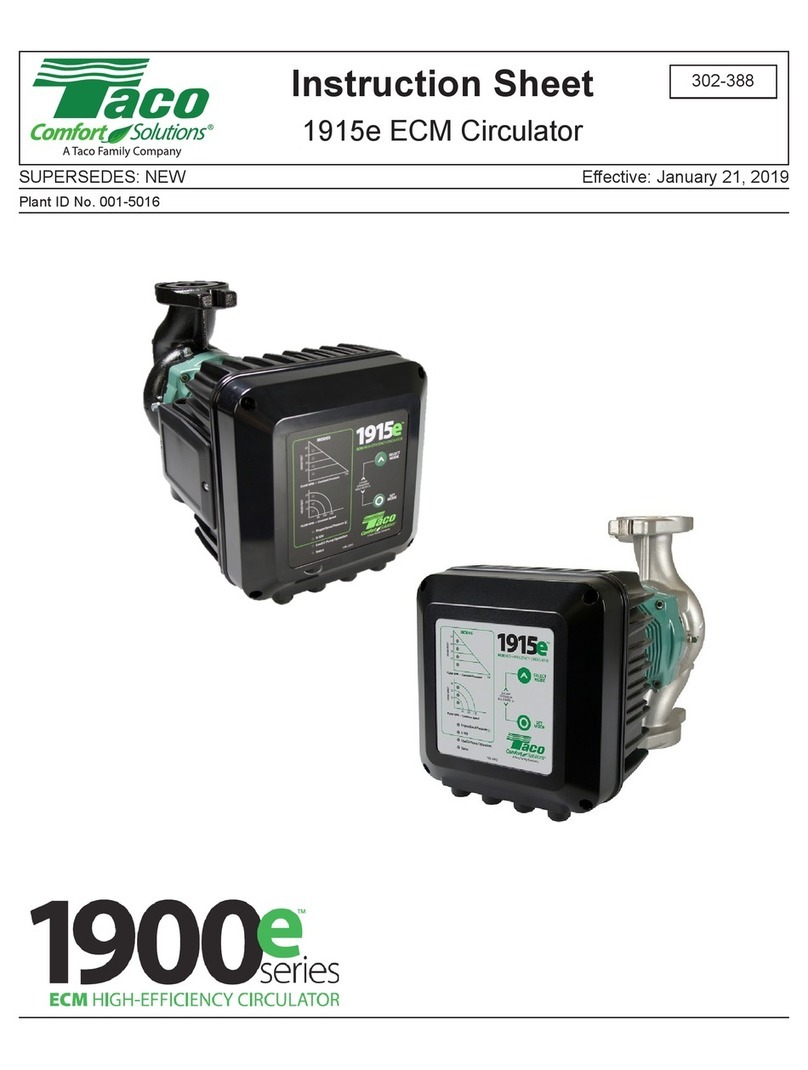
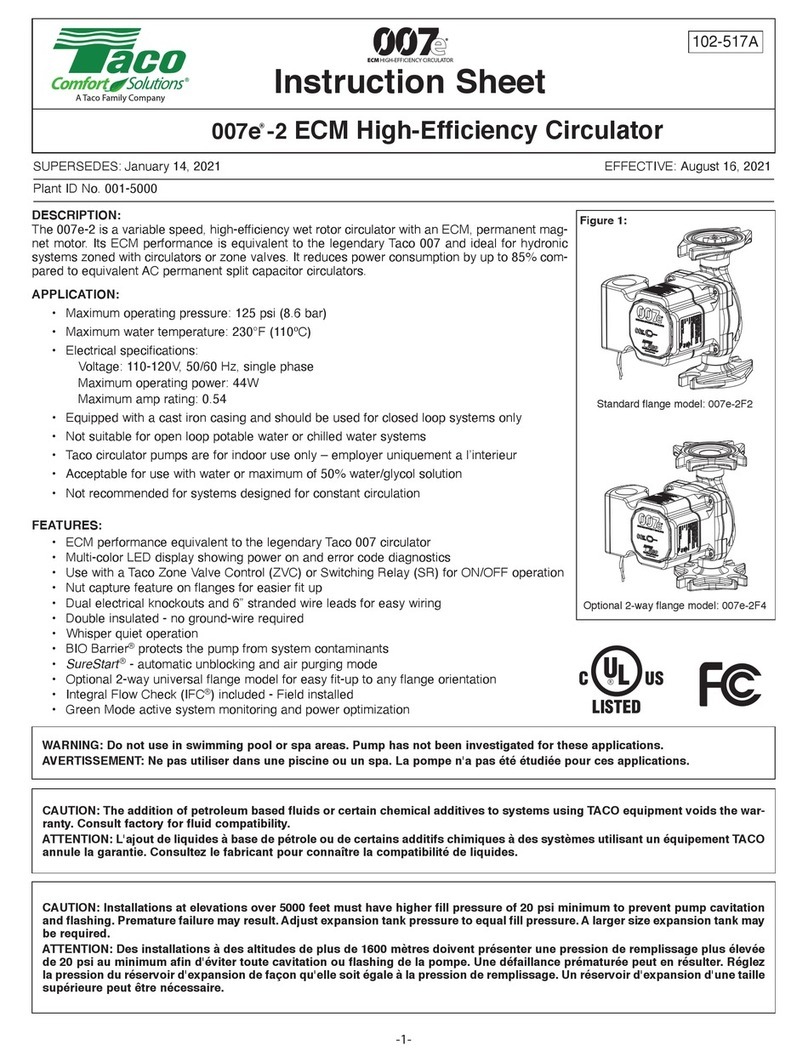
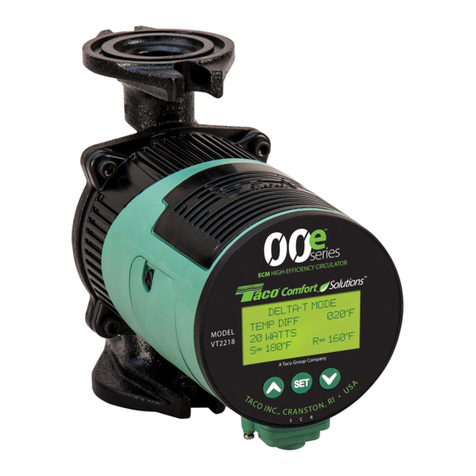
  9. Taco Comfort Solutions Plumb n' Plug 00 Series User manual

Taco Comfort Solutions Plumb n' Plug 00 Series User manual

Application:
The Taco Plumb n’ Plug (PNP) “00” Series circulators are
designed to increase com ort and conserve water and
energy by decreasing the delivery time o hot water to out-
let ixtures. An average residence can save up to 25 gallons
o water per day, 9,000 gallons a year. A 6 oot line cord is
pre-wired on all PNP models providing an easy installation.
Simply plumb-it-in then plug-it-in.
Pump Control Options:
1. The basic PNP with line cord is designed or constant
circulation where the pump runs 24 hours a day.
2. An optional aquastat kit (#563-2) can be added to con-
trol pump operation to maintain water temperature
between 95˚F – 115˚F.
Two automatic timer options are available to control
pump operation and increase total energy savings.
3. A 24 hour/15 minute interval analog timer controls
pump operation or the same time settings every day,
usually early morning and early evening.
4. The digital 7 day programmable timer can be set or up
to 8 di erent on/o and day/time settings to match
homeowners’ weekly schedules and maximize energy
savings.
B n fits:
•Water Conservation: The average residence can save
up to 25 gallons o water per day, 9000 gallons per year.
•Comfort and Convenience: Hot water is always avail-
able in seconds.
•Efficiency: 24 hour analog timer can be set to control
daily pump operation and increase energy savings. 7
day digital timer allows or di erent settings each day to
match homeowner’s weekly schedule, or even greater
convenience and savings.
•Reliability: Unique cartridge design runs quietly and is
easy to replace.
Sizing:
• 003-PNP should be used when the total run o pipe
(supply and return) is under 200 eet o 3⁄4" pipe.
• 006-PNP should be used when the total run o pipe
(supply and return) is rom 200 to 400 eet o 3⁄4" pipe.
Sugg st d Plumbing Installation Proc dur :
1. Install the PNP circulator and plumbing components as
indicated in the Installation Diagram. DO NOT PLUG
IN CIRCULATOR UNTIL SYSTEM IS FILLED WITH
WATER AND PURGED.
2. Open cold water supply and ill system completely.
Open ixture at highest system point to purge air rom
the lines.
3. When system is illed and purged, close all ixtures and
close isolation valve between the water heater and the
circulator.
Instruction Sheet
Plumb n’ Plug “00” Series Cartridge Circulators
102-498
SUPERSEDES: January 3, 2014 EFFECTIVE: June 1, 2014
Plant I.D. 001-4222
Installation Diagram
WARNING: Do not run th circulator dry! Pr matur failur
of circulator may r sult. B for starting th cir-
culator, b sur to fill th syst m compl t ly
with wat r and fully purg all air from th lin s.
Backow
Preventer
Thermal
Expansion
Tank
Fixtures
Isolation
Valve
Union
Isolation
Valve
Union
Flow
Check
Valve
Drain
Valve
Isolation
Valve
Hot Supply
Cold Supply
Hot Return
Isolation
Valve
Flow Check Valve can be
eliminated if circulator with
Integral Flow Check (IFC) is used.
Circulator
WARNING: Do not us in swimming pool or spa ar as;
pump has not b n inv stigat d for this appli-
cation.
WARNING: In th v nt th r taining scr ws hav b n
pull d out of th housing, DO NOT r plac th m.
Us of any oth r scr w may short out th stator
windings, cr ating a risk of l ctrical shock.
CAUTION: Wh n installing l ctrical conn ctions, do not
apply m chanical loads to th capacitor box;
oth rwis , r taining scr ws may b pull d out
of th housing, making circulator unusabl .
CAUTION: 1. Th addition of p trol um bas d fluids or
c rtain ch mical additiv s to syst ms utilizing
TACO quipm nt voids th warranty.
2. Us supply wir s suitabl for 90°C – ATTEN-
TION: Employ r d s fils dalim ntation ad -
quats pour 90°C.
A Taco resource – saving product
4. Open drain cock valve between the water heater and
the circulator. Drain water to a bucket or loor drain until
all air is purged and water is clear. Close drain cock
valve.
5. Plug in the PNP circulator and set Manual Operation
switch to ON (I). Run circulator or 10 minutes to ully
purge the circulator cartridge o air and ensure bear-
ings are lubricated.
6. Use the ollowing programming instructions to set the
clock timer.
Analog 24 Hour Tim r Programming:
1. Set clock to the exact time o day by turning the outer
black ring clockwise to move the hour/minute hands to
the correct position. Pay special attention to the white
arrow pointing to the correct AM/PM time in the 24
hour outer ring.
2. Set the desired ON/OFF times by pushing the trippers
away rom the clock ace or ON operation. Leave the
trippers toward the clock ace or OFF operation. Each
tripper represents a 15 minute interval.
3. Set switch in the middle position
or automatic operation.
Analog Tim r Manual Switch S ttings:
1. Up = On, Constant
Circulation I
2. Middle = Automatic
Operation
3. Down = O O
Digital 7 Day Programmabl Tim r:
The Plumb n’ Plug (PNP) digital timer eatures a large LCD
display with user riendly keys or setting time and run pro-
grams. An internal re-chargeable battery holds programmed
settings or up to 2,500 hours during power outages.
Not : Although th Plumb n’ Plug digital tim r contains
som d gr of spik and l ctrical nois prot ction,
as with all l ctronic d vic s, th s units can b aff ct d
by l ctrical nois . It is r comm nd d that th y b
pow r d from a voltag sourc that has no switching
d vic s or inductiv loads conn ct d.
TIME
ARROW
MANUAL
SWITCH
IN AUTO
POSITION
Analog Tim r Diagram
PROGRAM
TRIPPERS
Timer Day h+ m+
+1h OVR
Reset

3. Connect the FM1D14 wiring. See Figure 3 for reference.
VAC
L
Setting the Time of Day
Follow this procedure to set the time of day and day of the week.
1. Press and release the Reset button with a blunt object to
reset the unit. The timer screen ashes.
2. Press and hold and h+ simultaneously to access the
12:00 AM screen.
3. Take one of these actions.
If.. Then...
Your time zone currently is
in Daylight Savings Time,
Press the +1h button.
Go to step 4.
Your time zone is not in
Daylight Savings Time
Go to step 4 to set the
current time.
4. Press and hold and press h+ repeatedly until you
advance to the current hour.
5. Press and hold and press m+ repeatedly until you
advance to the current minute.
6. Press and hold and press Day repeatedly until you
advance to the current day.
To set ON/OFF event pair, set ON event and then repeat
procedure to set OFF event. The timer enables up to 7 ON/OFF
event pairs.
1. Press the Timer button.
Dashed lines appear to
indicate no event is set for
event 1.
2. Press Day to select the days
of the week for the ON event.
NOTE: To set the ON event:
Programming Events
MO TU WE TH FR SA SU
ON
ON a Specic Day Select: The desired day
Every Day of Week Select: MO, TU, WE, TH, FR,
SA, SU
Every Weekday: Select: MO, TU, WE, TH, FR
Every Weekend: Select: SA, SU
Monday through Saturday Select: MO through SAT
Monday,Wednesday,
Friday
Select: MO, WE, FR
3. Press h+ to scroll to the desired hour for ON event.
4. Press m+ to scroll to the desired minute for the ON event.
5. Press Timer to advance to the OFF event screen.
6. Press Day to select the days of the week for the OFF event.
7. Press h+ to scroll to the desired hour for the OFF event.
8. Press m+ to scroll to the desired minute for the OFF event.
Take one of these actions.
If... Then...
You need to program another
ON/OFF event pair,
Press Timer to advance to
the next event ON screen and
repeat steps 2 through 8.
All the required ON/OFF
events are programmed,
Press to return main screen.
The procedure is complete.
NOTE: If events include or intersect with each other, each ON/OFF
event can be independently executed at the setpoint.
NOTE: If an ON event and OFF event occur at the same time, the
timer will run the OFF event.
Daily Operation
Follow this procedure to review or modify an event.
1. Press Timer to scroll to ON or OFF event you want to modify.
2. Take one of these actions.
Modifying an Event
deleted. Dashed lines appear in place of the event time.
time replaces the dashed line indicating that the event is
retrieved.
ON and OFF settings for the event.
time of day screen.
I
If you want to modify the... Then...
Days of the week for
ON/OFF event,
Press Day repeatedly to scroll to
desired days of the week
Go to step 3.
Hour for ON or OFF event, Press h+ to scroll to desired hour
Go to step 3.
Minute for ON or OFF
event,
Press m+ to scroll to desired
minute
Go to step 3.
3. Repeat steps 1 and 2 as needed to modify additional events.
4. When all the desired events are modied, press to
conrm event settings and return to the time of day screen.
Follow this procedure to delete an event.
1. Press Timer to scroll to ON or OFF event you want to delete.
Deleting an Event
Below is an overview of the different operation modes for FM1D14.
Mode Timer Display Description
Auto ON MOTU WE TH FR SA SU
OVR
AUTO
ON
OFF
AM
PM
h
Appears when an
ON setpoint has
been triggered
Auto OFF MOTU WE TH FR SA SU
OVR
AUTO
ON
OFF
AM
PM
h
Appears when an
OFF setpoint has
been triggered
OVR ON MO TU WE TH FR SA SU
OVR
AUTO
ON
OFF
AM
PM
h
Indicates relay has
been overridden to
ON status
MO TU WE TH FR SA SU
OVR
AUTO
ON
OFF
AM
PM
h
OVR OFF Indicates relay has
been overridden to
OFF status
NOTE: To execute an ON/OFF status override, press the OVR
button on the timer to override an ON or OFF status. The override
remains active until the next programmed event.
P r e s s h
P r e s s m
P r e s s T
P r e s s D
P r e s s h
P r e s s m
2. Press OVR to delete the event. Dashed lines appear in place
of the time to indicate the event is deleted.
NOTE: If necessary, repeat this procedure to delete both ON
and OFF settings for the event.
3. When the modications are complete, press to return to
time of day screen.
Retrieving an Event
The timer enables deleted events to be retrieved. All deleted
events can be retrieved until a new event is programmed in place
of event.
1. Press Timer to scroll to the ON/OFF event you previously
deleted. Dashed lines appear in place of the event time.
2. Press OVR to retrieve deleted event. The event ON or OFF
time replaces the dashed line indicating that the event is
retrieved.
NOTE: If necessary, repeat this procedure to retrieve both
ON and OFF settings for the event.
3. When the modications are complete, press to return to
time of day screen.
In case of a timer malfunction or to delete all previous settings,
the unit can be reset.
To reset the timer, use a blunt pointed object to press Reset as
shown in Figure 4 on the next page. The timer resets and deletes
all the settings in the unit.
Resetting the Timer
Adjusting Daylight Saving Time
Press +1h button to add the Daylight Saving Time hour to the
current time or remove the hour to return to standard time.
NOTE: Do not perform this procedure if your area does not use
Daylight Saving Time.
Figure 4. Reset Button
Reset
Button
Timer Day h+m+
+1h OVR
Reset
In the event of a power loss, the digital timer does the following:
Relay will be in the OFF state
Upon power restore, relay will go to the current programmed
state
Overview of Power Loss Functions
Not s:
LIMITED WARRANTY STATEMENT
Taco, Inc. will repair or replace without charge
(at the company’s option) any Taco 00 Series
circulator or circulator part which is proven
de ective under normal use within three (3) years
rom the date o manu acture.
In order to obtain service under this warranty, it
is the responsibility o the purchaser to promptly
noti y the local Taco stocking distributor or Taco
in writing and promptly deliver the subject product
or part, delivery prepaid, to the stocking distrib-
utor. For assistance on warranty returns, the
purchaser may either contact the local Taco
stocking distributor or Taco. I the subject prod-
uct or part contains no de ect as covered in this
warranty, the purchaser will be billed or parts
and labor charges in e ect at time o actory
examination and repair.
Any Taco product or part not installed or operated
in con ormity with Taco instructions or which
has been subject to misuse, misapplication, the
addition o petroleum-based luids or certain
chemical additives to the systems, or other
abuse, will not be covered by this warranty.
I in doubt as to whether a particular substance
is suitable or use with a Taco product or part, or
or any application restrictions, consult the
applicable Taco instruction sheets or contact
Taco at (401-942-8000).
Taco reserves the right to provide replacement
products and parts which are substantially similar
in design and unctionally equivalent to the
de ective product or part. Taco reserves the right
to make changes in details o design, construc-
tion, or arrangement o materials o its products
without noti ication.
TACO OFFERS THIS WARRANTY IN LIEU OF
ALL OTHER EXPRESS WARRANTIES. ANY
WARRANTY IMPLIED BY LAW INCLUDING
WARRANTIES OF MERCHANTABILITY OR
FITNESS IS IN EFFECT ONLY FOR THE DURA-
TION OF THE EXPRESS WARRANTY SET
FORTH IN THE FIRST PARAGRAPH ABOVE.
THE ABOVE WARRANTIES ARE IN LIEU OF
ALL OTHER WARRANTIES, EXPRESS OR
STATUTORY, OR ANY OTHER WARRANTY
OBLIGATION ON THE PART OF TACO.
TACO WILL NOT BE LIABLE FOR ANY SPE-
CIAL, INCIDENTAL, INDIRECT OR CONSE-
QUENTIAL DAMAGES RESULTING FROM THE
USE OF ITS PRODUCTS OR ANY INCIDENTAL
COSTS OF REMOVING OR REPLACING
DEFECTIVE PRODUCTS.
This warranty gives the purchaser speci ic
rights, and the purchaser may have other rights
which vary rom state to state. Some states do
not allow limitations on how long an implied
warranty lasts or on the exclusion o incidental
or consequential damages, so these limitations
or exclusions may not apply to you.

Other Taco Comfort Solutions Water System manuals

Taco Comfort Solutions 00e VT2218 Series User manual

Taco Comfort Solutions

Taco Comfort Solutions 00e VT2218 Series User manual

Taco Comfort Solutions 1900e Series User manual

Taco Comfort Solutions

Taco Comfort Solutions 1900e Series User manual

Taco Comfort Solutions 0015-MSF-IFC User manual

Taco Comfort Solutions

Taco Comfort Solutions 0015-MSF-IFC User manual

Taco Comfort Solutions 2400 Series User manual

Taco Comfort Solutions

Taco Comfort Solutions 2400 Series User manual

Taco Comfort Solutions 0018e-SF4 User manual

Taco Comfort Solutions

Taco Comfort Solutions 0018e-SF4 User manual

Taco Comfort Solutions 0026e User manual

Taco Comfort Solutions

Taco Comfort Solutions 0026e User manual

Taco Comfort Solutions 007e Series User manual

Taco Comfort Solutions

Taco Comfort Solutions 007e Series User manual

Taco Comfort Solutions 007e-2 User manual

Taco Comfort Solutions

Taco Comfort Solutions 007e-2 User manual

Taco Comfort Solutions 0034e User manual

Taco Comfort Solutions

Taco Comfort Solutions 0034e User manual

Popular Water System manuals by other brands

Barnstead International NANOpure DIamond 1192 Series Operation manual

Barnstead International

Barnstead International NANOpure DIamond 1192 Series Operation manual

Chaffoteaux & Maury Duo 200 Installation and maintenance instruction manual

Chaffoteaux & Maury

Chaffoteaux & Maury Duo 200 Installation and maintenance instruction manual

Trion HERRMIDIFIER Herrmidicool Installation, operation & maintenance manual

Trion

Trion HERRMIDIFIER Herrmidicool Installation, operation & maintenance manual

Daikin Solaris EKSH26P quick start guide

Daikin

Daikin Solaris EKSH26P quick start guide

Geberit HDPE installation guide

Geberit

Geberit HDPE installation guide

Reflex EB 30 quick guide

Reflex

Reflex EB 30 quick guide

OMEGA AIR AOK 20SS Installation and operating manual

OMEGA AIR

OMEGA AIR AOK 20SS Installation and operating manual

Grunbeck GENO-EDI-X Operation manual

Grunbeck

Grunbeck GENO-EDI-X Operation manual

Nexus JP-103 Operation manual

Nexus

Nexus JP-103 Operation manual

Everpure 2K-Plus EV9612-61 Specification sheet

Everpure

Everpure 2K-Plus EV9612-61 Specification sheet

Dewhot LPDH 5 manual

Dewhot

Dewhot LPDH 5 manual

Wilo Yonos MAXO-Z Installation and operating instructions

Wilo

Wilo Yonos MAXO-Z Installation and operating instructions

Rotex RPS4 Operating and installation instructions

Rotex

Rotex RPS4 Operating and installation instructions

EcoWater ERO-375 Installation, operation and maintenance guide

EcoWater

EcoWater ERO-375 Installation, operation and maintenance guide

EINHELL 41.731.90 Original operating instructions

EINHELL

EINHELL 41.731.90 Original operating instructions

GF JRG Sanipex MT Operating and maintenance instructions

GF

GF JRG Sanipex MT Operating and maintenance instructions

Serenity G2772 instruction manual

Serenity

Serenity G2772 instruction manual

Uponor Clean II operating manual

Uponor

Uponor Clean II operating manual

manuals.online logo
manuals.online logoBrands
  • About & Mission
  • Contact us
  • Privacy Policy
  • Terms and Conditions

Copyright 2025 Manuals.Online. All Rights Reserved.