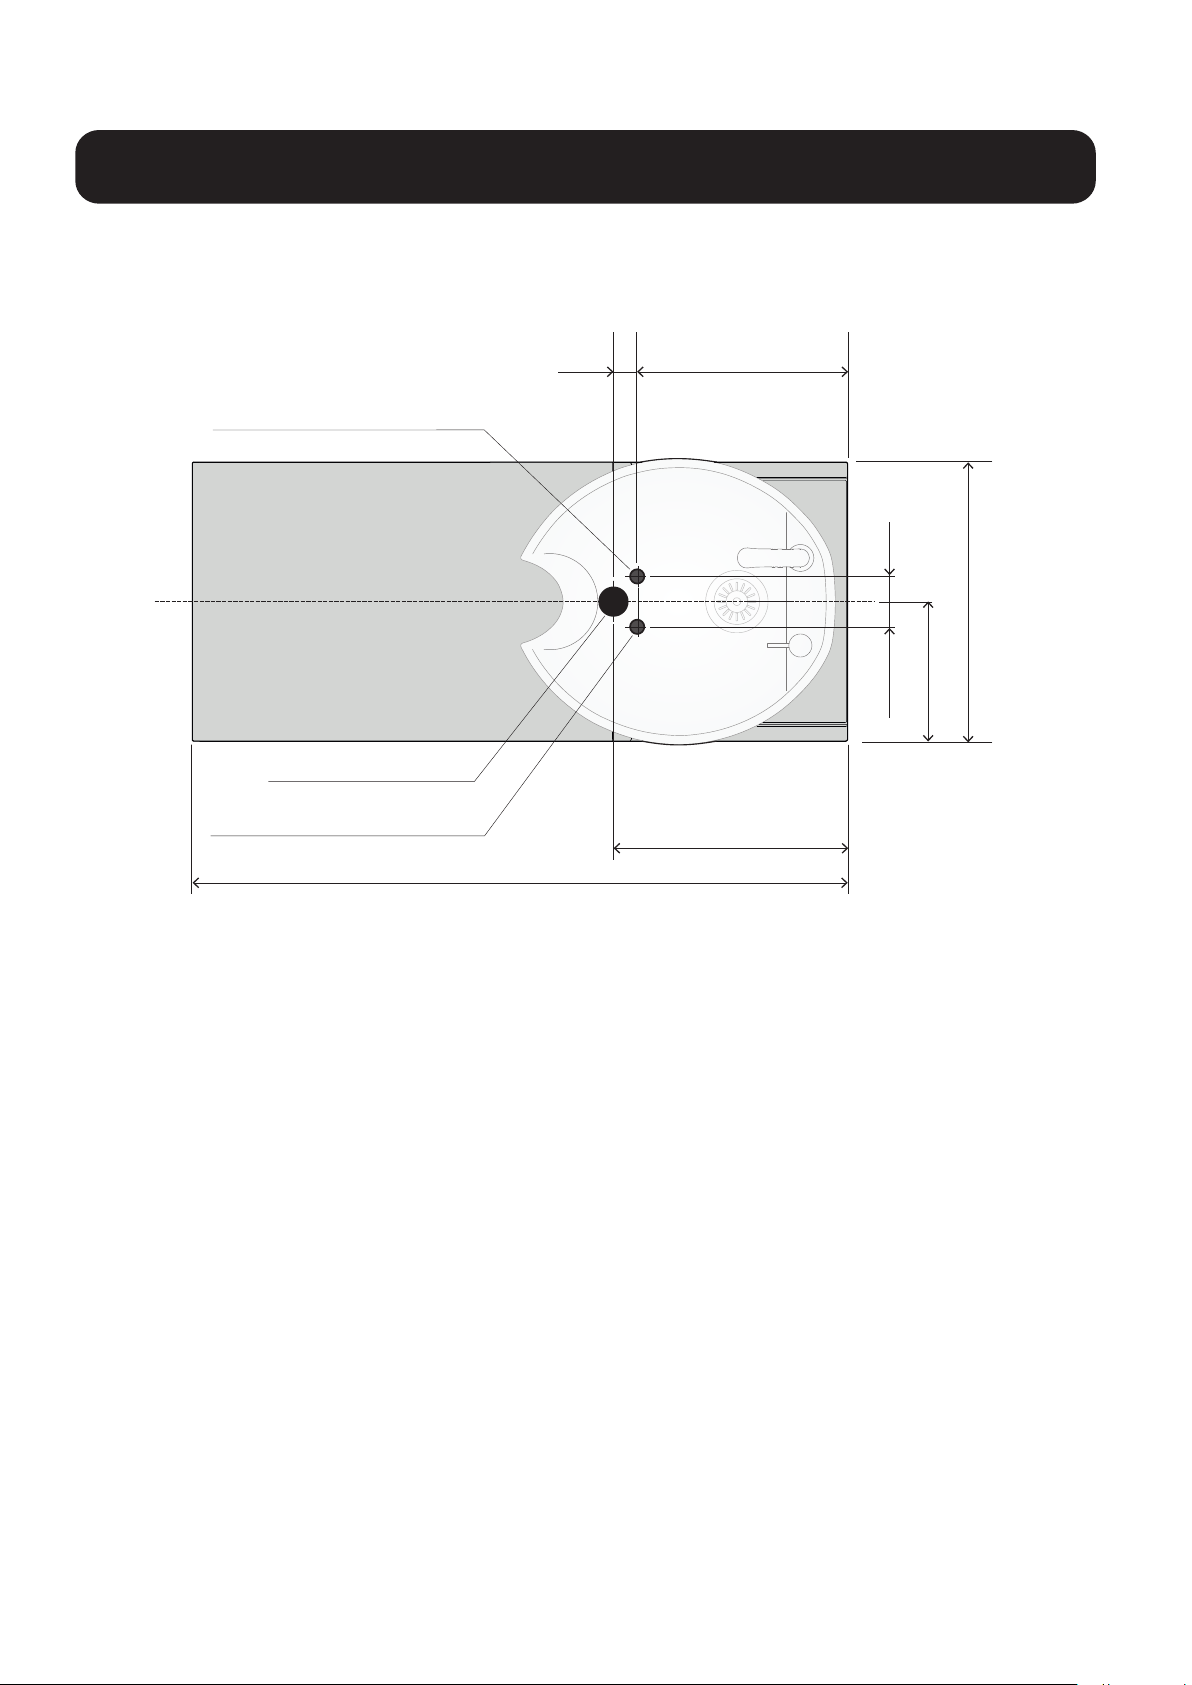
Takara Belmont Swash User manual

1
SWASH
Installation Instructions
Thank you for purchasing this Takara Belmont product.
The instructions contained in this booklet should
be thoroughly read and understood before use.
Using this product before reading this operating
instructions may result in an accident.
This product is an industrial shampoo unit designed
for barbers and hair salons. Only use this product for
its intended purpose and do not use it for
non-hairdressing work.
Keep this instruction and refer back to them when
required.
Description of Warning Symbols
Safety Precautions
Dimensions
Specifications
Usage conditions
Packaging
Carrying the main body
Installation of main body
Installation process for anchor bolts
Attach piping
Checks after installation of pipe
After installation
Note
2
2
3
5
5
6
6
7
7
8
8
9
9
Table of Contents
Please keep this manual in a safe place for your future reference
A PDF version of this manual can be downloaded at takarahairdressing.co.uk/download
To the installer
• The instructions should be thoroughly read and understood
before installation to ensure that SWASH is installed correctly.
• After installation, give these instructions to the customer.
To the customers
• Customers must not install SWASH by themselves.
* The actual shape of SWASH and the images and
dimensions listed in these instructions may be modified
and are subject to change without notice.
Wash Unit
June 2018 Version 5

2
Description of Warning Symbols
°Before using this product
The "Safety Precautions", "Precautions for Use" and "Precautions for Handling Synthetic Leather" contained in this
booklet should be thoroughly read and understood before use.
°Precautions listed here
The precautions listed here are to ensure that this product can be used safely, and to prevent any danger or risk to the
person using this product or those around them.
These precautions are important for ensuring safety. Adhere to these precautions at all times. Takara Belmont is not
responsible for any damage or risk to the person using this product or those around them due to accidents if this product
is used without adhering to the "Safety Precautions", "Precautions for Use" and "Precautions for Handling Synthetic
Leather". In this case, the person failing to adhere to the "Safety Precautions", "Precautions for Use" and "Precautions for
Handling Synthetic Leather" will be responsible for any damage or risk incurred. Detailed descriptions of symbols are
provided below. Read and understand these symbols thoroughly before reading this instruction.
° Symbols
If this symbol is ignored and the product is used, "there is the risk of death or serious
injury to the user".
If this symbol is ignored and the product is used, "there is the risk of light or moderate
injury or physical damage".
Description of "ideal points to adhere to for safety".
Warning
Caution
Note
Common danger, warning and caution
notifications
Common prohibited actions
Prohibited disassembly or repairs/modifications
Notification of high temperature warning
Guidance or instruction regarding common
user actions
Remove power plug from the power outlet
Always connect a ground cable
Install on a stable area
Install the main body on a flat, firm floor, and fix it securely. Failure to follow this instruction may cause the main
body to fall over.
Safety Precautions (Adhere to these precautions at all times)
Warning
WALL
!
!
!!
HOT
!
!

1010
380
455
500
600
1010
455
500 600
2335
2705
3
Dimensions
1235
510
370 1235
TOP VIEW
SIDE VIEW
1) The dimensions listed above may vary slightly from model to model
2) The sample values shown are for a 170 cm tall person lying down. Ensure that there is a ample space surrounding
the seat for extremely tall customers or if the surronding area is used as a passageway
Dimensions in mm
588
588
554
Footstool

Dimensions
Dimensions in mm
<Plumbing layout>
350
1235
400
50
120
DRAIN : Φ40mm
COLD WATER
SUPPLY : 3/8” H=60mm
588
294
4
HOT WATER
SUPPLY : 3/8” H=60mm

5
Specifications
Floor surface
°Ensure that the material or finishing of the floor surface is waterproof or has a waterproof coating applied.
°Always ensure that the floor surface is horizontally level.
°Ensure that the floor surface is smooth and free from bumps around the attachment areas.
°If the floor surface is tiled, cracks may occur when fastening the bolts during installation of the SWASH main body.
If this looks likely to happen, use the main body attachment diagram and template as a reference and change the material
of the attachment area that is in contact with the floor to another such as plywood or mortar.
Take care during installation as the entire base surface of the seat body is not in contact with the floor.
°The following levels of strength are required for the floor surface.
Wooden floor Plywood thickness of 30 mm or more (two 15 mm sheets joined together)
Mortar floor Mortar thickness of 50 mm or more
Special floor (stone finish) A foundation with levels of strength listed above around the installation areas is required.
Preventing water leakage
°If this product is to be installed upstairs, ensure that the installation area has been coated with waterproof materials
(waterproof finish, installation of a stainless steel pan or a water leakage sensor).
°Fill the space between the installation area and pipe with caulking materials.
Installation of pipes
The following are important points to adhere to during the installation of pipes.
Read through the details carefully and ensure that the pipes are installed correctly.
°When installing this product, ensure that installation of pipes adheres to the instructions outlined in
"Precautions during installation of pipes". Installing pipes without reading through the precautions will mean water may
not mix properly, and a set temperature will not be achieved.
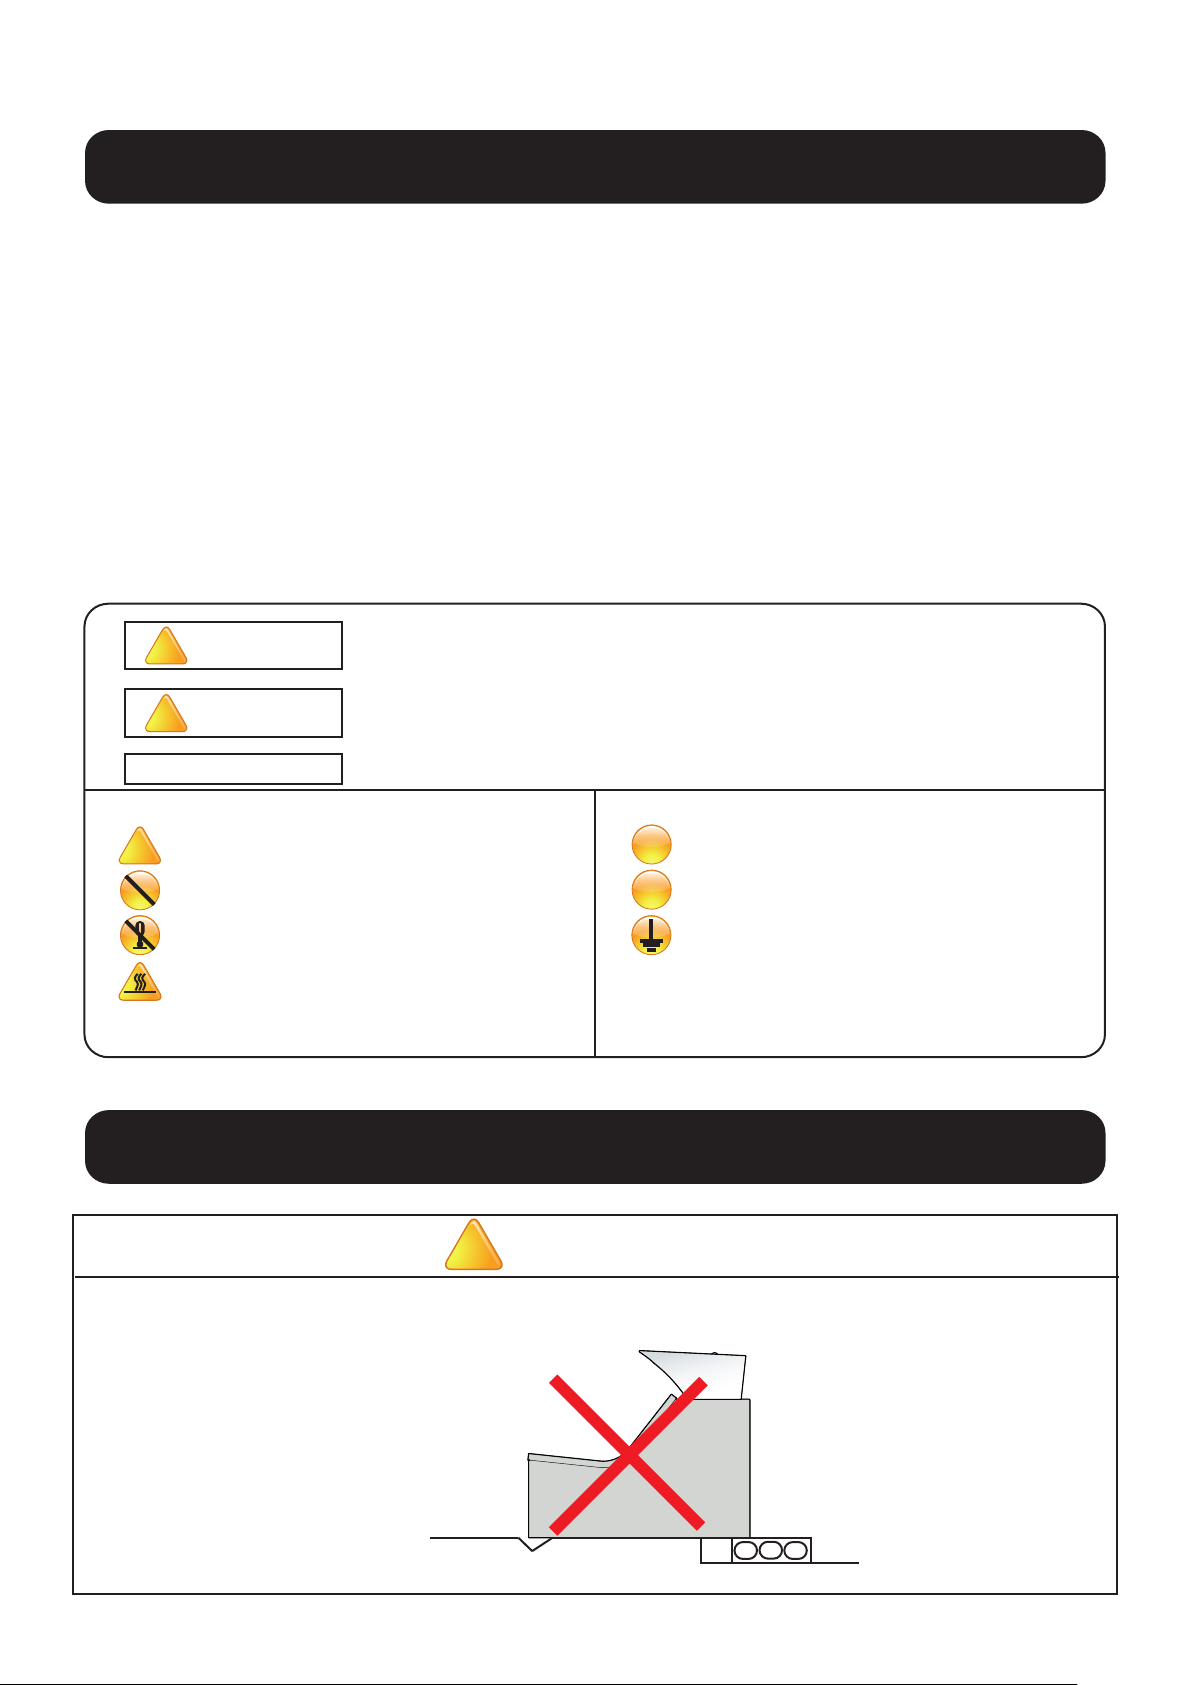
°This product is designed for indoor installation. Always install this product indoors.
Precautions during installation of pipes
°Do not use pipes made of materials that may introduce rust for the water supply pipe.
°In general, the same diameter and same pressure is recommended for hot water pipes and water supply pipes.
°Always use a reamer to deburr the ends of cut pipes.
°Avoid using inverted U-shaped pipes (siphon) as these can cause air to become trapped.
°Always connect hot water pipes and water supply pipes after removing all contaminants such as dirt, sand and oil
as these can cause problems.
°After connecting the pipes and testing water flow, clean the filter and shower head.
°Do not connect the hot water pipes and water supply pipes in reverse.
Connecting pipes in reverse will mean the temperature of water cannot be controlled properly by the water taps,
which can cause problems including burns.
°Ensure that the hot water pipes from water boilers are only run over a short distance so as to minimize resistance.
Longer pipes can cause fluctuations in temperature and poor hot water delivery.
°Always wrap pipes with lagging material after installation is complete.
°In general, the same diameter and same pressure is recommended for main hot water pipes and main
water supply pipes.
°Equipment comes with hair catchers installed.
Usage conditions
° Public water supply (do not use non-drinkable well water or water that contains rust or sand.)
° If the water hardness is 80 ppm or higher, install a water softener to prevent the buildup of scale
within the basin body. Aeration may be minimal when using shampoo even if drinkable well water
is used, so a water softener should be installed.
° Use a pressure set between 0.1 to 0.4 MPa (1 to 4 kgf/cm2). If multiple SWASH are used,
ensure that the pressure does not drop below 0.1 MPa (1 kgf/cm2).
° Set the water supply pressure > hot water supply pressure.
° Set the difference between the hot water supply pressure and water supply pressure to within
0.2 MPa (2 kgf/cm2).
Water used
Hot water supply,
water supply pressure

6
SWASH packing
4X
Precaution
Carrying the main body
2
Remove screws
for transportation
1
Open the back
maintenance cover
3
Close the back
maintenance cover
!
!
!
4X

7
Installation of main body
VACUUM ANCHOR
SUPPLIED
TEMPLATE
FLOOR
Ø8.5mm
HOLE DEPTH
50mm OR MORE
Precaution
• The strength of the anchor bolts will be reduced if they are hammered into the hole while touching the bottom.
Open up a gap.
• When installing anchor bolts, insert them so that there is 2 to 5 mm of the threaded section of the head protruding.
If the bolts are inserted with more than 5 mm protruding, the head may interfere with the cover.
!
4X
Installation process for anchor screws / bolts

8
Attach piping
1 Attach drain hose to installed drain pipe
Precaution
• Check that the drain hose is not bent or damaged.
This may affect water flow or damage the drain hose.
• Check that the drain hose clamp is firmly fastened.
If it is not fastened, water may leak or the drain hose
may come loose.
• Check that the hose is not in the shape of an S trap.
An S trap can adversely affect the flow of drainage water.
If the drain pipe layout causes an S trap to be formed,
check the installation position of the basin body and piping
dimensions, and make the necessary adjustments.
2Attach the water supply pipe and hot water supply pipe
Precaution
• Always connect the pipe after removing all contaminants
on the pipe such as dirt, sand and oil.
• Check that the space around the pipe is completely filled
with caulking materials.
・Check that pipe installation suits product specifications
(position, pipe, height) and that it matches the pipe
installation diagram and template
• Do not connect the hot water supply pipe and water supply
pipe in reverse.
• Check that water is not leaking from the joint.
DRAIN
HOT WATER
SUPPLY
POSITION
COLD WATER
SUPPLY
POSITION
Checks after installation of pipes
Test water flow
* Test the water flow and inspect the following items. The hot water may be slightly tainted at the start of the water flow test, however this does not indicate any problem.
(1) Is there no water leaking from the pipe joints
The pipe joints may come loose during transportation, so check the joints within the basin thoroughly.
(2) Are the hot water supply and water supply pressures at the same, stable pressure
(3) Can temperature be controlled properly
Precaution
Always test the water flow to prevent accidents during use.
Attach the maintenance cover to the basin
(1) Insert the maintenance cover into the main body.
(2) Attach the cover with the screws (4 pcs)
!
!
!
(C) Cold
Shower head
Water stop
handle
Close
Close
Open
(H) Hot

9
After installation
Takara Belmont (UK) Ltd.
BELMONT HOUSE, ONE ST.ANDREWS WAY,BOW LONDON
E3 3PA, UK
http://www.takara.co.uk
TEL: +44(0)20 7515 0333
°Inspection items
(1) Are there any screws that have not been attached?
(2) Is there any rattling?
Check the attachment areas again if there is any rattling.
(3) Are there any cracks or dirt on the basin?
(4) Is there any damage or blemishes on the exterior parts?
(5) Is water leaking onto the floor surface?
Precaution
Always conduct the following inspections to prevent accidents during use.
Note
!
Other manuals for Swash
1
Table of contents
Other Takara Belmont Plumbing Product manuals
Popular Plumbing Product manuals by other brands

Gessi
Gessi INCISO 58017 manual

Hans Grohe
Hans Grohe EcoSmart 31632000 Instructions for use

KWC
KWC Z.534.804.000.10 Installation and service instruction

HYPER WELLBEING
HYPER WELLBEING Eden Premium Assembly instructions

Hewi
Hewi AQ1.12S211XA Mounting instructions

American Standard
American Standard 3275 Specifications