Thank you for purchasing this Tamron lens. Before using your new lens, please read the contents of this Owner’s manual to properly
use the lens. Also, it will be important to read the manual of the camera to which you will attach the lens.
After reading, store this Owner’s manual in a safe place.
Please read also the document “Precautions for Safe Use of Tamron Lenses” supplied with the lens for the detailed safety precautions
to observe when using Tamron lenses.
•Explains precautions that help to prevent problems.
•Explains things you should know in addition to basic operations.
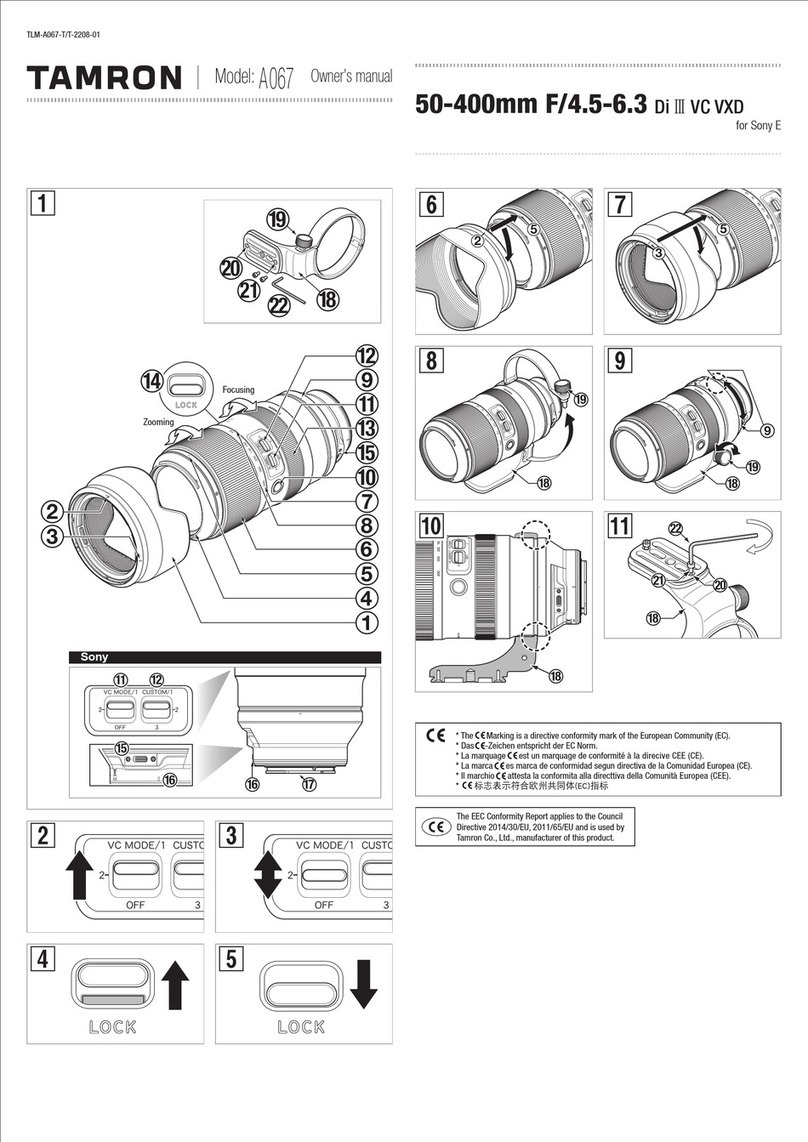
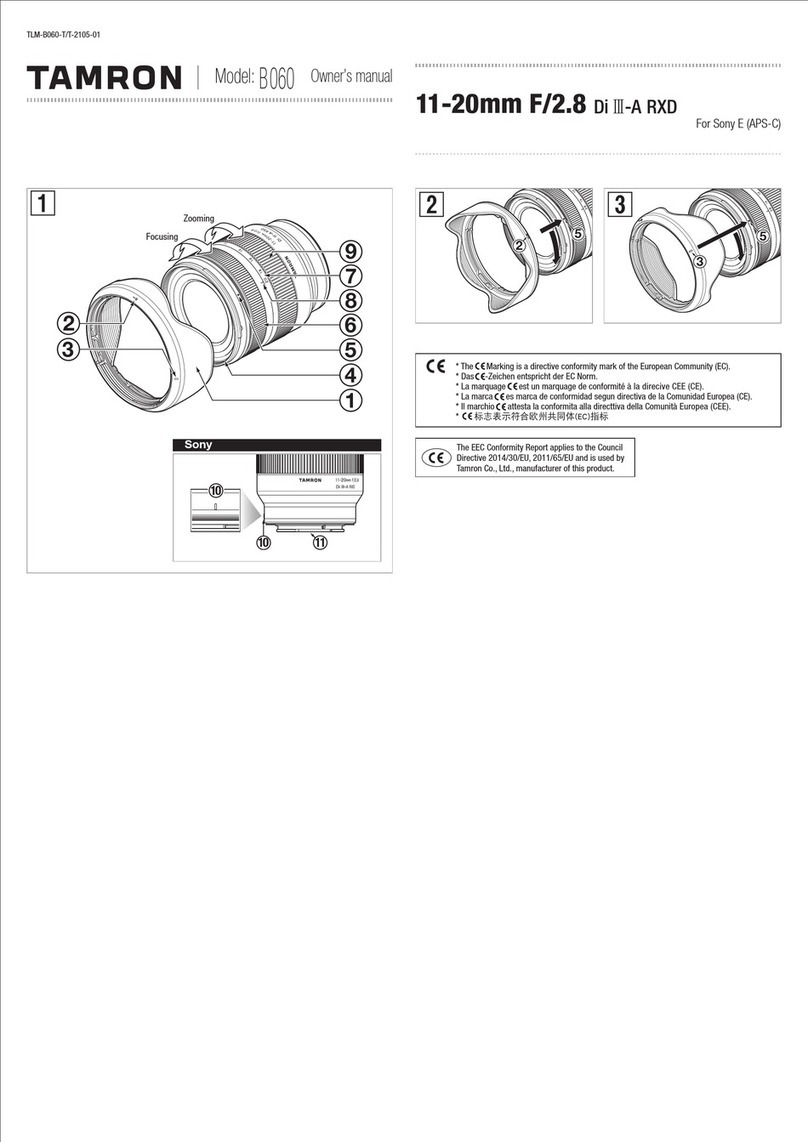
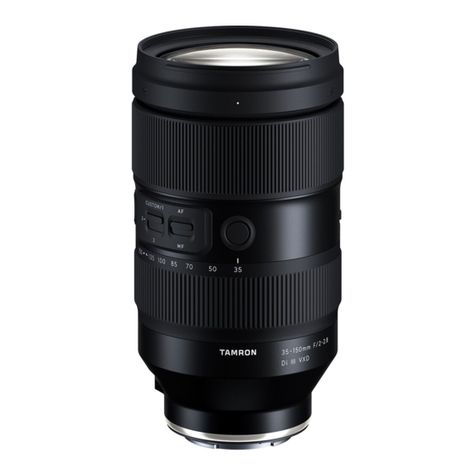
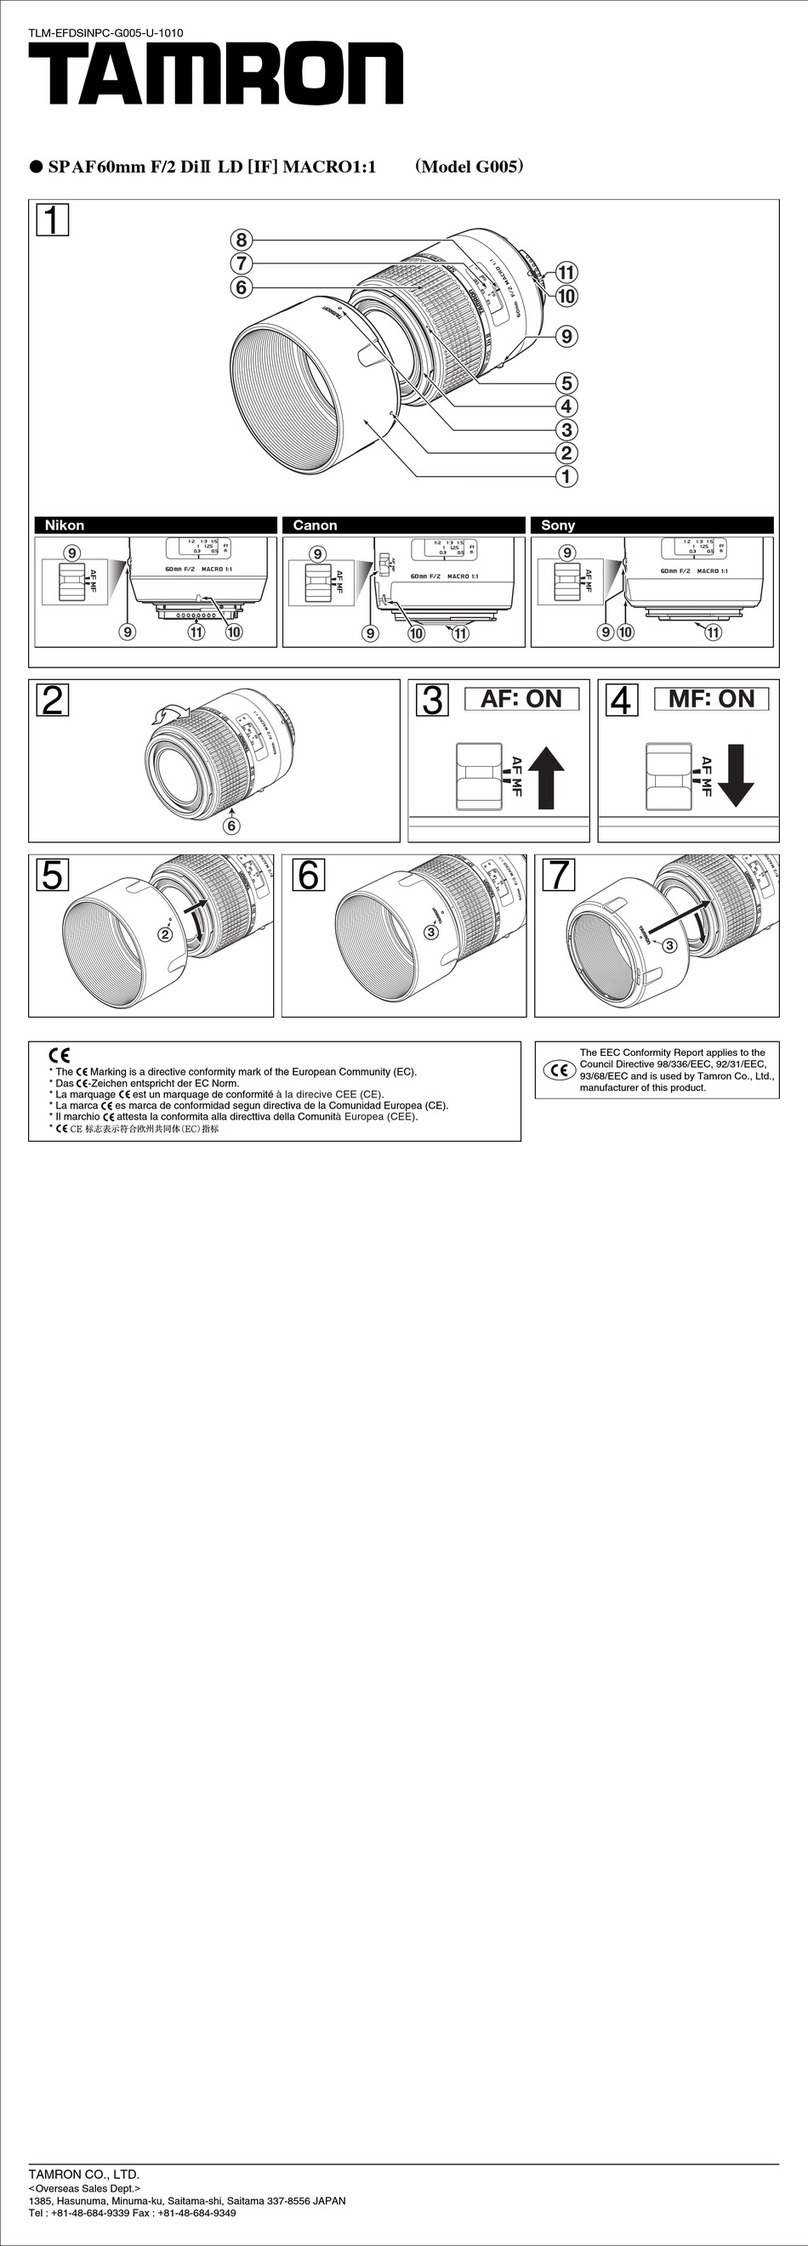
PART NAMES (Refer to Fig. 1)
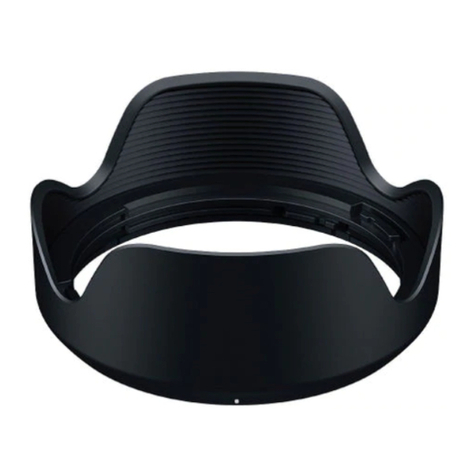
①Lens hood ②Lens hood release button
③Hood attaching alignment mark ④Hood locking mark
⑤Filter ring ⑥Hood release mark
⑦Focus ring* ⑧Focal length scale
⑨Focal length mark ⑩Focus set button
⑪AF/MF switch ⑫Custom switch
⑬Zoom ring ⑭Zoom lock switch
⑮Connector port ⑯Lens attachment mark
⑰Lens-camera interface contacts
* Corresponds to the control ring on Nikon Z mounts.
MAIN SPECIFICATIONS
Model A058
Focal Length 35 - 150 mm
Maximum Aperture F/2-2.8
Angle of View (diagonal) 63°26' - 16°25'
Optical Construction 15/21
Minimum Object Distance (MOD) 0.33 m (13") (Wide) / 0.85 m (33.5") (Tele)
Maximum Magnification Ratio 1:5.7 (Wide MOD) /1:5.9 (Tele MOD)
Filter Size ø 82 mm
Length 158 mm (6.2") / Sony E, 160.1 mm (6.3") / Nikon Z
Maximum Diameter ø 89.2 mm
Weight 1,165 g (41.1 oz) / Sony E, 1,190 g (42.0 oz) / Nikon Z
Lens Hood HA058
Connector Type USB Type-C
•Length : From front end of the lens to mount surface.
•Specifications, appearance, functionality, etc., are subject to change without prior notice.
ATTACHING AND REMOVING THE LENS
Remove the rear cap of the lens. Align the lens attachment mark ⑯and mounting mark on the camera, and then insert the lens.
Turn the lens clockwise for Sony E mounts or counterclockwise for Nikon Z mounts until it locks.
To remove the lens, turn the lens in the opposite direction while pressing the lens release button on the camera.
•Turn off the power of the camera before attaching or removing the lens.
•For details, please read the instruction manual of your camera.
SWITCHING FOCUS MODE (Ref. Figs. 1, 2)
AF/MF Switching (Ref. Figs. 1, 2)
To shoot using autofocus (AF), set both the camera and the AF/MF switch ⑪on the lens to “AF”. (Ref. Fig. 2) (If the lens is set at
“MF”, it will not autofocus.)
To shoot using manual focus (MF), set the camera and/or the lens AF/MF switch ⑪to “MF”. For manual focus, turn the focus ring
⑦to acquire the focus. (Ref. Figs. 1, 2)
•Under AF mode, there may be difficulty for autofocus to work depending on the subject.
•For Sony E, if your camera features an AF/MF control button, it is possible to temporarily switch to MF from AF, by pressing the
AF/MF control button. When the lens set to “AF” and the camera set to “MF”, by pressing the AF/MF control button you may
temporarily switch the focus to AF.
•For Nikon Z, you may apply functions from the camera to the focus ring ⑦. (under focus mode/ AF)
•For details, please read the instruction manual of your camera.
FOCUS SET BUTTON (Ref. Fig. 1)
Press the focus set button ⑩to use the function that has been assigned from the camera.
See the manual of the camera for more details.
CONNECTOR PORT (Ref. Fig. 1)
Lenses with the connector port ⑮can be connected to a computer using the TAMRON connection cable (sold separately). Then, using the
dedicated “TAMRON Lens Utility
TM
” application, you will be able to update the firmware and register functions to the custom switch ⑫.
See the online help of “TAMRON Lens Utility” using the link below for more details.
https://www.tamron.com/jp/consumer/support/help/lensutility/en/
•Do not use the TAMRON connection cable (sold separately) for any purpose other than connecting the TAMRON lens equipped
with a connector port to a computer.
•Tamron will not bear any responsibility for any loss or damage of data in use of the TAMRON connection cable (sold separately).
