TAPaulk Communications JH-1001HD The Shepherd User manual

USER MANUAL
JH-1001HD
Full HD H.264 video compression technology
High Definition Video Recorder 1080P High Video Resolution
THE SHEPHERD™
KEEPING A WATCHFUL EYE! ™

1
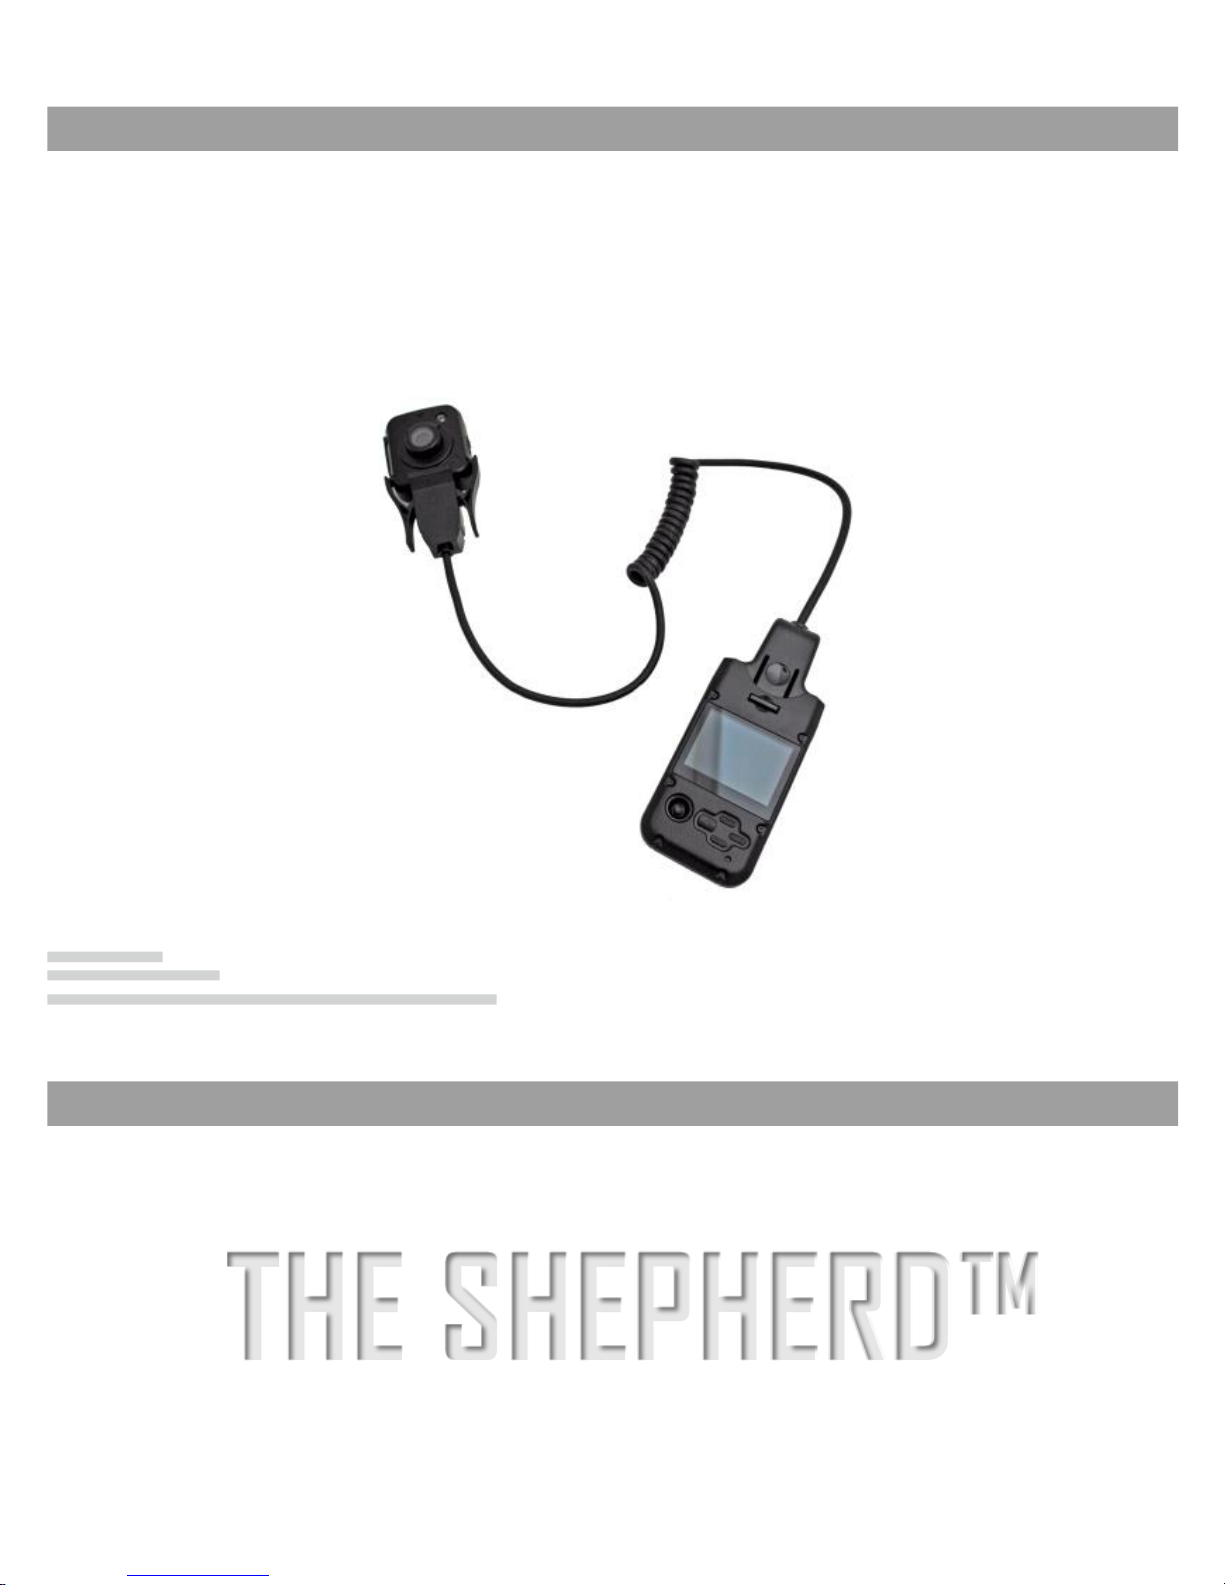
JH-1001HD 1080P Video Resolution
High Definition Video Recorder
Full HD H.264 video compression technology
Product Features
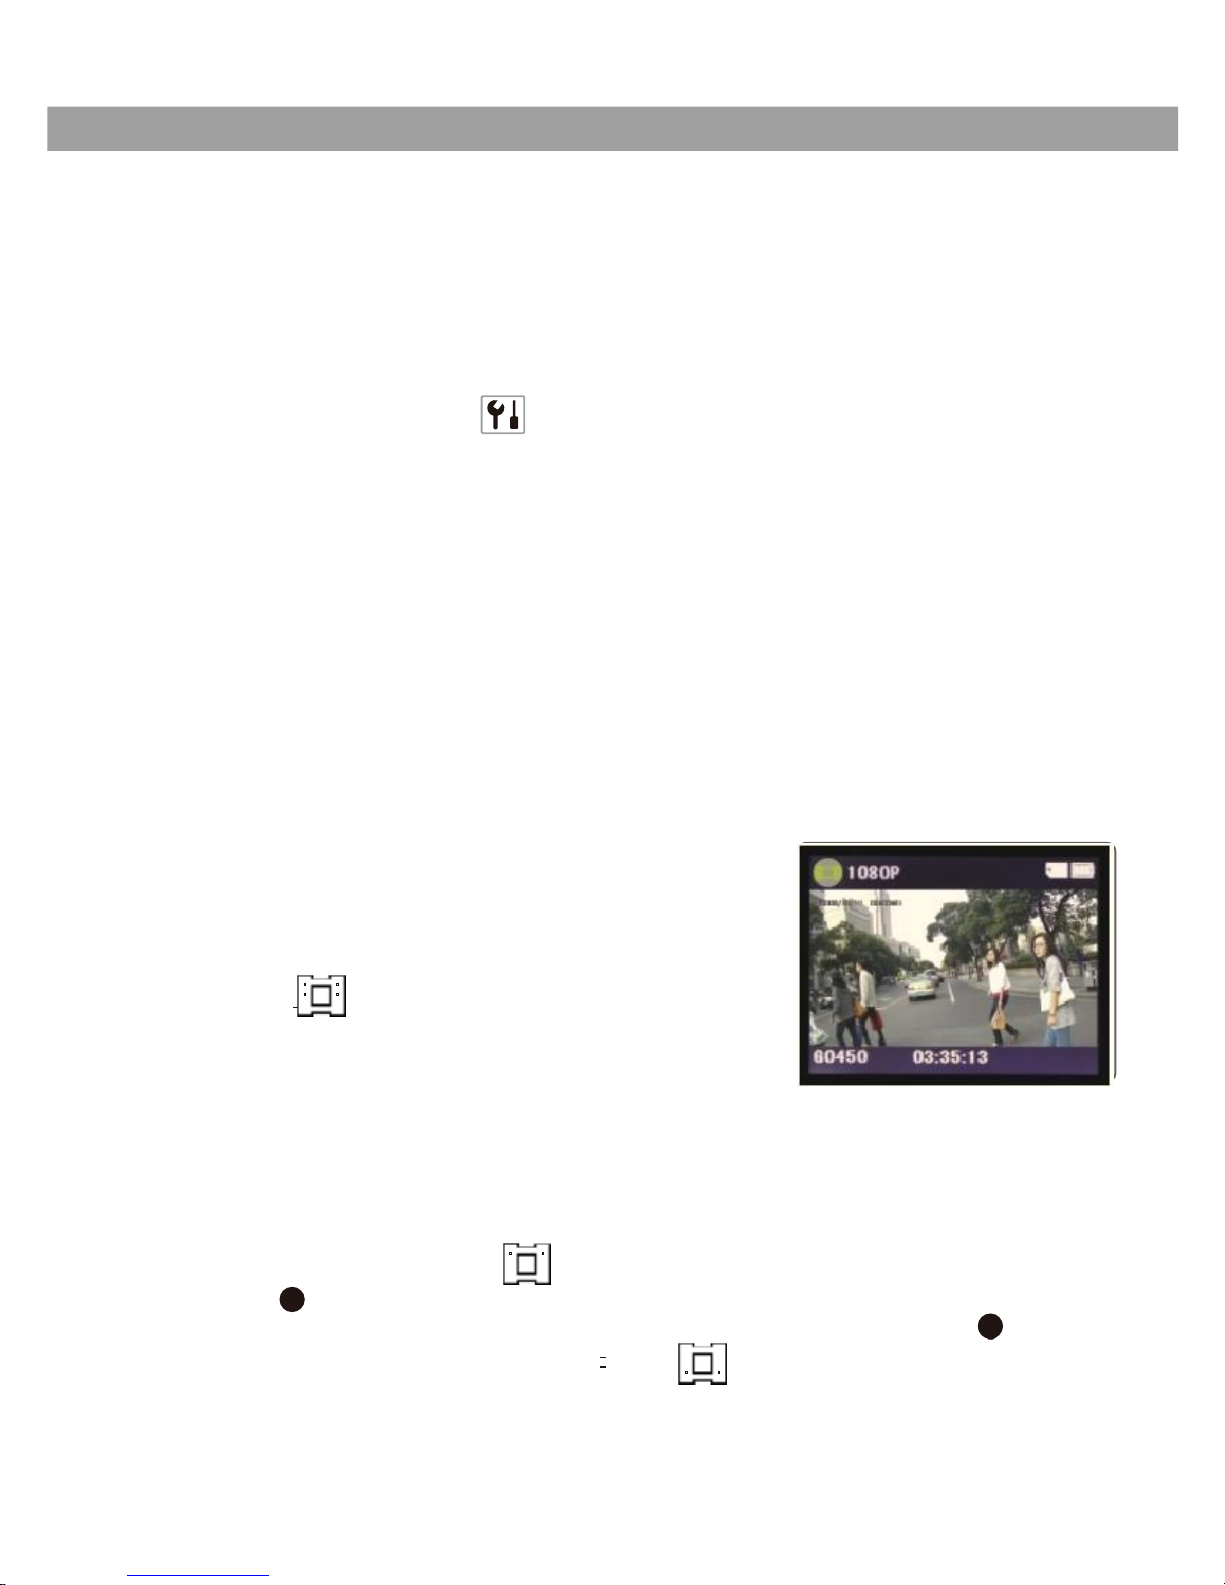
‧Industry’s first ultra-light portable camcorder with 1920x1080P High
Video resolution surpassing traditional DV video recording quality, record
your life with distinction.
‧Replace low resolution and expensive image and video recorders; using
this camcorder for 1920x1080P high resolution recording, whether it is face
recognition, license plate or other recognitions, everything will be clear at a
glance.
‧Suitable for recording during operations by police, sports such as
skateboarding or skiing, high resolution monitoring during evidence
recognition, vehicle accident evidence collection, criminal investigations,
home monitoring, events, etc., using most distinct way to record and
satisfies various needs.
‧Unique split design making the host device light and handy, by using
rotating clothing clip, it can be carried in many ways; further host device
and extended device can also be fitted together. This design makes
wearing more convenient, clip can be rotated 360°.
‧Unit can conveniently face forward or at designated direction. Recorded
files can’t be deleted or editing on the device without the passcode, can
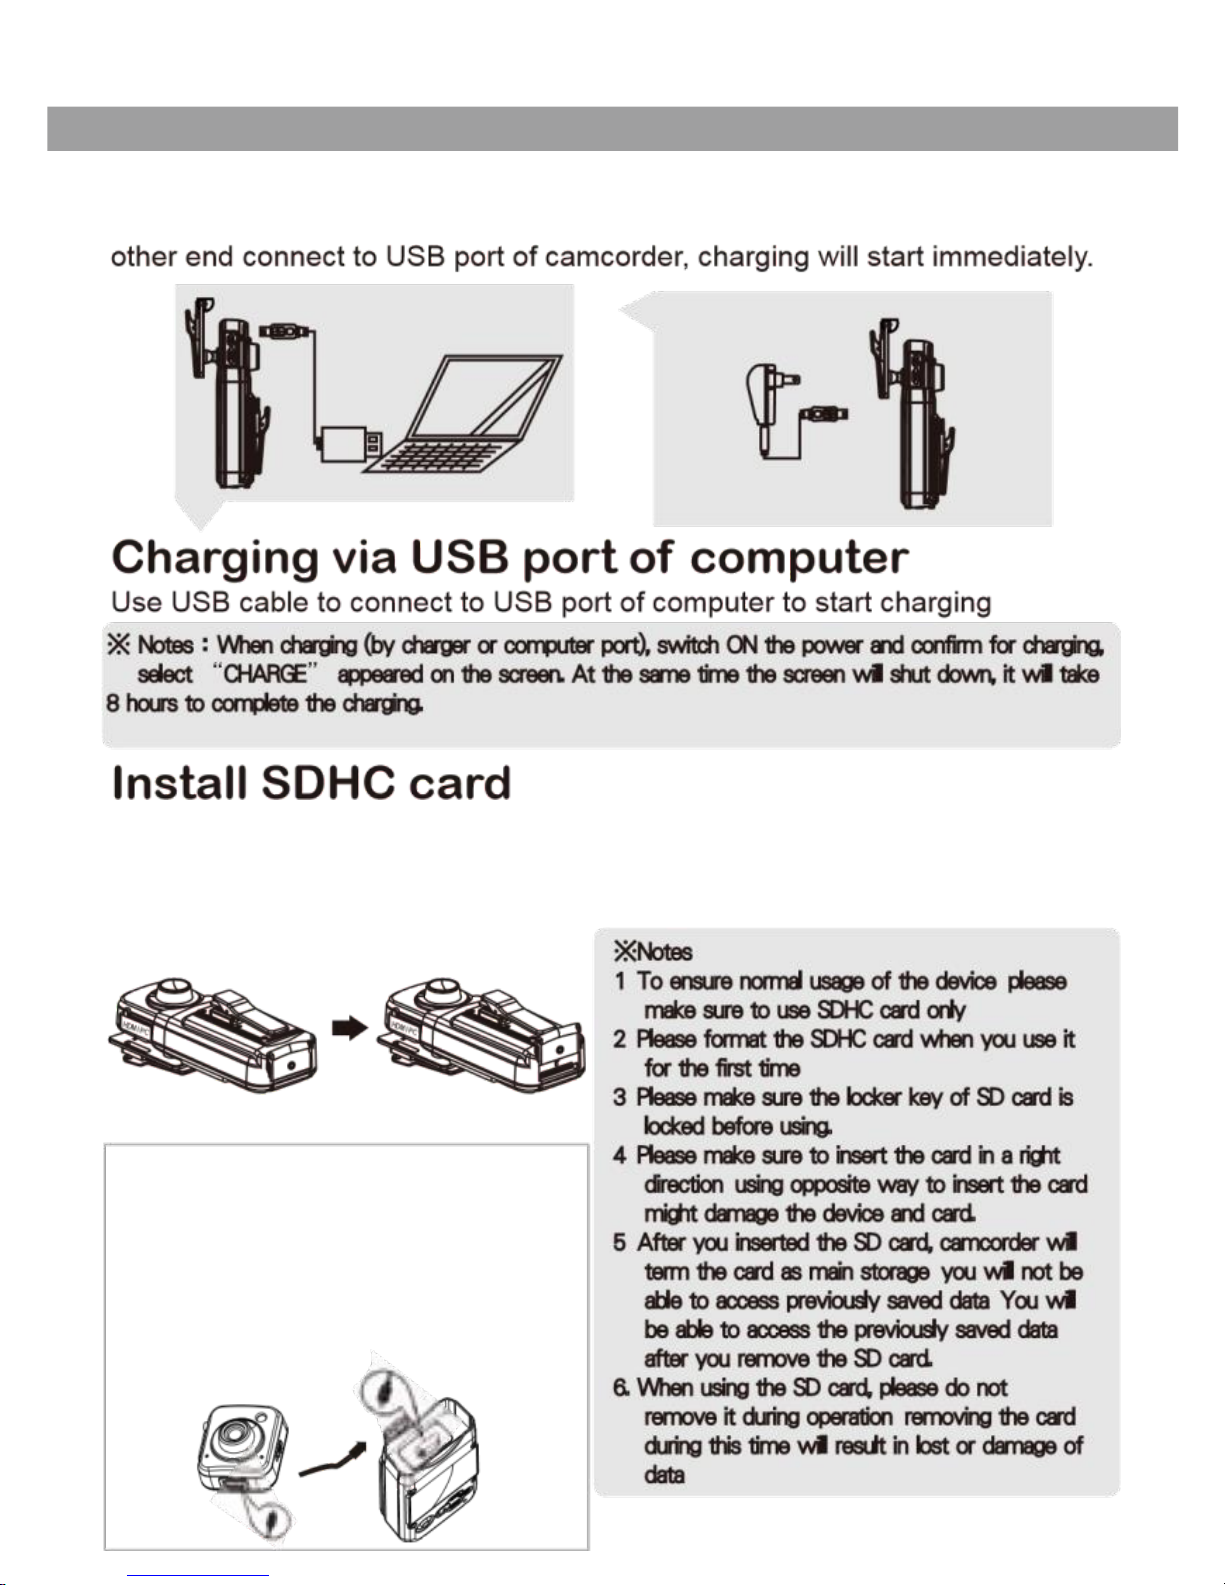
support 32G SDHC memory card. ‧Connect to computer directly, no need
to pull out the memory card and no need for card reader.
‧Circulated recording feature without any interruption during recording.
‧Built-in long life lithium battery can continuously run for more than 6 hrs.
‧Super 4x digital zoom lens, can record far away objects clearly.
‧Video reverse recording 180 degree.
‧High resolution HDMI output, video recording and picture will not be
distorted when magnified to maximum resolution, more compact design
for connection cable for host device and extended device.

Extended device structure
©TAPaulk Communications, LLC All Rights Reserved.
MIDDLE (Confirm and OK)

Host device structure
3
©TAPaulk Communications, LLC All Rights Reserved.

Extended device structure
©TAPaulk Communications, LLC All Rights Reserved.

Charging via Charger
5
Connect the USB cable, one end connects to USB port of the charger and the
1. Turn open the screw and push the SDHC cap up to open, insert the memory card into the slot
until the card is tightly fixed, pushes the SDHC cap downward and turn the screw close to
complete the installation.
2. Press lightly on the memory card to take out the card, wait till the card spring out and remove
the SD card.
Unique Split Design:
Provided with especially designed
connection cable for host device and
extended device, when connected it is very
convenient to make recording in different
position and different angle.


6
◎Switch ON and Shut OFF
Switch ON: press power button or press quick recording switch, screen
illuminating indicates switched ON.
Shut OFF: In any status after switching ON, press power button or press quick
recording switch, screen becoming black indicates shut OFF.
◎Setting Date and Time
Date and Time can appear on the screen during shooting, hence you need to set up the Date
and Time, and the procedures are as follows;
1. Switch ON the power, in any mode select “MENU” button to enter setup mode, press “Up”
button and then “Right” button to select setting
options , press “down” button to select
Date/Time, and then press “right” button to confirm
the Date/Time settings, press “OK” button to
complete Date/Time settings.

Operation Guide
◎Automatic switch off time setting
In order to conserve battery usage, the camcorder will enter screen protection mode after 20
seconds or you can set the time to shut off the device automatically, when the camcorder is not
used for a certain amount of time the device will be shut off automatically. Under Power ON
mode, select “MENU” button to enter the settings, press “up” button and then “right”
button to select setting options , press “down” button to select automatic shut off and
then press “right” button to set the automatic shut off time.
◎Options Setting
1. Under any of Photo/Recording/Playback mode, press “MENU” to enter the related
options setting.
2. Under any mode, press “down” button to select required working mode, press “OK”
to confirm.
◎Recording mode
1. Switch ON the camcorder, select recording mode and
there will be a sign on the top left corner of the screen
to enter into “ready for recording” mode (as diagram
indicated).
Or you could select quick recording switch to enter the
recording mode.
2. Press “REC” button to start recording, and then press
“REC” again to stop recording, Start/Stop recording will function in
this circulation. During recording, sign on the top left corner of the screen will turn into
blinking red sign and timer will appears on the screen. When the time and recording
stopped simultaneously, timer will disappear from the screen and blinking red sign on top
left corner of the screen will turn to recording “ ” sign.

8
3. IR lamps Mode
Toggle the IR switch around the lens to left side will start the IR function, which will be disable
when toggle to right side.
4. Circulated recording
Under recording mode, press button and change the option of circulated recording to “Yes”
for uninterrupted circulated recording.
◎Photo mode
1. Switch ON the power and wait till the starting procedure is completed, under
recording mode
press “MODE” button to select Photo mode, immediately
sign will appear on the top left corner of the screen, now
you are under Photo mode.
2. Focus the camcorder to the object, press “down” button
for digital zooming.
3. When you pressed “REC” button, camcorder will make a “kar jar” sound to
complete taking the picture.
4. Self-timer function
Under Photo mode, press option button to select “Self-timer”, and then press “right” button to
enter self-timer mode (10 seconds).

Specifications
9
◎Playback mode
1. Under standby mode or Photo mode, press “MODE” button to enter playback options, you can
choose single playback mode or press “left” or “right” button to select picture or video data for
viewing.
2. Press “down” button to enter index of playback mode, select “up” ,”down”, “left” or “right” to
navigate the picture or video data, press “OK” to enter single playback mode and navigate
pictures or videos.
‧As indicated by the diagram, files with sign shown in the middle indicate video files,
press “OK” if you need to play or pause. During playback, press left or right button for backward or
forward options respectively; to exit playback first press “OK” to pause and then press “left” or
“right” button to enter single mode.
3. Screenshot function
When you want to take the picture during playback, press “OK” to pause and then press “REC”
to take picture, the picture will be saved as jpg file; press “OK” to continue playback.
4. Delete in order to ensure the integrity of the files, there are management rights restriction on the
delete function. Data can only be deleted after the password is entered, it's unable to reset the
device back to default settings if the password is missing, and must be sent back for warranty
repair.

Product Accessories
10
◎Save under USB mode
connect USB to the computer and switch ON the power, press “Enter” button to select
“MCS” that appeared on the screen of camcorder, now you will find from “My Computer” one
removable disk(it is SD card); you can find the files under the path
“Removable disk/DCIM/100MEDIA”. If you did not insert SDHC card, built-in memory can not
be used as flash drive as it is hidden .You can use Windows interface to open SD file, make
cutting, copy or delete the files.
◎Connect HDMI output
1. Connect HDMI output to TV, you can view the picture or video files.

Specifications
11
Image Sensor
5 Mega pixels CMOS
IR Irradiation Distance
1.5-2m
Wide Angle Lens
90~120°
Password Setup
Yes
Zoom Distance
10cm - infinity
LCD Screen
2.0"LTPS TFT LCD
Video Output
HDMI:CTS1.1 Support 1080i/720p WVGA
Composite video: NTSC/PAL
Picture resolution
2592 x 1944(JPEG), 3200 x 2400(JPEG)
4000x3000(JPEG)
Maximum export resolution:5M, 8M, 12M
Recording resolution
1920 x 1080(30fps) 1440 x 1080(30fps)
1280 x 720(30fps) 848 x 480(60fps)
Video Codec
MP4/Movie Format Resolution H.264
Zoom
4X Digital Zoom
Recording media
Internal :32M External :SDHC/MMC Card
(Up to 32G SDHC Card)
Audio
Built-in microphone / speakers
Battery
Built-in Lithium Ion Cell Battery 3.7 V4000 mAh
USB
USB 2.0
Size
140 x55 x 29 ( mm )
Extended device weight
148(g)
Host device weight
60(g)

Product Accessories
12
Clothing Clip
User’s Manual
Wall Charger
USB Cable Connection
HDMI Cable Connection
Windshield Mount
Car Charger
SDHC Card up to 32GB

Copyright ©
TAPaulk Communications, LLC
PO Box 189
Dellslow, WV U.S.A.
All Rights Reserved.
Table of contents