Taser TASER CAM Parts list manual

Page 1 of 9
TASER® CAM™ HD Battery
Replacement Guide
Page 2 of 9
Battery Safety Information
Note: See the TASER CAM HD Operating Manual for complete cautions, warnings, and
instructions for using the TASER CAM HD recorder.
Failure to maintain the TASER CAM HD battery as instructed may cause
the battery or system to malfunction or fail to function properly or optimally.
Follow and comply with the following instructions to reduce the risk of
malfunction, including failure:
Charge the Battery Before Use: The TASER CAM HD battery must be
charged and functional prior to use. Be aware that a battery can fail to
function, fail to charge, fail to maintain a charge, or deteriorate over time.
Properly maintain the battery and ensure that it is fully functional. If the
battery is not fully functional, immediately replace it with a fully functional
battery.
Cleaning Battery Terminals: Clean the terminals with a dry cloth before
use. Failure to do so may result in power failure or charge failure due to the
poor connection between the battery and the electronic circuitry of the
device.
The instructions apply only to the TASER CAM HD recorder. DO NOT
attempt to change the battery in a previous-generation TASER CAM
device. DO NOT attempt to replace the TASER CAM HD battery unless you
have been trained in this procedure. Contact TASER International’s
Training Department for information on how to be trained in this procedure.
To prevent potential injuries, leaking, overheating or explosion of batteries,
please be advised to take the following precautions:
Battery Fluid Contact with Skin or Eyes: In case the battery fluid gets
into the eyes due to the leakage of battery, do not rub the eyes. Rinse the
eyes with clean running water, and seek medical attention immediately.
Battery fluid’s contact with the eyes or skin could cause serious injury,
including a loss of eyesight.
Extreme Temperatures: Do not expose the battery to excessive heat,
cold, or water. Do not use or leave the battery near a heat source or at a

Page 3 of 9
very high temperature (for example, fire, heater, in strong direct sunlight, or
in a vehicle in extremely hot weather). Doing so may cause the battery to
overheat, cause a fire, or its performance will be degenerated and its
service life will be shortened.
Static Electricity: Keep the battery away from sources of static electricity.
Static electricity can cause damage to the battery, which could result in
serious injury.
Replacement: The rechargeable battery in the TASER CAM HD system
may be replaced by a qualified technician. Do not use any battery other
than those designated by TASER. Doing so may cause battery explosion,
battery leakage, system damage, injury, or fire.
Handling: To avoid risk of fire, burns, or damage to your battery pack, do
not allow a metal object to touch the battery contacts. Do not strike or throw
the battery against hard surfaces. Do not directly solder the battery or
pierce the battery with a nail or other sharp object. Never disassemble,
short circuit, or heat batteries or put batteries in a fire. Doing so may cause
battery explosion, battery leakage, system damage, injury, or fire.
Abnormal Appearance: If the battery gives off an odor, generates heat,
becomes discolored or deformed, or in any way appears abnormal during
use, recharging, or storage, immediately remove it from the device or
battery charger and place it in a contained vessel such as a metal box.
Disposal: Dispose of the battery properly; contact your local waste
disposal provider regarding local restrictions on the disposal or recycling of
batteries. Do not dispose of the battery in fire or heat. The battery may
explode if placed in the fire.

Page 4 of 9
Parts Required
The TASER CAM HD replacement battery kit includes:
1 lithium ion battery
2 replacement screws
You also will need a Torx T5 x 60 screwdriver (not included but pictured
below).

Page 5 of 9
Replacing the Battery
1. Use the Torx screwdriver to remove the two screws in the top of the unit.
Using any tool not specifically designed for Torx fasteners may damage the
screws and/or the TASER CAM HD recorder.
2. Carefully remove the plastic cover.
Page 6 of 9
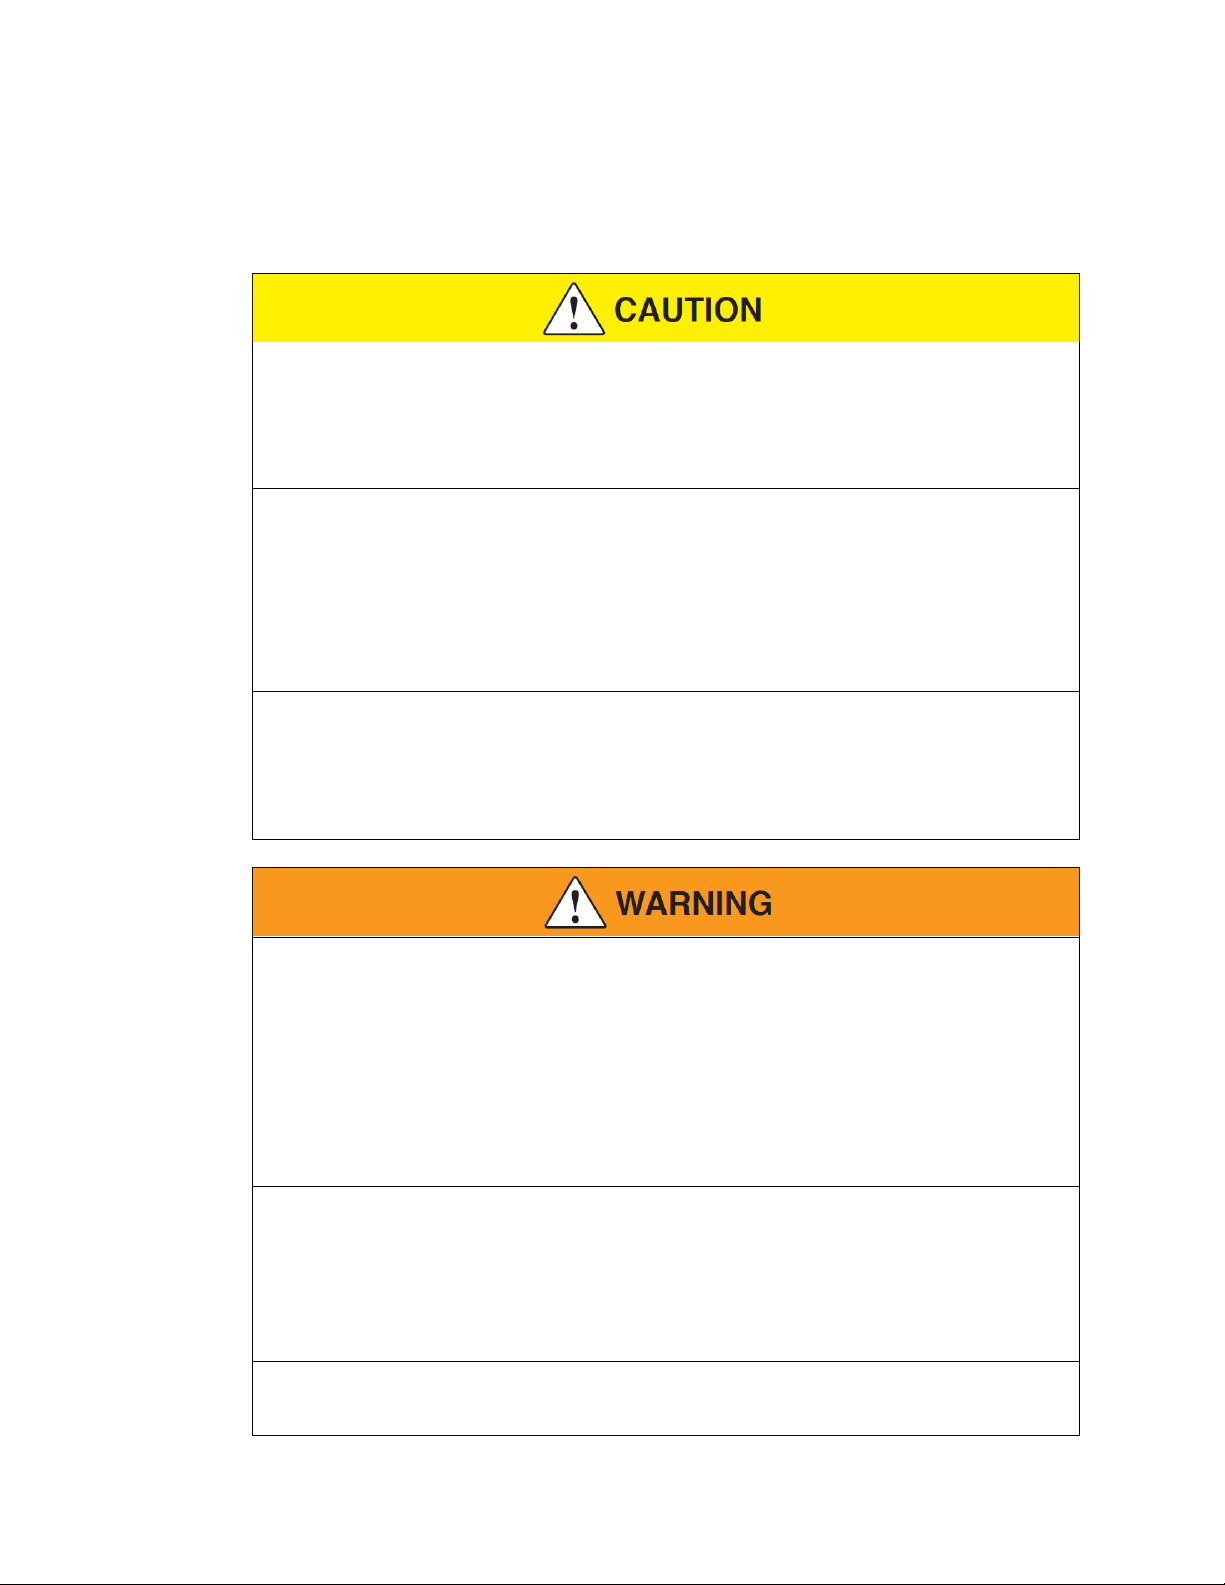
3. Unplug the old battery. Be careful not to pull on the wires; only pull on the
connector.
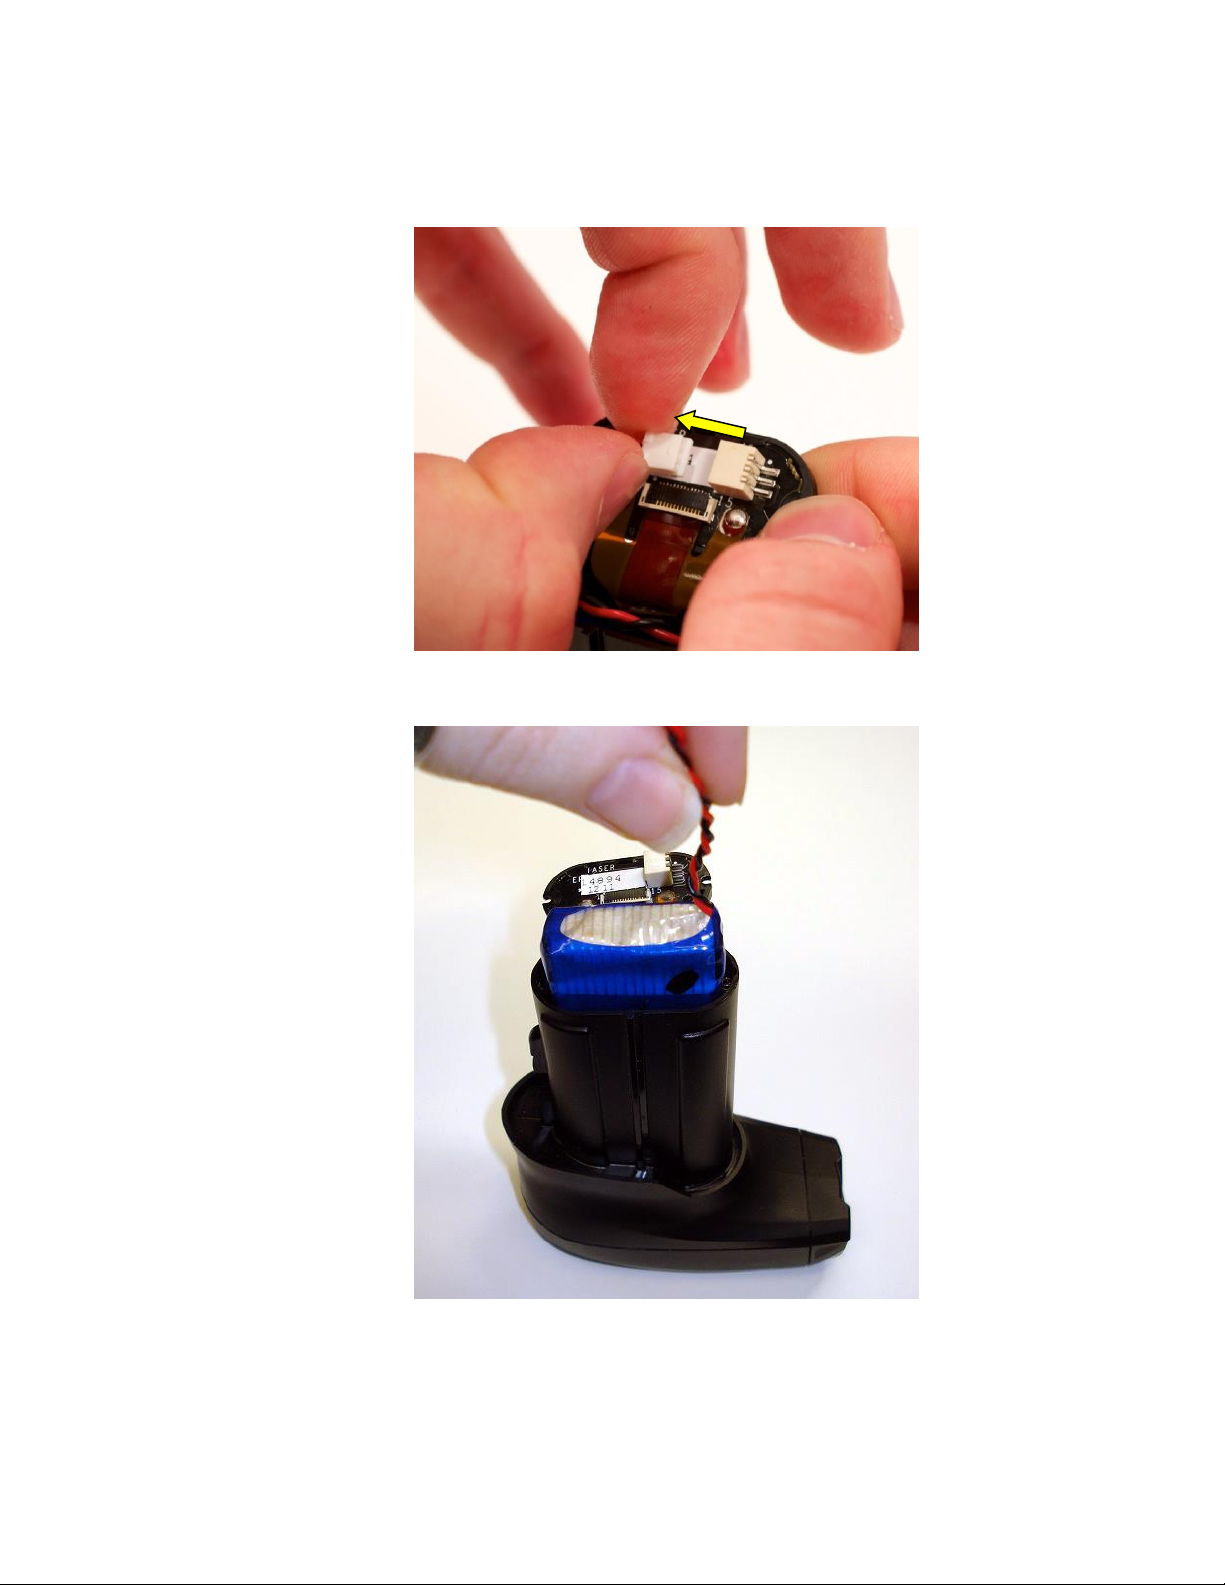
4. With the battery disconnected, remove the old battery from the unit.

Page 7 of 9
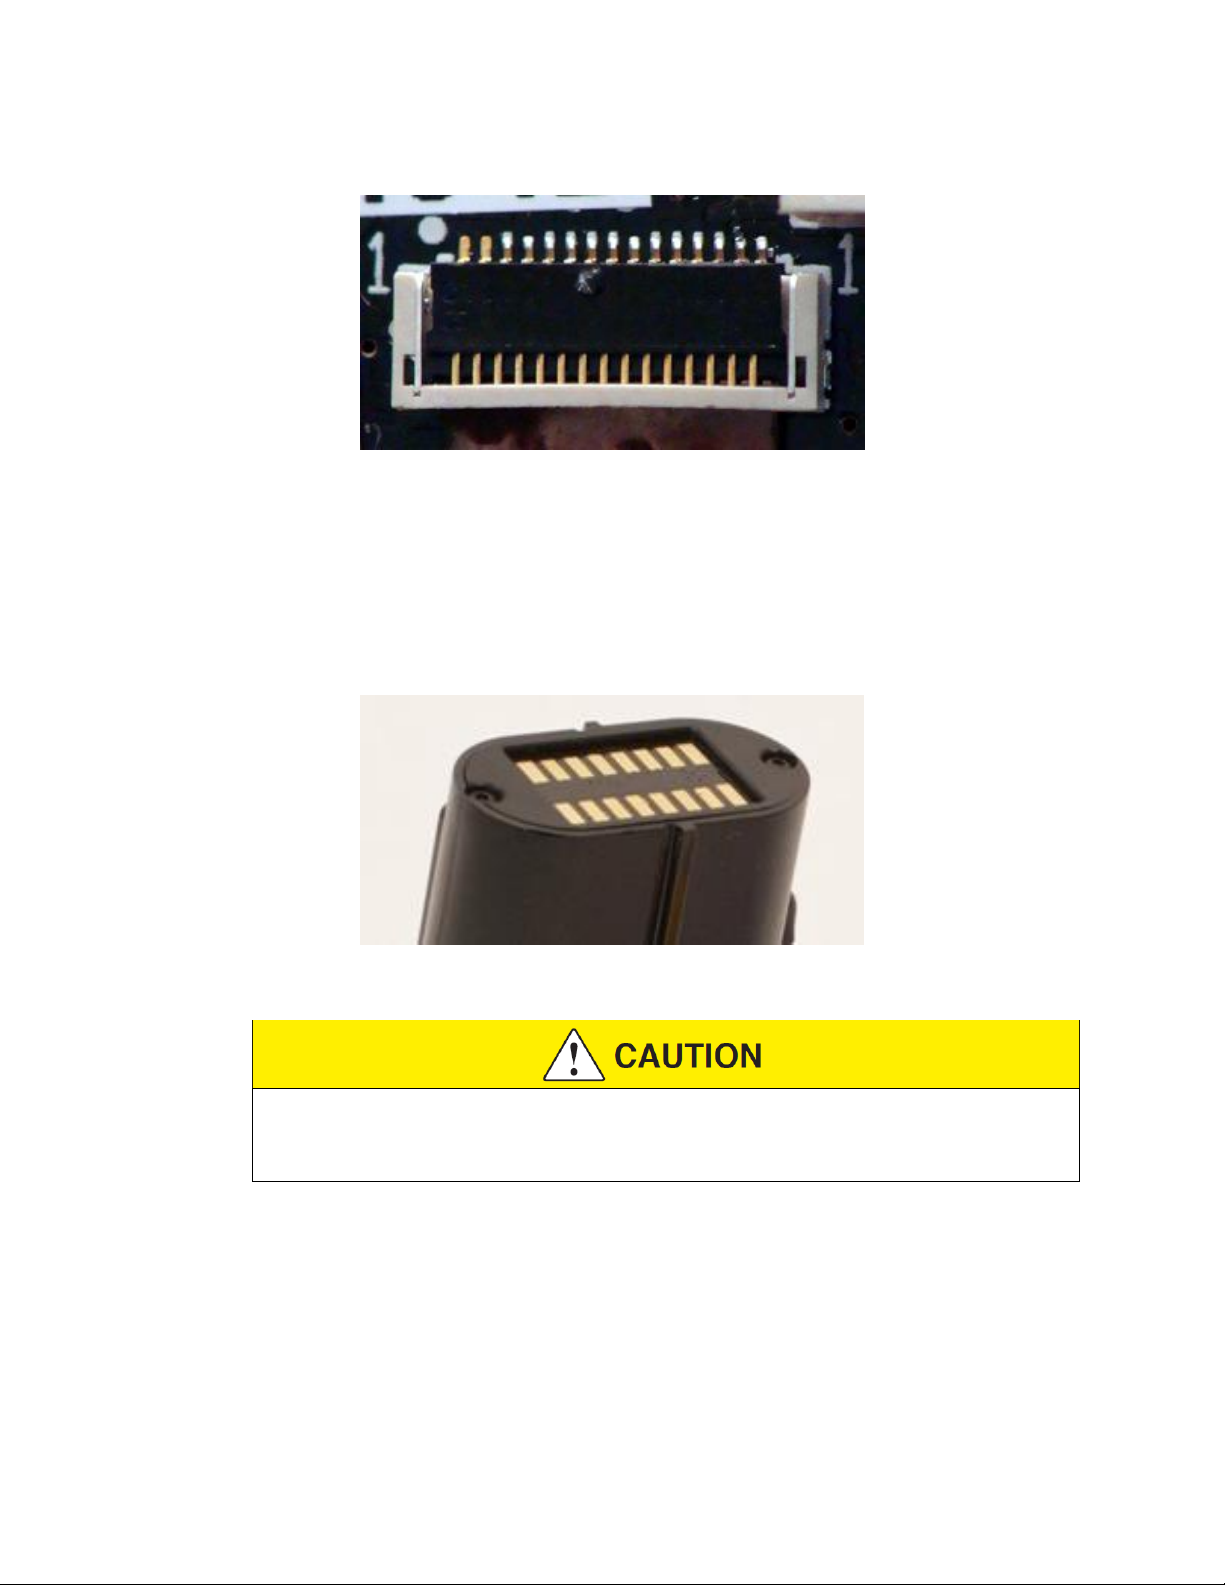
5. There is an electronic component surrounding the flexible flat cable at the
bottom of the battery well. Avoid hitting it with the battery, or the battery
will not seat properly.
6. Insert the new battery in its place (make sure to insert the battery in the
same orientation –the wires on the battery should be on the side closest
to the camera lens).
7. Reconnect the connector on the new battery. Ensure the battery
connection is fully seated in the connector and positioned flat with the
bottom of the board. If the connector is oriented correctly, the red wire will
be on top.
8. Be careful not to pinch the wires or the flexible flat cable.
Page 8 of 9
9. Ensure the flexible flat cable connector latch is fully closed
10.Close the top and ensure it is correctly positioned in place:
Take care to ensure the flat flexible connection is not damaged or
forced out of alignment during the re-assembly process.
Inspect to ensure the top is level with the top of the rest of the camera
assembly and not bulging on either end or the middle.
11.Use the replacement screws to secure the top in place.
Be careful not to over tighten the screws, as this may strip out the plastic.
Always use the replacement screws and dispose of the original screws.

Page 9 of 9
MPC0149 Rev: C
Torx is a trademark of Acumen Global Technologies.
TASER CAM is a trademark of TASER International, Inc., and TASER, ©and ®are registered trademarks of
TASER International, Inc., registered in the U.S. All rights reserved. © 2014 TASER International, Inc.
Other manuals for TASER CAM
1
Other Taser Camera Accessories manuals


