manuals.online logo
Brands
  1. Home
  2. •
  3. Brands
  4. •
  5. Really Right Stuff
  6. •
  7. Camera Accessories
  8. •
  9. Really Right Stuff LCF-10P User manual

Really Right Stuff LCF-10P User manual

LCF-10P FOR AF-S NIKKOR
70-200mm f/2.8G ED VR-I/II
P.O. Box 6531, Los Osos, CA 93412 USA
®
205 Higuera St, San Luis Obispo, CA 93401 USA
1-805-528-6321 | 1-888-777-5557
www.ReallyRightStuff.com
SPECIFICATIONS:
Weight.........................0.35 ounces (10g)
Material.................6061-T6 anodized aluminum
Dimensions.............1.0” x 1.275” / 26mm x 32mm
Height of Mounting Plate section....0.145" / 3.68mm
Total Height.............................0.300" / 7.62m
Comes with four flat head M2-0.4 x 8 and two flat head
M2-0.4 x 6 and black oxide steel screws, one 0.05” hex key.
MAINTENANCE
General Care
Prevent grit from fouling the surface of the LCF-10P.
Periodically use included hex key to check security
of mounting screws. Seat hex key firmly and use
care to prevent stripping hex socket head.
Cleaning
Wipe LCF-10P clean with a dry cloth to remove any
contamination prior to installing lens collar foot.
GUARANTEE
ALL REALLY RIGHT STUFF BRAND PRODUCTS
ARE GUARANTEED TO THE ORIGINAL
PURCHASER TO BE FREE OF DEFECTS IN
MATERIALS OR WORKMANSHIP FOR FIVE
(5) YEARS FROM THE DATE OF PURCHASE.
PRODUCTS WILL BE REPAIRED OR REPLACED
AT OUR OPTION.
® , ™, © 2011 Really Right Stuff, LLC.
All rights reserved.
TOP VIEW
Replaces thin aluminum
plate mount on the lens
collar. This is where the
removable lens collar
foot slides onto the
collar. LCF-10P is 2½
times thicker than original
Nikon plate mount.
INSTALLATION
1. Remove lens collar foot.
2. Use small Phillips screwdriver (we recommend "00"—
not included) to remove the four mounting screws on
the Nikon lens collar mount plate. Seat tool firmly
and use care to prevent stripping head.
3. Lift off Nikon lens collar mount plate and put LCF-10P
in place on the collar (RRS logo should read in the
same direction as the Nikon logo).
4. Inspect Nikon nameplate on your lens to determine
if you own the VR-II or VR-I version of this lens, then
continue with corresponding instructions at right.
VERSION VR-II
5. Inspect the six replacement screws provided by
Really Right Stuff and select the four screws that are
all the same length. Use these screws to securely
install LCF-10P. Seat hex key firmly and use care
to prevent stripping hex socket head.
VERSION VR-I
5. Inspect the six replacement screws provided by
Really Right Stuff and select two of the longer
screws and two of the shorter screws.
6. Use the two longer screws to install the edge of the
LCF-10P that is closer to the front of the lens (above
the RRS logo).
7. Use shorter screws to install the edge of the LCF-10P
that is closer to the rear of the lens (below the RRS
logo). Seat hex key firmly and use care to prevent
stripping hex socket head.
VR-I
nameplate is gold with black lettering and
reads:
AF-S VR-NIKKOR 70-200mm 1:2.8G
VR-II
nameplate is black with gold lettering and
reads:
AF-S NIKKOR 70-200mm 1:2.8GII ED
Front of Lens
Rear of Lens

Other Really Right Stuff Camera Accessories manuals

Really Right Stuff VERSA User manual

Really Right Stuff

Really Right Stuff VERSA User manual

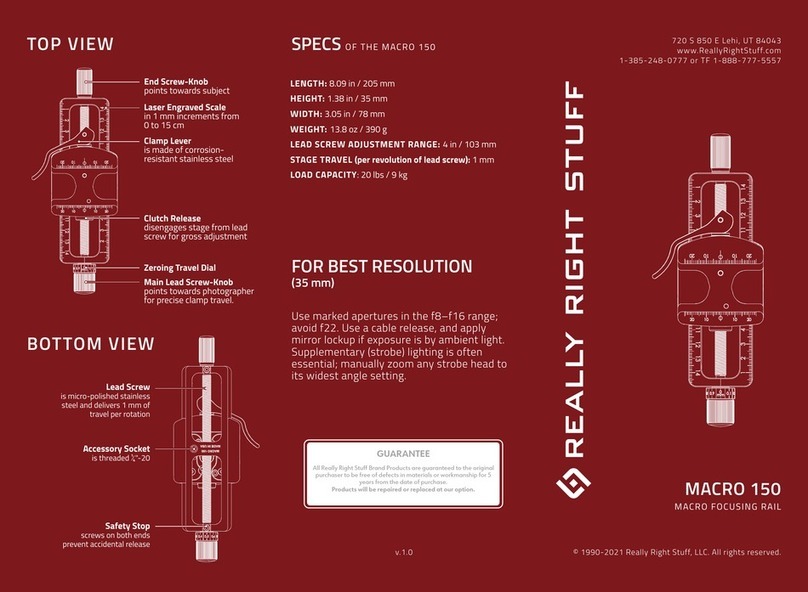
Really Right Stuff MACRO 150 User manual

Really Right Stuff

Really Right Stuff MACRO 150 User manual

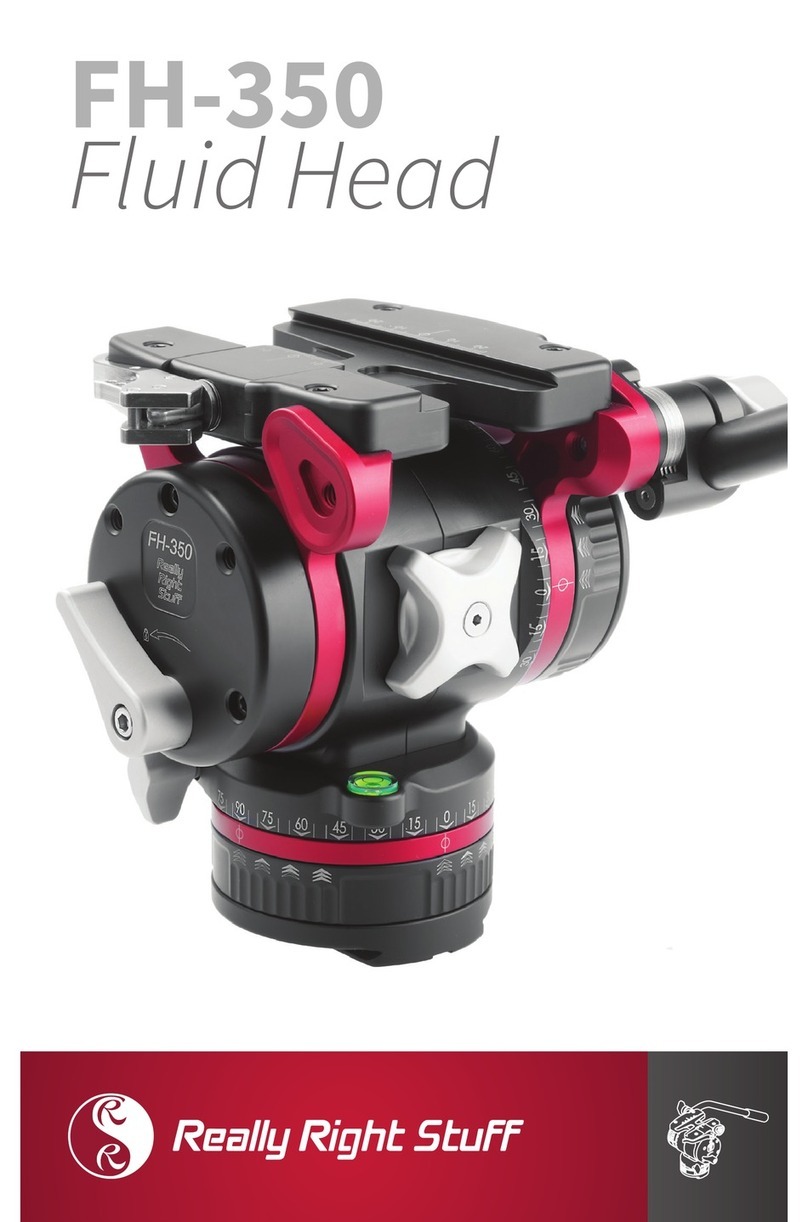
Really Right Stuff FH-350 User manual

Really Right Stuff

Really Right Stuff FH-350 User manual

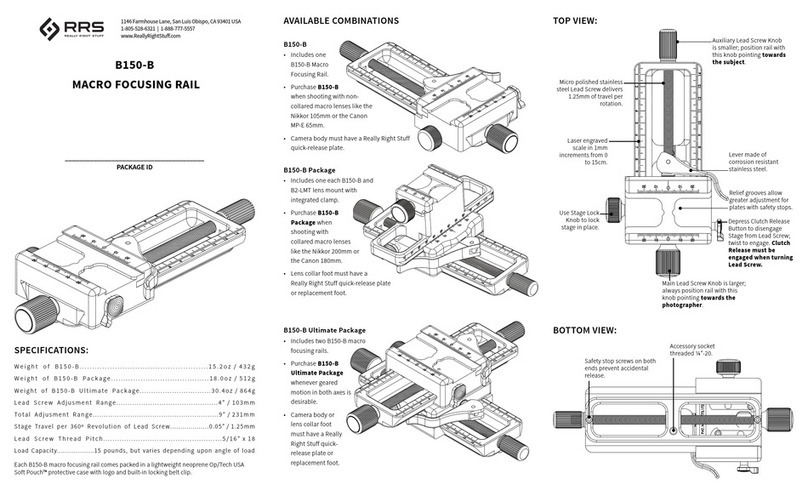
Really Right Stuff B150-B User manual

Really Right Stuff

Really Right Stuff B150-B User manual

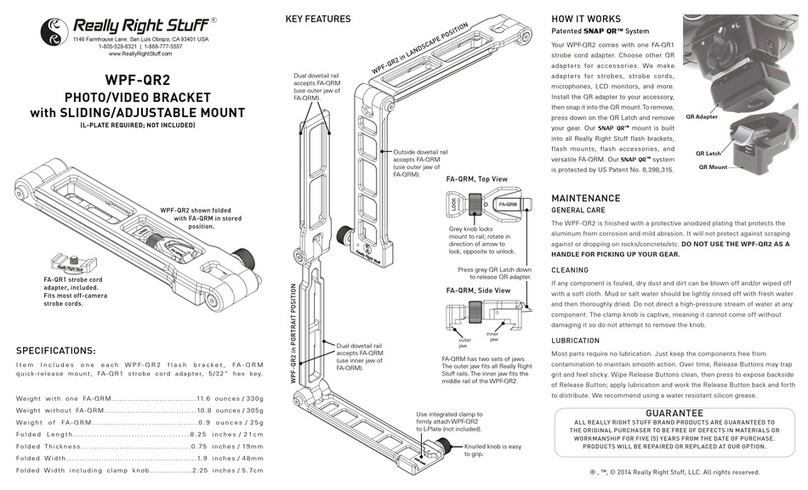
Really Right Stuff WPF-QR2 User manual

Really Right Stuff

Really Right Stuff WPF-QR2 User manual

Really Right Stuff TQC-14 User manual

Really Right Stuff

Really Right Stuff TQC-14 User manual

Really Right Stuff TMC-43C User manual

Really Right Stuff

Really Right Stuff TMC-43C User manual

Really Right Stuff FH-7240 User manual

Really Right Stuff

Really Right Stuff FH-7240 User manual

Popular Camera Accessories manuals by other brands

Dop Choice SNAPBAG OCTA 5 operating instructions

Dop Choice

Dop Choice SNAPBAG OCTA 5 operating instructions

I.SOUND PORTABLE POWER user guide

I.SOUND

I.SOUND PORTABLE POWER user guide

Sea & Sea MDX-R5 instruction manual

Sea & Sea

Sea & Sea MDX-R5 instruction manual

Jolly line Multi Spectrum 10bit instructions

Jolly line

Jolly line Multi Spectrum 10bit instructions

Blackmagicdesign Blackmagic URSA Installation and operation manual

Blackmagicdesign

Blackmagicdesign Blackmagic URSA Installation and operation manual

FeiYu Tech SCORP 2 instructions

FeiYu Tech

FeiYu Tech SCORP 2 instructions

xit404 20P quick start guide

xit404

xit404 20P quick start guide

Philips 3R12 Specifications

Philips

Philips 3R12 Specifications

Easypix MyStudio manual

Easypix

Easypix MyStudio manual

Alpha ESS SMILE-BAT-10.3P Quick installation guide

Alpha ESS

Alpha ESS SMILE-BAT-10.3P Quick installation guide

pro master 3648 quick start guide

pro master

pro master 3648 quick start guide

Amanngirrbach 181364 instruction manual

Amanngirrbach

Amanngirrbach 181364 instruction manual

pro master 8006 manual

pro master

pro master 8006 manual

FeiYu Tech G360 instruction manual

FeiYu Tech

FeiYu Tech G360 instruction manual

i-PRO WV-QCL500-S operating instructions

i-PRO

i-PRO WV-QCL500-S operating instructions

i-box Run4 manual

i-box

i-box Run4 manual

FeiYu Tech MiNi 3D manual

FeiYu Tech

FeiYu Tech MiNi 3D manual

Vanguard ESPOD SERIES user manual

Vanguard

Vanguard ESPOD SERIES user manual

manuals.online logo
manuals.online logoBrands
  • About & Mission
  • Contact us
  • Privacy Policy
  • Terms and Conditions

Copyright 2025 Manuals.Online. All Rights Reserved.