13
and pull-up resistor R208. The other control function is by I2C-bus, the SCL and SDA signals are fed
to pin30 and pin31 of deflection processor I401 via pin10 pin9 of I201.
The CPU is reset by the components C204, C203 and D213 at pin4 of I201, when the AC source
is connecting, every time to ensure correct start.
The +5 voltage is fed into I201 via pin5, a 12MHz resonator (or crystal) is connected at pin7,
pin8 of I201 to generate the CPU clock for the software execution. The user key control input is fed to
the A/D converter at pin22, pin23 via R229, R231, R257,R258 and S201•S202.
The function indictors are connected to pin16 ~ 21 of I201. The control signal for horizontal
linearity circuit is derived from pin14 of I201 which is fed to the CS circuit Q425, Q424.
There is a low power override pin on pin15 of I201, this pin is connected to pin12 of the signal
cable P501. When the signal cable is disconnected from the computer, this pin is high, and the power
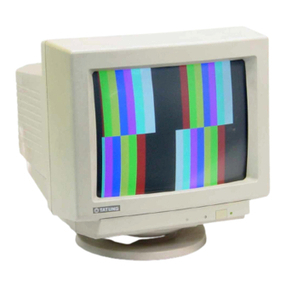
saving function will be disable. Meanwhile, the CPU I201 will activate the self-test signal from pin11
to generate a Self-Test Pattern. When the signal cable is connected to the computer, this pin is
low and the power saving function will be enable, the CPU can generate a power saving signal control
voltage at pin29 and pin28 of I201. Note that, the Self-Test Pattern will not appear once the signal
cable is connected to the computer.
The monitor is design to have the DDC 1/2B functions, communication between the monitor and
computer for DDC is via pins24, 25 of I201 which are defined as SDA, SCL signals. The computer
will read out the EDID data from the EEPROM I202 via I2C data lines. The EDID data is written into
the EEPROM in the factory during production. The memory size for EDID data is 128 bytes
which is shared from EEPROM 1202 which has 4K bytes memory size.
6.5 How to enter into the factory setting ?
The monitor includes 9 factory preset timings for HP, or 8 factory preset timings for others, the
preset mode timing detect by the Mcu I201 Pin.37. although only some of the timing are fine tuned by
auto alignment during production.
Switch off the monitor, push and hold down the Select control key , power on again, wait 1.0
second then release the Select key, the monitor should now be in the factory setting mode, all the
LEDs will now be illuminated. Selection of function will be indicated by the extinguishing of the
appropriate LEDs, All adjustment data will be stored automatically, then power on again, the monitor
will reverse to normal operating state.