manuals.online logo
Brands
  1. Home
  2. •
  3. Brands
  4. •
  5. Tavistock
  6. •
  7. Indoor Furnishing
  8. •
  9. Tavistock KOBE 450 Installation guide

Tavistock KOBE 450 Installation guide

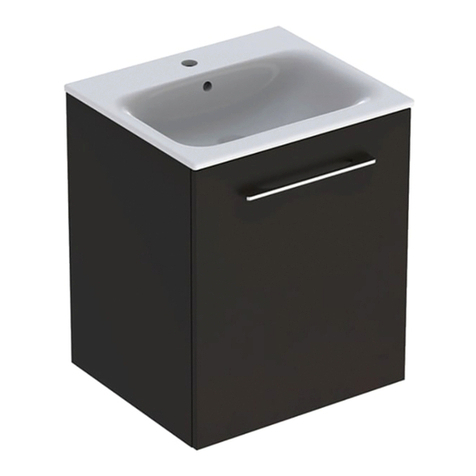
KOBE 450 FLOORSTANDING UNIT inc. BASIN
Installation & care instructions
Please retain for future reference
Tavistock, Brassmill Lane Trading Estate, Bath, BA1 3JF
T. 01225 787870 | F. 01225 448877 | E. [email protected] | W. www.tavistock-bathrooms.co.uk REF: KFS45x | 07.11 V2.00
2
B
C
A
Locate the hangers onto the
wall mounting plates. Wall
hangers not only tighten the
unit against the wall (Screw
A) but also offer up/down
adjustment to fine-tune the
fixing position (Screw B).
Finally fold over flap C to
conceal the adjustment
screws on the wall hanger.
1
Mark the location of each of the wall mounting
plates ensuring that they are positioned inside
the sidewalls of the vanity unit. We would
recommend the height is set such that the
overall height including the basin is 860mm. For
each mounting plate drill two holes in the marked
positions using a 8mm drill bit to a depth of
55mm.
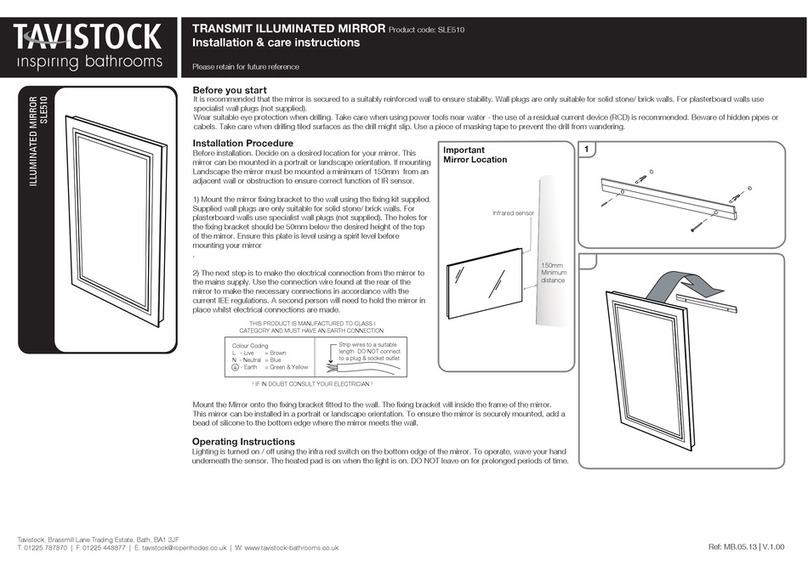
Before you start
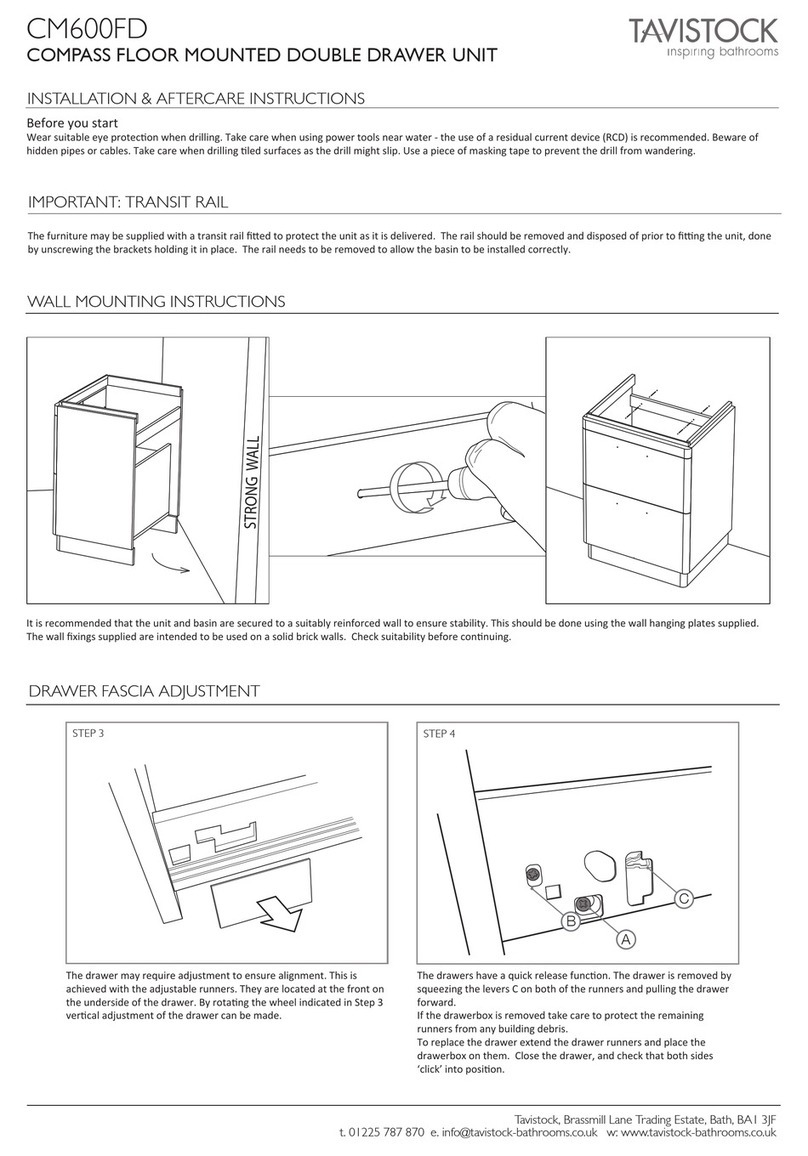
It is recommended that the unit and basin are secured to a suitably reinforced wall to ensure stability. The wall plugs supplied are only suitable
for solid stone / brick walls. For plasterboard walls use specialist wall plugs along with supplementary wall strengthening as units can be very
heavy. Seek advice from a specialist about the suitability of fixings to be used. Wear suitable eye protection when drilling. Take care when
using power tools near water - the use of a residual current device (RCD) is recommended. Beware of hidden pipes or cables. Take care when
drilling tiled surfaces as the drill might slip. Use a piece of masking tape to prevent the drill from wandering.
43
A B C
Door Furniture Frame
Hinge Adjustment
Hinges may require adjustment for both the doors to fit neatly together. This is achieved with the adjustable soft close hinges using the
adjustment screws A and B (see instructions below). To access these you may first have to remove the screw cap cover. The hinges also
feature a quick release mechanism to quickly and easily detach the door from the furniture frame.
Screw A offers left / right adjustment for levelling up the doors (Adjustment 1).
Screw B offers forward / back adjustment (Adjustment 2).
Button C is the quick release, press this on both hinges to remove a door by releasing the hinges from their mounting plates.
Adjustment 1 Adjustment 2
KOBE 450 FLOORSTANDING UNIT inc. BASIN
Installation & care instructions
Please retain for future reference
Tavistock, Brassmill Lane Trading Estate, Bath, BA1 3JF
T. 01225 787870 | F. 01225 448877 | E. [email protected] | W. www.tavistock-bathrooms.co.uk
Replacement components - Should you require any replacement components for this product please contact Tavistock using the contact details below.
Fitting handle
The handle can simply be screwed into place using the screws supplied
Fitting ceramic basin
Once the basin has been plumbed in finish by securing to the washstand using a silicone sealant (not supplied).
Furniture Aftercare Instructions
As with all wooden furniture, this product should be treated with care.
We recommend...
Wipe away any water splashes or condensation after use. Excessive exposure to water will deteriorate the furniture.
All bathrooms should be well ventilated with a suitable extractor fan.
Clean with a soft damp cloth only.
Use a wax free polish if one must be used.
For removal of lime scale deposits use a suitable proprietary cleaner. Test on an inconspicuous area first.
Do not scrub or scour
Do not use abrasive cleaning
agents
Please DO NOT...
REF: KFS45x | 07.11 V2.00
Reversing and handle attachment
LR
Depending on the intended location of the unit, you have the
option of choosing whether you want a left or right hand open-
ing door.
5.
If the delivered configuration isn’t suitable, remove door and
hinge plates from unit using a suitable tool.
6
8
Once the handing has been chosen, remove the door using
the quick release hinges. Place door on to a clean and smooth
scrap piece of wood and carefully drill out the selected holes
for the handle bolts.
block of wood
Reattach the door to the chosen side and replace cover caps
in the obsolete hinge holes.
7

This manual suits for next models

2

Other Tavistock Indoor Furnishing manuals

Tavistock Compass CM600FD Parts list manual

Tavistock

Tavistock Compass CM600FD Parts list manual

Tavistock SLE510 Installation guide

Tavistock

Tavistock SLE510 Installation guide

Tavistock AMBIENT Parts list manual

Tavistock

Tavistock AMBIENT Parts list manual

Tavistock PRIDE SLE570 Installation guide

Tavistock

Tavistock PRIDE SLE570 Installation guide

Tavistock CM800W Parts list manual

Tavistock

Tavistock CM800W Parts list manual

Tavistock SL44AL Parts list manual

Tavistock

Tavistock SL44AL Parts list manual

Tavistock Equalise Service manual

Tavistock

Tavistock Equalise Service manual

Tavistock CM450F Parts list manual

Tavistock

Tavistock CM450F Parts list manual

Popular Indoor Furnishing manuals by other brands

ofichairs Genidia instructions

ofichairs

ofichairs Genidia instructions

Athena BK 180 Assembly instructions

Athena

Athena BK 180 Assembly instructions

Thomasville THMSVL30AVB Use and care guide

Thomasville

Thomasville THMSVL30AVB Use and care guide

Space Seating 13-37N9WA operating instructions

Space Seating

Space Seating 13-37N9WA operating instructions

IKEA GRANEMO CABINET 35 3/8X44 7/8" instructions

IKEA

IKEA GRANEMO CABINET 35 3/8X44 7/8" instructions

Tech Craft BCE32 Assembly manual

Tech Craft

Tech Craft BCE32 Assembly manual

Whitewood Furniture TV-63 Assembly instructions

Whitewood Furniture

Whitewood Furniture TV-63 Assembly instructions

BLACK RED WHITE Azteca Assembly instructions

BLACK RED WHITE

BLACK RED WHITE Azteca Assembly instructions

fantastic furniture HAVANA Assembly instructions

fantastic furniture

fantastic furniture HAVANA Assembly instructions

Dieter Knoll Collection ELVAS 992 564 Assembly instructions

Dieter Knoll Collection

Dieter Knoll Collection ELVAS 992 564 Assembly instructions

modway EEI-3342 Assembly instructions

modway

modway EEI-3342 Assembly instructions

HOME RETAIL GROUP Winchester 656/7035 Assembly instructions

HOME RETAIL GROUP

HOME RETAIL GROUP Winchester 656/7035 Assembly instructions

GALA MEBLE LANGEN D40S4 Assembly manual

GALA MEBLE

GALA MEBLE LANGEN D40S4 Assembly manual

Coaster 306009Q Assembly instructions

Coaster

Coaster 306009Q Assembly instructions

Flair Furnishings WIZARD FF26PD Assembly instruction

Flair Furnishings

Flair Furnishings WIZARD FF26PD Assembly instruction

ekomia Nova quick start guide

ekomia

ekomia Nova quick start guide

Safavieh Furniture Gilbert AMH1525A quick start guide

Safavieh Furniture

Safavieh Furniture Gilbert AMH1525A quick start guide

Alice's Home LOFT ILFSHELF113 Assembly instructions

Alice's Home

Alice's Home LOFT ILFSHELF113 Assembly instructions

manuals.online logo
manuals.online logoBrands
  • About & Mission
  • Contact us
  • Privacy Policy
  • Terms and Conditions

Copyright 2025 Manuals.Online. All Rights Reserved.