Tavistock PRIDE SLE570 Installation guide
PRIDE
SLE570
REF: PL.TAV.SLE570 | 8.14 V1.00
ELECTRICAL SAFETY INSTRUCTIONS
ELECTRICAL SAFETY INSTRUCTIONS
(Applicable to UK Installaons only)
All fings must be installed by a competent person, in accordance with current IEE wiring
regulaons. If in doubt consult a qualified electrician
IMPORTANT
Always switch offthe electrical supply at the mains during installaon and maintenance. It
is recommended that the fuse is withdrawn or the circuit breaker is switched offfor the
necessary circuit before installaon commences.
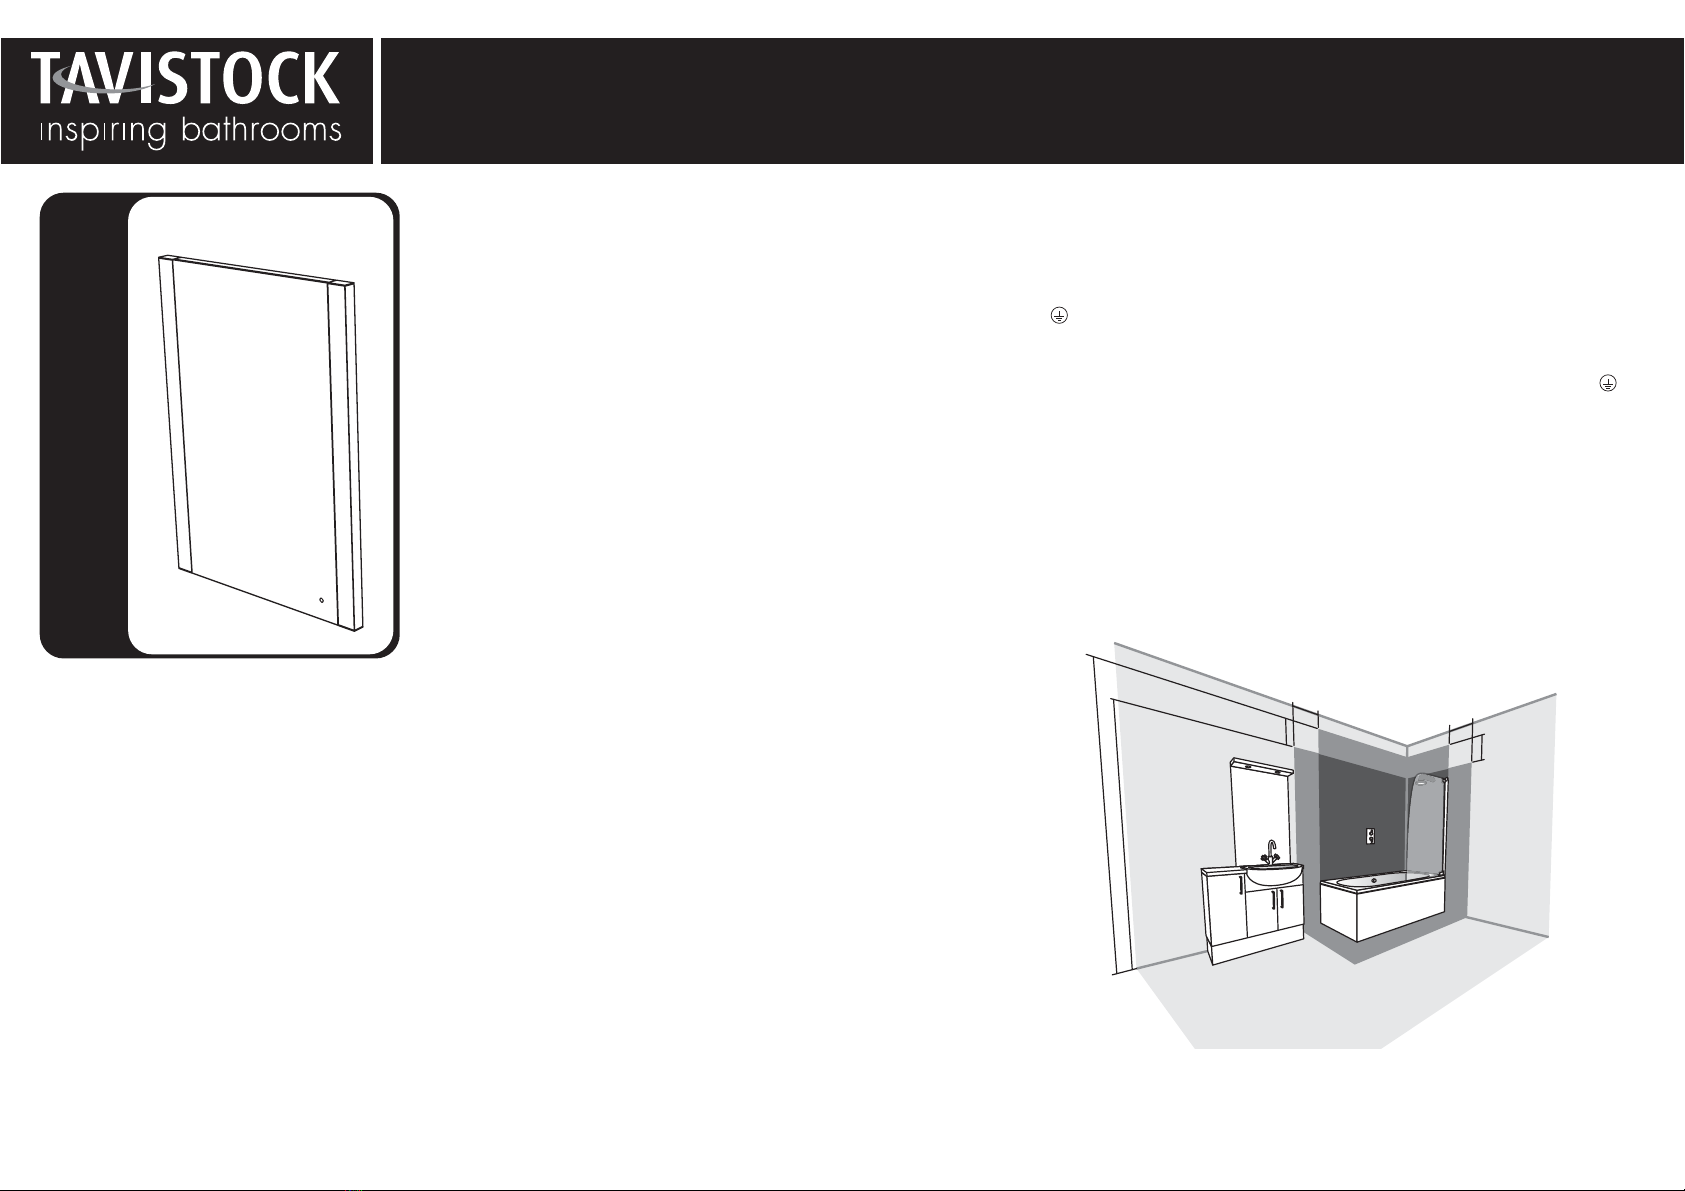
Fing in Bathrooms is subject to the appropriate zone in accordance with IEE Regulaons.
This product is suitable for zone 2 and outside zones. IT IS NOT suitable for installaon in
Zone 0 or Zone 1. It is also not suitable for installaon in saunas, steam rooms or shower
cubicles. This product is only suitable for permanent installaon. DO NOT connect to a
trailing plug and socket outlet. Although this product has an Ingress Protecon rang of
IP44 it is only suitable for indoor use. Do not aach the product to surfaces that are damp
or otherwise electrically conducve.
INSTALLATION CARE & SAFETY
INSTALLATION CARE & SAFETY
Wear suitable eye protecon when drilling. Take care when using power tools near water -
the use of a residual current device (RCD) is advised. Beware of hidden cables or pipes.
Take care if drilling on led surfaces in case the drill slips. A piece of masking tape applied
to the wall before marking out the fixing holes will stop the drill from wandering.
DO NOT strike glass components with hard or pointed items. DO NOT place very hot or
very cold items against or in close proximity to glass surfaces unless an adequately thick
insulaon material is used to prevent such items coming in contact with the glass.
The nominal thickness of the mirror glass used in this product is 5mm and is film backed
for safety. If the glass becomes chipped or broken replace immediately.
This product should be posioned well away from curtains and other fabrics. Never cover
the mirror. This product is heated, we recommend that it is turned offaer use and should
never be leon for prolonged periods of me
This product could be dangerous and is only to be installed by a competent person.
CLEANING
CLEANING
It is recommended that the unit is cleaned with a so, dry, non abrasive cloth when turned
off. Never use cleaning agents or abrasive materials on any type of surface finish. Do not
allow moisture to come into contact with the electrical components.
COMPLIANCE
COMPLIANCE
This product complies with all relevant Brish and European safety standards:
WIRING
WIRING
This product is manufactured to class I category and must have an earth connecon.
COLOUR CODING:
L - Live = Brown
N - Neutral = Blue
- Earth = Green & Yellow
LIGHTS
LIGHTS
.
To obtain a replacement LED lamp if faulty or broken contact customer services (see
details at foot of page) qutoing product code ML480.
22
2
OUTSIDE
OUTSIDE
ZONES
ZONES
2
ZONE
ZONE
1
0.75m
2.25m
3.0m
0.6m
0.6m
0.75m
Bathroom Zones Diagram
Bathroom Zones Diagram
Distances from a bath tub or shower tray
Please retain for future reference
PRIDE ILLUMINATED MIRROR
Installation & care instructions
Please retain for future reference
Tavistock, Brassmill Lane Trading Estate, Bath, BA1 3JF T. 01225 787870 | F. 01225 448877 | E. [email protected] | W. www.tavistock-bathrooms.co.uk

Please retain for future reference
PRIDE ILLUMINATED MIRROR
Installation & care instructions
Please retain for future reference
Tavistock, Brassmill Lane Trading Estate, Bath, BA1 3JF T. 01225 787870 | F. 01225 448877 | E. [email protected] | W. www.tavistock-bathrooms.co.uk
Strip wires to a suitable
length. DO NOT connect
to a plug & socket outlet.
THIS PRODUCT IS MANUFACTURED TO CLASS I
CATEGORY AND MUST HAVE AN EARTH CONNECTION.
! IF IN DOUBT CONSULT YOUR ELECTRICIAN !
Colour Coding:
L - Live = Brown
N - Neutral = Blue
- Earth = Green & Yellow
1Measure
Distance X
Measure
Distance X
2
3
4
Mains Supply
Distance X
INSTALLATION PROCEDURE
INSTALLATION PROCEDURE
The wall surface must be of suitable strength and construcon.
1)
1)
Measure the distance (x) between the wall fixing pins on the back of the
mirror. For landscape mounng measure between the fixing pin and the
keyhole slot.
2)
2)
For portrait mounng, mark out the wall mounng plates on the wall using
a pencil to the desired height ensuring they are spaced at distance (x).
If mounng landscape mark out 1 wall mounng plate and mark out a single
screw posion using dimension (x) for the keyhole slot.
Drill the marked out posions and fit the wall plugs accordingly. Secure the
wall mounng plates in posion with the screws provided.
NOTE: The wall plugs supplied are only suitable for solid stone / brick walls.
For plasterboard walls use specialist wall plugs.
3)
3)
The next step is to make the electrical connecon from the mirror to the
mains supply. Use the connecon wire found at the rear of the mirror to make
the necessary connecons in accordance with the current IEE regulaons. A
second person will need to hold the mirror in place whilst electrical
connecons are made.
4)
4)
The mirror should slide onto the wall mounng brackets and secure into
place. For a landscape installaon, the keyhole slot should be posioned on a
single screw first before sliding onto the wall bracket for ease of installaon.
To remove the mirror, the mirror should first be lied and then pulled away
from the wall.
OPERATING INSTRUCTIONS
OPERATING INSTRUCTIONS
Lighng is turned on / offby waving a hand past the IR sensor on the mirror
glass, which is posioned in the boom right when hung portrait and boom
lewhen hung landscape. The heated pad is on when the light is on. DO NOT
leave on for prolonged periods of me.
Back View
Portrait mounng
Landscape mounng Do not block
IR sensor
Other Tavistock Indoor Furnishing manuals

Tavistock
Tavistock SLE510 Installation guide

Tavistock
Tavistock Compass CM600FD Parts list manual

Tavistock
Tavistock CM450F Parts list manual

Tavistock
Tavistock CM800W Parts list manual

Tavistock
Tavistock SL44AL Parts list manual

Tavistock
Tavistock KOBE 450 Installation guide

Tavistock
Tavistock Equalise Service manual

Tavistock
Tavistock AMBIENT Parts list manual
Popular Indoor Furnishing manuals by other brands

Regency
Regency LWMS3015 Assembly instructions

Furniture of America
Furniture of America CM7751C Assembly instructions

Safavieh Furniture
Safavieh Furniture Estella CNS5731 manual

PLACES OF STYLE
PLACES OF STYLE Ovalfuss Assembly instruction

Trasman
Trasman 1138 Bo1 Assembly manual

Costway
Costway JV10856 manual


