TCL C1208DRW User manual

Model: C1208DRW
dryer
dryer
dryer
This manual is also available online.
Tumbler DryerTumbler Dryer


Contents
Service Guide---------------------------------------------------------------16
Main Technical Parameters----------------------------------------------
Cleaning and Maintenance---------------------------------------------- 14
17
Environmental Protection------------------------------------------------ 18
19
Wiring Diagram-------------------------------------------------------------
1
Safety Warning---------------------------------------------------------------2
Installation Instructions-----------------------------------------------------6
Quick Start--------------------------------------------------------------------8
Instructions for Use ----
Preparations for Drying
-
-
-
-
-
-
-
-
-
-
-
-
-
-
-
-
-
-
-
-
-
-
-
-
-
-
-
-
-
-
-
-
-
-
-
-
-
-
-
-
-
-
-
-
-
-
-
-
-
-
-
-
-
-
-
-
-
-
-
-
-
-
-
-
-
-
-
-
-
-
-
-
-
-
-
-
-
-
-
-
-
-
-
-
-
-
-
-
-
-
-
-
-
-
-
-
-
-
-
-
-
-
-11
10

Warning: Violating the identified items may result in serious injury or death.
Note: Violating the identified items may result in minor injury or property damage.
This symbol indicates the prohibited item.
The symbol indicates the item that must be executed.
The symbol is a warning and indicates the refrigerant is flammable. Fill steam
generators only with liquids specified by the manufacturer
The following symbols are used to indicate the items to be followed.
It means warning and matters to be noticed.
2
Safety Warning
During the use of the dryer, please pay attention to safety precautions and operate
it carefully based on common sense. The TCL company is not liable for any loss due
to improper use.
The degree of harm or injury caused by misoperation is categorized and illustrated by
the following symbols.
This is a Class I appliance. Please pay attention to electrical
safety during operation!
•When the dryer is not in use, it shall be unplugged to ensure safety.
Intended Use
•This appliance is intended for private home use only.
•Do not install or operate this appliance anywhere that is possible to experience frost
and/or outdoor conditions. There is a risk that the appliance may be damaged if any left
over water in the appliance freezes. If the hoses freeze up, they may crack and burst.
•This appliance must only be used drying and freshening up domestic laundry, making
up items that have been washed with water and are suitable for tumble drying (check
the label on the item). Using this appliance for any other purpose outside if its intended
application is forbidden.
•Connect dryer to a dedicated 10A socket outlet. Do not operate from extension lead or
•In order to ensure the correct installation and use of the socket and electrical safety, the
socket must be installed and the groundwire shall be connected by the personnel with el-
ectrician common sense.
socket outlet board.

WARNING: Never stopatumble dryer before the end of the drying cycle unless
all items are quickly removed and spread out so that the heat is dissipated.
3
If the supply cord is damaged, it must be replaced by the manufacturer, its service agent
or similarly qualified persons in order to avoid a hazard.
For safety reasons, please use original parts and accessories supplied by the manufa-
cturer.
If the dryer can no longer be used, please cut the power cord off and destroy the door
hook mechanism. Waste appliances shall be disposed of at a designated disposal
center.
Do not dry any clothes made of materials that shall not be dried with the dryer. If unsure
check laundry label attached to clothing.
Addition:
Do not dry clothes that have not been washed.
Adequate ventilation has to be provided to avoid the back flow of gases into the room
from appliances burning other fuels, including open fires.
Items that have been soiled with substances such as cooking oil, acetone, alcohol,
petrol, kerosene, spot removers, turpentine, waxes and wax removers should be
washed in hot water with an extra amount of detergent before being dried in the tumble
dryer.
Items such as foam rubber (latex foam), shower caps, waterproof textiles, rubber backed
articles and clothes or pillows fitted with foam rubber pads should not be dried in the
tumble dryer.
Fabric softeners, or similar products, should be used as specified by the fabric softener
instructions.
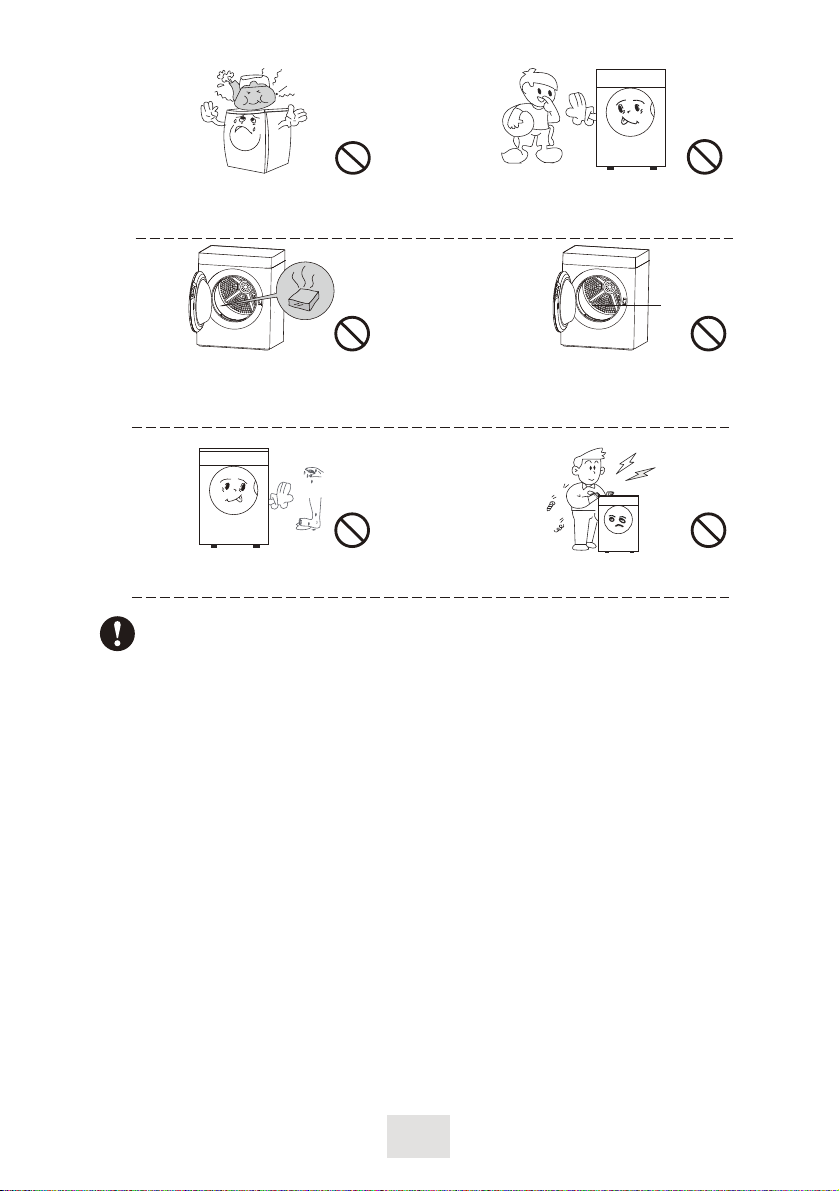
Remove all objects from pockets such as lighters and matches.
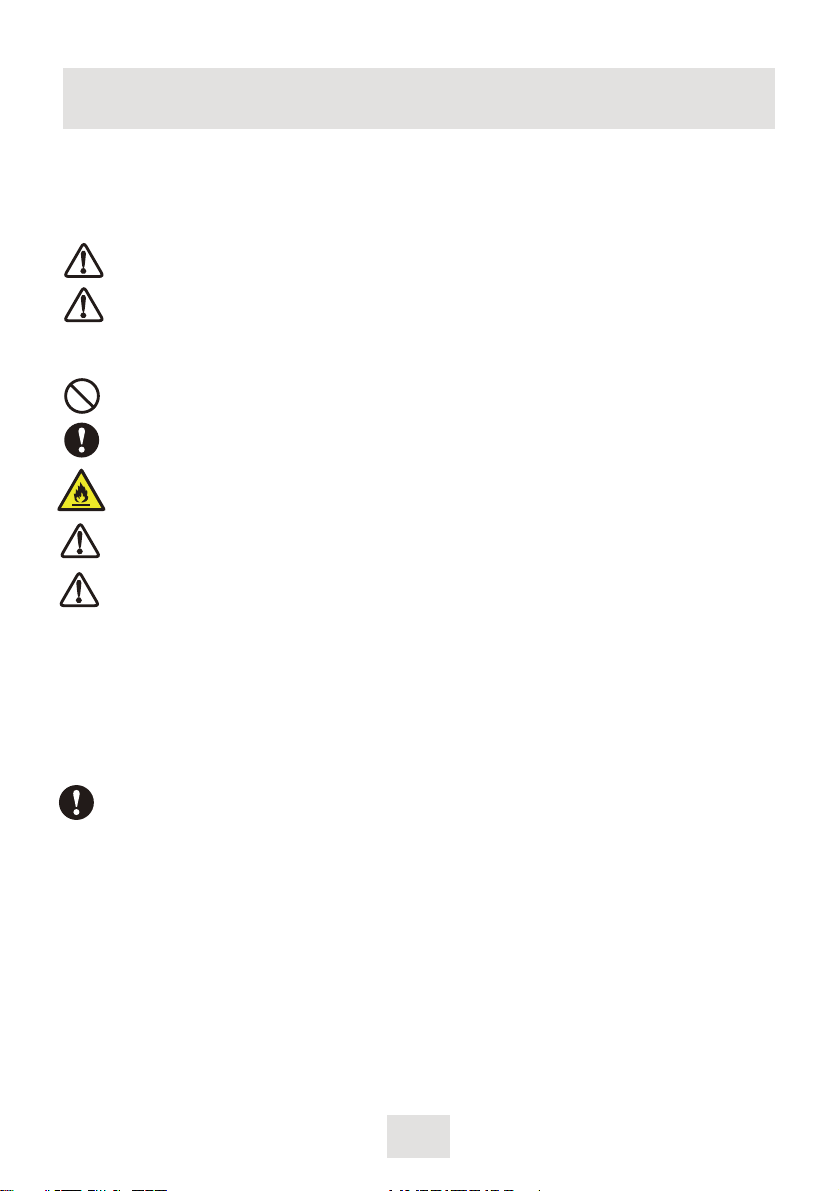
Do not lean on the door of the dryer or sit or stand on the dryer.
Do not expose to flame .
Frost damage may be caused if the ambient temperature around the dryer is below 0℃.
In order to ensure that the dryer can work better, the ambient temperature should not be
lower than 5℃, or higher than 35℃.
Children are not allowed to play packaging materials, such as plastic bags, in order to
prevent children from suffocating.
Refrigerant must be disposed of professionally as they may cause eye injuries or
ignition. Ensure that tubing of the refrigerant circuit is not damage prior to proper dispos-
al. When disposing of the appliance, do so only at an authorized waste disposal center.
This appliance is not intended for use by persons(including children)with reduced physi-
cal, sensory or mental capabilities,or lack of experience and knowledge unless they
have been given supervision or instruction concerning use of the appliance byaperson
responsible for their safety.
Children should be supervised to ensure that they do not play with the appliance.
The maximum mass of dry textile material in kilograms to be used in the appliance.
Lint must not be allowed to accumulate around the Tumble Dryer.
Clothes that have been exposed to industrial chemicals and paints should not be dried
due to the added risk of fire.
The Lint filters must be cleaned before or after each use.
.

The dryer shall not be installed in outdoor
For appliances with ventilation openings in the base, a carpet must not obstruct the open-
ings;
The appliance must not be installed behindalockable door, a sliding door oradoor with a
hinge on the opposite side to that of the tumble dryer, in such a way that a full opening of
the tumble dryer door is restricted.
Oil-affected items can ignite spontaneously, especially when exposed to heat sources-
such as in a tumble dryer.The items become warm causing an oxidation reaction in the
oil. Oxidation creates heat. If the heat cannot escape,the items can become hot enough
to catch fire.Piling, stacking or storing oil-affected items can prevent heat from escaping
and so create a fire hazard.
If it is unavoidable that fabrics that contain vegetable or cooking oil or have been contan-
inated by hair care products be placed inatumble dryer they should first be washed in hot
water with extra detergent -this will reduce but not eliminate, the hazard.
or humid space.
Please install the dryer in a well ventilated
area.
Wet clothes should be wrung out before
putting them into the dryer to prevent water
from dripping onto electrical parts,
damaging the dryer and causing risks.
Do not use flammable sprays near the
dryer when in operation. Do not plug and
unplug the power cord and switch the
dryer on and off in case of leakage of any
flammable gases.
4
Indicates prohibited items
gasoline
Detergent
Benzene
It is not allowed to dry clothes with
flammable detergents, dry cleaning
solvents, gasoline, and other chemicals.
Do not dry raincoats, bicycle covers and
other items containing rubber or similar
elastic materials.

5
- Do not unplug the power cord or power off the dryer when it is in normal operation.-
When the dryer is not in use or under cleaning, the power cord must be unplugged.-
Do not pull the power cord.
Indicates executed items
- Do not plug or unplug the power cord with wet hands.
Drikold
Do not place any hot or heavy things (such
as a kettle containing hot water) on the
dryer.
Do not store cigarettes, lighters, dry ice,
gasoline or other flammable and explosive
articles in the dryer.
Do not operate the dryer with wet hands or
feet.
For safety reasons, the dryer shall not be
used by unattended children or disabled
persons while it is in operation.
The door of the dryer cannot be opened
until a drying program is completed. Do not
open the door forcibly to avoid skin burns
due to the overheated dryer.
Do not disassemble, repair or alter the
dryer without permission.

Installation Instructions
Dryer Schematic
List of Accessories
I. Precautions before Installation
Dryer Installation
Note: Please use the above figure as reference only. Due to product improvement and
series expansion, the appearance, color and functional components of the product you
have purchased may not be consistent with the figure. The actual product purchased
shall prevail.
• Be careful when lifting the dryer.
• Check for transport damage of the dryer.The damaged dryer shall not be powered on. In
case of damage, please contact the seller;
• During transportation and operation, the dryer should not tilt by more than 45°. If it is
tilted, please stand it upright for 2 hours before powering on;
• The dryer should be installed in a dry and ventilated place without moisture, steam or
water (such as next to the faucets in bathrooms or open balconies), cotton dust piles or
direct sunlight;
• Do not use ovens or gas appliances near the dryer, so as to avoid danger;
• It is recommended to put the dryer near the washing machine to dry clothes after they
have been washed and spun.
Power cord
Water tank
Drum
Front door panel
Case body
External drain hose x1 user manual x1 Measuring cup(100ml)x1Shoe rack x1
Control panel
Door
Door hook/door lock
Upper filter
Ventilation port
Heat sink cover
Lower filter cover
6

II. Dryer Installation
• All packaging materials should be removed from the dryer. Make sure no items are
• The dryer shall not be placed in a dusty place to prevent the accumulated dust from
blocking the air duct of the dryer.
placed on the top.
• The dryer should be placed on a solid flat surface.
• During installation, use the leveling feet to make sure the dryer is level and stable. Do not
use plush carpet, wooden strips or similar to fill the gaps between its feet andthe floor, so
as to prevent interference with its operation.
• At least 5 cm shall be kept between the dryer and any furniture or walls.
1. Adjust the leveling feet to level the dryer.
2. Connect to the power supply.
Before powering on, check:
1) Whether the power voltage meets the requirements;
2) Whether the power socket matches the plug of the dryer;
3) Whether the power socket can withstand the maximum power of the dryer and wheth-
er the socket is reliably grounded;
3. Drain pipe installation
There are two ways in which you can handle the drainage of condensate. As default,
the condensate will accumulate in the water tank, and will need to be emptied after
each cycle. Alternatively, if the dryer is within reach of a draining outlet, follow the
steps below to connect your dryer to your draining outlet:
1) Disconnect the drain hose
and connector attached to
the back of the dryer.
2) Connect the external drain
hose to the removed drain
hose plastic connector. be firmly connected;
Notes:
1) Water hose connections shall
2) After connection, the height of
the drain hose should not
exceed 1m above the ground;
3) The external drain hose may
be shortened if it is too long.
4) If you need to remove the
external drain hose, make
sure you disconnect at the
plastic connector. Then, make
sure that you re-connect the
plastic connector to the short
tube off the water tank to
prevent any water leakage.
7
Drain hose
Short tube off the water tank
Plastic connector

Notes
Before using the dryer, please make sure that the dryer has been properly installed
according to the installation instructions.
I. Drying preparation
Quick Start
Notes
When the drying program is complete, the tone will be triggered, and “End” will be
Clothes should be wrung out before putting them into the dryer .
II.Drying startup
displayed
1. Open the door 2. Pull out the
3. Empty the water
to take out the
1. Connect the power
plug
clothes
tank and re-install
tank
screenwater tank
4. Clean the filter 5. Disconnect the
power supply
Ratate the knob outside Select the program Select function
the ON/OFF area
III. Drying end
Start-up
2. Put the clothes
into the dryer.
3. Close the door of
the dryer.
8
(Skip step 2 and 3 if you have connected the drain hose)

A light spray of water mist is introduced to produce a gentle steam layer over your
garments. This reduces wrinkles and creases and helps to lighten and fluff your
garments so that they're comfortable and ready to wear.
Notes
Notes
If the socket with a switch is used, please power off the dryer by directly
pressing the switch.
9
2)
3) Select aprogram with Steam Dr
1) Remove the water tank.
y
•The program "Steam Dry" is intended for wrinkle removal of dry clothes .
.
•When using the steam drying program, 100 ml of pure water needs to be added each
time. After adding water and selecting the program, the machine runs for 20 minutes.
The added water will be completely consumed after each complete cycle of operation.
Steam Dry Use
Fill a fitting measuring cup with 100ml of water and pour into the front of the water box
•After each use, no matter whether the water tank is full or not, the display panel will
show the icon 'Clean the water tank'.
•When the condensate water tank is full, there will be a short alarm sound, and then
the icon of 'Cleaning the water tank' flashes, the machine will be forced to stop at the
same time. So the water overflow will not occur during use. When the alarm sound
ends, the icon of 'Clean the water tank' will be always on.
•When the icon 'Clean the water tank' appears, do not press Start/Pause untill you have
•If there is no water in the steam water tank,the steam function will not operate and will
not cause damage or safety risk.
finished cleaning the water tank.

10
Check before drying clothes
Preparations for Drying
• Empty the water tank and install it in place.
• Clean the lower lint filter and install it in place.
• Check the clothes for any special drying requirements
Common sense and guidelines of the dryer
• The clothes shall be wrung out before putting them into the tumbler for drying. Do not
put saturated clothes in dryer. The less water content of clothes and the shorter the
drying time, thus reducing energy consumption;
• Loosen the clothes before putting them into the dryer to speed up the drying process;
• Do not overload the the dryer with too many clothes;
• Use wet towel to regularly clean the inner drum and lint filter;
• Clean the filter screen of the condenser regularly;
• The lint filter must be fully dried before putting it back into the dryer;
• To obtain a uniform drying effect, please classify the types of the clothes and select
drying programs according to the types of the fabrics. To protect the clothes from
damages, different drying programs shall be selected according to the information on
the labels of the clothes;
• Please do not dry fabrics covered with pulp since the hardened pulp will form a thin
layer that may compromise the drying performance;
• Take any coins, sand, keys and other things out of the pockets of the clothes.
• Tie, button or zip the clothes up if any.
• Do not put too many clothes into the dryer. Loosen the clothes before putting
them into the dryer.
• When drying clothes, to prevent buttons of the clothes from making noise,
please turn the clothes with buttons inside out before putting them into the
dryer.
• Fragile clothes shall be put into nylon net for drying.

• This dryer is for household use only; and please operate it according to the recom-
mended drying capacity and programs.
• Do not dry fine fabrics that may be easily damaged, such as silks and man-made
fabrics, to prevent winkles.
• It is recommended to use“Time Dry”function to dry when there is a small amount of
fabric;
• Please ensure that the ventilation port is not blocked or sealed;
• Warm fabrics feel wetter than those at normal temperature. Please do not over dry
the clothes.
Notes
Weight reference for common clothes is as follows
Mixed fabrics coat
(about 800g)
Jacket
(about 800g for cotton)
Work clothes (top and
bottom) (about 1120g
for cotton)
Shirts
(about 300g for cotton)
Sweater
(about 180g for cotton)
Pajamas
(about 200g)
Jeans
(about 500g)
Socks
(about 30g for mixed
fabrics)
Towel quilt
(about 900g for cotton)
Single bedding
(about 600g for cotton)
Underwear
(about 70g for cotton)
Instructions for Use
①
②④ ⑤
③
① On/Off ② Program selection field ③ Display screen field ④ Function selection field ⑤ Start/Pause
① On/Off: Turn on/off the dryer
11

③
②Program Selection Field
12
Maximum drying capacity (kg)
Name Introduction
Mix
For drying fabrics made of cotton and synthetic fabrics
For drying large loads such as bed sheets
For drying cotton clothes
For drying shirts
For drying towels
For drying infants clothes
For drying undergarments
For drying light clothes
For drying 3 light skirts
Use micro steam to dry clothes and remove wrinkle
For drying sports clothes
No heating, only cold air provided
Heating, supplying warm air for for a selected time
Bedding
Cotton
Shirts (about 5-6 pieces
8.0
Towel
Baby Garment
Underwear
Delicates
Quick 20'
Steam Dry*
Sports
Cool Air
Warm Air
8.0
Display field: To display the operation status of the dryer
Time display/alarm message
Clean the water tank
Extreme-drying
Standard-drying
Semi-drying
Child lock
Clean the filter screen
Mute
Anti-wrinkle
Wool Fordrying woolen fabrics
3
1
Steam Dry*: Please add clean water before use the Steam Dry.( Refer to Page9---Ⅳ.
Steam Dry Use )
.0
.0
1.0
4.0

⑤ Start/Pause: Press to start the drying program. Press again to pause the drying program
④Function selection field
When the “Steam Dry”, “Cool Air” or “Warm Air” program is selected, this
button can be used to adjust the drying time with an increment of 10
Drying Time
Semi drying: the clothes will be semi-dried after completing the program;
Standard-drying: the clothes will be fully dried and can be put on directly;
of a drying program.
2. When the button is pressed repeatedly, the dry level cycles from
For adjusting the dry level of clothes. There are three levels available,
namely, semi-drying, standard-drying and extreme-drying;
1. The dry level button can be pressed for selection only before the startup
Dry Level Selection
semi-drying, standard-drying to extreme-drying.
Extreme-drying: the clothes will be over dried and can be stored;
Adjustment
minutes.
Child Lock Function
This function can be used to effectively prevent the misoperation by
children. The specific settings about "how to unlock 'Child Lock'" are as
follows:
program
Temp.
Dry Level
Power on
the dryer
Select the
program
Start-up
Press the dry level and temperature
button at the same time for three
seconds to activate the chil lock.
Dry Level
Time Dry
Child Lock
Anti-Wrinkle
Mute Dry
13
When the “Child Lock” is enabled, the dryer cannot by controlled by pressing any key,
except for the power button. To control the dryer, the “Child Lock” shall be unlocked
Mute Dry Function
The mute dry can be activated by selecting this function and can be deac-
tivated by selecting this function again.
Anti-Wrinkle Function
This function can be selected to prevent the winkles of clothes that are
not timely taken out after the completion of the program. In this function,
the dryer will automatically run intermittently for 120 minutes.
Delay Function
After enabling this function,the scheduled time will be displayed. After
reaching the time,the program will start to run and dispaly there maining
drying time.
Temperature Selection
40℃, 50℃ and 60℃are available for selection.
first.
Note
Delay
Temp.

Open the dryer Take the filter screen
from the dryer
Open the filter
screen
Use a wet towel to
clean up the fluff
• Clean the Lint Filter Screen
• Clean the Dryer
• The above programs are only recommendations, users can choose the suitable
program according to personal habits.
• In any program, the actual drying duration will be automatically adjusted and may vary
depending on the ambient temperature, humidity, type and weight of clothing, and
moisture after dehydration.
• Before drying any clothes, please check whether the clothes are suitable for drying
with the dryer according to the label on the clothes.
• If the clothes are twisted during drying, the operation can be suspended and shake
out the clothes to dry again. Some parts of heavy clothes (jeans or large towels) may
not be completely dried due to features of their materials. If you find that the clothes
are not fully dried after the program is completed, it is recommended to use the “Time
• To dry a small amount of clothes, it is recommended to choose “Time Dry”function. if
the clothes are not completely dried, a timing adjustable function may be chosen to
continue the drying. In a timing adjustable function, the humidity will not be determined
automatically. After the program ends, If the clothes are still wet, please repeat the
function or adjust the drying time until the clothes are dried.
Dry” function to adjust the drying time.
• When drying woolen clothes, please turn the inside of the clothes out.
Notes
Unplug the power plug from the socket before cleaning and maintenance.
Cleaning and Maintenance
To ensure good ventilation in the drying process, please clean the filter before or after
performing each drying program.
Use a rag to remove the dust or stains on the surface and main control board of the dryer.
Do not to use organic solvents or corrosives for cleaning to avoid damage to the dryer.
Note: After cleaning, reinstall the filter screen in place.
14

• Clean the Bottom Lint Filter
For the best drying effect, please regularly check whether there is cotton wool in the lint
filter and clean it in time. Please disconnect the power before cleaning the lower lint filter:
Note: Do not clean the lint filter with any sharp tool to protect the filter screen.
• Clean the Drum
After the dryer runs for a period of time, the calcium contained in the clothing care agent
or water will form a barrier layer, which user can't see clearly with the naked eye.The
inner wall of the tumbler shall be cleaned regularly with a wet rag.
• Empty the Water Tank
When the dryer is running, the steam condenses into water and will be stored in the
water tank.
Note: The condensate water cannot be drunk or used for making food. Upon the
completion of the program, the water tank should be emptied in time.
Take out the water
tank and then keep
it leveled to prevent
condensate water
spillage.
Open the filter
door.
Open the three air
duct fixing locks.
Remove lint filter
from front air duct.
Install the lint filter
back on the dryer.
Clean up all cotton
wool on the lint filter.
Pour out the condensate
water and reinstall the
water tank.
15

Service Guide
Alarm Alarm Cause
Water tank full
Failure of drain pump or water level
sensor
Humidity sensor failure
Temperature sensor failure
Door not closed properly.
Door lock failure
Close the door of the dryer
Solution
Empty the water tank
Please contact the service center
Troubleshooting
Note
The dryer can be repaired only by authorized professional service technicians!
Before contacting the service center, please confirm if you can deal with the failure or if
you have any improper operation.
Notes
If the above troubleshooting steps do not solve your problem:
1. Set the program to the Off position.
2. Disconnect the power supply.
3. Contact TCL Customer Service Centre.
Failure
Nothing displayed on
the display screen or
control panel
The dryer cannot be
started
The door is opened
automatically
Drying criteria are not
met or the drying time
is too long
• Check whether the power supply or the plug is normal.
• Check whether the power switch is turned on.
• Check whether the door is closed properly.
• Check whether the “Start/Pause” button for program
selection has been pressed.
• Press the handle of the door to lock it in place.
• Check if the dryer is over-loaded.
• Clean the filter screen.
• Select an appropriate drying program.
• Make sure that the fan cover is not blocked.
Cause
16

Note: Our Company reserves the right to change the design of the product. The
product you purchase may have been improved, and may not be exactly the same as
that indicat-ed herein. However, the performance and usage of the product remain the
same. Please rest assured to use it.
Main Technical Parameters
Model
Power supply 220-240V~ 50Hz
Rated drying capacity (kg) 8.0kg
Rated input power(W)700
Water proof class IPX4
Noisy 70dB(A)
598 x 625 x 845
682 x 722 x 890
Product net weight(kg)45
Product gross weight(kg)50
Refrigerant type R290
Refrigerant charging amount (g) 100
17
C1208DRW
Package dimensions ( mm )
External dimensions ( mm )

Packaging materials
•“ ”stands for recyclable materials.
>PE = Polyethylene
>PS = Polystyrene
>PP = Polypropylene
Materials made from above substances can be recycled and directly disposed of into the
appropriate dustbins.
•The symbol “ ” on the product or package means that the product or the package
should not be disposed as appliance waste. Instead, it should be sent to an electrical and
electronic device disposal station. Properly disposing waste electrical appliances could
protect the environment and human health from negative impacts. Otherwise, such as the
electrical appliances may cause waste.
Energy Saving information
To save energy and protect the environment, we hereby recommend as follows:
• Try to make the machine work at a heavy load for it is not economical to work at a small
load.
• Do not dry clothes that already have been dried, so as to avoid wrinkling clothes and
save energy.
• Please select the drying program according to the types of clothes.
• Clean the filter regularly to avoid additional drying times and higher power consumption.
This is because after the filter screen is blocked, the air path is not smooth, which leads
to the high humidity of the hot air in the barrel, and the moisture can not come out.
Although it is heating, it does not play the role of drying.
• Keep the room ventilated and make sure that the room temperature does not exceed
35°C.
Environmental Protection
18
Environmental Protection
Table of contents