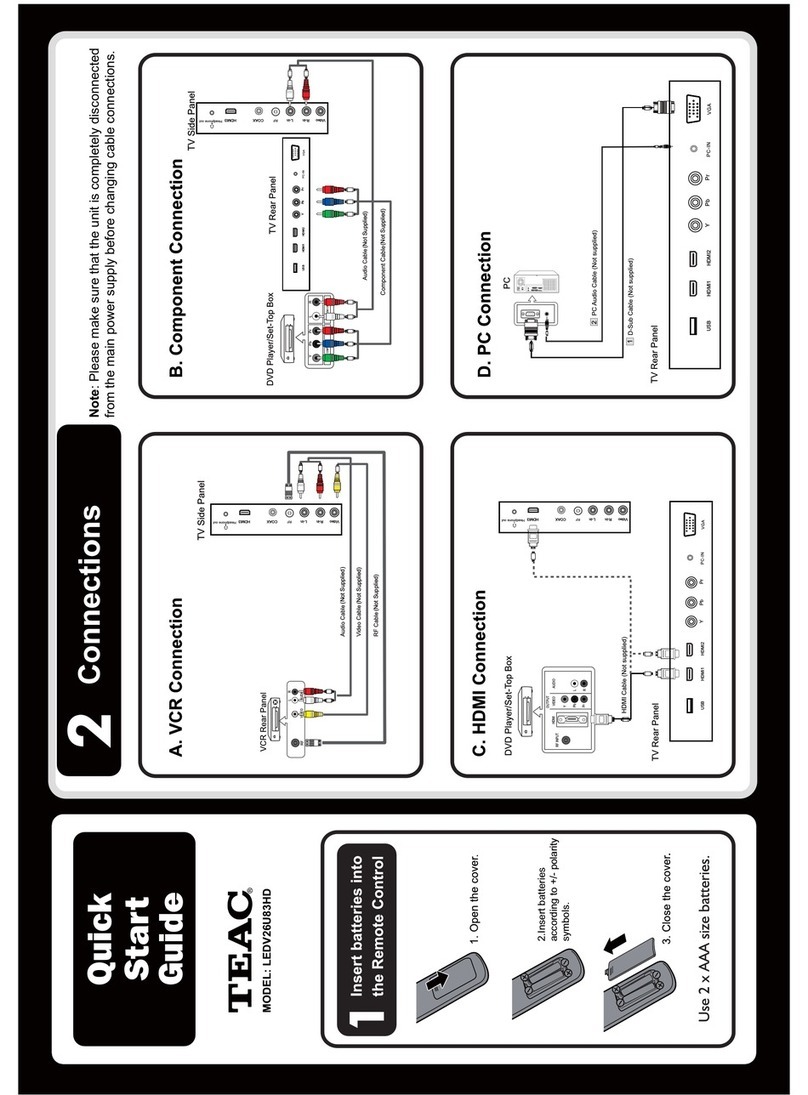
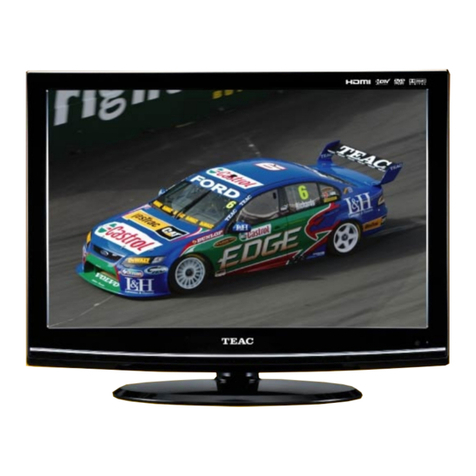
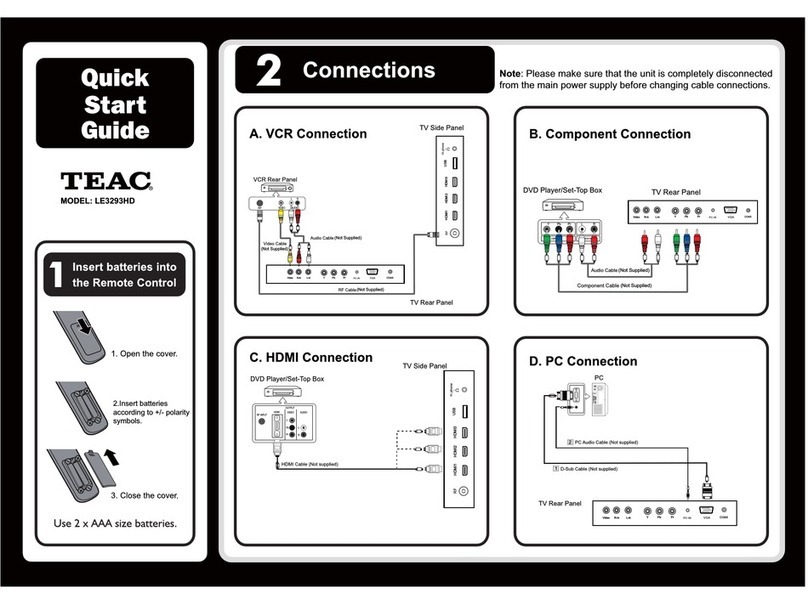
Teac LE42C9FHD User manual

USER MANUAL
WARRANTY INFORMATION INSIDE. PLEASE READ
www.teac.com.au
IMPORTANT !
Trademark of TEAC Corporation JAPAN
LE42C9FHD
FHD LED/LCD TV

WARRANTY PROCEDURE v1.6: May 2015
Please read the owner’s manual carefully and ensure that you have followed the correct installation and operating procedures.
1. Please read this warranty card.
2. Keep your purchase receipt to enable you to proceed quickly in the event of a Warranty Service.
3. If you require Warranty Service, please contact the TEAC Warranty Service Hotline at 1300 553 315 for assistance. Please ensure
that you have the model number, serial number and purchase receipt ready when you call.
Please complete the section below and keep this information for your own records.
Owner’s Name
Owner’s Address
Postcode
Model Name/No. Serial No.
Dealer’s Name
Dealer’s Address
Postcode
Thank you for selecting a TEAC product.
If your TEAC product malfunctions, please call us directly for warranty support
between Monday to Friday at 8.30AM –5PM AEST at the
TEAC Warranty Service Hotline
1300 553 315
For other enquiries, please contact us at:
www.teac.com.au
When calling to receive warranty service, please have:
1. Your model and serial number
2. Proof of purchase
3. And your product in front of you
NOTE:
- You are required to provide a copy of your proof of purchase in order to have your claim
processed.
- Please read the Terms and Conditions for details of your warranty entitlement.

TERMS AND CONDITIONS v1.6: May 2015
Our goods come with guarantees that cannot be excluded under the Australian Consumer Law. You are entitled to a
replacement or refund for a major failure and for compensation for any other reasonably foreseeable loss or damage. You
are also entitled to have the goods repaired or replaced if the goods fail to be of acceptable quality and the failure does not
amount to a major failure.
1. TEAC warrants that this product is free from defects in material and workmanship under normal domestic use with reasonable care and skill.
Maintenance and cleaning (i.e. laser head) is not covered by this warranty. The TEAC warranty only applies to TEAC products purchased
NEW from a TEAC Authorised Retailer in Australia. This warranty only applies to the original purchaser and cannot be transferred.
2. The benefits to the consumer given by this Warranty are in addition to other rights and remedies of the consumer under a law in relation to
goods or services to which the warranty relates, being the Australian Consumer Law.
3. Refund or replacement via your TEAC Authorised Retailer is available for a period of 14 days after purchase for goods that have been
inspected and determined to have a major failure. Refund and exchange is not applicable for change of mind.
4. Subject to the terms herein, this warranty effectively covers TEAC products, excluding products purchased for commercial purposes, as
specified in the Warranty Periods Table below from the date of purchase. Commercial use products are covered for 12 months only
(Authorised Service Centre).
TEAC PRODUCT
excluding commercial use products
SIZE (TV)
WARRANTY PERIOD
from date of purchase
WARRANTY SERVICE TYPE
LED/LCD TV
42” and above
12 months
In-home service*
19” to 40”
12 months
Authorised Service Centre Service
All other TEAC products
N/A
12 months
Authorised Service Centre Service
5. In Home Service/Pick up* Service
This service will only be provided as part of this warranty if all the following conditions are met;
a) The product is indicated in the Warranty Period Table.
b) The product is within the warranty period.
c) The product is located within the normal service area of the local TEAC Authorised Service Centre.
If TEAC determines that the product is not repairable on site, TEAC can complete the repair by taking the product to a TEAC Authorised
Service Centre.
Authorised Service Centre Service
The purchaser is required to send the product at their own expense to the nearest TEAC Authorised Service Centre for repair. In this event,
proof of purchase is required to support a warranty claim. After the repair, the product will be available for collection by or return to the
purchaser at a fee upon request. TEAC in-home service can be made available at a fee upon request.
6. A 12-month replacement warranty is applicable to all Accessories such as Remotes, Power Adapters and Cables.
7. TEAC will ensure to the best of its abilities that all required parts are made available for any required service/repair.
8. TEAC Australia Pty Ltd and its Authorised Service Centres will use their best endeavours to complete product repairs within a reasonable
period based on available resources and workload during the time when service is requested and performed.
9. Refurbished parts may be used to repair the product. In the case of a replacement, the product may be replaced, with a refurbished unit of the
same type or, if one is unavailable, a similar refurbished model with equal or better features and specifications.
10. Please be advised that if the product presented for repair is capable of retaining user-generated data, the data may be lost during servicing.
Customers are strongly encouraged to back up all important information/data before sending the product in for service/repair.
11. Service will be provided only during normal business hours and under safety conditions and circumstances. TEAC and its authorised service
agents can refuse any repair if safety, in relation to OH&S, becomes a concern to its staff or authorised service agents’ personnel.
12. The warranty is void and warranty claims may be refused, subject to the Australian Consumer Law, if:
a) The product was not transported, installed, operated or maintained according to manufacturer instruction, or
b) The product was abused, damaged, tampered, altered or repaired by any unauthorised persons, or
c) Product failure is due to accidents during use, installation or transit, power surges, use of defective or incompatible external devices, exposure
to abnormal conditions such as excessive temperatures or humidity, or entry of liquids, objects or creatures into the product, cockroach
infestations, or
d) The customer is unable to provide proof of purchase of the product for verification, or
e) The serial number of the product is missing or has been tampered with.
13. Where any repairs or services required that are outside of the terms and conditions of this Warranty are requested by the customer, or where
a fault is determined to be outside of the terms and conditions of the Warranty during an In-Home Service call, the customer shall be charged
for the cost of the repair and/or the In-Home service call fee.
14. No one is authorised to assume any liability on behalf of TEAC or impose any obligation on it, in connection with the sale of any equipment
other than as stated in this warranty and outlined above.
15. TEAC and/or its Authorised Service Centres reserve the right to inspect and verify whether the product is exhibiting a major failure as claimed
bycustomers/retailers.
16. LCD dead pixel policy, please contact TEAC at support@teac.com.au for assistance.

1
Contents
Introduction...............................................................................2
Warning.....................................................................................3
Caution.......................................................................................4
Remote Control........................................................................10
Stand Assembly.........................................................................6
Wall Mounting Installation Guidelines...................................7
Main Unit Description..............................................................8
OSD Menu................................................................................13
Multimedia Operation..........................................................................21
Recording Operation..............................................................27
Specifications...........................................................................32
Trouble Shooting.....................................................................33
Basic Operation .......................................................................11

2
Introduction
Thank you very much for your purchase of our LED TV.
it handy for ready reference.
INSTALLATION
Locate the TV in a room where direct light does not strike the screen. Total darkness or a
reflection on the picture screen can cause eyestrain. Soft and indirect lighting is recommended for
comfortable viewing.
Allow enough space between the receiver and the wall to permit ventilation.
Avoid excessively warm locations to prevent possible damage to the cabinet or premature
component failure.
This TV can be connected to 100-240V~ 50/60HZ.
Do not install the TV near heat sources such as a radiator, air ducts, direct sunlight, or closed and
confined areas. Do not cover the ventilation openings when using the TV.
The indicator light goes out about 30 seconds after you disconnect the TV from the power supply.
Until the indicator light goes out, you will not be able to power it back on.
Read this manual carefully and keep
ķ
ĸ
Ĺ
ĺ
Ļ
ļ

3
Warning
This symbol is intended to alert the user to avoid the risk
of electric shock, do not disassemble this equipment by anyone
except a qualified service personnel.
This symbol is intended to alert the user to the presence
of important operating and maintenance instructions in
the literature accompanying the equipment.
Class I structures of equipment should be connected to the grid
power output with a protective earth connection on the socket.
Power plug as a broken applianceˈbroken installations should be
easy to operate.
CAUTION: TO AVOID THE RISK OF ELECTRIC SHOCK.
DO NOT REMOVE COVER (OR BACK).
NO USER- SERVICEABLE PARTS INSIDE.
REFER SERVICING TO QUALIFIED SERVICE PERSONNEL.
CAUTION
RISK OF ELECTRIC SHOCK
DO NOT OPEN

4
Caution
Caution
High voltages are used in the operation of this product.
- Donot
open the product's casing. Refer servicing
to qualified service personnel .
Caution
To prevent fire or electrical shock hazard, do not expose
themainunittorain or moistureˈdo not place objects
filled with liquids, such as vases, on the apparatus.
Caution
Do not drop or push objects into the television cabinet
slots or openings. Never spill any kind of liquid on the
television receiver.
Caution
Avoid exposing the main unit to direct sunlight and other
sources of heat. Do not stand the television receiver
directly on other products which give off heat. E. g. video
cassette players, Audio amplifiers. Do not block the
ventilation holes in the back cover. Ventilation is essential
to prevent failure of electrical component. Do not squash
power supply cord under the main unit or other heavy objects.

5
Caution
Caution
Never stand on, lean on, or push the unit or its stand. Ensure
children are supervised when near the unit.
Caution
Do not place the main unit on an unstable cart stand,
shelf or table. Serious injury to an individual, and
damage to the television, may result if it should fall.
Caution
When the product is not used for an extended period
of time, it is advisable to disconnect the AC power
cord from the AC outlet.
Caution
The LED panel used in this product is made of glass.
Therefore, it can break when the product is dropped
or applied with impact. Be careful not to be injured
by broken glass pieces in case the LED panel breaks.

1. Attach the stand base set to the bottom of the TV by firmly tightening the supplied 4pcs screws.
2. The TV stand is now assembled.
Stand Assembly
6

Wall Mounting Installation Guidelines
Use the four screws to fix the TV onto a wall mounting bracket ( not included) via the four VESA
standard holes on the back of the television.
Screw size for wall mounting: M6 ( The depth of the wall-mount hole is 19mm, please choose a
screw of the appropriate length)
Note:
1. Wall Mount is not included with the TV; it needs to be purchased separately.
2. Use only VESA-compatible wall mounts according to the specifications recommended for this
model. Use of other wall mounts, or inappropriate installation may cause personal injuries or
damage to the TV.
3. Follow all instructions from the user manual of your chosen wall mount.
7

Main Unit Description
Control Panel Button Function
TV Terminal Connections
VOL+ : Volume up.
VOL- : Volume down.
CH+: TV channel up.
CH- : TV channel down.
MENU : Press to select the main menu.
SOURCE : Select the input signal.
POWER : Turn the TV on or off.
8
6. EAR PHONE output terminal.
10. Coaxial output terminal.
12.. HDMI 1 input terminal.
1. HDMI2/MHL input terminal.
2. HDMI 3 input terminal.
3. USB input terminal.
7. YPb Pr input terminal.
11. RF antenna.
4. Video input terminal.
5. Audio input terminal.
3
8
21
4
5
6 109 117 11
9. VGA input terminal of simulation signal of PC.
8. PC AUDIO input terminal.

9
Optional Configuration as below:
Connect the USB to the USB jack on the set.
NOTE
Ɣ,WLVRQO\P$0$;RI'&FXUUHQWRXWSXWZKHQ\RXFRQQHFWZLWK86%MDFN
Ɣ7RHQVXUH WKH0RELOH+' ZRUNVZHOO \RXVKRXOGXVH RWKHUSRZHU VXSSO\IRU WKH 0RELOH +'
Ɣ,WVXSSRUWV0RELOH+'E\FRQQHFting with USB jack (must more than 2 GB). The partitions of
WKH0RELOH+'FDQ¶WEHPRUHWKDQSDUWLWLRQV7KHPD[SDUWLWLRQLV7%,WVXSSRUWV)$7)$7
document. The max FAT document is 4GB and the max FAT32 document is 2TB.

: Press to play backward (Used for models with MEDIA function only)
: Press to play forward. (Used for models with MEDIA function only)
: Skip to previous chapter. (Used for models with MEDIA function only)
: Skip to next chapter. (Used for models with MEDIA function only)
GOTO: Jump to the appointed chapter.
ASPECT: Press to adjust picture ratio.
SLEEP: Set the sleep timer.
, D.SETUP, D.MENU, D.TITLE, A-B is Invalid.
: Press this button to Turn the TV on or off.
: Press this button to mute or restore sound.
INPUT: Press to change signal source.
AUDIO: Press to select the DTV audio.
(Used for models with DTV function only)
PMODE: Select picture mode.
SMODE: Select sound mode.
0-9: Select and switch to a channel using 0 - 9.
FAV: Switch between customer set " Favorite List"
: Switch backand front between the current and
previous channels.
: Stop playing the Media.
: Press to start playing the MEDIA, or to pause playing.
(Used for models with MEDIA function only)
: Start to record. (The U diskwill be formatted when
in burning , please do not store important files in the U disk)
RED, GREEN, YELLOW, BLUE: Correspond to the
different colored subjects.
EPG: Enter electronic program guide.
(Used for models with DTV function only)
INFO: Press to display the channel information. In teletext
mode,press to reveal the hidden information.
OK: Enter the selected option or execute the selected
operation. NOTE press this button to display “channel list”
in TV source.
RETURN: Press to return to previous layer.
EXIT: Exit the OSD (On-screen display).
92/Ÿ92/ź Adjust the volume.
&+Ÿ&+źChange the channel up and down.
MENU: Press this button to enter the main menu for various
optional adjustable setting.
SUBTITLE: Open or close subtitle.
10
Remote control
SMODEINPUT AUDIO
INFO
OK
PMODE
D.SETUP
RETURN
D.MENU
D.TITLE ASPECT
A-B GOTO

Basic Operation
First Time Installation
1.The "First Time Installation" menu will appear on your screen.
2. Select Type,OSD Language,Country,Auto Scan,Time Zone then press the OK button to start
the tuning process,This process will find all available channels and store them.
NOTE: Home Mode is a power setting that is
designed to suit home usage and the Energy
Star Rating of this TV is based on Home
Mode. Home Mode is highly recommended
for the best energy efficiency.
Shop Mode is a power setting that is
designed to suit shop display. Energy use is
not optimised and picture settings may reset
automatically.
11

Basic Operation
The On Screen Display (OSD) menu acts as the Main Menu and aids the user in browsing
through the different options/properties available on the television unit. Press the MENU
button on the remote control to access the OSD menu as shown below:
Using the On Screen Display Menu
Use the </> direction buttons to make a selection from the main menu ( PICTURE,SOUND,
CHANNEL, LOCK, or SETUP ). Press \/ button to enter the submenu system.
Once in the submenu, use \/ //\ buttons to select an item. Press the OK button to access the
selected item to make changes to the settings.
To return to the main menu, press the MENU button.
To exit the menu display, press the EXIT button.
NOTE:
Some menu items can only be activated when the right INPUT selection has been
made (ie, the CHANNEL selection can only be accessed under DTV and ATV input
selections).
Hint---you should operate the OSD menu according to the hint.
Selecting an input source
The unit incorporates multiple input sources which can be selected via the
INPUT button on the television panel or remote control. The following
steps explain the procedures involved.
1. Press the INPUT button to enter the Input menu. The screen will
display the Input Source menu.
2. Use the CH+/- button on the TV set or /\ / \/ direction buttons to
select the desired input source.
3. Press OK to enter the selected source.
NOTE: Please make sure the device is connected before selecting the
input source.
Main menu
PICTURE
SOUND
LOCK
CHANNEL
SETUP
Red
Color Temp
Hue
Saturation
Sharpness
Contrast
Brightness
Picture Mode Submenu
(Picture menu
for example)
12

OSD Menu
1. PICTURE menu
Description
Picture Mode: There are four preset settings to choose from: Standard, Dynamic, Personal and Mild.
Note: Custom settings are saved into Personal Mode.
Contrast: Adjust the difference between the brightest and darkest regions of the picture.
Brightness: Adjust the overall brightness of the picture.
Sharpness: Increase this setting to see Sharp edges in the picture; decrease it for softer edges.
Hue: Controls the tint ( NTSC mode only).
Color Temp: Choose from Stand, Cool, Personal and Warm.
Red: Controls the red colour of the picture.
Green: Controls the green colour of the picture.
Blue: Controls the blue colour of the picture.
Aspect Ratio: Choose from Full, 4:3, Zoom1, Zoom2.
Note: Different aspect ratios are available depending on the input source.
Picture display settings can be altered as desired. The following options are adjustable:
13
Saturation:
Advanced Settings: Adjust advanced video features to fine tune the picture.
Backlight: Adjust the backlight.
Dynamic Contrast:
MPEG NR:
NR:
Adjust the saturation of the color based on your own like.
Set options to reduce video noise from Off, Weak,
Medium, Strong.
Set options to reduce MPEG noise from Off, Weak,
Medium, Strong.
Available Dynamic Contrast from Off,
Weak, Medium, Strong.

OSD Menu
2. SOUND menu
Description
Sound Mode: There are five preset settings to choose from: Standard, Music, Movie, Sports and
User.
Note: Treble and Bass can only be adjusted in User mode.
Treble: Adjust the relative intensity of higher pitched sounds.
Bass: Adjust the relative intensity of lower pitched sounds.
Balance: Adjust the balance of the left and right sound track, or turn off the volume of the
left or right sound track.
AVL: Control the volume of the program automatically. Turn on the function by selecting “On”.
EQ Setting: Adjuse the curve of 7 bands equalizer.
SPDIF: Select from the following options: Off, PCM and Auto.
General sound settings can be adjusted according to personal preference with the following
options:
14
Surround Sound: Turn on/off the surround sound function by selecting “off” / “on”.
Sound Type: Select from Left, Right, Mixed, Stereo.

3. CHANNEL Menu
This menu selection contains scanning preferences (either automatic or manual tuning),
Channel, Auto Scan, Manual Scan, Channel Edit, Signal Information.
Settings can be altered for individual channels.
NOTE: Some menus are
available only in DTV Mode
while recording is not in
progress.
Description
Press the MENU button once to enter CHANNEL setup menu as shown above. Press OK to enter
the submenu. In the CHANNEL setup menu press the buttons to select the desired item. Press
the MENU button to return to the previous menu. Press the EXIT button to exit.
If Lock is enabled, Auto and Manual Scan are password protected. Key in the correct password.
(Default password: 0000)
Auto Scan
Press OK to enter the auto scan option.
Select the desired Country and Tune Type
using the buttons, then press OK to
start scanning.
NOTE:
If ATV+DTV option is selected, the first 50%
of the scan will be for ATV tuning, while the
second half would be for DTV tuning. If
desired, the user has the option to exit the
tuning process midway by pressing the EXIT
button.
OSD Menu
15

Digital Manual Scan
Press the OK button to enter the Digital Manual
Scan menu.
Select a DTV channel, and press OK to start
searching.
Analog Manual Scan
Press the OK button to enter the Analog Manual
Scan menu.
NOTE:
Press the RED button to save any changes to the settings.
Channel Edit
OSD Menu
The Channel Edit menu offers the user to make personal changes to the program listings.
Various options are subjective to Analog TV and Digital TV programs. Press the OK button
to enter the Channel Edit menu from the CHANNEL menu as shown below.
16
Color/Sound System: Select a TV system for
searching.
Analog Scan
Star : Press buttons to manual search.
AFC:Turn on/off the auto frequency control function.
Frequency: Press buttons to select Frequency:
Auto or enter digital numbers.
Strength:
: Press buttons to select frequency.
Channel to Save: Select a channel number.
Displays the signal strength.
If Lock is enabled, Channel Edit is password
protected. Key in the correct password.
(Default password: 0000)
Note: DTV is able to receive DVB-T signal, not
DVB-T2 signal.

OSD Menu
Delete:
Move:
Skip:
Select the channel to delete and press the
Choose “Yes” to confirm the deletion, or “No” to cancel.
RED button.A confirmation message will pop up.
Select the channel to be moved and press the BLUE button. Use the CH+/- buttons to
change the channel position. Press the BLUE button again to confirm the change. Press
the MENU button to save and exit.
Select a channel and press the GREEN button to mark the channel. As long as the channel has
a skip label, it will be skipped when you search through the channels with the CH+/- buttons.
17
Favorite Manager
)LUVWSUHVVźŸEXWWRQWRKLJKOLJKWDGHVLUHGFKDQQHO
3UHVVWKH5HGEXWWRQWRVHWLWWRWKH)DYRXULWHJURXS
3UHVVWKH*UHHQEXWWRQWRVHWLWWRWKH)DYRXULWHJURXS
3UHVVWKH<HOORZEXWWRQWRVHWLWWRWKH)DYRXULWHJURXS
3UHVVWKH%OXHEXWWRQWRVHWLWWRWKH)DYRXULWHJURXS
Signal Information
'LVSOD\VWKHVLJQDOLQIRUPDWLRQLQ'79PRGH
This manual suits for next models
3
Table of contents
Other Teac LCD TV manuals

Teac
Teac LCDV2255HD User manual

Teac
Teac LCDV3257DVR User manual

Teac
Teac LEBD32D10FHDR User manual

Teac
Teac LEV3994FHD User manual

Teac
Teac LCDV1001 User manual

Teac
Teac LCDV1901M User manual

Teac
Teac LCDV3253HD User manual

Teac
Teac LET6596FHD Operator's manual

Teac
Teac LET5596FHD User manual

Teac
Teac LCD2033A User manual

Teac
Teac LCD2681FHD User manual

Teac
Teac LCD3282FHD User manual

Teac
Teac LE1980HD User manual

Teac
Teac LCDV2657DVR User manual

Teac
Teac LE1978HD User manual

Teac
Teac LCDV2656HD User manual

Teac
Teac LCHD3240 User manual

Teac
Teac LCDV3956FHD User manual

Teac
Teac LCHD2040 User manual

Teac
Teac LE1980HD User manual