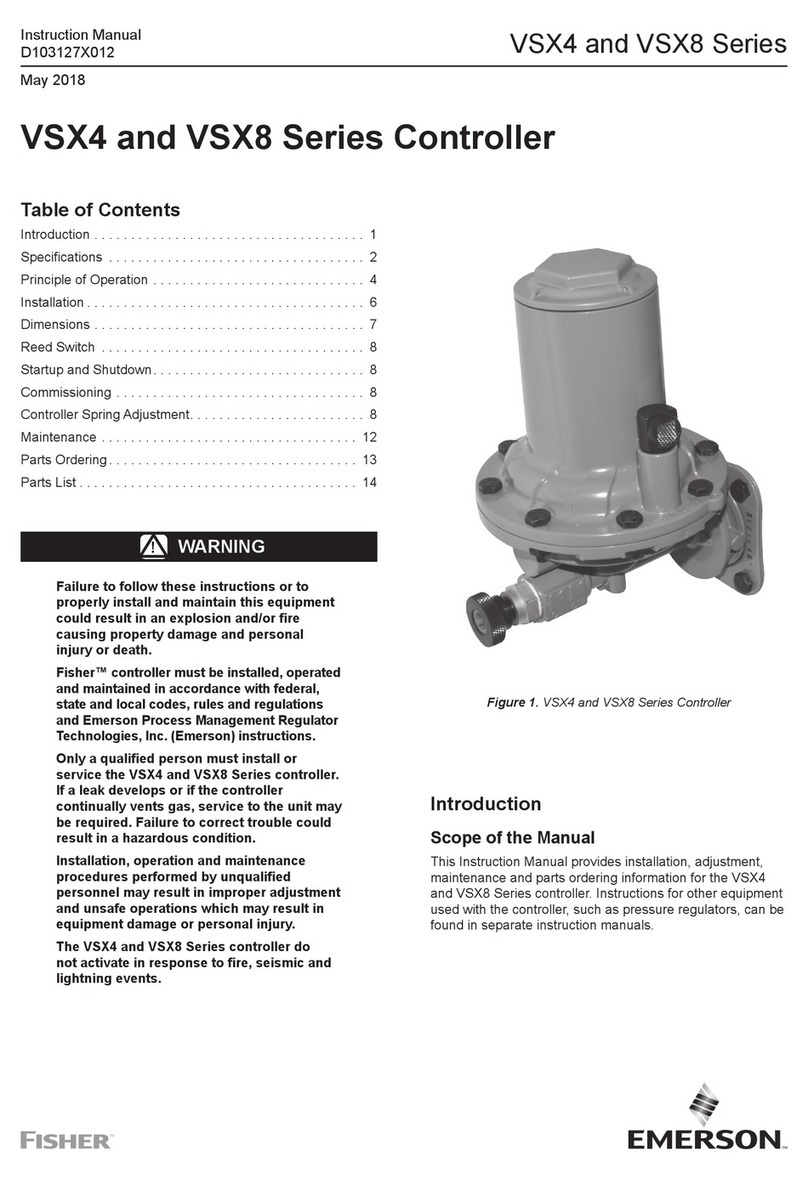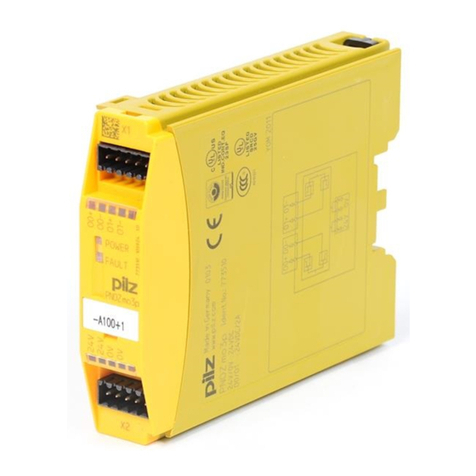
Description
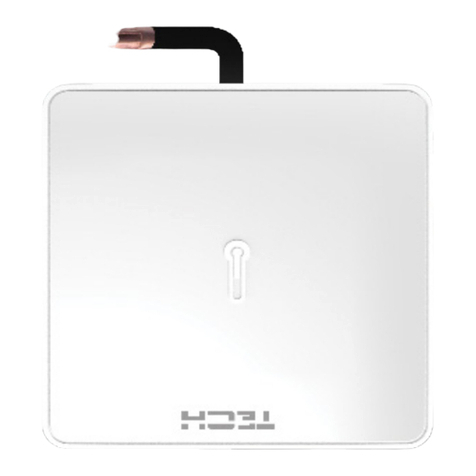
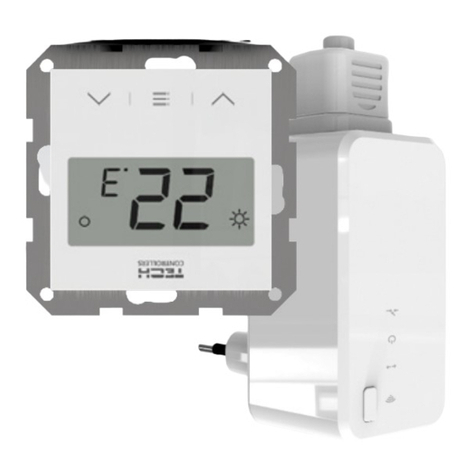
STT-869 wireless electric actuator allows the user to easily and e ciently
manage the temperature in particular heating zones of a building. The system
controlling the actuator ensures optimum heating comfort and contributes
to signi cant energy saving. This type of actuator may be used in heating
systems. It is compatible with such controllers as EU-L-4 WiFi, EU-L-8e, EU-L-9r,
EU-WIFI 8S, etc.
Technical data
Output – M30x1,5 nut
Communication – wireless
Frequency 868MHz
Power supply – 2x AA 1,5V batteries –
it is advisable to use high volume batteries
(over 2500mAh).
How to install the actuator
Follow these steps while installing the device:
1. Insert the batteries. The actuator moves into mounting position making
it easier for the user to screw it. Once the actuator is in mounting position,
the control light ashes green. The actuator remains in mounting position for
2 minutes.
NOTE
Depending on settings, it may take the actuator even 1,5 minutes to get into
the mounting position.
2. Screw the actuator to the radiator. Actuator calibration is initiated after
pressing the button or automatically after 2 minutes.
Installation with Danfoss or Oventrop
valve
1. Danfoss RAN (click) or RTD-N valve or Oventrop
2. Valve pressure pin
3. Pressure pin cap Danfoss or Oventrop
4. Danfoss RAN (click) or RTD-N adapter (only for the valve Danfoss)
5. STT-869 actuator
It is necessary to put the cap on the valve pressure pin if we want STT-869 and
Danfoss or Oventrop valve to work properly.
Connectivity test
In order to check the connection with the main controller, press the
communication button and hold it until the control light ashes twice. Release
the button and observe the control light:
- if the green light ashes twice, it indicates successful communication
- if the red light goes on for a while, there is no connection with the main
controller.
Connectivity test enables the user to identify the controller and the zone in
which a given actuator is registered. The main controller displays appropriate
message.
How to reset the actuator
In order to reset the actuator, press the communication button and hold it until
the control light ashes three times. After releasing the button, actuator will
move to 100% open position and initiate calibration. Actuator registration after
this step is not necessary.
How to register the actuator
In order to register the actuator in a given zone, select <Registration> in
the main controller (see: instruction manual of the device) and press the
communication button.
Release it and observe the control light:
- if the green light ashes twice, it indicates successful registration
- if the green light ashes once - press again the communication button on
actuator
- if the red light goes on for a while, it indicates registration failure - it is
necessary to conduct registration again.
Registration in mounting position
When the actuator is in mounting position, select <Registration> in the main
controller (see: instruction manual of the device) and hold the communication
button until the control light changes from green to red.
How to replace batteries
1. Remove the cover
2. Remove the batteries
3. Press the communication button in order to release the residual electricity
4. Insert new batteries
NOTE
Always use two new batteries of the same brand.
1
2 4
3 5
Main controller alarms connected with actuator operation
If the main controller supporting STT-869 actuator informs about one of the following alarms, follow the steps described in the table below:
Type of alarm Possible cause How to x it
Error #1 - Calibration error 1 – Moving
the screw to the mounting position
took too much time
- The limit switch sensor is damaged - Calibrate actuator again by holding the communication
button until the third ash of green light
- Call the service sta
Error #2 - Calibration error 2 – The
screw is maximally pulled out. No
resistance while pulling out
- The actuator has not been screwed to the valve or has not
been screwed completely
- The valve stroke is too big or the valve dimensions are
not typical
- Actuator current sensor is damaged
- Check if the controller has been installed properly
- Replace the batteries
- Calibrate actuator again by holding the communication
button until the third ash of green light
- Call the service sta
Error #3 - Calibration error 3 - The
screw has not been pulled out enough
- the screw meets resistance too early
- The valve stroke is too small or the valve dimensions are
not typical
- Actuator current sensor is damaged
- Low battery level
- Replace the batteries
- Call the service sta
Error #4 - No feedback - The master controller is switched o
- Poor range or no range in the master controller
- Radio module in the actuator is damaged
- Check if the master controller is on
- Reduce the distance from the master controller
- Call the service sta
Error #5 - Low battery level - The battery is at - Replace the batteries
Error #6 - Encoder is locked - The encoder is damaged - Calibrate actuator again by holding the communication
button until the third ash of green light
- Call the service sta
Error #7 - To high voltage - Unevenness of the screw, the thread etc. may cause
excessive resistance
- Too high resistance of gear or motor
- Current sensor is damaged
Error #8 - Limit switch sensor error - Limit switch sensor damaged
Control light
Communication button
Use the tool included in the
kit to register.
