manuals.online logo
Brands
  1. Home
  2. •
  3. Brands
  4. •
  5. TECH
  6. •
  7. Temperature Controllers
  8. •
  9. TECH EU-R-8z User manual

TECH EU-R-8z User manual

USER’S MANUAL
EU-R-8z
WARRANTY CARD
TECH company ensures to the Buyer proper operation of the device for the period of 24 months from the date of sale. The Guarantor
undertakes to repair the device free of charge if the defects occurred through the manufacturer’s fault. The device should be delivered to its

amendments of the Civil Code (Journal of Laws of 5 September 2002).
CAUTION! THE TEMPERATURE SENSOR CANNOT BE IMMERSED IN ANY LIQUID (OIL ETC). THIS MAY RESULT IN DAMAGING THE CONTROLLER
AND LOSS OF WARRANTY! THE ACCEPTABLE RELATIVE HUMIDITY OF THE CONTROLLER’S ENVIRONMENT IS 5÷85% REL.H. WITHOUT THE STEAM
CONDENSATION EFFECT.
THE DEVICE IS NOT INTENDED TO BE OPERATED BY CHILDREN.
Activities related to setting and regulation of the controller parameters described in the Instruction Manual and parts wearing out during normal
operation, such as fuses, are not covered by warranty repairs. The warranty does not cover damages arising as a result of improper operation or

     
protective seals. Removing a seal results in the loss of Warranty.


the equipment through the fault of the client or not subject to Warranty), or if the device defect occurred for reasons lying beyond the device.


VAT invoice, etc.). The Warranty Card is the only basis for repair free of charge. The complaint repair time is 14 days. When the Warranty Card is lost
or damaged, the manufacturer does not issue a duplicate.
...................................... ......................................
seller’s stamp date of sale
Safety
             
following regulations carefully. Not obeying the rules included in this
manual may lead to personal injuries or controller damage. The user’s
manual should be stored in a safe place for further reference. In order to
avoid accidents and errors it should be ensured that every person using
the device has familiarized themselves with the principle of operation as
well as security functions of the controller. If the device is to be sold or

the device so that any potential user has access to essential information
about the device. The manufacturer does not accept responsibility for
any injuries or damage resulting from negligence; therefore, users are
obliged to take the necessary safety measures listed in this manual to
protect their lives and property.
WARNING

We are committed to protecting the environment.
Manufacturing electronic devices imposes an
obligation of providing for environmentally safe
disposal of used electronic components and
devices. Hence, we have been entered into a
register kept by the Inspection For Environmental

means that the product may not be disposed of to
household waste containers. Recycling of wastes
helps to protect the environment. The user is
obliged to transfer their used equipment to a
collection point where all electric and electronic
components will be recycled.
Technical data
C
Power supply ................................................................................6V
Power consumption.....................................................................0,7W
C
Frequency..............................................................................868MHz
EN
Description

controller.


thermostatic valves (by opening them when the room temperature is

reached).
Current temperature is shown on LED display. The user may also change
the preset temperature permanently or for a limited period of time
directly from the sensor.
Controller equipment:
 LED display
 
 
 light sensor
Installation

WARNING
Risk of fatal electric shock from touching live connections.

and prevent it from being accidentally switched on.
WARNING
Incorrect connection of the wires may damage the regulator!
How to register the room regulator in
a particular zone
          
         
      
press the communication button in a room regulator placed on the back
of the sensor.If the registration process has been completed successfully,
        
room sensor display shows “Scs”. In case of errors in the registration
process, the room sensor display shows “Err”.
The following rules must be kept in mind:


the submenu of a given zone.


is replaced by the second one.


registered in the new one.
          
schedule for each
           


temperature may also be adjusted directly from the room sensor using
PLUS and MINUS button.
How to change the pre-set temperature

sensor using PLUS and MINUS buttons.
During controller inactivity, the main screen displays current zone
temperature. After pressing PLUS or MINUS, the current temperature is
          
PLUS and MINUS the user may adjust the preset temperature value.


Time settings may be adjusted:
           




apply)

apply, press MINUS until the screen displays OFF.
EU Declaration of Conformity
Hereby, we declare under our sole responsibility that R-8zmanufactured
         
         
parliament and of the Council of 16 April 2014 on the harmonisation of the
laws of the Member States relating to the making available on the market
of radio equipment, Directive 2009/125/EC establishing a framework for
        
well as the regulation by the MINISTRY OF ENTREPRENEURSHIP AND
TECHNOLOGY of 24 June 2019 amending the regulation concerning
the essential requirements as regards the restriction of the use of
certain hazardous substances in electrical and electronic equipment,
implementing provisions of Directive (EU) 2017/2102 of the European
Parliament and of the Council of 15 November 2017 amending Directive
2011/65/EU on the restriction of the use of certain hazardous substances

For compliance assessment, harmonized standards were used:


       
compatibility
       
compatibility

of radio spectrum

of radio spectrum
Wieprz, 06.12.2018
Description of the functions available in the
menu
In order to enter the menu, press and hold PLUS and MINUS buttons. Use
PLUS and MINUS buttons to navigate among menu functions.
1.Cal

the calibration value.
2.Loc
           


the lock has been activated, the buttons are locked automatically after
10 seconds of inactivity. In order to unlock, press and hold PLUS and
MINUS at the same time. When Ulc appears on the screen, the buttons
have been unlocked.
Def

are asked if you want to restore factory settings (yes/no). Select using

4.Ret

230V 50Hz Power
Supply
6V DC

Other TECH Temperature Controllers manuals

TECH ST-85 User manual

TECH

TECH ST-85 User manual

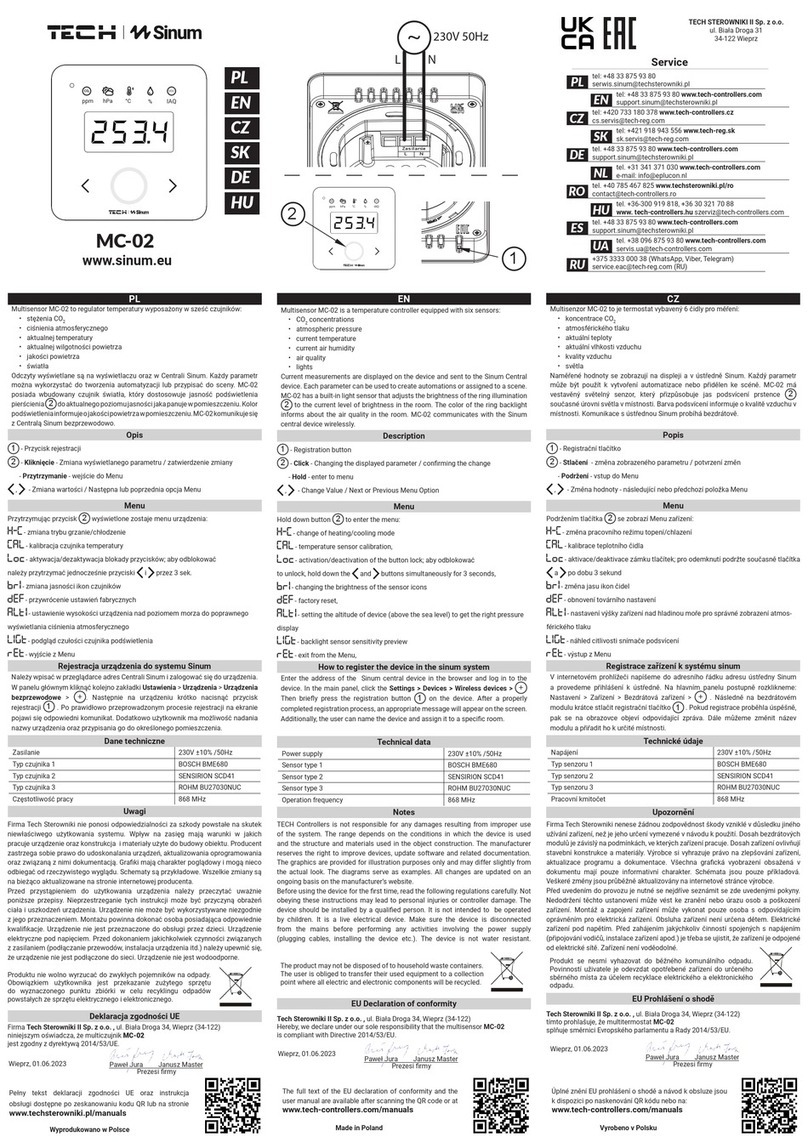
TECH Sinum MC-02 User manual

TECH

TECH Sinum MC-02 User manual

TECH ST-45 User manual

TECH

TECH ST-45 User manual

Popular Temperature Controllers manuals by other brands
Graco 800-028 Instructions-parts list

Graco

Graco 800-028 Instructions-parts list

eltherm ELTC/H-14 Operation manual

eltherm

eltherm ELTC/H-14 Operation manual

Chromalox ETR-3400 Installation & operation manual

Chromalox

Chromalox ETR-3400 Installation & operation manual

oventrop Unibox T vario operating instructions

oventrop

oventrop Unibox T vario operating instructions

gefran 650 Series manual

gefran

gefran 650 Series manual

Vaisala HUMICAP HMW92 user guide

Vaisala

Vaisala HUMICAP HMW92 user guide

McQuay OM 897-1 Operation & maintenance manual

McQuay

McQuay OM 897-1 Operation & maintenance manual

Vostermans Ventilation Mf Net AEW-6.3N Installation and operation manual

Vostermans Ventilation

Vostermans Ventilation Mf Net AEW-6.3N Installation and operation manual

NEIL PREMIUM 700 Use and installation  manual

NEIL

NEIL PREMIUM 700 Use and installation manual

Mietav-tec PARTS AND OPERATION MANUAL owner's manual

Mietav-tec

Mietav-tec PARTS AND OPERATION MANUAL owner's manual

Garmin tempe instructions

Garmin

Garmin tempe instructions

merten System M MEG6221 Series operating instructions

merten

merten System M MEG6221 Series operating instructions

Pan-Globe MG900 Series instruction manual

Pan-Globe

Pan-Globe MG900 Series instruction manual

Kobold MWD operating instructions

Kobold

Kobold MWD operating instructions

Ropex Resistron RES-407 operating instructions

Ropex

Ropex Resistron RES-407 operating instructions

AKO 16523 quick guide

AKO

AKO 16523 quick guide

Aqua Logic DC-DSHP instruction manual

Aqua Logic

Aqua Logic DC-DSHP instruction manual

Lake Shore 372 user manual

Lake Shore

Lake Shore 372 user manual

manuals.online logo
manuals.online logoBrands
  • About & Mission
  • Contact us
  • Privacy Policy
  • Terms and Conditions

Copyright 2025 Manuals.Online. All Rights Reserved.