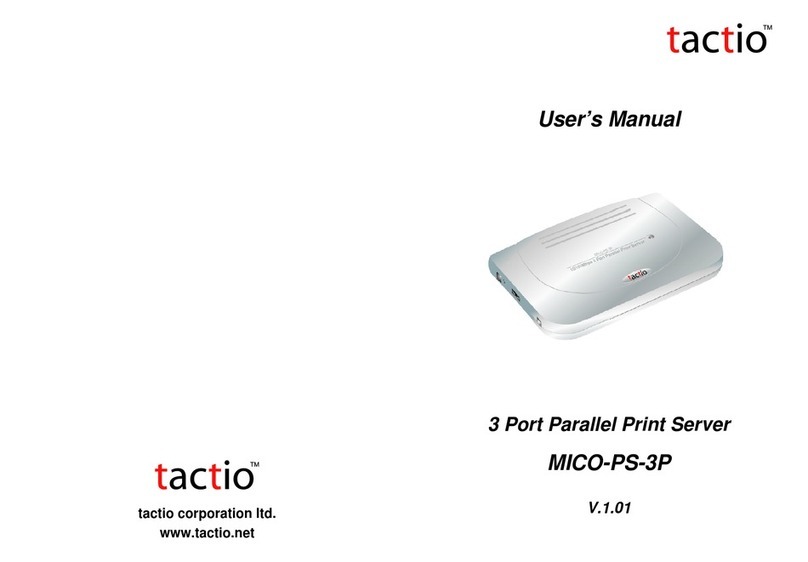
Technare PS-01 User manual


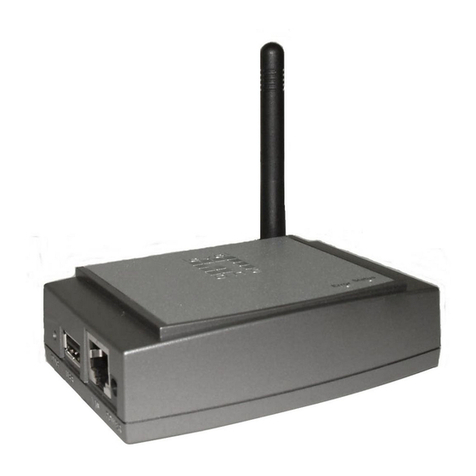
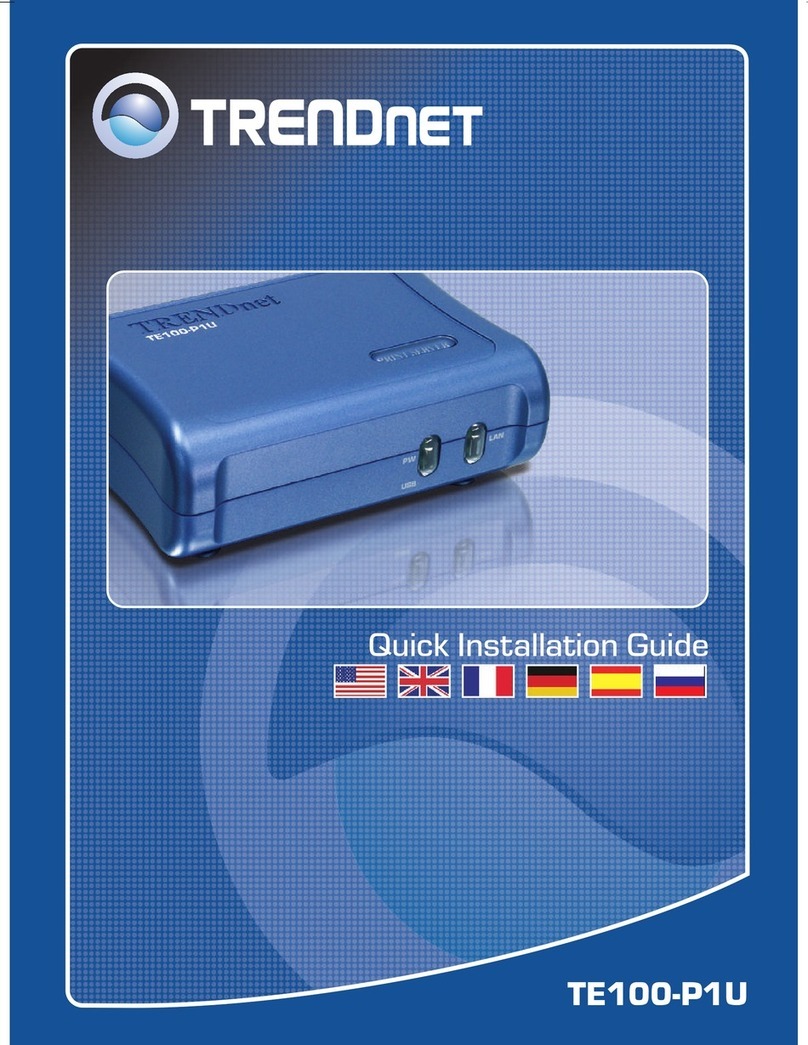
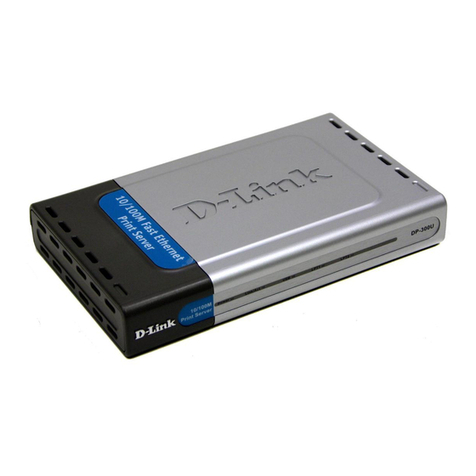
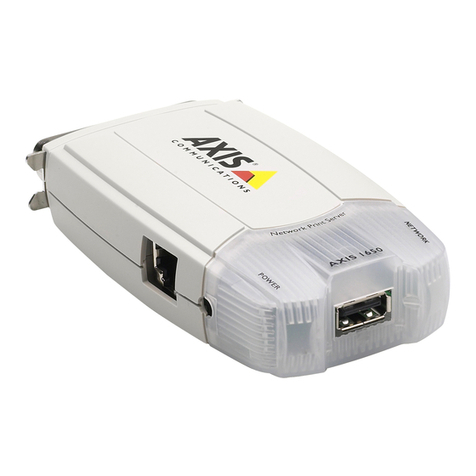
USB Print Server PS-01
User Manual
Please find the Declaration of Conformity for this device under following internet-link:
www.technaxx.de/konformitätserklärung/usb_print_server_ps-01
Table of Content
Environment Setup, Introduction, Hardware Installation, USB LPR Printer Setup on Windows
USB LPR Printer Setup on Mac OS X™ (Bonjour), MFP-Printer / LPR Printer Compatibility List
Copyright Notice: Copyright Incorporated 2010. All rights reserved.
Disclaimer: Incorporated shall not be liable for technical or editorial errors or omissions contained herein; nor for incidental or consequential
damages resulting from furnishing this material, or the performance or use of this product. Incorporated reserves the right to change product
specifications without notice. Information in this document may change without notice.
Trademarks: Microsoft, Windows XP, Windows VISTA and Windows 7 are registered trademarks of the Microsoft Corporation. All other brand
and product names mentioned herein may be registered trademarks of their respective owners.
Customers should ensure that their use of this product does not infringe upon any patent rights. Trademarks mentioned in this publication are
sued for identification purposes only and are properties of their respective companies.
English

Introduction
The USB Print Server that allows any networked computer to share a USB printer. It complies with USB 2.0 specifications (and is backward
compatible with USB 1.1), and provides an auto-sensing Ethernet port that works with either 10Base-T, 100Base-T or 1000Base-T networks.
This unit also supports multiple protocols and multiple operating systems. The built-in web management feature provides more convenience by
allowing the user to configure, monitor and even reset the USB server via a web browser. Please read this user manual carefully
before using. All information on this booklet is subject to change without notice due to technical reasons.
Security and Disposal Hints for Batteries
Hold children off batteries. When a child swallowed a battery by mistake go to a doctors place or bring the child into a hospital promptly!
Look for the right polarity (+) and (▬) of batteries! Always change all batteries, never use old and new or different types together.
Do NOT open, deform or load up batteries! There is a risk of injury by battery leakage fluid! Never short batteries.
NEVER throw batteries into fire! There is a risk of explosion!
Take out exhausted batteries from the device and take out batteries from the device when its not used over a longer period of time.
Hints for Environment Protection
Cleaning: Protect the device from contamination and pollution. Only clean the device with soft cloth or drapery, avoid using rough or coarse-
grained materials. Do NOT use solvents or other aggressive cleaner. Wipe the device after cleaning accurately. Important Notice: Should
battery fluid leak from a battery, wipe the battery-case with a soft cloth dry and put in a new battery!
Packages materials are raw materials and can be recycled. Separate the packages by types and put them to an
adequate recycling on behalf of the environment. More detailed information you get from your official civil service.
Do not disposal old devices into the domestic waste. Disposal old / defective devices professionally! The environment
will be grateful for that.
Do not disposal batteries into the domestic waste. Disposal old / empty / defective batteries professionally! The
environment will be more than grateful for that.

Features
Easily connects your USB Printer to a network
Allows multiple computers to share USB Printer on the network
Print from any computer on your local network
Supports DHCP Client and multiple network protocols
10Base-T/100Base-T auto-sensing
Supports Web Management software
Package Contents
USB Print Server PS-01
Network Cable
Power Adapter 5V/1A
Installation CD
User Manual
System Requirements
Windows 7, Vista, XP, 2003, 2000
Mac OS X 10.2 or later (only support LPR Printer)
Printer with a USB connection

Hardware Installation
1. Make sure your network is working properly.
2. Connect the USB Printer to the USB ports on the Network Printer Server directly or via enclosed USB
extension cable.
3. Make sure all the driver of the devices connected with the Network Printer Server is installed on your
computer properly.
4. Connect the Network Printer Server to the router or Ethernet switch/hub or bridge by enclosed network
cable.
5. Plug in the power adapter to the Network Printer Server.
6. Install the driver of the Network Printer Server (please find instructions in the next section).

USB LPR Printer Setup on Windows
Provides a straight forward and easy-to-use utility that helps you to set up USB printers connects to LPR
Printer server as network printers, Network Printer Wizard. This utility reduces the dozens of steps in setting
up network printer via Windows build-in printer setup program to a few point-and-clicks with the mouse.
Users no longer need to deal with the confusing IP setting, queue name entering and port configuration.
Install Network Printer Wizard Software
To start the installation, double click on Setup.exe
Then click Networking Printer Wizard for Windows
from autorun setup cover page.
Wait for the installer to run:
Extract Files and install? Click on Yes:
Click on Finish to exit installer once installation completes:

The installer creates a shortcut on the Desktop for you:
Network Printer Wizard Setup
1. Now we can start setting up your printer.
Click on the Launch Network Printer Wizard
icon created on the desktop.
2. Click on Next to continue when you see this
welcome dialog box.
Select the printer you would like to setup on this list and then Click on
Next. The number of printers you see on this list depends on the
number of printers that are connected to your network. If you only have
one printer on the network, you see only one printer on this list. If you
do not see any printers, please make sure your printers and USB LPR
Printer Server is correctly powered on and connected to the network.

3. On the next dialog box, select the driver form the list if it’s there,
and then click on the Next button and go to step 7.
Else, read on.
If you can’t find the target printer’s driver on the list, insert the disk
containing the printer’s driver, click on Have Disk… button then go to
step 5.
4. You must browse to the folder that contains the driver for your
printer and click on OPEN to use it:
5. Then, select the driver from the list again and then click on the Next button. If you did not select the
correct driver, here is the chance for you to verify. Click on Have Disk… again to re-select.
6. Once you have selected the correct driver from the list, click on
Finish button. The wizard might take a minute to setup the
network printer for you.

7. After the printer has been setup correctly, you can see it under
Control Panel > Printers:
Now you can print any document using the printer you just setup:
If you have more than one printer set up, make sure you have selected
the correct printer to print.
NOTE: REMEMBER, THIS SETUP IS A ONE-TIME THING. YOU DO NOT HAVE TO RUN THIS
PROCESS EVERY TIME YOU WANT TO PRINT. HOWEVER, IF YOU REMOVE THE NETWORK
PRINTER WIZARD PROGRAM, YOUR PRINTER SETUP WILL NO LONGER WORK.

Remove the Printer Setting
To remove the printer setup, go to the Control Panel > Printers dialog
box and remove the printer entry from it.
Simply Delete this icon by pressing Del key on your keyboard. Then it
will be removed from the list of usable printers when you print
document.
Remove the Program
To remove the Network Printer Wizard program, please go to the Control Panel > Add or Remove
Programs (Programs and Features on Windows VISTA)
Then select to remove the program
Then follow the instructions of the installer complete the removing
process:
NOTE: Once you remove this problem, you will no longer be able to
print using the printers you setup with Network Printer Wizard

USB LPR Printer Setup on Mac OS X™
1. MAC OS by Apple Inc. comes with a built-in utility very similar
to Network Printer Wizard. To start go to “System
Preferences” on the Dock menu:
2. Once you have the “System Preferences” window up locate
the “Print & Fax” item:
Double click on “Print & Fax” to start selecting printer for installation.
3. This window shows you the printers that have been installed on
your Mac. To install a new printer click on the “+” button to
select printers.

4. Select the printer you would like to setup from the list. The number of printers you see on this list
depends on the number of printers that are connected to your network. If you only have one printer on
the network, you see only one printer on this list.
If you don’t see any printers make sure your printers and Networking LPR Printer Server is correctly
powered on and connected to the network.
5. As you select the printer to install, Bonjour will select the correct printer driver for you and is shown at
the “Print Using:” field:
Once you have highlighted the printer to install, click on Add button to
install it.

6. Once installation is done, you should be able to see this on your
“Print & Fax” window: You will see that the A950 printer
appeared on the available printer list. You can now use this
printer for printing your documents or pictures.
NOTE: REMEMBER, THIS SETUP IS A ONE-TIME THING. YOU DO
NOT HAVE TO RUN THIS PROCESS EVERY TIME YOU WANT TO
PRINT.
7. When printing your document, simply select
the printer you just setup on the available
printer list:

Removing the Printer Setting
1. To remove a printer setting, please go to your Printer and FAX
again:
Select from the available printer list on the left and then click on the
“-“ button to remove it.
2. Once removed, the printer will disappear
from the list, and when you print document,
you will not be able to select it anymore.

MFP-Printer / LPR Printer Compatibility List
USB LPR Printer Update: 11.12.2008
XP Vista
/ 7
No Brand Model Name LPR* LPR*
1 Brother HL 2040
2 Brother MFC 3320CN
3 Brother MFC 3820CN
4 Canon MF3110
5 Canon MF3112
6 Canon MF3220
7 Canon MF3222
8 Canon iP100
9 Canon iP2500
10 Canon iP6700D
11 Canon iP7500
12 Canon iP90
13 Canon iP90v
14 Canon LBP3200
15 Canon MP110
16 Canon MP130
17 Canon MP145
18 Canon MP150
19 Canon MP160
20 Canon MP170
21 Canon MP180
22 Canon MP450
23 Canon MP460
24 Canon MP470
25 Canon MP510
26 Canon MP520
27 Canon MP600
28 Canon MP610
29 Canon MP810
30 Canon MP830
31 Canon MP960
32 Canon MP970
33 Canon MX308
34 Canon MX700
35 Canon MX7600
36 Canon MX850
37 Canon Pro9000
38 Canon Pro9500
39 Canon Satera MF4010
40 Canon Satera MF4150
41 Dell Photo 720
42 EPSON AL-C900
43 EPSON EPL-5800
44 EPSON EPL-N2500
45 EPSON PM-100
46 EPSON PM-3700C
47 EPSON PM-A840
48 EPSON PM-A840S
49 EPSON PM-A950
50 EPSON PM-G4500
51 EPSON PM-G5300
52 EPSON PM-G860
53 EPSON PM-T940
54 EPSON PM-T960
55 EPSON PM-T990
56 EPSON PX-501A

57 EPSON PX-5600
58 EPSON PX-5800
59 EPSON PX-A640
60 EPSON PX-A740
61 EPSON PX-FA700
62 EPSON PX-V780
63 EPSON Stylus C45
64 EPSON Stylus C61
65 EPSON Stylus C65
66 EPSON Stylus C66
67 EPSON Stylus C67
68 EPSON Stylus C90
69 EPSON Stylus CX3500
70 EPSON Stylus CX3700
71 EPSON Stylus CX3810
72 EPSON Stylus CX4700
73 EPSON Stylus CX4800
74 EPSON StylusPhoto 2200
75 EPSON StylusPhoto 830 -------
76 EPSON Stylus R320
77 EPSON Stylus R510 -------
78 HP Deskjet 3744
79 HP Deskjet 3745
80 HP Deskjet 640C
81 HP Deskjet D2360
82 HP Deskjet D2460
83 HP Deskjet D3745
84 HP Deskjet D4160
85 HP Deskjet D4260
86 HP Deskjet F300
87 HP Deskjet F340
88 HP Deskjet F350
89 HP Deskjet F370
90 HP Deskjet F379
91 HP Deskjet F380
92 HP LaserJet 1010 N/V
93 HP LaserJet 1015 N/V
94 HP LaserJet 1018
95 HP LaserJet 1020
96 HP LaserJet 2600n
97 HP LaserJet 3030
98 HP LaserJet 3050
99 HP LaserJet 3050z
100 HP LaserJet 3330
101 HP LaserJet 3380
102 HP Officejet 5510
103 HP Officejet 5610
104 HP Photosmart 3110
105 HP Photosmart 3210
106 HP Photosmart 3310
107 HP Photosmart 335
108 HP Photosmart 8030
109 HP psc 1210
110 HP psc 1315
111 HP psc 1402
112 HP psc 1410
113 HP psc 1510
114 HP psc 1610
115 HP psc 2410
116 HP psc 2510
117 LEXMARK 1270
118 LEXMARK E120n Noink Noink

119 LEXMARK p4350
120 LEXMARK p6250
121 LEXMARK x2650
122 LEXMARK x3470
123 LEXMARK x3550
124 LEXMARK x4270
125 LEXMARK x7350
126 Samsung ML2010
127 Samsung SCX-4500
Passed:
N/A: Not supported
Failed:
Other USB Devices Compatibility List. Find the
details through Driver’s CD or Web-based UI
Interface.

USB Print Server PS-01
(USB-Druckerserver)
Bedienungsanleitung
Die Konformitätserklärung für dieses Produkt finden Sie unter folgendem Internet-Link:
www.technaxx.de/konformitätserklärung/usb_print_server_ps-01
Inhaltsverzeichnis
Einrichtung des Umfeldes, Einleitung, Hardware-Installation, USB LPR Drucker-Setup unter Windows,
USB LPR Drucker-Setup unter Mac OS X™ (Bonjour), MFP-Drucker / LPR-Drucker Kompatibilitätslist
Copyright-Hinweis: Urheberrechte Incorporated 2010. Alle Rechte vorbehalten.
Haftungsausschluss: Incorporated haftet nicht für hier enthaltene technische bzw. redaktionelle Fehler oder Auslassungen, noch für zufällige
oder Folgeschäden, die durch die Lieferung oder der Leistung dieses Geräts oder Verwendung dieses Produkts entstanden sind. Incorporated
behält sich das Recht vor, die Produktspezifikationen ohne vorherige Ankündigung ändern. Die Informationen in diesem Dokument können
ohne Ankündigung geändert werden.
Warenzeichen: Microsoft, Windows XP, Windows VISTA und Windows 7 sind eingetragene Warenzeichen der Microsoft Corporation. Alle
anderen hier erwähnten Marken und Produktnamen sind Warenzeichen ihrer jeweiligen Eigentümer.
Kunden sollten darauf achten, dass bei der Verwendung dieses Produkts keine Patentrechte verletzt werden. Warenzeichen, die in dieser
Bedienungsanleitung erwähnt werden, dienen nur zur Identifizierung und sind Eigentum der jeweiligen Unternehmen.
Deutsch

Einleitung
Der USB-Druckerserver ermöglicht jedem vernetzten Computer die gemeinsame Nutzung eines USB-Druckers. Er entspricht den USB 2.0
Spezifikationen (ist abwärtskompatibel zu USB 1.1) und bietet einen Auto-Sensing Ethernet-Port, der entweder in 10Base-T, 100Base-T oder
1000Base-T-Netzwerken funktioniert. Dieses Gerät unterstützt auch mehrere Protokolle und Betriebssysteme. Die integrierte Webverwaltungs-
Funktion bietet mehr Komfort, indem der Benutzer den USB-Server über einen Webbrowser konfigurieren, überwachen und sogar zurücksetzen
kann. Bitte lesen Sie vor Inbetriebnahme des Geräts diese Bedienungsanleitung sorgfältig durch. Alle
Informationen in dieser Bedienungsanleitung können jederzeit ohne vorherige Ankündigung aus
technischen Gründen geändert werden.
Sicherheits- und Entsorgungshinweise für Batterien
Halten Sie Kinder von Batterien fern. Sollte ein Kind versehentlich Batterie(n) verschluckt haben, unverzüglich zum Arzt/ins Krankenhaus!
Auf die richtig Polarität (+) und (▬) der Batterien achten! Alle Batterien ersetzten, nicht alte und neue oder verschiedenen Typen zus. verw.
Batterien NIE öffnen, verformen oder aufladen! Verletzungsgefahr durch auslaufende Batterieflüssigkeit! Batterien niemals kurzschließen.
Batterien NIE ins Feuer werfen! Es besteht Explosionsgefahr!
Verbrauchte Batterien entfernen, Batterien auch entfernen wenn das Gerät über einen längeren Zeitraum nicht benutzt wird.
Hinweise zum Umweltschutz
Reinigung: Schützen Sie das Gerät vor Verunreinigungen. Reinigen Sie das Gehäuse mit einem weichen Tuch, vermeiden Sie raue oder
grobfaserige Materialien. Verwenden Sie NIE Lösungsmittel oder andere aggressive Reinigungsmittel. Trocknen Sie das Gerät nach der
Reinigung gut ab. Hinweis: Sollte Batterieflüssigkeit ausgetreten sein, wischen Sie das Batteriefach mit einem weichen Tuch trocken und
setzen Sie neue Batterien ein!
Verpackungsmaterialien sind Rohstoffe und können wieder verwendet werden. Trennen Sie die Verpackungen
sortenrein und führen Sie diese im Interesse der Umwelt einer ordnungsgemäßen Entsorgung zu.
Altgeräte gehören nicht in den Hausmüll. Entsorgen Sie auch Altgeräte fachgerecht! Sie tragen damit zum
Umweltschutz bei. Über Sammelstellen und Öffnungszeiten informiert Sie Ihre örtliche Verwaltung.
Batterien gehören nicht in den Hausmüll. Entsorgen Sie Batterien umweltgerecht und führen Sie diese im Interesse der
Umwelt einer ordnungsgemäßen Entsorgung zu.

Besonderheiten
Einfaches Verbinden Ihres USB-Druckers mit einem Netzwerk
Mehrere Computer können gemeinsam einen USB-Drucker im Netzwerk nutzen
Von jedem Computer in Ihrem lokalen Netzwerk drucken
Unterstützt DHCP-Client und eine Vielzahl von Netzwerkprotokollen
10Base-T/100Base-T Auto-Sensing
Unterstützt Webverwaltungs-Software
Verpackungsinhalt
USB Print Server PS-01
Netzwerkkabel
Netzadapter 5V/1A
Installations-CD
Bedienungsanleitung
Systemanforderungen
Windows 7, Vista, XP, 2003, 2000
Mac OS X 10.2 oder höher (nur Unterstützung von LPR-Druckern)
Drucker mit USB-Anschluss
Table of contents
Languages:
