Technomate TM-5500 Series Specification sheet

TM-5500/5000 Quick Setup Installation Guide
TM-5500 D/CI/DA/DACI/CIP/DAPCI
TM-5000 D/CI/DA/DACI/CIP/DAPCI
QUICK SETUP INSTALLATION
GUIDE
1

TM-5500/5000 Quick Setup Installation Guide
Instruction Manual for Technomate TM-5500/TM-5000 series
All Technomate receivers are fully tuned with 23 satellites and more than
3500 channels.
How to View Pre-tuned Receivers- Fixed System (non-motorised)
After connecting the receiver to the TV, turn ON the receiver. Press the
atellite button on the remote. Select a Satellite of your choice and press OK
n the remote. On the left-hand of the screen, select the Channel with the D
K to view.
Fixed System for One LNB or one Dish
s
o
sign (not the $D sign) using the up and down arrows on the remote. Press
O
How to Tune a
mote until you see Installation. Press OK. Use the left/right arrows to
s, select Satellite
ist. Press OK on your selected satellite and OK again. When the signal
s
ress the Channel up/down buttons to view a picture by selecting D (Free-
ow to Setup a Monoblock or DiSEqC Switch (up to 4 LNBs/Dishes)
Press the Menu button on the remote. Use the left/right arrows on the
re
select Satellite List.
A pop-up menu will appear. Use the up/down arrows on the remote and
select a satellite of your choice. Press the red button on the remote to Save
and Exit.
Go to Auto-Search and press OK. Using the left/right arrow
L
quality is at the highest strength, press OK to tune. Wait until the word
“Tuning Finished” appears and press Exit until a clear screen appears.
P
to-air) not $D (Scrambled) channels, to view $D channels you need a cam
(decoder) and a viewing card.
H
to
e
mote to select a satellite, for example Hotbird 13 degrees East. Go to
Press the Menu button the remote. Use the left/right arrows on the remote
find Satellite Setup and press OK. Use the left/right arrows to select
Satellite List. A popup menu will appear. Use the up/down arrows on th
re
2

TM-5500/5000 Quick Setup Installation Guide
DiSEqC and select A. Press OK to save. Repeat this process to select mor
satellites, for example Astra 19.2 degrees East. Go to DiSEqC and select B
Press OK to save. Press Exit.
e
.
0%, the task is completed. If not, go to DiSEqC A and change it to B, or go
ow to Setup a Motorised DiSEqC 1.2 System
Go to Auto-Search. Check the progress bar. If the signal quality is above
5
to DiSEqC B and change it to A. Once this is completed, go to Auto-Search
and press OK on the selected satellite to tune. Repeat this process for all
other selected satellites. If Link has been selected, after selecting all your
satellites go to Auto-Search and press OK. The receiver will then
automatically tune all the selected satellites. When the words “Tuning
Finished” appears, press Exit and select the satellite of your choice to view.
H
rocedure
you want to Save. Select Yes. Press OK on the Motor Setting of DiSEqC
of the page, you will see
A popup menu will
. Go
Press the Menu button on the remote. Use the left/right arrows on the
remote to select Installation. Press OK. Use the left/right arrows to select
Satellite List. A popup menu will appear. Use the up/down arrows on the
remote to select a satellite. Press the red button on the remote to save (For
software versions below HER 502 press OK to save). Repeat this p
to select more satellites. Press Exit. Go to Auto-Search. Go to Motor
Setting. Use the left/right arrows and select DiSEqC 1.2. You will be asked
if
1.2. The DiSEqC 1.2 menu will appear. At the top
satellite’s name. Use the left/right arrows to select it.a
then appear. Use the up/down arrows to select a satellite (e.g. Hotbird)
down to move. Hold and press either the left/right arrows until the signal
quality exceeds 50% in the progress bar. If there is no signal, refer to the
Transponder List (See Page 9) and select an Active TP to find the satellite
faster. When the signal quality reaches its highest level, go to Motor Control
and use the left/right arrows to select Save and save the selected satellite by
pressing OK. Repeat this process for extra satellites.
How to Setup a Motorised DiSEqC USALS System
Press the Menu button on the remote. Use the left/right arrows on the
remote to select Installation. Press OK. Use the left/right arrows to select
Satellite List. A popup menu will appear. Use the up/down arrows on the
remote to select a satellite. Press the red button on the remote to save (For
3

TM-5500/5000 Quick Setup Installation Guide
software versions below HER 502 press OK to save). Repeat this procedure
to select more satellites. Press Exit. Go to Auto-Search. Go to Motor
Setting. Use the left/right arrows and select USALS. At the top of the page,
se the left/right arrows on the remote. A pop-up menu will appear. Select
(London’s longitude
000.1 West). Then go to latitude (South of UK’s latitude is 515 North).
% in
p
u
Hotbird 13 degree East and press OK. Go to longitude
is
Go to Save and press OK. Wait until the signal quality is more than 50
the progress bar. If the signal quality is below 50%, the setting is incorrect
and the longitude needs to be adjusted by, for example 000.2/000.3/000.4 u
to 9 (For each setting go to save). Do not alter the latitude. By this time, if
you have not achieved this successfully, then the installation on the motor is
incorrect.
For Technomate CIP and DAPCI models only
How to Setup a Normal 36Volt 4Cable Positioner
Press the Menu button on the remote. Use the left/right arrows on the
remote until you see the word “Password”. Go to User Option and then go
to Positioner. Make sure that the positioner is ON. Press Exit. Use the left
or right arrows until you see Installation. Go to Setup Limit and press OK.
Press OK again. You will then be asked, “Do you want to delete the satellite
osition?” Select “Yes” and press OK. East/West will be highlighted. Go
u see “Error”.
epeat this process for West Limit. Then press Exit and go to Installation.
List. A pop-up menu
ill appear. Use the up/down arrows on the remote to select a satellite.
(If
he
ing
tellites, repeat the above instructions.
p
to East Limit. Press and hold the left/right arrows until yo
R
Press OK. Use the left/ right arrows to select Satellite
w
Press the red button on the remote to save. Repeat this procedure if you
want more satellites, then press Exit.
Go to Auto-Search. Use the left/right arrows. A pop-up list of a satellite will
appear. Use the up/down arrows and select, for example Hotbird 13 degrees
East. Press OK and go down to move the positioner. Press and hold the
left/right arrows until the signal quality is at its highest in the progress bar
you cannot find any satellites, refer to the Transponder List on Page 9, and
select an Active TP for that satellite and move the motor until a high signal is
achieved). Press the red button on the remote to save the position. Use t
up/down arrows to go to the satellite and press OK to tune. When the tun
is finished, press Exit. To find more sa
4

TM-5500/5000 Quick Setup Installation Guide
Auto Positioning and Motor Limit Setting
In some circumstances, set your mechanical limit on the motor first to avo
damages (see the instruction manual of the motor).
Press Menu on the remote and go to Installation. On the Limit Setup, press
OK. On the set limit press OK and select Yes. Go to limit mode and use the
left or right arrows on the remote and select Auto. Go to E/W Limit and turn
it on. Then press OK and wait until the automatic dish positioner finishes the
id
etup.
ow to UseAuto Navigation
s
H
hen go to Installation.
Auto Search turn the Link ON. Go to Move Motor and press OK. An
ow to Setup DualAxis, Incline/Decline and East/West Motor
If the receiver is fully tuned, set your Motor Limit, t
In
Auto Positioning menu will appear. Turn the Link Positioner ON. Go to
Transponder and make sure they are all active transponders (Refer to Page 9
for Active Transponders) Save them one at a time and press OK to start
searching. Auto function will take over. Wait until it finishes.
H
Positioning
Dual Axis- using two motors, one for East and West 36Volt motor and the
second for incline and decline DiSEqC actuator.
Press the Menu button on the remote. Go to Options and press OK on User
Option. On Positioner, use the left or right arrows and select incline/dec
then Exit. After doing this, set your Dish Limit. line
ve the
lly or using auto navigation. When searching finishes and all
our selected satellites are stored, go to the Auto Search Menu and press OK
the progress bar should be
t its highest level. At this time, use the left/right arrows on the remote very
Go to Auto Search. In Move Motor, use the left/right arrows to mo
motor manua
y
on incline/decline. Go to Move and use the left/right arrows on the remote
(on the selected satellite). The Signal Quality in
a
slowly to move the motor whilst checking the signal in the progress bar. As
it starts to improve, move it to the best position you want.
5

TM-5500/5000 Quick Setup Installation Guide
Once this is accomplished, go to Motor Control and use the left/right arrow
on the remote to select Save. Press OK to Save. Repeat this procedure for
other selected satellites.
s
How to Setup One Motorised and up to 3 Fixed LNBs / Dishes System
Repeat above but choose, A, for motorised system and “b/c/d” for the other 3
fixed systems by a using DiSEqC 2 or 4-way switch.
How to Setup a Password
Press the Menu button on the remote. Use the left/right arrows on the
remote until you see the word “Password”. Press OK. On the right hand
ide of the screen you will see the word OFF. By using the left/right arrows
n the remote, turn it ON. Then use the down arrow until you see “Current
wd”. Enter a password. You will then be asked “New Pwd”. Confirm the
ew “Pwd” as your password and press Exit.
s
o
P
n
Audio Language Settings
Press the UHF button on the remote. A menu will appear. Go to UHF
Tuning by using the left/right arrows on the remote. Select “I”, then go to
TV System and select PAL. Press Exit to save.
How to Setup a Favourite Channel
Press the Menu button on the remote. Use the left/right arrows on the
annel and press OK. Use the up/down arrows
nd press OK on your selected channel. A pop-up menu will appear. Go to
right
ear in the middle of the
creen that will confirm that a Favourite Channel has been selected. If you
this process.
remote until you see Edit Ch
a
(set/clear/fav) and press OK. Another pop-up menu will appear on the
hand side of the screen (e.g. news, movie, drama). Select any one of them
and press OK and OK again. A symbol will app
s
want more Favourite Channels, repeat
6

TM-5500/5000 Quick Setup Installation Guide
To deselect a Favourite Channel, go to the selected name that you chos
earlier and press OK. This will deselect it.
e
How to Setup Parent Control (Lock/Unlock Channels)
Press the Menu button on the remote. Use the left/right arrows on the
remote until you see Edit Channel. Press OK and OK again. A pop-up
menu will appear. Go to lock/unlock and press OK and OK again. A picture
f a lock will appear in the middle of the screen, confirming that the channel
ing
the up/down arrows on the
mote and press OK on the symbol. The channel will then be unlocked.
ow to Edit a Channel
o
is locked. The only time you can view that particular channel is by enter
in the password. To unlock the channel, use
re
H
Press the Menu button on the remote. Use the left or right arrows on the
remote until you see Edit Channel. Press OK and OK again. A pop-up will
appear. In the pop-up, go to Edit Name and press OK and OK again. Then
edit the selected channel and press Exit.
How to Delete a Channel
Press the Menu button on the remote. Use the left/right arrows on the
mote until you see Edit Channel and press OK. Select a channel by using
n
Position (e.g. from channel 25 to channel 1)
re
the up/down arrows on the remote and press OK. A pop-up will appear. I
the pop-up, go to Delete and press OK. Another pop-up will appear saying,
“Do you want to delete?” Select Yes- that will delete it. Then press Exit to
save.
How to Move a Channel’s
s) to select the number of your choice. Press OK. This will select
our channel. Press Exit to save.
Press the Menu button on the remote. Use the left/right arrows on the
remote until you see Edit Channel and press OK. Select your channel and
press OK. A pop-up will appear. In the pop-up, press the down arrow on the
remote to move. Press OK until it is highlighted in yellow. Use the
up/down arrows on the remote (or select a number and wait for a few
second
y
7

TM-5500/5000 Quick Setup Installation Guide
How to Rename/Edit a Satellite
Press the Menu button on the remote. Use the left/right arrows on the
remote until you see Installation. Go to Satellite Setup. Press OK. P
Red button on the remote. A pop-up will appear. Edit and re-name yo
satellite. Press Exit to save.
ress the
ur
ow to DeleteAll Channels in the Memory (Factory Reset)
H
ress the Menu button on the remote. Use the left/right arrows on the OK.
d,
he master password.
ow to Find Out the Software Version in the Receiver
P
remote until you see Main Menu. Go to Reset (factory default). Press
A pop-up will appear saying, “Do you want to reset?” Select Yes. This will
delete the entire memory of the receiver. If asked for the Master Passwor
telephone your dealer to get t
H
ress the Menu button on the remote. Use the left/right arrows on the At
technomate.com
P
remote until you see Edit Channel. Go to STB information. Press OK.
the top of the page the software version of the receiver is displayed. Check
the data version (which starts with HER). You will see an American date,
for example 10.29.03 (the English date should be 29.10.03). To obtain the
latest information about your software, go to www. and go
the Downloads page.
to
ow to Edit and Save PIDSH
Press the Menu button on the remote. Use the left/right arrows on the
remote until you see Edit Channel and press OK. Select your channel and
press OK. A pop-up menu will appear. Go to Edit PID and press OK. Ente
a new PID and press Exit to save. For some unnamed or user channels this
may not be possible, therefore they have to be renamed to the original name
After doing this, you will be able to edit the new PID and save.
r
.
ot Found or Saved Correctly
If Satellites or Channels are n
e
Go to Satellite Setup and press OK. Use the right/left arrows to find th
satellite that has a problem and press OK. Go to the bottom of the screen
and press OK on Delete Satellite to delete the satellite. Select Save and
8

TM-5500/5000 Quick Setup Installation Guide
press the Exit button the remote. Go to Auto-Search and press OK to tune
the same satellite again (For Technomate Motorised Systems).
Transponders
No. Satellite
Name Degree Frequency Symbol
Rate Polarity
1 PASS 3R-6B 45.0° W 12573 19846 H
2 TELESTAR 11 37.5° W 11494 19500 H
3 HISPASAT 30.0° W 11811 27500 H
4 NSS803-K 21.5° W 1 04000 H1605
5 INTEL 901 18. 04200 H0° W 10978
6 TELESTAR 12 15.0° W 11150 18386 H
7 ATLANTIC 1 12.5° W 11012 20150 H
8 EXPRESS 11.0° W 11464 04340 V3A
9 TELECOM 2D 8.0° W 11306 27500 H
10 NILESAT 101 7.0° W 11747 27500 V
11 TELECOM 2C 5.0° W 12543 27500 H
12 THOR 707 1.0° W 11014 26000 H
13 SIRIUS 2 5.0° E 11766 27500 H
14 EUTEL W3 7.0° E 11263 27500 H
15 EUTEL W1 10.0° E 11525 29992 V
16 HOTBIRD 13.0° E 10892 27500 H
17 EUTEL W2 16.0° E 11190 05632 H
18 ASTRA 1 19.2° E 12382 27500 H
19 ASTRA 3A 23.5° E 11634 27500 H
20 ARABSAT 2A 26.0° E 11958 27500 H
21 ASTRA 2 28.2° E 11546 27500 H
22 EUTEL W4 36.0° E 12698 04340 H
23 TURKSAT 1C 42.0° E 12652 22500 H
24 EUROSTAR 1 45.0° E 11495 03254 V
9
This manual suits for next models
13
Other Technomate Receiver manuals
Technomate
Technomate TM-Nano-3T Combo User manual
Technomate
Technomate TM-6902HD-T2 User manual
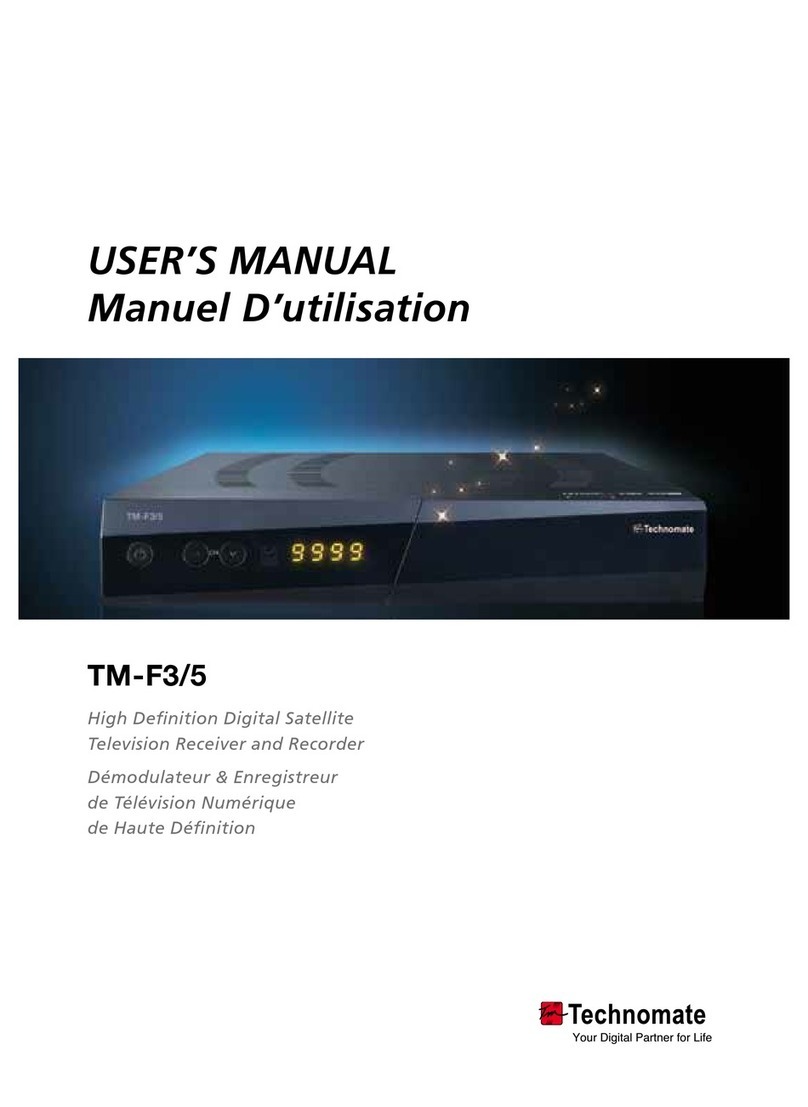
Technomate
Technomate TM-F3 User manual
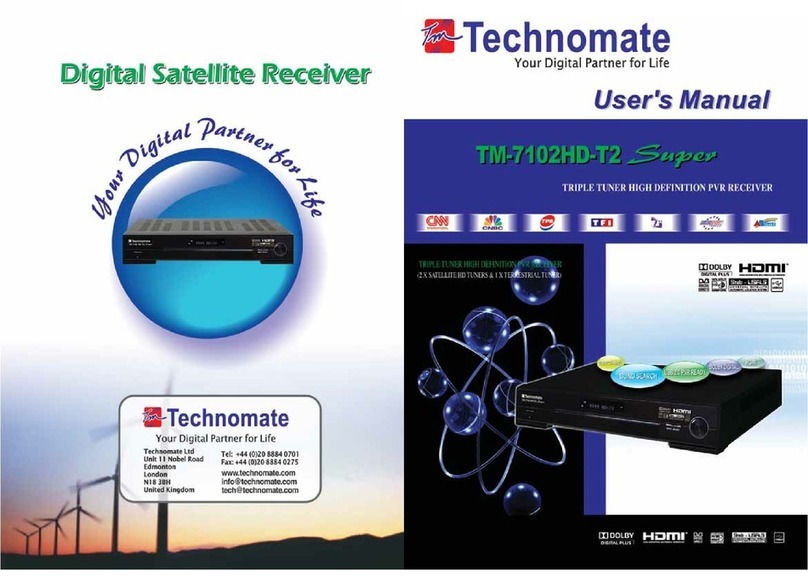
Technomate
Technomate TM-7102HD-T2 Super User manual
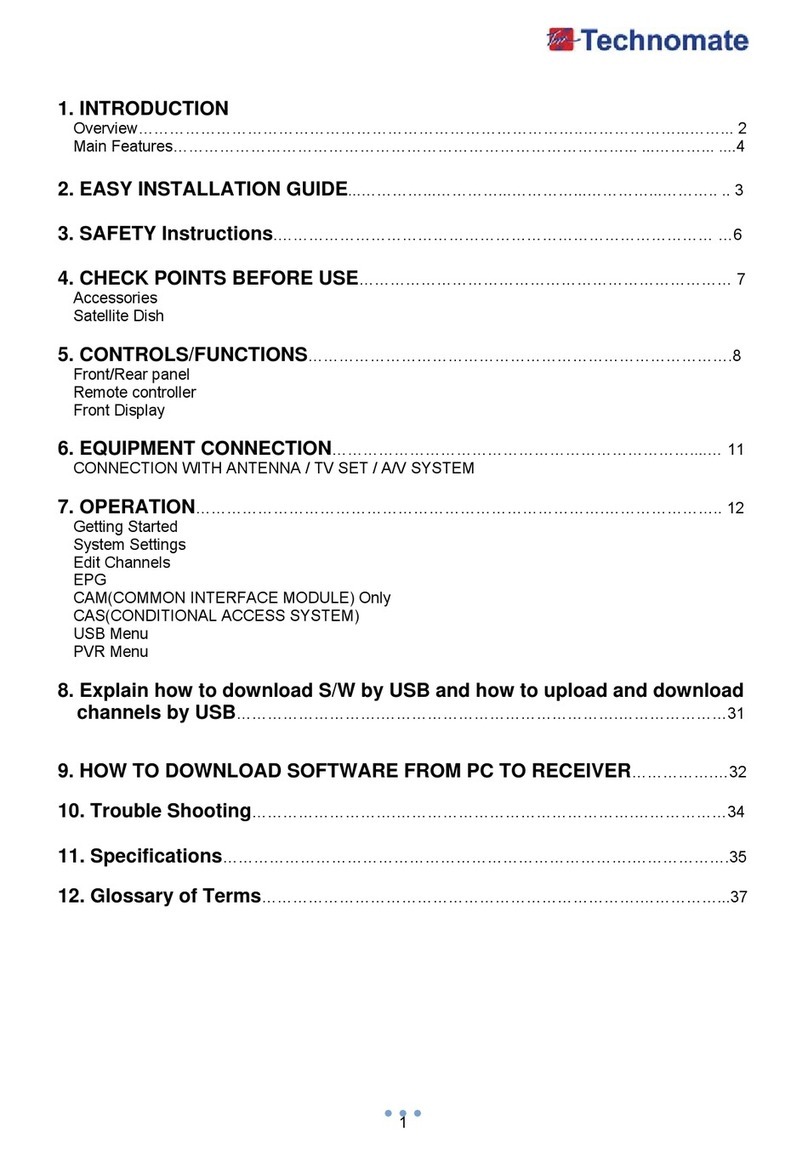
Technomate
Technomate TM-8000 HD User manual

Technomate
Technomate TM-500 User manual

Technomate
Technomate TM-500 User manual
Popular Receiver manuals by other brands
Lectronics
Lectronics FREEDOMIKE CR170 Operating instructions and troubleshooting guide

Sony
Sony Cyber-shot DCC-L1 operating instructions

Listen Technologies
Listen Technologies LR-500 datasheet
Denon
Denon AVR-2112CI owner's manual

Leica
Leica Viva GNSS Getting started guide
Televes
Televes T.0X Series user manual
