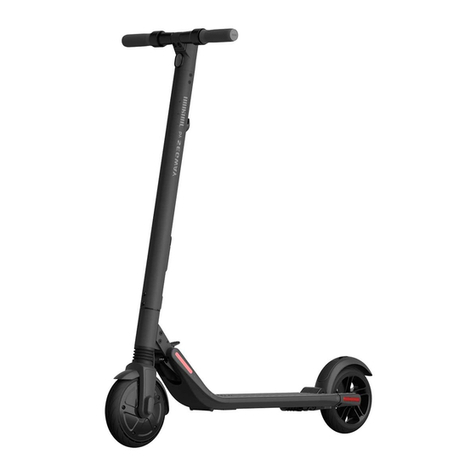
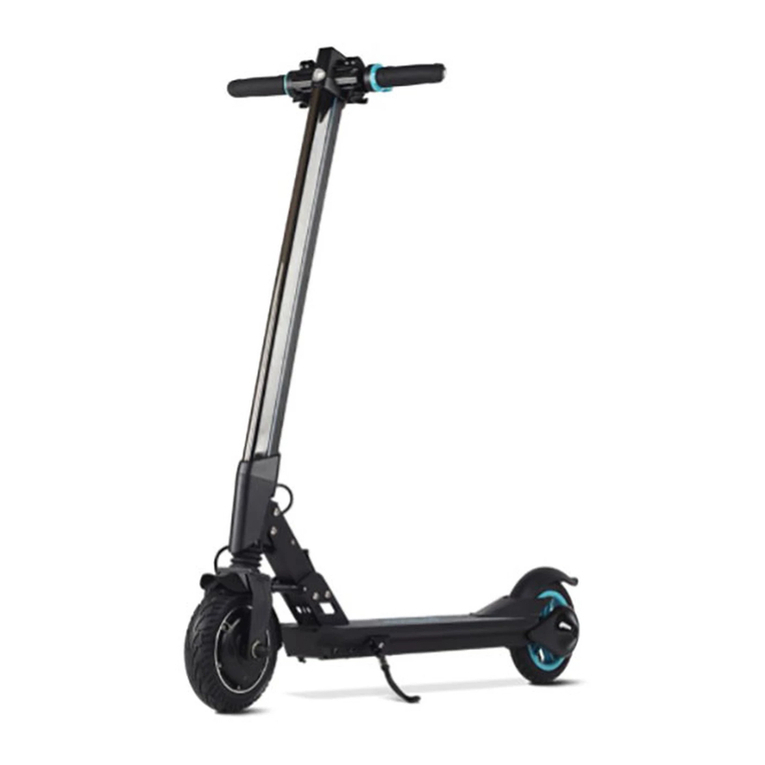
TECHNOZOM Techno PRO User manual

Turn to page 3
1 2
USER MANUAL
Packing List
Open the package and check to see if the following items are included.
USER MANUAL Quality
Certification
Electric scooter Tool kit
1
The schematic diagram used in the product information is only for reference. The actual situation of the product may be
different from that of the product. The actual situation of the product in the packing box shall prevail.
The related products, power cord and plug pictures and descriptions in this article are for reference only
Assembling Your Electric Scooter
3
Diagram
2
Unfold the stem and fasten it.
Then unfold the kickstand to
support the Electric Scooter.
Confirm the power supply
interface. Please align the
indicator arrows and make
a connection.
Install handle with the
included hex wrench. Insert the brake cable into the
brake handle. Turn the
aluminium fixators so that the
brake cable does not fall out .
Flathead ScrewBaery Charger
4
Wear an approved helmet
and other protective gear to
minimize any possible injury.
1. Long press to turn on the
power supply,Power on the
scooter and check the
indicator lamp power level.
Charge the scooter if the
baery level is low.
2. Stand on the footrest with
one foot and push off with
another foot to start gliding.
3.
Put your other foot on the
footrest to keep both feet
stable. Press the throle on
the right hand to speed up
when you are balanced.
4. Slow down by releasing the
throtle; and brake by
squeezing the brake lever.
5. To turn, shi your body
weight and turn the handle
slightly.
6.
Learning to Ride
Baery Cabin
Hub Motor Brake Light
Buckle
Hook
Electronic Throle
Rear Fender
Quick Release Lever
Kickstand
Folding Mechanism
Front Fork
Front Shock Absorber
Stem
Disc brake
Rear Shock Absorber
Charge Port
Handlebar
Brake Lever
Bell
Dashboard &Power Buon
Headlight
1
2
3
1
1
2
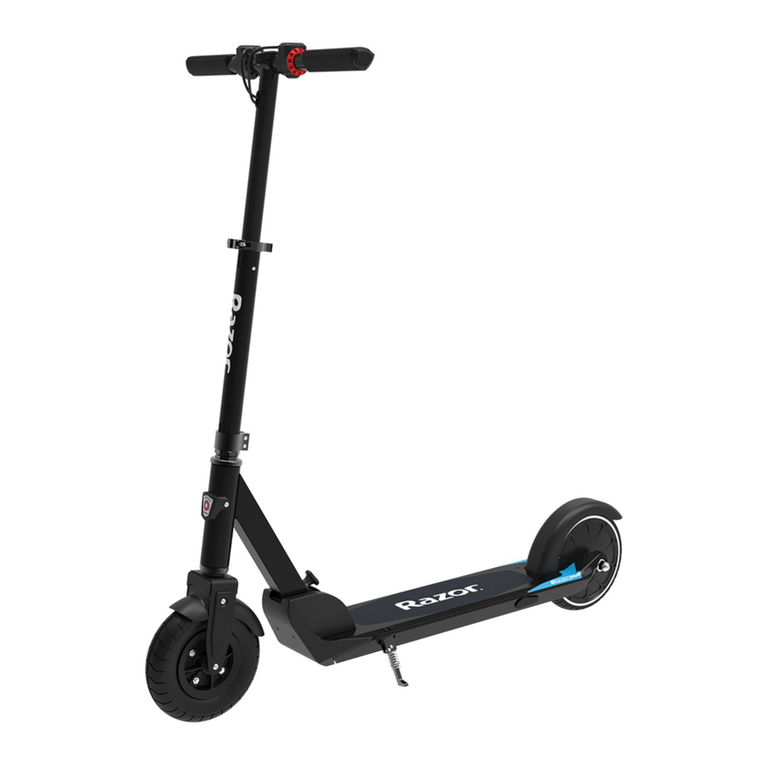
Techno PRO Electric scooter
APP Please take good care of this user manual (keep it as a backup).Please read the instructions before installing and using the product.Speedometer Modes
Bluetooth
Headlight
Baery Level
Power Buon
Display the current speed of the Scooter
The baery power is indicated by 5 bars, each
representing approximately 20% of a full baery.
Press the buon to turn the Electric Scooter on;
and press and hold the buon for 3 seconds to turn The Electric Scooter off.
When the Electric Scooter is on, press the buon to turn the headlight on/off
Double-click the buon to switch the riding mode
Three modes available. "L" for Energy saving mode(smooth
acceleration, suitable for beginners), "S" for Sport mode
(powerful, only recommended for skilled riders),"L" "S" off
stands for standard mode
The icon indicates that the Scooter
has been successfully connected to the mobile device.
Cruise control
Use the APP to start cruise at fixed speed
Lock
Use the APP to lock the scooter.

115*42*128cm
115*42*51cm
116*19*58.5cm
14.5kg
120kg
16+ years
140+ cm
30km/h
20-25km
25°
-10-45°C
8.5 inch Pneumatic rubber tire
36V
42V
7.5AH
-10-45°C
350W
front &rear
Rear (disc brake + pedal brake)
Can't customize colors
3 modes
Charging step tips
Open the charge
port cover.
Insert the
charge plug.
Close the charge
port cover when
finished.
Do not charge if the charge port or power cord is wet.
Do not charge or use your baery if it is damaged or
see trace of water.
Close the charge port cover when not charging.
WARNING
Charging
5
Link to page 2
3 4
Use a so, wet cloth to wipe the mainframe clean. Hard to remove dirt can be scrubbed with a toothbrush and toothpaste, then
cleaned with a so, wet cloth. Scratches on plastic parts can be polished with fine grit abrasive paper.
7 Maintenance
Cleaning and Storage
Do not wash your Electric Scooter with alcohol, gasoline, acetone, or other corrosive/volatile solvents. These substances may damage
the appearance and internal structure of your Electric Scooter. Do not wash your Electric Scooter with a power washer or hose.
Make sure the Electric Scooter is powered OFF, the charging cable is unplugged, and the rubber cap on the charge port is tightly
sealed before cleaning; otherwise you may damage the electronic components.
Store your Electric Scooter in a cool, dry place. Do not store it outdoors for extended periods of time. Exposure to sunlight and
temperature extremes (both hot and cold) will accelerate the aging process of the plastic components and may reduce baery life.
Typically, a fully charged baery should retain charge for 120-180 days in Standby Mode. A low-power baery should retain charge for
30-60 days in Standby Mode. Remember to charge the baery aer each use. Completely draining the baery may cause permanent
damage to the baery. Electronics inside the baery record the charge-discharge condition of the baery;
Do not store or charge the baery at temperatures outside the stated limits (see Specifications). Do not puncture the baery. Refer to
your local laws and regulations regarding baery recycling and/or disposal.
A well maintained baery can perform well even aer many miles of riding. Charge the baery aer each ride and avoid draining the
baery completely. When used at room temperature (70°F [22°C]) the baery range and performance is at its best; whereas using it at
temperatures below 32°F (0°C) can decrease range and performance. Typically, at 14°F (-10°C) range can be half that of the same
baery at 70°F (22°C). Baery range will recover when temperature rises.
Baery Pack Maintenance
WARNING
WARNING
Do not aempt to disassemble the baery. Risk of fire. No user serviceable parts.
Do not ride when the ambient temperature is outside the machine operation temperature (see Specifications) because low/high
temperature will limit the maximum power/torque. Doing so could cause personal injury or property damage due to slips or falls.
Baeries or packaging for baeries are labeled in accordance with European Directive 2006/66/EC concerning baeries and accumula-
tors and waste baeries and accumulators. The Directive determines the framework for the return and recycling of used baeries and
accumulators as applicable throughout the European Union. This label is applied to various baeries to indicate that the baery is not
to be thrown away, but rather reclaimed upon end of life per this Directive.
In accordance with the European Directive 2006/66/EC, baeries and accumulators are labeled to indicate that they are to be collected
separately and recycled at end of life. The label on the baery may also include a chemical symbol for the metal concerned in the
baery (Pb for lead, Hg for mercury, and Cd for cadmium). Users of baeries and accumulators must not dispose of baeries and
accumulators as unsorted municipal waste, but use the collection framework available to customers for the return, recycling, and
treatment of baeries and accumulators. Customer participation is important to minimize any potential effects of baeries and
accumulators on the environment and human health due to the potential presence of hazardous substances.
Technozom products sold in the European Union, meet the requirements of Directive 2011/65/EU on the restriction of the use of certain
hazardous substances in electrical and electronic equipment (“RoHS recast” or “RoHS 2”).
9 Certifications
European Union Compliance Statement
Baery recycling information for the European Union
Radio and Telecommunications Terminal Equipment Directive
Restriction of Hazardous Substances Directive (RoHS)
8 Specifications
Dimensions
Item Data
Weight
Rider
Machine
Parameters
Baery
Motor
Features
Unfold: Length x Width x Height
Fold: Length x Width x Height
Carton: Length x Width x Height
Net
Payload
Recommended Age
Required Height
Max. Speed
Range
Max. Slope
Operating Temperature
Tire
Nominal Voltage
Max. Charging Voltage
Nominal Capacity
Charging Temperature
Nominal Power
Shock Absorber
Brake
Atmosphere Light
Riding Modes
6
Folding
Turn off your Electric scooter. Pull down the safety hook and open the quick release lever.
Align the hook and the buckle and hook them.
When your Electric scooter is folded up, li it by the stem to carry.
1.
2.
3.
Quick Release Lever
1
Charge port
