manuals.online logo
Brands
  1. Home
  2. •
  3. Brands
  4. •
  5. Tecnosystemi
  6. •
  7. TV Mount
  8. •
  9. Tecnosystemi CLASSIC-TSMC User manual

Tecnosystemi CLASSIC-TSMC User manual

REV. 04 / 22-07-2019
COD. C20001033
Accessories for
Air Conditioning
Ventilation
Solutions
Air Curtains and
Accessories
Accessories
For Heating
Instruments &
Tools
Multi - Zone
Air Control System
MANUALE D’USO STAFFE E MENSOLE
BRACKETS AND SHELVES USER MANUAL
STAFFA “CLASSIC-TSMC” / “CLASSIC-TSMC” BRACKET
COD. 111000121 - 111000131 - 111000136
1. Fissare il braccio (1) alla mensola (2) usando le barre lettate e gli inserti a brugola (B) in
dotazione.
2. Fissare il braccio (1) alla barra (3) usando i bulloni 8x35, le piastrine e le rondelle 8x24 (D) in
dotazione
3. Fissare gli antivibranti (A) “SOFT” nella parte ventilatore per la portata max. di 60kg e gli
antivibranti “HARD” sotto la parte motore per una portata max. di 120 kg.
4. Avvitare completamente nell’apposita sede il piedino posteriore regolabile snodato (D).
5. Per il ssaggio della staffa a muro:
metterla in bolla (F),
ssare la barra (3) con le viti e i tasselli in
dotazione (E).
6. Ultimato il montaggio, avvitare da sotto la mensola il piedino posteriore regolabile snodato (D),
afnche’ questo sia a contatto con il muro e permetta di regolare correttamente l’inclinazione
della staffa.
1. Fix the arm (1) to the shelf (2) using the threaded bars and Allen driver bits (B) supplied.
2. Fix the arm (1) to the bar (3) using the bolts 8x35, the plates and the washers 8x24 (D) supplied.
3. Fix the "SOFT" dampers (A) in the ventilator part for max. capacity of 60 kg and the “HARD” dampers
under the motor part with max. capacity of 120 kg.
4. Tighten the articulated adjustable rear foot (D)completely into the relevant seat.
5. To x the bracket to the wall: make sure it is level (F), x the bar (3) using the screws and plugs
supplied (E).
6. When assembly has been completed, screw the articulated adjustable rear foot (D) from under the
shelf, until it is in contact with the wall and allows to correctly adjust the inclination of the bracket.
A
F
D
C
F
E
B
C
3
2
1
1
INSERTI
A BRUGOLA
ALLEN DRIVER BITS
4 Pz. / Pcs.
BULLONI 8x35 -
PIASTRINE - RONDELLE
8x24
BOLTS 8x35 -
PLATES - WASHERS 8x24
2 Pz. / Pcs.
BOLLA INCORPORATA
BUILT-IN SPIRIT LEVEL
1 Pz. / Pc.
ANTIVIBRANTI BULLONI 8x35
DADO FLANGIATO
RONDELLE 8x24
DAMPERS BOLTS 8x35
FLANGED NUT WASHERS
8x24
4 Pz. / Pcs.
TASSELLI PER
FISSAGGIO A MURO
PLUGS FOR
FIXING TO WAL
3 Pz. / Pcs.
PIEDINO POSTERIORE
REGOLABILE
SNODATO
ARTICULATED
ADJUSTABLE REAR
FOOT
2 Pz. / Pcs.
Accessories for
Air Conditioning
Ventilation
Solutions
Air Curtains and
Accessories
Accessories
For Heating
Instruments &
Tools
Multi - Zone
Air Control System
2
STAFFA TELESC. “STANDARD -TSM”, “STANDARD TSM-INOX”
TELESCOPING BRACKET “STANDARD -TSM”, “STANDARD TSM-INOX”
COD. 11100002 - 111000001 - 111000201 - 11100003A
1. Inserire il particolare di collegamento (2) nello scanso interno delle piastre di supporto (1),
regolare la larghezza in modo che corrisponda pressapoco alla larghezza del piedino della
motocondensante, ssare il tutto con particolari (A).
2. Appoggiare al muro la barra completa, metterla in bolla (parallela) quindi forare all’altezza delle
asole superiori esterne del supporto (1). Fissare il tutto con il particolare (D).
3. A terra inserire il particolare braccio portamensola (3) nello scanso interno della mensola (4), e
ssare il tutto con il particolare (C).
4. Avvitare completamente nell’apposita sede il piedino posteriore regolabile snodato (E).
5. Portare il tutto a muro ed inserire lo scanso del particolare (3) nello scanso della piastra di
supporto (1), ssare il tutto con il particolare (B) facendo scorrere la piastrina lettata 50x25x13
nello scanso della piastra (1).
6. Fissare gli antivibranti (F) “SOFT” nella parte ventilatore per la portata max. di 60kg e gli anti-
vibranti “HARD” sotto la parte motore per una portata max. di 120 kg.
7. Ultimato il montaggio, avvitare da sotto la mensola il piedino posteriore regolabile snodato (E),
afnche’ questo sia a contatto con il muro e permetta di regolare correttamente l’inclinazione
della staffa.
1. Insert the connection detail (2) into the internal cut of the support plate (1), adjust the width in
a way that it corresponds more or less with the width of the foot of the motocondensing unit, x
every thing with details (A).
2. Rest the complete bar against the wall, level it (parallel) and then drill at the height of the upper
external slots of the support (1). Fix everything using detail (D).
3. On the ground, insert the shelf-holder detail (3)into the internal cut of the shelf (4), and x
everything using the detail (C).
4. Tighten the articulated adjustable rear foot (E)completely into the relevant seat.
5. Take every thing to the wall and insert the cut of the detail (3) into the cut of the support plate
(1), x every thing with the detail (B) making the threaded plate 50x25x13 run in the cut of the
plate (1).
6. Fix the "SOFT" dampers (F) in the ventilator part for max. capacity of 60 kg and the “HARD”
dampers under the motor part with max. capacity of 120 kg.
7. When assembly has been completed, screw the articulated adjustable rear foot (E) from under
the shelf, until it is in contact with the wall and allows to correctly adjust the inclination of the
bracket.
F
C
F
D
C
A
E
B
1
2
3
4
INSERTI A BRUGOLA
ALLEN DRIVER BITS
4 Pz. / Pcs.
BULLONI / BOLTS M8 x 16
PIASTRINE / WASHERS 50 x 22 x 13 M8
2 Pz. / Pcs.
RONDELLE / WASHERS 2 x 24
2 Pz. / Pcs
BULLONI M8x35 -
PIASTRINE 50x25x13 M8
BOLTS M8x35 -
PLATES 50x25x13 M8
2 Pz. / Pcs
RONDELLE 2 x 24
WASHERS 2 x 24
2 Pz. / Pcs
PIEDINO POSTERIORE
REGOLABILE SNODATO
ARTICULATED
ADJUSTABLE REAR
FOOT
2 Pz. / Pcs.
ANTIVIBRANTI BULLONI
8 x 35 DADO FLANGIATO
RONDELLE 8 x 24
DAMPERS BOLTS 8 x 35
FLANGED NUT
WASHERS 8 x 24
4 Pz. / Pcs.
TASSELLI PER
FISSAGGIO A MURO
PLUGS FOR
FIXING TO WALL
3 Pz. / Pcs
3
Accessories for
Air Conditioning
Ventilation
Solutions
Air Curtains and
Accessories
Accessories
For Heating
Instruments &
Tools
Multi - Zone
Air Control System
MENSOLE “STANDARD TSE” / SHELVES “STANDARD TSE”
COD. 11100031 - 11100023 - 11100021 - 11000216
11100025 - 11100026 - 11100027
1. Fissare braccio (1) e mensola (2) mediante il kit viteria in dotazione (B).
2. Posizionare a distanza desiderata gli antivibranti (A).
3. Fissare gli antivibranti (A) “SOFT” nella parte ventilatore per la portata max. di 60kg e gli
antivibranti “HARD” sotto la parte motore per una portata max. di 120 kg, (solo COD. 11100031
/ 11100023 / 11100021 / 111000216 contengono il kit viteria di ssaggio a muro).
*La scelta di vite e tassello adeguata è subordinata al tipo di muro presente (a carico
dell’installatore).
A
C
F
C
B
1
2
INSERTI A
BRUGOLA
ALLEN DRIVER BITS
4 Pz. / Pcs.
ANTIVIBRANTI BULLONI 8 x 35
DADO FLANGIATO RONDELLE
8x24
DAMPERS BOLTS 8 x 35
FLANGED NUT WASHERS 8x24
4 Pz. / Pcs.
TASSELLI PER
FISSAGGIO A MURO
PLUGS FOR
FIXING TO WALL
3 Pz. / Pcs.
1. Fix arm (1) and shelf (2) via the screw kit supplied (B).
2. Position the dampers (A) at the desired distance.
3. Fix the "SOFT" dampers (A) in the ventilator part for max. capacity of 60 kg and the “HARD”
dampers under the motor part with max. capacity of 120 kg (only CODE 11100031 / 11100023
/ 11100021 / 111000216 contain the screws kit for xing to the wall).
*The choice of suitable screw and plug depends on the type of wall present (installer's
responsibility).
1. COD. 11100025 / 11100026 / 11100027 contengono KIT 14 (kit antivibranti) e KIT 21 (viteria
per ssaggio bracci/mensole).
2. COD. 11100031 / 11100023 / 11100021 / 111000216 contengono KIT 14 (kit antivibranti) e KIT
10N (viteria per ssaggio bracci/mensole) e KIT 11 (viti + tasselli per ssaggio a muro).
1. CODE 11100025 / 11100026 / 11100027 contain KIT 14 (dampers kit) and KIT 21 (screws for
xing arms/shelves).
2. CODE 11100031 / 11100023 / 11100021 / 111000216 contain KIT 14 (dampers kit) and KIT 10N
(screws for xing arms/shelves) and KIT 11 (screws + plugs for xing to wall).
Accessories for
Air Conditioning
Ventilation
Solutions
Air Curtains and
Accessories
Accessories
For Heating
Instruments &
Tools
Multi - Zone
Air Control System
4
Tecnosystemi S.p.A.
via dell’Industria, 2/4 - Z.I. San Giacomo di Veglia
31029 Vittorio Veneto (Treviso) - Italia
Tel +39 0438.500044 - Fax +39 0438.501516
Numero Verde 800 904474 (only for Italy)
email: [email protected]
C.F. - P. IVA - R.I.TV IT02535780247 Cap. Soc. € 5.000.000,00 i.v.
www.tecnosystemi.com
GARANZIA / WARRANTY
La garanzia ha durata di 2 anni a decorrere dalla data di consegna.
L’azienda fornitrice garantisce la qualità dei materiali impiegati e la corretta realizzazione dei componenti. La
garanzia copre difetti di materiale e di fabbricazione e si intende relativa alla fornitura dei pezzi in sostituzione
di qualsiasi componente che presenti difetti, senza che possa venir reclamata alcuna indennità, interesse o
richiesta di danni.
La garanzia non copre la sostituzione dei componenti che risultano danneggiati per:
• trasporto non idoneo;
• installazione non conforme a quanto specicato in questo manuale di installazione uso e manutenzione;
• la non osservanza delle speciche tecniche di prodotto;
• quant’altro non riconducibile a vizi originari del materiale o di produzione a condizione che il reclamo del
cliente sia coperto dalla garanzia e noticato nei termini e modalità richiesta dal fornitore, lo stesso si
impegnerà, a sua discrezione, a sostituire o riparare ciascun prodotto o le parti di questo che presentino
vizi o difetti.
The warranty lasts 2 years from the date of delivery.
The supplier company guarantees the quality of the materials used and the correct construction of the
components. The warranty covers defects in materials and manufacturing defects and refers to the supply of
spare parts of any components featuring defects, without any compensation, interest or claim for damages.
The warranty does not cover the replacement of components damaged due to:
• incorrect transportation;
• installation not compliant with that specied in this installation, use and maintenance manual;
• non-observance of product technical specications;
• Anything else that is not linked to original faults of the material or production provided that the
customer complaint is covered by the guarantee and a claim is made within the time limit and
in the way requested by the supplier, the same supplier will commit, at their own discretion,
to replace or repair any product or part of product showing signs of faults or defects.
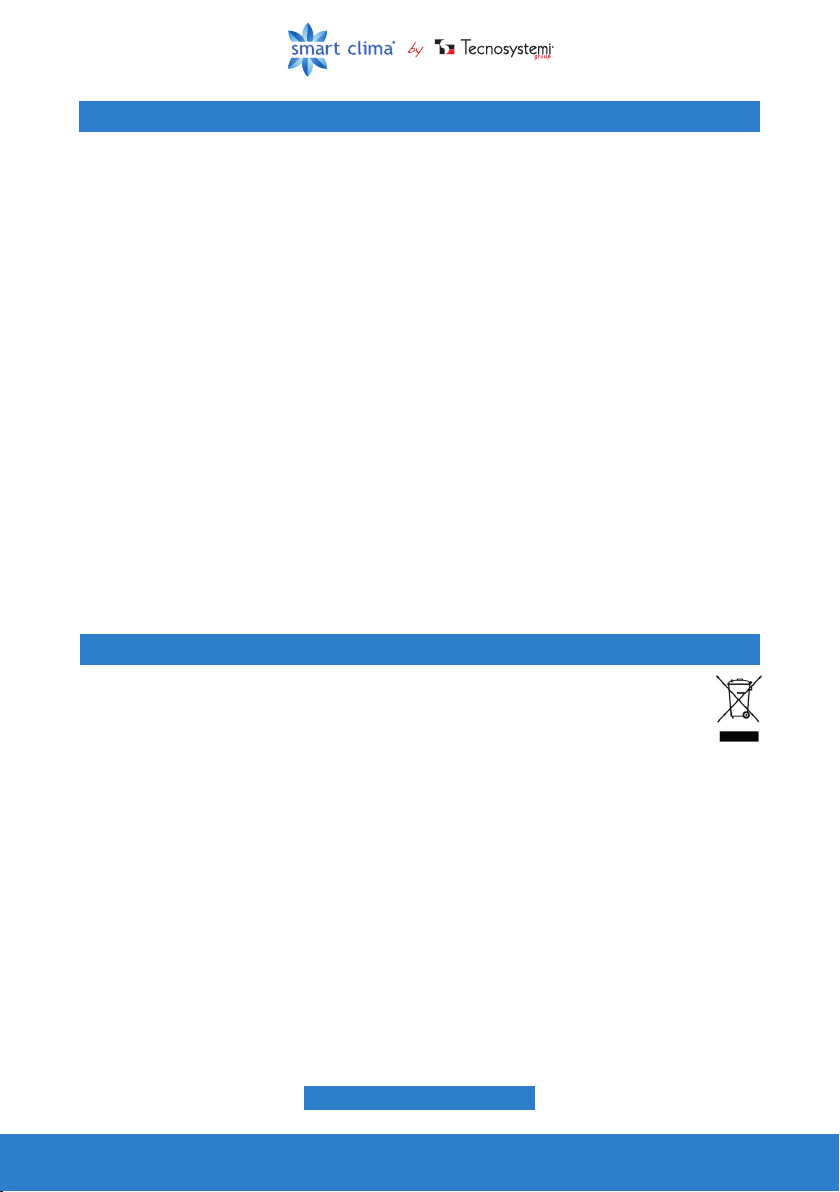
SMALTIMENTO / DISPOSAL
Alla ne della sua vita utile il prodotto non deve essere smaltito insieme ai riuti urbani. Può essere
consegnato presso gli appositi centri di raccolta differenziata predisposti dalle amministrazioni
comunali, oppure presso i rivenditori che forniscono questo servizio. Per rimarcare l’obbligo di
smaltire separatamente gli elettrodomestici, sul prodotto è riportato il marchio del contenitore di
spazzatura mobile barrato.
At the end of its useful life, the product must not be disposed of with household waste. It can be
deposited at a dedicated recycling centre run by local councils, or at retailers who provide such a
service. To highlight the requirement to dispose of household electrical items separately, there is a
crossed-out waste paper basket symbol on the product.

This manual suits for next models

16

Other Tecnosystemi TV Mount manuals

Tecnosystemi Smart Clima MICHELANGELO SM Series User manual

Tecnosystemi

Tecnosystemi Smart Clima MICHELANGELO SM Series User manual

Tecnosystemi smart clima SN User manual

Tecnosystemi

Tecnosystemi smart clima SN User manual

Tecnosystemi Smart Clima MR User manual

Tecnosystemi

Tecnosystemi Smart Clima MR User manual

Tecnosystemi smart clima DONATELLO SD User manual

Tecnosystemi

Tecnosystemi smart clima DONATELLO SD User manual

Tecnosystemi smart clima TMSP User manual

Tecnosystemi

Tecnosystemi smart clima TMSP User manual

Tecnosystemi smart clima GIOTTO SG User manual

Tecnosystemi

Tecnosystemi smart clima GIOTTO SG User manual

Tecnosystemi smart clima GIOTTO SG User manual

Tecnosystemi

Tecnosystemi smart clima GIOTTO SG User manual

Tecnosystemi smart clima TSSC User manual

Tecnosystemi

Tecnosystemi smart clima TSSC User manual

Tecnosystemi smart clima KEPLERO PALACE User manual

Tecnosystemi

Tecnosystemi smart clima KEPLERO PALACE User manual

Tecnosystemi smart clima SPIRIT XL100 User manual

Tecnosystemi

Tecnosystemi smart clima SPIRIT XL100 User manual

Tecnosystemi smart clima GIOTTO PALACE User manual

Tecnosystemi

Tecnosystemi smart clima GIOTTO PALACE User manual

Tecnosystemi Smart Clima SCC600009 User manual

Tecnosystemi

Tecnosystemi Smart Clima SCC600009 User manual

Popular TV Mount manuals by other brands

Hama NEXT 00084446 manual

Hama

Hama NEXT 00084446 manual

Kanto TTS150 user manual

Kanto

Kanto TTS150 user manual

Goobay TV EasyMount XL user manual

Goobay

Goobay TV EasyMount XL user manual

SINOX one SWB7310 installation manual

SINOX

SINOX one SWB7310 installation manual

Atdec TH-3270-UFM installation instructions

Atdec

Atdec TH-3270-UFM installation instructions

Vivo MOUNT-E-FD55W instruction manual

Vivo

Vivo MOUNT-E-FD55W instruction manual

HAEGER WB-F37.001A Quick setup guide

HAEGER

HAEGER WB-F37.001A Quick setup guide

Moog Videolarm PRM30G Installation and operation instructions

Moog Videolarm

Moog Videolarm PRM30G Installation and operation instructions

Speaka Professional 1611101 operating instructions

Speaka Professional

Speaka Professional 1611101 operating instructions

Sanus VisionMount MF215 manual

Sanus

Sanus VisionMount MF215 manual

RCA MS60BKR instruction manual

RCA

RCA MS60BKR instruction manual

Best Buy Dynex DX-HTVMM1703-C installation guide

Best Buy

Best Buy Dynex DX-HTVMM1703-C installation guide

Kanto LS340 user manual

Kanto

Kanto LS340 user manual

PEERLESS MM746PU manual

PEERLESS

PEERLESS MM746PU manual

Gembird MA-DA-03 user manual

Gembird

Gembird MA-DA-03 user manual

Monster PERFECTVIEW 450M user guide

Monster

Monster PERFECTVIEW 450M user guide

Mounting Dream MD2418-MX Installation instruction

Mounting Dream

Mounting Dream MD2418-MX Installation instruction

AVS AFM400B instruction manual

AVS

AVS AFM400B instruction manual

manuals.online logo
manuals.online logoBrands
  • About & Mission
  • Contact us
  • Privacy Policy
  • Terms and Conditions

Copyright 2025 Manuals.Online. All Rights Reserved.