31
to the10Aterminal.
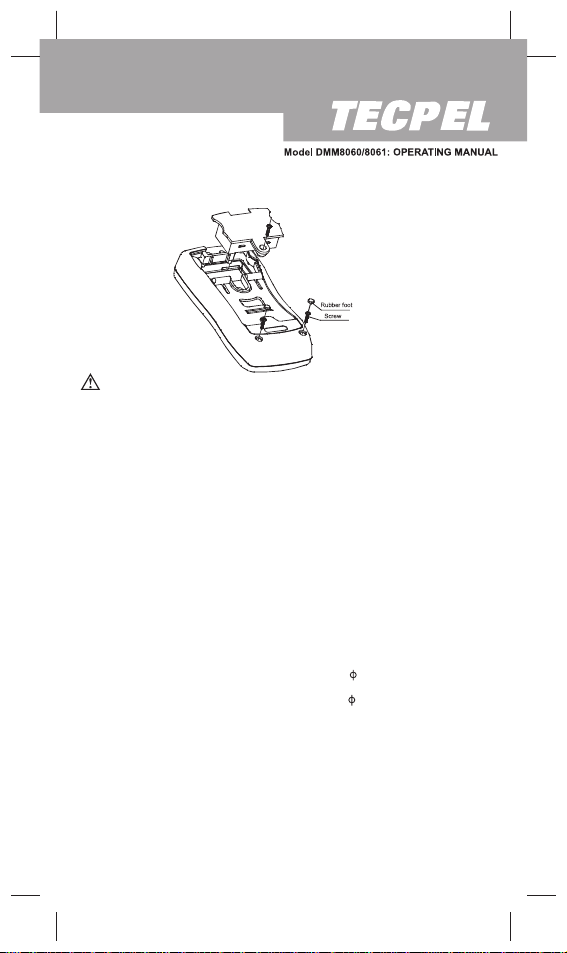
MAINTENANCE
This section provides basic maintenance information including
battery and fuse replacement instruction.
performance test, and service information.
water inside the case.
field.
To test the fuse:
Do not attempt to repair or service your Meter unless you
are qualified to do so and have the relevant calibration,
Warning
To avoid electrical shock or damage to the Meter, do not get
A. General Service
l
lPeriodically wipe the case with a damp cloth and mild
detergent. Do not use abrasives or solvents.
lTo clean the terminals with cotton bar with detergent, as dirt
or moisture in the terminals can affect readings.
lTurn off the power of the Meter when it is not in use and take
out the battery when not using for a long time.
Take out the battery when it is using for a long time.
lDo not use or store the Meter in a place of humidity, high
temperature, explosive, inflammable and strong magnetic
B. Testing the Fuses
fuses with identical amperage, voltage, and speed ratings.
To avoid electrical shock or personal injury, remove the test
leads and any input signals before replacing the battery or
fuse.
To prevent damage or injury, install ONLY replacement
Warning
1. Model DMM8060: Set the rotary switch to
.
2. Plug a test lead into the terminalHzV and touch the probe
and pressBLUE button to select