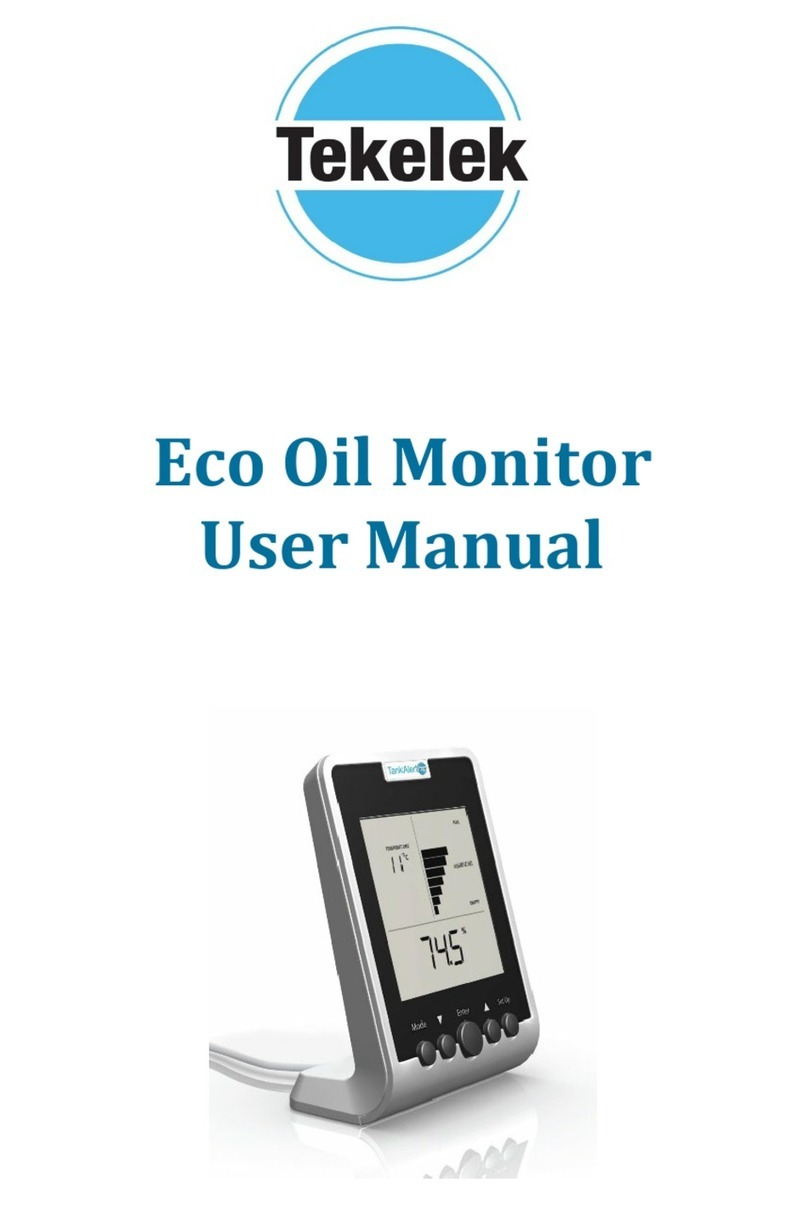
TEKELEK TEK 603 User manual

1
2
3
Eco Water Monitor
Installation Guide
Thank you for purchasing the Tekelek Eco Water Monitor which
communicates with a Tekelek Ultrasonic RF sensor and has a multi-
function LCD reporting the remaining volume and rate of consumption of
water.
STEP 1: SETUP ECO WATER MONITOR
On first powering up your Eco Water Monitor, it automatically displays its
setup mode. The Tekelek Eco Water Monitor screen will show SETUP 1.
One or more segments of the display may be flashing. Flashing segments
are circled in RED in the diagrams. Please follow the following steps to
store the settings to configure your Tekelek Eco Water Monitor. If you
make a mistake and store an incorrect value, simply press ENTER
repeatedly until you return to the same SETUP number, then select the
correct value and press ENTER to store.
SETUP 1 – Setting the time (hrs)
Adjust the hour displayed using /. Press ENTER to save.
SETUP 2 – Setting the time (mins)
Adjust minutes displayed using /. Press ENTER to save.
SETUP 3 – Setting up the units
Select the system of measurement of your preference using /. Press
ENTER to save.
SETUP 4 – Setting the tank type
Refer to Appendix and select Tank Type i.e. A, B, or C, using /. Press
ENTER to save.
SETUP 5 – Setting the tank capacity (Ltr)
Refer to Appendix for nominal capacity and adjust the amount in
Litres/Gallons displayed using /. Press ENTER to save.
SETUP 6 – Setting the tank height (cm)
Refer to Appendix for tank height and adjust the amount in cm /inch
displayed using /. Press ENTER to save. Note that if Tank Type ‘A’ was
selected, SETUP 7 will be skipped.
SETUP 7 (Type B & C tanks only) – Setting the tank width (cm/inch)
Refer to the tank chart above for the width and adjust the amount in
cm/inches displayed using /. Press ENTER to save.

4
5
6
SETUP 8 – Setting the sensor mounting offset (cm/inch)
The “mounting offset” is the distance that the Eco Water Sensor is
mounted above the top surface of the tank being monitored. When the
fixing point is known, measure the distance from the top surface of the
tank to the sensor inside the cone of the Eco Water sensor. Adjust the
sensor offset height in cm/inch using /. Press ENTER to save.
SETUP 9 – Setting the tank outlet height (cm/inch)
The outlet is the connection point from which liquid is drawn from your
tank. It may be located at the base of the tank or as a take-off pipe
through one of the sidewalls or fed in from the top of the tank. Water
below the outlet level is not usable. Adjust the tank outlet height in
cm/inch using /. Press ENTER to save.
SETUP 10 – Setting the Low Water Audible Alarm
Alarm on: The Tekelek Eco Water Monitor will sound an audible beep
when the water level is greater than 90% of tank capacity.
Alarm off: Disengages the alarm (default state).
Select AL ON/OFF using /. When the display shows your preferred
setting, press ENTER to save.
(For further information please refer to Section 6 of the Product manual)
SETUP should now be complete. Press SETUP to exit.
On exiting SETUP mode, the Tekelek Eco Water Monitor temporarily
displays ‘CALC’.
N.B. If at any stage you exit SETUP mode for any reason, simply hold
SETUP for 3 seconds to begin again.
STEP 2: MATCHING ECO WATER MONITOR AND SENSOR
The Tekelek Eco Water Monitor must be in LEARN mode which can be
entered in one of two ways:
A) Pressing SETUP after completing STEP 1 above
B) Disconnecting and reconnecting the power
When in LEARN mode the display shows ‘Lrn’ in the main display area.
LEARN mode will last for 2 minutes during which time you must
‘match/pair’ the sensor to the Tekelek Eco Water Monitor.
To match/pair the units: Note the location of the alignment pin on the
right-hand side of the base of the Monitor. Using the screw hole of the
sensor, slot it onto the pin.
The logo label on the sensor should be facing in the same direction as the
Monitor’s display. When located properly, the bars in the bar graph
display of the Tekelek Eco Water Monitor (and on the display of the
sensor if a visual sensor is being used) will flash and begin to increase in
synch together rising from one bar to ten bars. A continuous audible beep
and flashing LED on the monitor will also indicate the matching is in
progress. Continue to hold the units in place until all 10 bars are flashing.
The Tekelek Eco Water Monitor will make a loud beep and the Red LED on
the sensor willflash. They are now matched and should be separated
immediately.
Following the ‘matching/pairing’ the sensor will send data continuously to
the Tekelek Eco Water Monitor for approximately 10 minutes. Each time
the Monitor receives a reading, it will make a clicking noise and the LED on
the Monitor will blink (this is ‘fast’ mode for the sensor).
During this time, confirm that the matching procedure was successful by
slowly raising and lowering the sensor over a flat surface and observing
that the display in the Tekelek Eco Water Monitor changes. ‘Fast’ mode
will stop after 10 minutes. The sensor is now ready to fit onto the tank and
should be fitted whilst in ‘Fast’ mode.
You should now proceed immediately to fit the sensor to your tank. If it
is not fitted within 10 minutes, the Tekelek Eco Water Monitor may
display an error or an incorrect reading. It may then take up to 2 hours
before the correct tank level information is displayed on the Tekelek Eco
Water Monitor screen.
STEP 3 - INSTALLING THE TEKELEK SENSOR ON THE TANK
The procedure is the same for fitting to both old and new tanks. For
bunded tanks ensure that the sensor is located on top of the inner tank.
For Tanks with pre-drilled 30/32mm (1.22 inch) hole
•Remove cap from hole and insert sensor, ensuring the weather seal
is securely in place.
•Ensure the sensor is vertical on top of the tank.
•Tighten on to the tank using the 2-stainless steel 19mm (0.75 inch)
long self-tapping screws supplied. Do not use longer screws. Do not
over-tighten.

7
8
9
9-5938-03
For Tanks without pre-drilled holes
•If the tank is not pre-drilled, then using a 30/32mm (1.22 inch)
hole saw, drill the hole in the top of the tank in a suitable area to
allow ease of fitting the sensor such that the sensor can see the
tank contents. Position it so that there are no internal
obstructions that may interfere with the ultrasonic signal (i.e. Ribs,
Stays, Side of Tank, internal equipment).
•Use the Appendix diagram to ensure suitable fitting.
•Ensure the sensor is vertical on top of the tank.
•Tighten on to the tank using the 2-stainless steel 19mm (0.75 inch)
long self-tapping screws supplied. Do not use longer screws. Do
not over-tighten.
Check the Tekelek Eco Water Monitor display 2 hours after mounting the
sensor & verify that your Tekelek Eco Water Monitor display shows the
tank level in the bar-graph area & the Water volume information in the
main display area. If not, please consult the ‘Troubleshooting’ section of
the Eco Water Monitor User Manual.
STEP 4: (OPTIONAL) PERFORM ONLY IF THERE WAS A DELAY IN
INSTALLING THE SENSOR ON THE TANK
You only need to complete this step if there was a gap of more than an
hour between completing STEP 2 and STEP 3.
When the sensor is installed and has been confirmed as working, reset the
usage calculations by pressing SETUP for 3 seconds to enter SETUP mode
and then press ENTER repeatedly until SETUP 10 is shown.
The segments at the bottom of the display will be flashing. Press the
ENTER key for 5 seconds. The screen will temporarily show ‘CALC’ and
then returns to showing SETUP 1 -Setting the Time (hrs). Press SETUP to
leave SETUP mode.
Setup of your Tekelek Eco Water Monitor is now complete, and it will
now begin to monitor and track your Water consumption on a day to day
and week to week basis. On the ‘Days to Empty’ CURRENT information
screen, ‘---’ will be displayed for the first week in use.
APPENDIX:
Ensure that the sensor is vertical on top of the tank and that it is
positioned such that there are no internal obstructions that may interfere
with the ultrasonic signal.
Determine the shape of your tank by selecting your tank type that is
closest in shape to your tank from the pictures on the following chart. The
capacity on the tank should be noted.
•Determine the dimensions of your tank either from manufacturer’s
data for the tank or by physically measuring the tank.
•You only need to note the dimensions indicated on the following
chart.
•For bunded tanks the information required is for the internal tank
only, where the sensor will be located.
•To determine the tank height, measure from the top of the tank, i.e.
where the sensor will be positioned, to the bottom of the tank (N.B.
of the internal tank in a bunded tank)
•Determine the capacity of the tank from the manufacturer’s data for
the brim-full and/or nominal capacity.
For further details on the Tekelek Eco Water Monitor, please refer to the
User Manual.
For more information on the Tekelek ECO Water Monitor please visit
our website www.tekelek.ie where a link to our YouTube page can also
be found.
Other manuals for TEK 603
1
Other TEKELEK Measuring Instrument manuals
Popular Measuring Instrument manuals by other brands

Boyo Vision
Boyo Vision VTM7012QFHD user manual

BRAND ELECTRONICS
BRAND ELECTRONICS 4-1850DR operating instructions
SCS
SCS CTM048-21 EM Eye user guide
Hanna Instruments
Hanna Instruments Pronto HI 982401 instruction manual

Extech Instruments
Extech Instruments FHT200 user guide
Hantek
Hantek 1832C user manual
