EM00136064 rev. 2.1 9
Paragraph 10 – Level Alarm
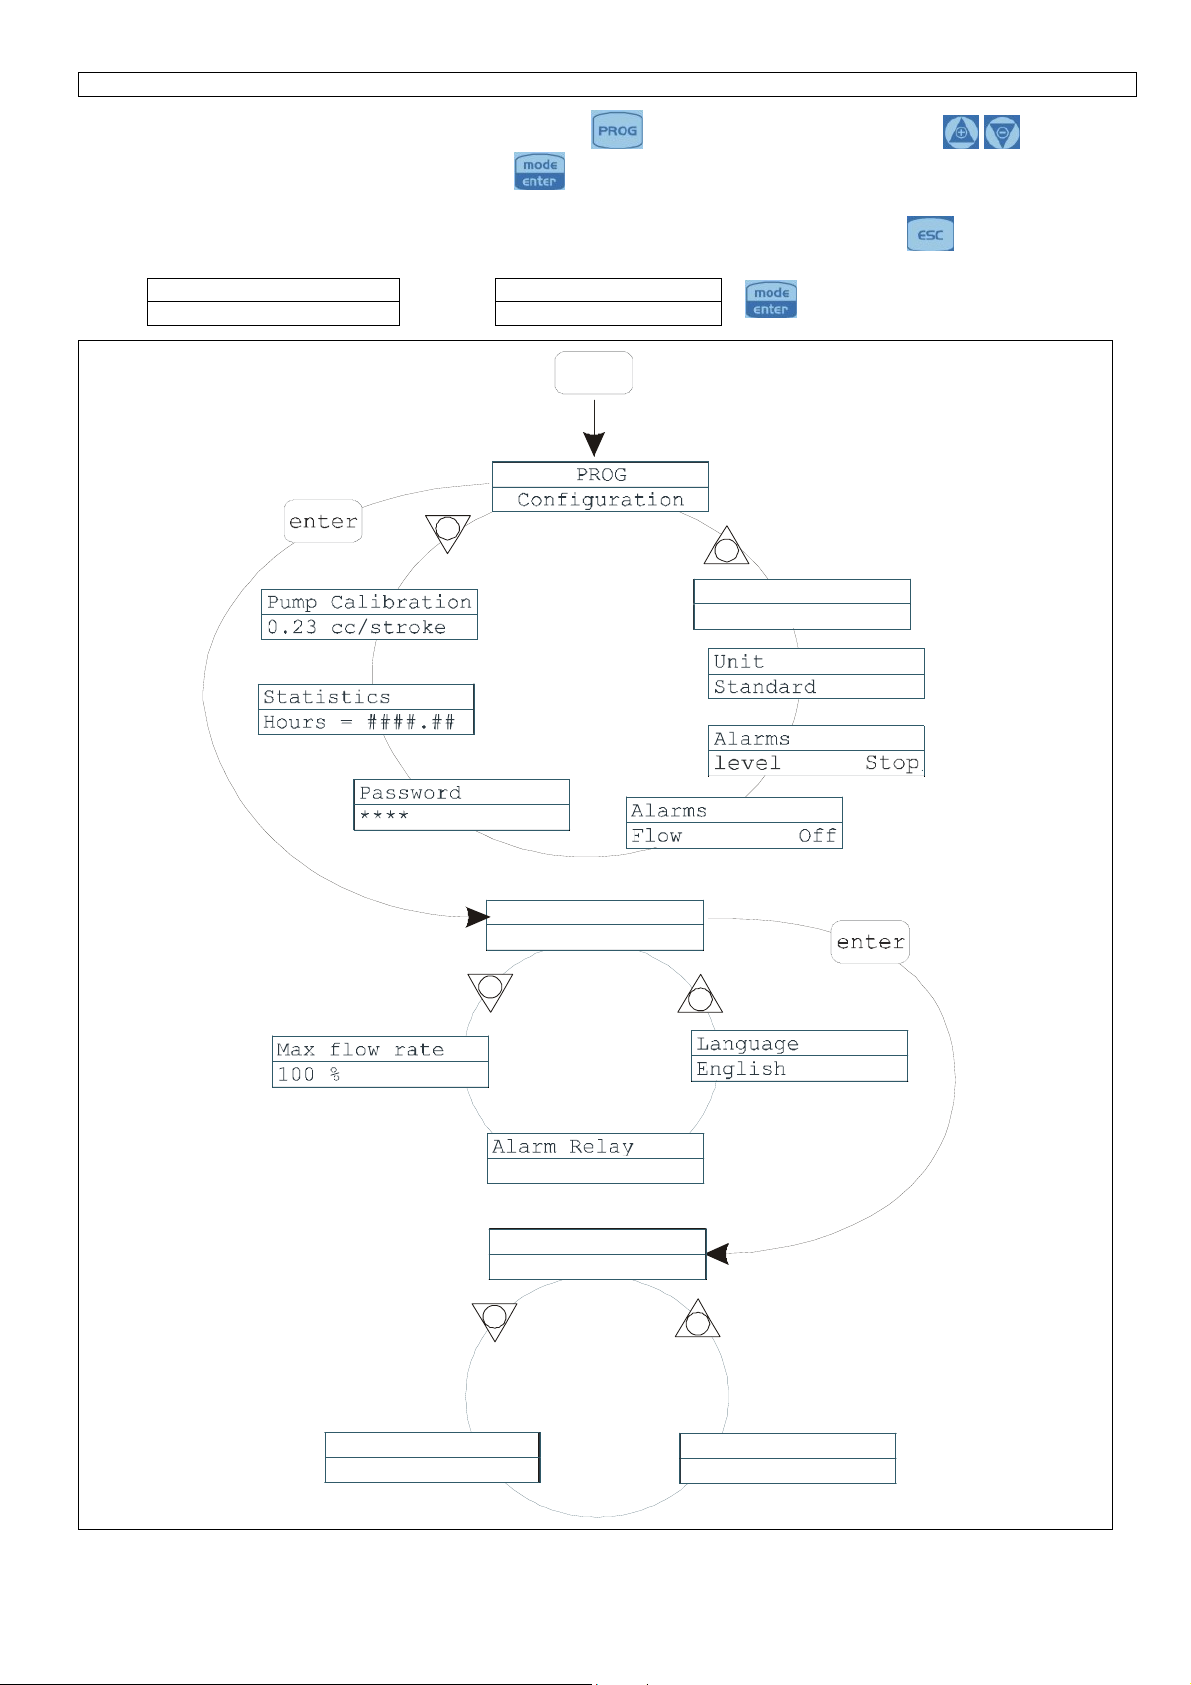
Programming Operation
-
-
Alarm Level
Alarm Flow
Alarms
Level Stop
Alarms
Level Alarm
Stop
Alarm
PROG
-
-
-
ESC
This makes it possible to set the pump when the level
sensor alarm is activated. In other words you can decide
whether to stop dosage (Stop) or simply activate the alarm
signal without stopping dosage.
Changes can be made by pressing the key, then using
the keys to set the alarm type. Confirm by pressing
the key. Press to return to the main menu
Paragraph 11 – Flow Display Unit
Programming Operation
-
-
Unit Unit
Unit
Standard Standard <-
L/h
PROG
-
-
+
-
measurement on the display.
Changes can be made by pressing the key, then using
the keys to set the unit of measurement, choosing
between L/h (litres/hour), Gph (Gallons/hour), ml/m
(millilitres/minute) or standard (% or frequency, depending
on settings). Press to confirm and return to the main
menu
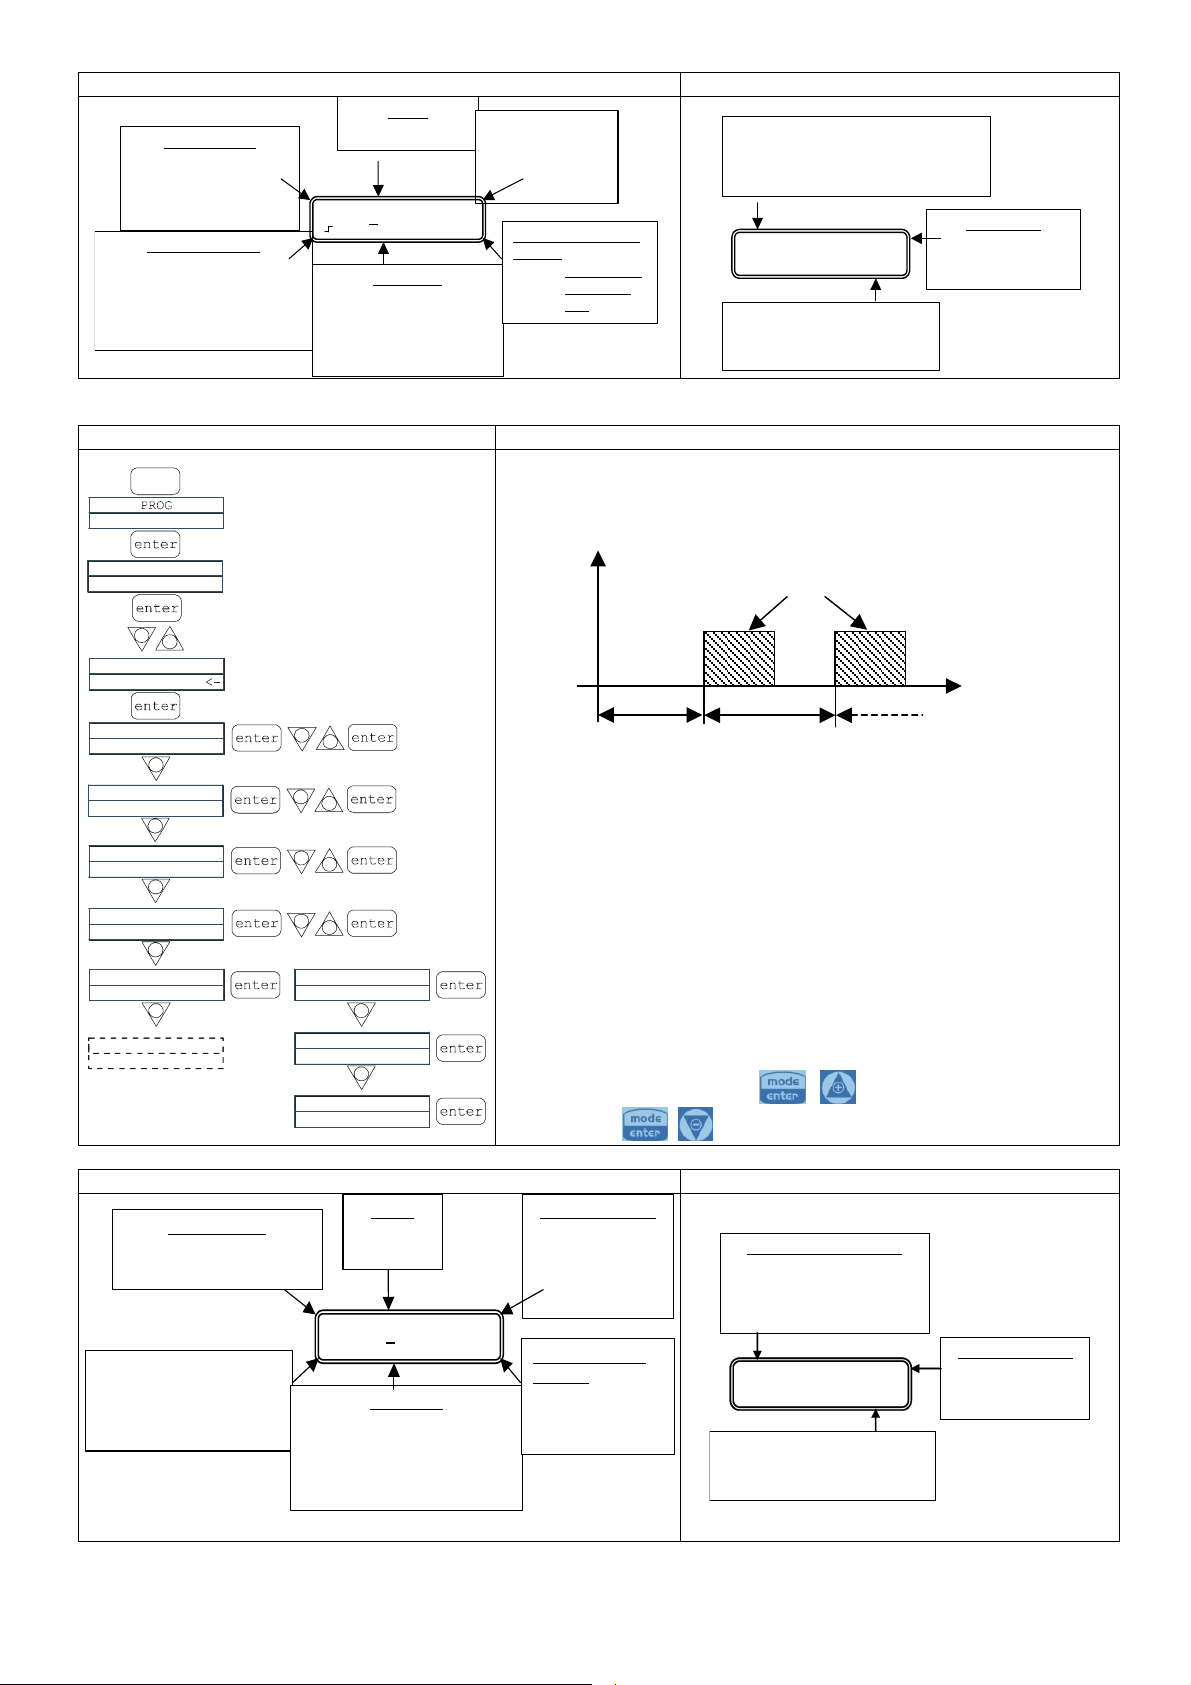
Paragraph 12 – Setting the Pause
Programming Operation
--
Paus
N.Aperto
PROG
+
-
Configurazione
+
The pump can be paused by remote input.
The factory setting is Normally Open.
Changes can be made by pressing the key, then
using the keys to set the new value ( N. OPEN or
N. CLOSED).
Press to confirm and return to the main menu.
Display contrast adjustment.
For adjusting the display contrast keep the key pressed and within 5 seconds press the keys or to
increase or decrease the contrast.
Alarms Display Cause Interruption
Fixed alarm LED
Flashing word “Lev”
I.e.
Man
Lev P100%
End of level alarm, without
interrupting pump operation Restore the liquid level.
Fixed alarm LED
Flashing words “Lev” and “stop”
I.e.
Man
Lev Stop P100%
End of level alarm, with interruption
to pump operation Restore the liquid level.
Fixed alarm LED
Flashing word “Flw”
I.e.
Man F
Flw P100%
Active flow alarm. The pump has
not received the programmed
number of signals from the flow
sensor.
Press the key
I.e.
Parameter Error
PROG to default
Internal CPU communication error. Press the key to restore the
default parameters.