manuals.online logo
Brands
  1. Home
  2. •
  3. Brands
  4. •
  5. Teletronics International
  6. •
  7. Wireless Access Point
  8. •
  9. Teletronics International WA-1300 Installation and operation manual

Teletronics International WA-1300 Installation and operation manual

Donald^^11
Scope
This guide assists you
in the operation of switch
between the Access Point mode and Station
/Bridge
mode.
Introduction
The Access Point can be switched between
the
Access Point mode and the Station/Bridge
mode.
Each mode plays a different role in the network.
Access Point is the primary central controller in
wireless LAN. Bridge/Station can bridge wired LAN to
wireless LAN. Figure 1 shows the roles that Access
Point and Bridge/Station play in the network.
LAN
LAN
Access Point
Bridge/Station
Bridge/Station
LAN
Internet
Figure 1: Network Connection
System Requirements
a) The Access Point with Access Point or
Station/Bridge mode.
b) PC, with Ethernet interface, TFTP client
software (for Windows 98 only), and ping
software.
c) Crossover RJ45 LAN cable.
d) Program packets:
wlan_ap_ug_xxxxxx.zip
wlan_bridge_ug_xxxxxx.zip
Note: xxxxxx displays the information on version.
Check the Present Mode
To learn which mode the PCB is currently operating,
please follow the steps below:
a) Use crossover LAN cable to connect the
Access Point with PC.
b)
Connect the power adapter to the power jack on
the Access Point.
c) Press theSet to Default
button at the edge of
the Access Point.
d) Set theIP address
ofPCto192.168.1.10,and
Subnet mask to 255.255.255.0.
e) Type ping 192.168.1.90
in Dos console mode
of PC. If the echo message is “Reply from
192.168.1.90…
”, the Access Point is operating
in the Access Point mode.
f) Type ping 192.168.1.99
in Dos console mode
of PC. If the echo message is “Reply from
192.168.1.99…
”, the Access Point is operating
Upgrade Firmware of Access Point
To upgrade the Access Point under the Access Point
mode,
please follow the steps below:
a) During the upgrade, all LEDson theequipment
flash. Note that the sudden loss of power may
cause serious problems at the moment
. Please
keep regular power supplyduringthe process.
b)
Use crossover LAN cable to connect the Access Point
with the PC.
c)
Connect the power adapter to the power jack on the
Access Point.
d) Press the Set to Default button at the edge of the
Access Point.
e) Set the IP address of PC, for example, to
192.168.1.10, and Subnet mask to 255.255.255.0.
f) Unzip wlan_ap_ug_xxxxx.zip to the directory c:\
, and
then you can see the wlan_ap directory.
g) Execute apselfug.bat, which is in the directory
wlan_ap/upgrade. The Do
s console mode is shown
as below.
Figure 2
The screen demonstrates the operation of this
procedure. If there is no inquiry, press any key to
continue.
a) After pressingakey, you will see the screen shown
as
below. This step writes firmware base images to
the
Access Point. After the action of writing is complete,
the screen will inform the message-Done
. Press any
key to leave.
Figure 3
*If any inaccuracy appears, please check Ethernet
RJ45cable connectionand IP addresssettings ofPC.
*After the upgr
adeprocedure iscomplete, thedefault
IP of the Access Point is 192.168.1.90.
Switch from Access Point Mode to Station/Bridge Mode
To upgrade the Access Point from Access Point
mode to
Station/Bridge mode,pleasego along with thestepsbelow:
•
During the upgrade, all LEDs on the equipment flash.
Note that the sudden loss of power may cause serious
problems at the moment. Please keep regular power
supply during the process.
a)
Use crossover LAN cable to connect the Access Point
with PC.
b) Connect t
he power adapter to the power jack on the
Access Point.
c) Press the Set to Default button at the edge of the
Access Point.
d) Set the IP address of PC, for example, to
192.168.1.10, and Subnet mask to 255.255.255.0.
e) Unzip wlan_bridge_ug_xxxxx.zip to the directory c:\
,
and then you can see the wlan_bridge directory.
f) Execute ap2sta.bat, which is in the directory
wlan_bridge/upgrade. The Dos console mode is
shown as below.
g)
Figure 6
The screen demonstrates the operation of this
procedure. If there is no inquiry, press any key to
continue.
a) After pressing any key, you will see the screen shown
as below. This step writes image to Access Point. After
theactionof writing is complete, thescreenwillinform
the message-Done. Press any key to leave.
Figure 7
*If any inaccuracy appears, please check Ethernet
RJ45cable connectionand IP addresssettings ofPC.
*
Afterthe upgrade procedureis complete, the default
IP of the Access Point is 192.168.1.99.

*During the upgrade, all LEDson theequipment
flash.
Note that the sudden loss of power may
cause serious
problems at the moment. Please keepregular
power
supply during the process.
Upgrade Firmware of Station/Bridge
To upgrade the Access Point from
Access Point
mode to
Station
/Bridge mode, please follow the steps below:
During the upgrade, all LEDs on the
equipment flash.
Note that the sudden loss of power may cause serious
problems at the moment. Please keep regular power
supply during the process.
a)
Use crossover LAN cable to connect the Access Point
with PC.
b)
Connect the power adapter to the power jack on
the
Access Point.
c)
Press the Set to Default button at the edge of the
Access Point.
d)
Set the IP address of PC, for example, to
192.168.1.10, and Subnet mask to 255.255.255.0.
e)
Unzip wlan_bridge_ug_xxxxx.zip to the directory c:\
,
and then you can see the wlan_bridge directory.
f)
Execute staselfug.bat, which is in the directory
wlan_bridge/upgrade. The Dos console mode is
shown as below.
g)
Figure 4
The screen demonstrates the operation of this
procedure. If there is no inquiry, press any key to
continue.
a)
After pressing any key, you will see the screen shown
as below. This step writes firmware base images to
Access Point. After the action of writing is complete,
the screen will inform the message-Done
. Press any
key to leave.
Figure 5
*
If any inaccuracy appears, please check Ethernet
RJ45cable connectionand IP addresssettings ofPC.
*
Afterthe upgrade procedureis complete, the default
IP of the Access Point is 192.168.1.99.
Switch from Station/Bridge Mode to Access Point
Mode
To upgrade the Access Point from Station /Bridge
mode to Access Point mode, please
go along with
the steps below:
•
During the upgrade, all LEDs on the equipment
flash. Note that the sudden loss of power may
cause serious problems at the moment. Please
keep regular power supply during the process.
a) Use crossover LAN cable to connect the A
ccess
Point with PC.
b)
Connect the power adapter to the power jack on
the Access Point.
c) Press theSet to Default
button at the edge of
the Access Point.
d) Set the IP address of PC, for example, to
192.168.1.10, and Subnet mask to
255.255.255.0.
e) Unzip wlan_ap_ug_xxxxx.zip
to the directory
c:\, and then you can see the wlan_ap
directory.
f) Execute sta2ap.bat, which is in the directory
wlan_ap/upgrade
. The Dos console mode is
shown as below:
g)
Figure 8
The screen demonstrates the operation of this
procedure. I
f there is no inquiry, press any key to
continue.
a) After pressing a key, you will see the screen
shows as below. This step writes firmware base
imageandWeb page image AccessPoint.After
the action of writing is complete, the screen will
inform the message-Done. Press any key to
leave.
Figure 9
*
If any inaccuracy
appears, please check
Ethernet
RJ45 cable connectionand IPaddress
settings of PC.
*
Afterthe procedureof upgradingcompletes,
the default IP of the Access Point is
192.168.1.90.
2503501300

Other Teletronics International Wireless Access Point manuals

Teletronics International MiniLink User manual

Teletronics International

Teletronics International MiniLink User manual

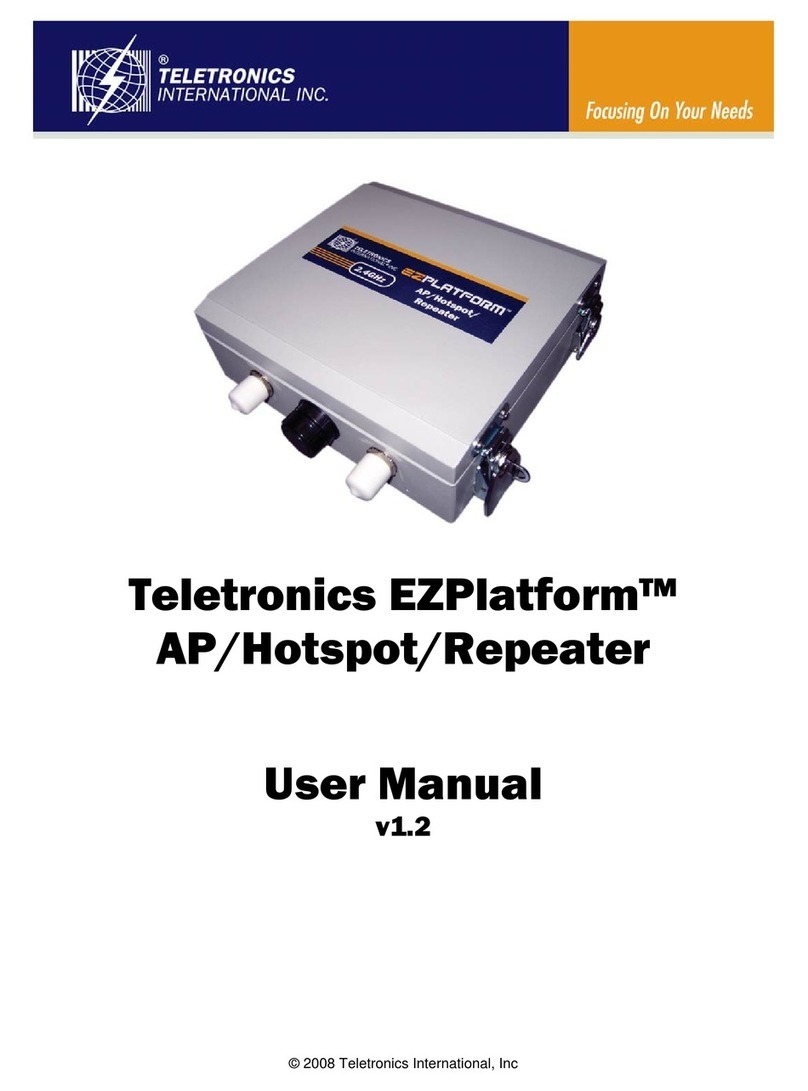
Teletronics International EZPlatform User manual

Teletronics International

Teletronics International EZPlatform User manual

Teletronics International EzBridge User manual

Teletronics International

Teletronics International EzBridge User manual

Teletronics International TT5800 User manual

Teletronics International

Teletronics International TT5800 User manual

Teletronics International EZMesh User manual

Teletronics International

Teletronics International EZMesh User manual

Teletronics International 11AP Instruction sheet

Teletronics International

Teletronics International 11AP Instruction sheet

Teletronics International EZPlatform Plus User manual

Teletronics International

Teletronics International EZPlatform Plus User manual

Popular Wireless Access Point manuals by other brands

HP A-WA2610E-AGN Product End-of-Life Disassembly Instructions

HP

HP A-WA2610E-AGN Product End-of-Life Disassembly Instructions

Meru Networks AP822v2 installation guide

Meru Networks

Meru Networks AP822v2 installation guide

Anybus Wireless Bolt Startup guide

Anybus

Anybus Wireless Bolt Startup guide

toko TMW1003 user manual

toko

toko TMW1003 user manual

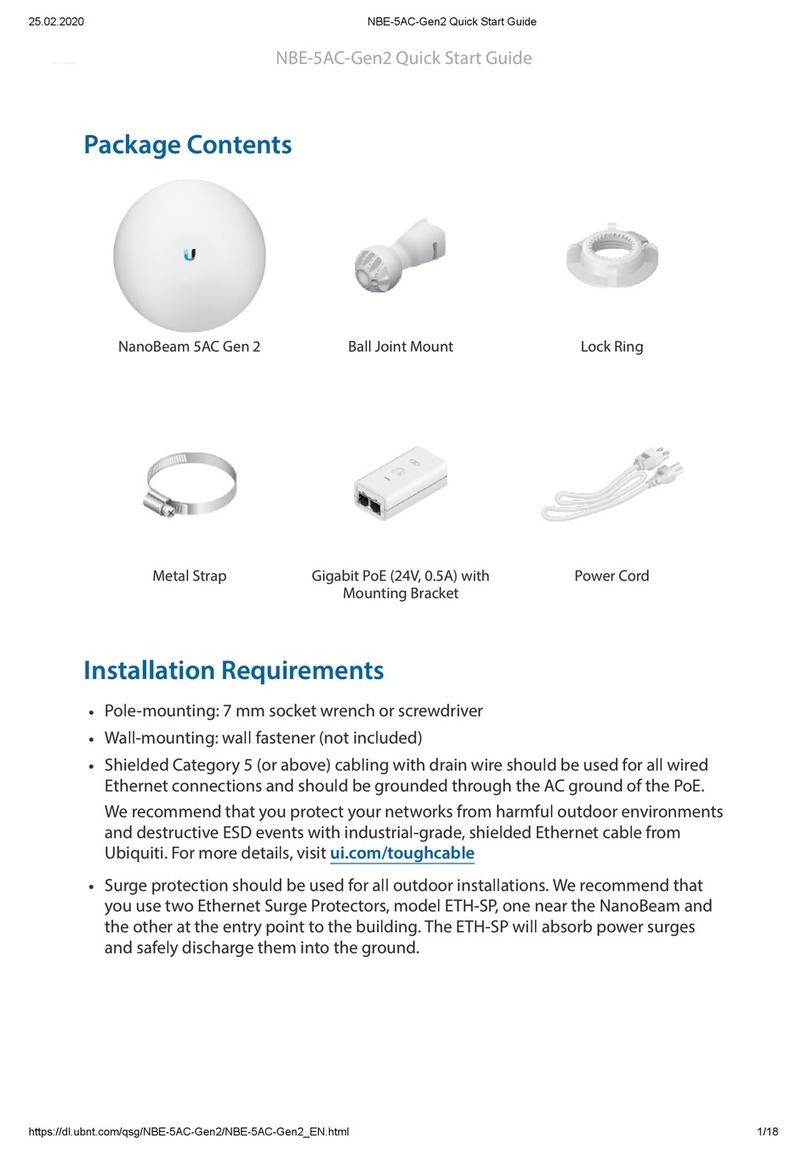
Ubiquiti NBE-5AC-Gen2 quick start guide

Ubiquiti

Ubiquiti NBE-5AC-Gen2 quick start guide

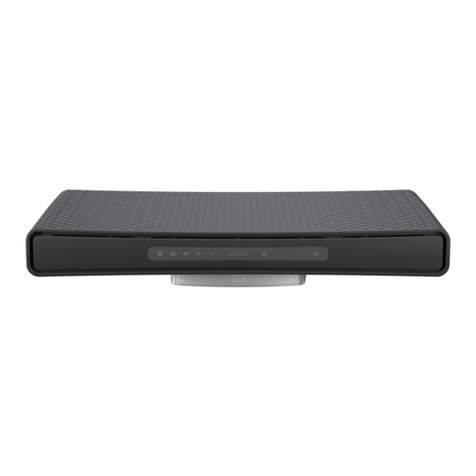
MikroTik hAP ac3 LTE6 kit quick start guide

MikroTik

MikroTik hAP ac3 LTE6 kit quick start guide

EnGenius ENH200EXT Technical specifications

EnGenius

EnGenius ENH200EXT Technical specifications

Planet Networking & Communication WAP-1963 user manual

Planet Networking & Communication

Planet Networking & Communication WAP-1963 user manual

CommScope SYSTIMAX AirSPEED AP541 user guide

CommScope

CommScope SYSTIMAX AirSPEED AP541 user guide

Aruba 203H installation guide

Aruba

Aruba 203H installation guide

Ovislink Air Live WL-5450AP user guide

Ovislink

Ovislink Air Live WL-5450AP user guide

D-Link xtreme n duo dap-1522 user manual

D-Link

D-Link xtreme n duo dap-1522 user manual

Hawking WB320 Specification sheet

Hawking

Hawking WB320 Specification sheet

Emplus WAP380 user manual

Emplus

Emplus WAP380 user manual

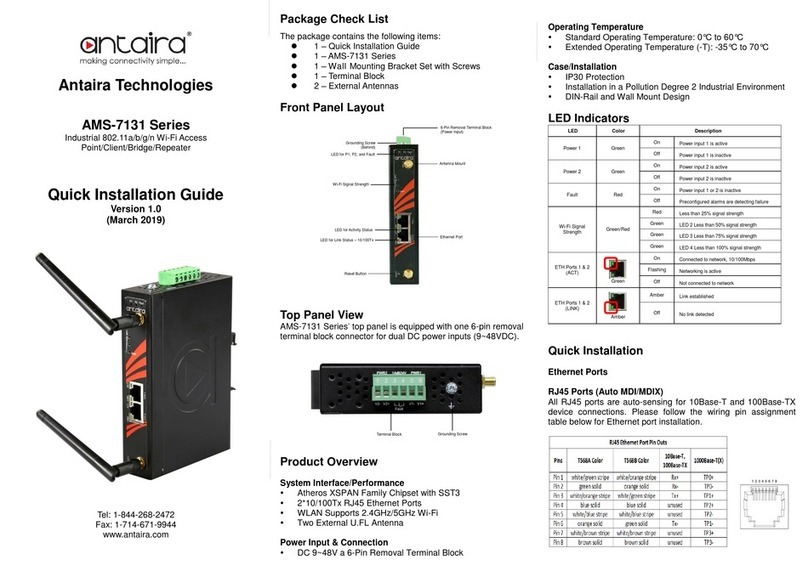
ANTAIRA AMS-7131 Series Quick installation guide

ANTAIRA

ANTAIRA AMS-7131 Series Quick installation guide

Genexis FiberTwist Series installation guide

Genexis

Genexis FiberTwist Series installation guide

Ruijie RG-AP180-I Hardware  installation and reference guide

Ruijie

Ruijie RG-AP180-I Hardware installation and reference guide

RFM SNAP2411 installation guide

RFM

RFM SNAP2411 installation guide

manuals.online logo
manuals.online logoBrands
  • About & Mission
  • Contact us
  • Privacy Policy
  • Terms and Conditions

Copyright 2025 Manuals.Online. All Rights Reserved.