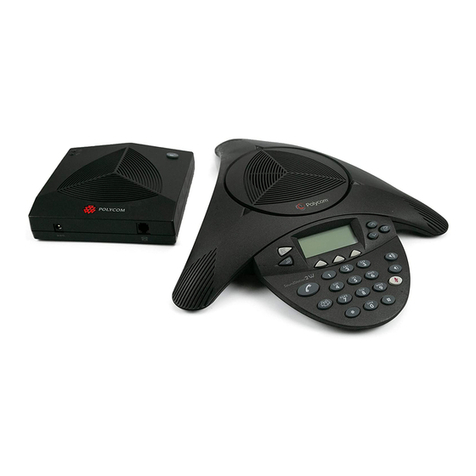
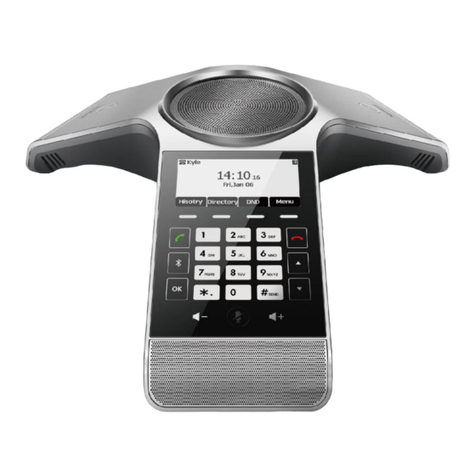
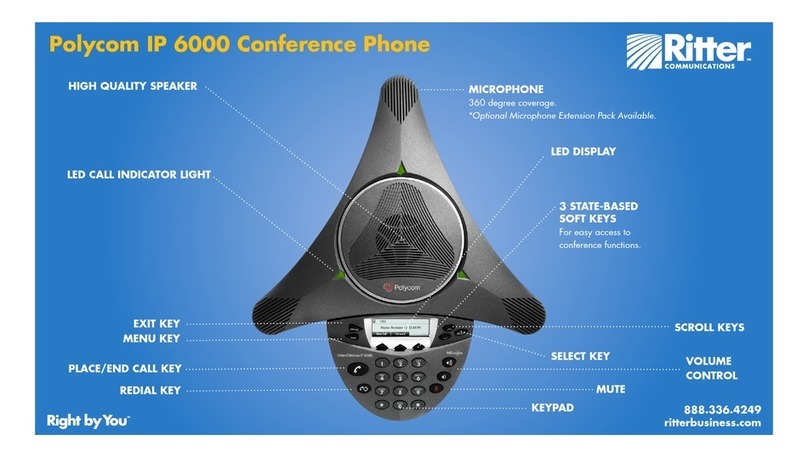
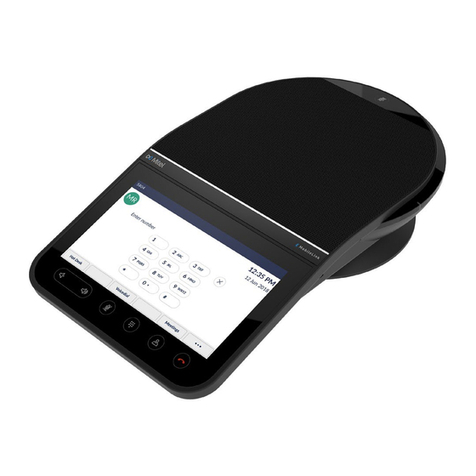
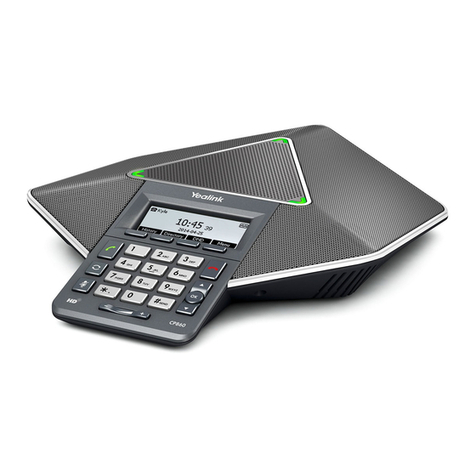
Telex Nexus Platinum User manual

User Manual
Nexus Platinum Conference Phone System

Table of Contents
Introduction .......................................................................................... 1
Checklist of Parts ................................................................................ 1
Installation ........................................................................................... 2
To place and answer a call .................................................................. 4
To ensure better performance ............................................................. 4
Buttons ................................................................................................ 5
Features
Display window .................................................................................... 5
Volume Control ..................................................................................... 6
Mute ..................................................................................................... 6
Memory Dialer ...................................................................................... 7
Accessories/Additional Features
Satellite Microphones ........................................................................... 8
Auxilary Jack ........................................................................................ 8
Additional Telephone Connection ......................................................... 8

Introduction
Thank you for choosing the Nexus Platinum, the new conference phone
from Telex. The next few pages will help you learn about all of the
functions and features this phone has to offer. If you have any questions
this manual does not answer, contact technical support at
Checklist of Parts
The Nexus Platinum includes the following items:
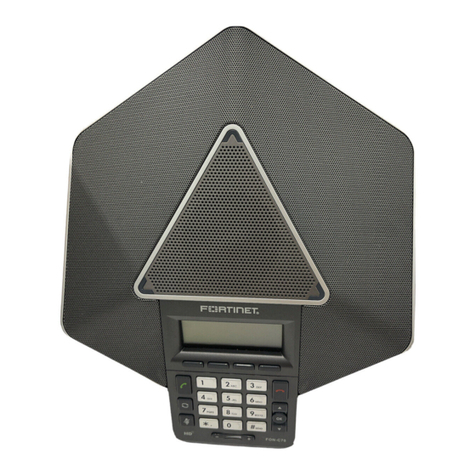
Nexus Platinum
Conference Phone
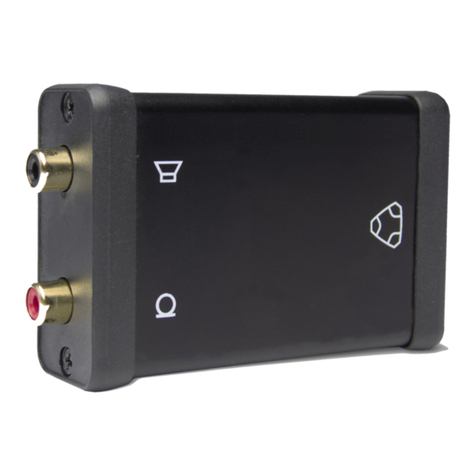
Wall Module
Interface Cable Phone Cable
User Manual
Page 1

Page 2
Installation of the Nexus Platinum Conference Phone
1. Insert the 28 foot wall interface cable into the bottom of the circular
phone unit.
2. Insert the other end of the 28 foot wall module interface cable into
the jack of the wall module labeled .
3. Insert telephone cable into the jack of the wall module labeled .
Satellite Mic Jack
Satellite Mic Jack
Interface Cable
Jack

4. Insert other end of telephone cable into a standard analog phone
jack. Your telephone system administrator or service technician can
help you identify a standard analog phone line. A standard analog
phone supports fax machines, answering machines, modems and
most single-line telephones.
5. Place the unit on a flat surface such as a tabletop and plug the wall
module into a 110 VAC power supply. The Display window will
illuminate and the phone will ring once.
Page 3

Page 4
6. Press the On Hook\Off Hook button and you should hear a dial tone.
If you do not hear a dial tone, you may not be connected to an
analog telephone line.
If you hear a dial tone, dial the number you wish to call, the Nexus
Platinum Phone is installed!
To Place a Call
1. Press the On Hook\Off Hook button, listen for the dial tone, and
then dial the number you wish to call!
To Answer a Call
1. When the phone rings, press the On Hook\Off Hook button to
receive the incoming call.
To ensure better performance
1. Set the unit in a clear area at the center of a table or desk, free from
obstructions.
2. Seat all participants the same distance from the Nexus Platinum
console.
3. Speak at normal conversation levels.
4. Direct your voice toward the Nexus Platinum console.
5. Do not move the unit during a phone call.
Buttons and Features
Display
Mute
Memory
Volume Up
Volume Down
On Hook
Off Hook
Redial
Flash

Page 5
Buttons and Features (cont’)
1. The On Hook\Off Hook button is on the lower left side with the
picture of a handset and telephone. Pressing the On Hook\Off Hook
button will start or end a call
2. The Display button on the upper right side has an arrow pointing to
the display on the console. Pressing the display button will cycle
through time of day, number being called, number call is coming
from, length of call, or the phone extension number in the display
window.
3. To set the Time of Day, press the Display button to get the clock
feature to display. Hold the Display button down for 3 seconds. This
will bring up a digital clock face with the hour blinking. Using the
keypad, press the number that corresponds to the hour of time you
wish. Press the Pound (#) key to set the minutes. When the
minutes are blinking, using the keypad, set the correct minutes.
Press the Pound key to move to AM\PM. You can select AM or PM
by pressing the Vol+ or Vol- key. Press the Pound key when the
time is set.
4. To set the Phone Extension ID, press the Display key so that
Product Name is showing in the display window. Press and hold the
display key for 3 seconds and the first character of the display will
start to blink, using the keypad, enter the phone number of the
extension you are connecting the Nexus Platinum to. Use the Star
key to put dashes between digits.
Display
Volume Up
Volume Down
On Hook
Off Hook

5. There are three MUTE buttons on the phone. The mute button will
disable outgoing signals. There is a mute button on the dialing pad
and on each side of the speaker. Pressing just one mute button will
mute the outgoing signal. When a mute button is pressed, the
indicator lights go from green to red. Pressing any mute button will
un-mute the outgoing signal, and returns the indicator lights to green.
6. The Volume Up and Volume Down buttons are for the ringer and
speaker volume of the phone. When used in On Hook (idle) mode,
they control the Ringer Volume. When used in Off Hook (during or
placing a call) mode, they control the speaker audio output.
7. The Redial button will call the last number you dialed. Press Off
Hook, then redial to call the last number dialed.
8. The Flash button may be used to facilitate 3-way calling and call
waiting. Contact your local phone company or telephone system
administrator on what features are available and on how to use the
Flash feature with your telephone network.
Mute
Mute
Mute
Mute
Volume Up
Volume Down
Redial
Flash
Page 6

Page 7
9. The Memory button will allow you to quickly access 10 phone
numbers with convenient name description for faster dialing. To
access the stored number, press the mem key and the location of
the preset phone number, i.e. mem 7, to dial the seventh entry in the
memory bank.
Alternatively, you can scroll through the numbers listed by pressing
the mem key and then the Vol+ and Vol- buttons. Select the entry and
then press the pound key to make the call.
To store numbers into memory, press and hold the mem key for 3
seconds. Press the number of the entry, 0-9, for which memory
location you wish to store the number in memory. First enter a
Name description by typing in the name of the person you wish to
call. Use the Star key for a space bar. The name can be up to 16
characters. Press the key with the letter you wish to insert.
Pressing the key will scroll through the letter options and the number
of that key with every press of the key. When the letter is selected,
press the Vol+ key to move to the next letter.
Next, press the Pound key to enter the phone number. The number
can be up to 32 digits. Use the Star key to enter a dash between
numbers and to use as a pause key. Some phone lines and phone
numbers require a pause button when dialing. The Star key will allow
for a 2 second pause. Press the pound key to end programming.
Memory
Volume Up
Volume Down
123-456-7890
Sample Memory Entry

Page 8
Accessories/Additional Features
1. If you have a large group for a conference call, you may wish to
expand the microphone coverage of the phone to allow for users far
away to be heard more clearly. Satellite microphones are available
that can plug into the base unit and expand the input coverage of the
phone.
2. There is an Auxiliary jack on the lower right side of the wall module
that will allow you to connect to a tape recorder to record phone
calls. Insert the cord into the jack labeled .
3. On the lower left side of the wall module there is another “phone
connection” that allows you connect another telephone, fax or
answering machine. Insert the cord into the jack labeled .
Wall Module
Auxilary Cord
(From Tape Recorder)
Auxilary Cord
(From Additional Phone,
Fax, or Answering Machine)
Wall Module
Satellite Mic
Base Unit
Satellite Mic
Table of contents
