Telrad Digital Executive set User manual
Executive set
and Executive set with display
User guide
79-100-0009/F Issue 1

79-100-0009/F, Issue 1
Executive set
and Executive set with display
User guide
Telrad Telecommunications Inc.,
Woodbury, New York

79-100-0009/F, Issue 1
Printed in Israel

ii
NOTICE
This publication refers to Telrad's Executive set
and Executive set with display connected to Tel-
rad's DIGITAL KEY BX system, Release SBU6, or
Telrad's DIGITAL 400 system, Release DBU6, as
of March 1998.
Telrad reserves the right to modify the equipment
and the software described herein without prior
notice. However, changes made to the equipment
or to the software described herein do not neces-
sarily render this publication invalid.
© 1998 Telrad Telecommunications Inc.,
Woodbury, New York

iv
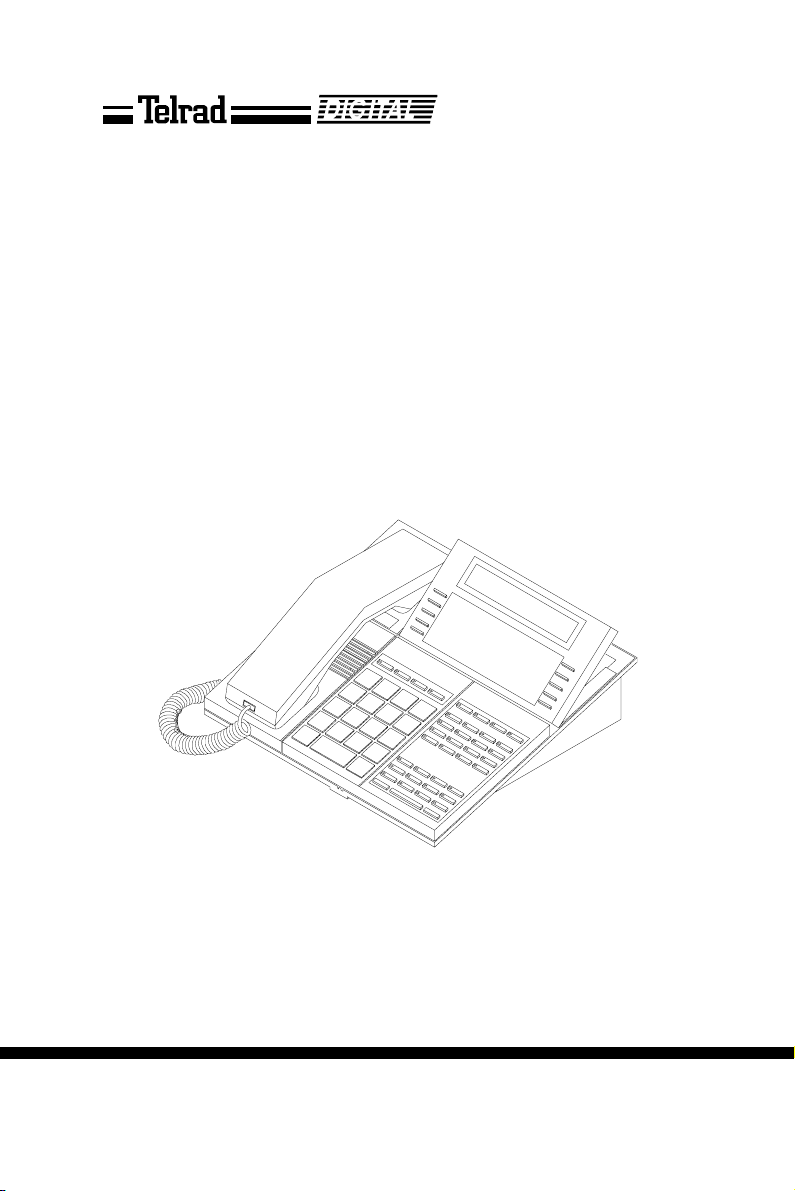
Figure 1 Executive set faceplate

Executive set Executive set with display 1
ABOUT YOUR DIGITAL TELEPHONE
The Executive set is equipped with onhook dialing, full
speakerphone and hot dialpad capability, which enables
you to dial or operate any feature by pressing the dialpad
buttons.
You may also receive and disconnect calls, program fea-
tures and perform all operations without lifting the handset.
You may lift the handset or switch between handsfree and
handset operation at any time.
NOTE
This guide describes the regular operation of the
telephone. The configuration of your particular sys-
tem and telephone may introduce differences in
operation. For example, some of the features and
buttons described in this guide may not be avail-
able on your telephone set. For more information,
see your System Administrator.
TELEPHONE SET BUTTONS
Your telephone set has an array of programmable and
fixed feature buttons (see Figure 1 above).
NOTE
In this guide, fixed buttons appear in bold type,
in capital letters, within brackets, e.g. [HOLD].
User programmable buttons appear in capital
letters, e.g. SPEED DIAL.

2 Executive set and Executive set with Display
Most of the telephone buttons have dual-color light indica-
tors. The color and flash rate of the indicators show the sta-
tus of the programmed line, feature or extension.
In general, red indicates non-availability (for example, a
busy line); green indicates that you are using the feature or
line, or that it is available to you.
User-programable buttons
Some of the buttons on your telephone may be user-pro-
grammable SPEED DIAL or MEMORY buttons. You may
program these to access extensions, features or outside
lines.
Fixed feature buttons
The following fixed feature buttons appear on your tele-
phone set.
[HOLD]
This button places a call on hold.
[FEAT]
Press [FEAT] and then dial a feature access code to acti-
vate features (see the Feature codes table at the end of
this guide).
[PICK UP/XFR/CNF]
Press this button to pick up or transfer calls, and when
establishing and exiting conference calls.
NOTE
The [PICKUP/XFR/CNF] button is referred to as
[PICK UP],[XFR] or [CNF], depending on the
operation being described.
[SPD/PROG]
This button is used for speed dialing and for programming
various features.

Executive set Executive set with display 3
[REDIAL/PAUSE]
This button lets you automatically redial the last outside
number you dialed, after first accessing an outside line.
Pressing this button while dialing on an external line inserts
a pause in a dialing sequence.
[< LO HI >]
This button adjusts the volume of the speaker, handset,
headset, ringer and background music when any of these
is active.
For display sets, pressing this button when the telephone is
idle changes the display contrast.
[FLASH]
Depending on system programming, this button is used to
disconnect or to send Flash Signal to the connected
remote exchange.
[SAVE/REPEAT]
This button is used to store one outside number for fre-
quent automatic dialing.
[ALL]
This button is used for Group pickup, to cancel all Mes-
sages and to cancel Call Forward to me from all exten-
sions.
[CANCEL]
This button is used to cancel Call forward programming,
Alarm programming and Messages.
Programmable buttons
The following buttons on your set have already been pro-
grammed to perform specific functions. The System
Administrator can program these buttons to perform other
functions. If the function of certain buttons does not match
those appearing in Figure 1 at the beginning of this guide,
consult your System Administrator.

4 Executive set and Executive set with Display
NOTE
When the following features are activated their
button indicators light: [MSG], [DND],[MUTE],
[SPKR],[CFNA ALL],[CFBY ALL], [TIME] and
[CB/QUE].
[MSG]
This button is used to send messages to other extensions
and to reply to messages left at your extension.
[DND]
This button activates and deactivates Do Not Disturb.
[MUTE]
This button disables and enables your telephone micro-
phone.
[SPKR]
For handsfree operation, press [SPKR] instead of lifting or
replacing the handset.
Whenever this guide instructs you to lift or replace the
handset, you may press [SPKR] instead.
[CFNA]
This button defines a destination to which calls are for-
warded when your telephone does not answer.
[CFBY]
This button defines a destination to which calls are for-
warded when your telephone is busy.
[TIME]
This button programs an alarm time.
[CB/QUE]
This button operates extension callback and trunk queue.

Executive set Executive set with display 5
DN buttons
DN buttons are buttons associated with specific Directory
Numbers.
The first DN button is your Primary DN button, which has
the same number as your extension. The Primary DN but-
ton is used for making and receiving most of your calls.
Whenever you pick up the handset, your Primary DN but-
ton, or - if it is not available - another DN button lights
green.
If no DN buttons are available, no DN button lights, you do
not receive dial tone, and you cannot place or answer calls.
NOTE
Not all telephone sets are programmed with DN
buttons. The instructions in this manual often
contain references to DN indicators and dis-
plays of DN numbers. If your telephone set is
not programmed with DN buttons, disregard
these references.
Many of the instructions offer a number of
options, one of which is pressing a DN button. If
your telephone set is not programmed with DN
buttons, choose one of the other options, or skip
the step of pressing the DN button.
Some of the features operate slightly differently
on a telephone set that is not programmed with
DN buttons. These differences are pointed out
in a NOTE for each applicable feature. Consult
your System Administrator for further details
about the programming of your telephone set.

6 Executive set and Executive set with Display
DN buttons may be programmed in three different modes:
•ringing mode - the telephone rings and the DN button
flashes green when a call is received.
•flashing mode - the DN button flashes green when a
call is received, but there is no ringing.
•delayed ringing mode - a call rings first at another sta-
tion or group of stations, for a programmed length of
time, before beginning to ring at your station.
Outside line buttons
One or more of the buttons on your telephone may be
associated with either specific lines or outside line groups.
To access a line for dialing outside the system, press an
outside line button.
Floating buttons
Calls on outside lines for which no button has been
defined, may be associated with a button just for the dura-
tion of the call. These buttons are called "floating" buttons.
NOTE
Some of the access codes in your system may
be different from those indicated here. If so, see
your System Administrator for the correct codes.
SWITCHING FROM HANDSET
TO HANDSFREE OPERATION
During a call conducted via the handset:
1. Press [SPKR].
2. Replace the handset and talk via the telephone set
microphone.

Executive set Executive set with display 7
DISTINCTIVE RINGING
You can program telephone sets located close to each
other with distinctive rings, to enable you to identify which
telephone is ringing. Nine different rings are available.
To change the ring for your telephone set
1. Press [*] and [#] simultaneously.
2. Press one of the dialpad buttons ([1] - [9]).
When you hear the ring that you want:
3. Press [#].
4. Lift and replace the handset.
Your telephone set reinitializes and all telephone rings
(internal, external, recall, etc.) sound with the distinctive
ring selected.

8 Executive set and Executive set with Display
MUTE
If you want to talk to someone in your office during a call,
without the connected party hearing, you can disable the
handset or telephone set microphone.
To enable or disable the microphone
(MUTE)
•Press
[MUTE] during a conversation.
To enable or disable
the handset microphone (HANDSET MUTE)
During a handset call:
• Press the HS MUTE button (if programmed).
NOTE
If your station is Single Audio Path (SAP), pressing
[MUTE] deactivates both microphones.
ALLOWING OTHER PEOPLE TO HEAR
YOUR CONVERSATION (SPEAKER MONITOR)
While you are speaking through the handset, the conversa-
tion can be directed through your telephone speaker, so
that people in your vicinity can hear the other end of the
conversation.
1. Press [FEAT].
2. Press [SPKR].
The [SPKR] button indicator turns on.
Both you and the other party are heard via the speaker.

Executive set Executive set with display 9
HOT DIALPAD
The hot dialpad enables you to dial and activate features
without lifting the handset or pressing [SPKR] first.
NOTE
The instructions in this guide assume that you
have hot dialpad capability.

10 Executive set and Executive set with Display
INTERNAL CALLS
To place a non-ringing call
• Dial the extension number.
To place a ringing call
1. Dial the Tone access code [1].
2. Dial the extension number.
IF THE EXTENSION YOU CALLED
IS BUSY (CALLBACK)
When you dial an extension and hear busy tone, you can
activate the Callback feature:
1. Press [CB/QUE].
2. Hang up.
When the called extension becomes available, your tele-
phone rings. Then:
3. Press [SPKR] or lift the handset.
You hear the called extension ringing.
To cancel Callback
• Press [CB/QUE] again.
BARGE INTO A CONVERSATION
Depending on system programming, you may be able to
break into another conversation.
When you dial an extension and hear busy tone:
1. Press [FEAT].
2. Dial the BARGE IN access code ([2][4]).
A warning tone is heard by all parties, depending on
system programming.

Executive set Executive set with display 11
PAGE CALLS
You can make announcements through an external page
unit, or through the speakers of all DIGITALtelephones in a
page zone.
1. Lift the handset.
2. Press [FEAT].
3. Dial the PAGE zone access code ([4][1] - [4][8]).
After the double tone burst:
4. Make your announcement.
To speak directly with a page initiator
(MEET ME PAGE)
You can call a page initiator during a page call:
1. Lift the handset.
2. Press [FEAT].
3. Dial the MEET ME PAGE access code ([6][6]).
4. Dial the PAGE zone access code ([4][1] - [4][8]).

12 Executive set and Executive set with Display
ANSWERING CALLS
When you receive a call an indicator flashes green on a
telephone set that is programmed with DN buttons. For an
internal call the top line of the display shows the name of
the caller and their extension number. For an external call
the display shows the trunk name and number. You usually
also hear a ring, unless your station has been programmed
not to ring.
NOTE
Telrad's DIGITAL systems support Caller Name
and Caller Identification display.
To answer a ringing or flashing call
• Pick up the handset;
or
• Press the button that is flashing green.
After you answer the call the indicator of the DN or pri-
vate trunk line lights steady green.
To answer an intercom call
To answer an intercom call coming through your telephone
speaker:
• Talk through the microphone
If you prefer, you may lift the handset instead.

Executive set Executive set with display 13
CALL WAITING
You may hear either a ring or a beep, indicating a second
call, while already engaged in a conversation. You can
answer the call without disconnecting the first call.
To answer a second call
1. Press [HOLD];
the first call is put on hold. The indicator for that line
flashes green.
2. Press the DN or outside line button that is flashing
green;
you receive the second call.
To return to the first call
1. Press [HOLD].
2. Press the flashing DN button.
NOTE
If your telephone does not have DN buttons, you
cannot put an internal call on hold. This means that
you cannot answer another arriving internal call
without disconnecting the first internal call. In this
case, you must hang up first. You can then answer
the second call when it rings.

14 Executive set and Executive set with Display
OUTSIDE CALLS
Outside calls may be placed by accessing an outside line
(or group) or by using the Least Cost Routing (LCR) fea-
ture.
When the instructions tell you to access an outside line,
you may:
• Dial an outside line, outside line group number or LCR
access code;
• Press an outside line or outside line group button;
• Press the LCR button (usually [9]).
Depending on system programming, the cost of your call
may be displayed briefly at the end of the conversation.
To place an outside call
1. Obtain an outside line.
2. Dial the desired number.
See also,
Abbreviated dialing
, below.
To redial the last outside number you dialed
1. Obtain an outside line.
2. Press [REDIAL].
To save a frequently dialed outside number
(SAVE/REPEAT)
After dialing the desired number, but before hanging up:
•Press
[SAVE/REPEAT].

Executive set Executive set with display 15
To dial the number saved
1. Access an outside line.
2. Press [SAVE/REPEAT].
AUTOMATIC REDIAL
If you dial an outside number and hear busy tone, you can
have the system redial the number several times, at pre-
defined intervals.
• Press an ARD button.
When the called party answers:
• Press [SPKR] or lift the handset.
If the dialed number rings, or if the system has made
the maximum number of dialing attempts, the Auto-
matic redial is deactivated.
To temporarily deactivate
or reactivate Automatic Redial
• Press the ARD button again.
NOTE
Several Automatic redials may be activated
simultaneously by using more than one ARD
button.
WAITING FOR AN AVAILABLE OUTSIDE LINE
(TRUNK QUEUE)
When you try to select an outside line and hear busy tone:
1. Press [CB/QUE].
When an outside line becomes available, the system rings
your extension. Then:
2. Press [SPKR] or lift the handset.
3. Listen for outside dial tone and dial the desired number.
This manual suits for next models
1
Table of contents
Other Telrad Telephone manuals

Telrad
Telrad Avanti 3025 set User manual

Telrad
Telrad Futuro 28 User manual

Telrad
Telrad Avanti Attendant Console User manual

Telrad
Telrad Executive set with expanded display User manual

Telrad
Telrad Avanti 3025 User manual

Telrad
Telrad Executive set with expanded display User manual

Telrad
Telrad Avanti 3020 User manual

Telrad
Telrad Avanti 3015 User manual

Telrad
Telrad Futuro Operating and maintenance manual

Telrad
Telrad Speakerphone set User manual


