Tennant 3640 User manual

This manual is furnished with each new model. It provides necessary operation and maintenance instructions.
Read this manual completely and understand the machine before operating or servicing it.
This machine will provide excellent service. However, the best results will be obtained at minimum costs if:
SThe machine is operated with reasonable care.
SThe machine is maintained regularly - per the machine maintenance instructions provided.
SThe machine is maintained with manufacturer supplied or equivalent parts.
PROTECT THE ENVIRONMENT
Please dispose of packaging materials,
old machine components such as
batteries, hazardous fluids including
antifreeze and oil, in an environmentally
safe way according to local waste
disposal regulations.
Always remember to recycle.
MACHINE DATA
Please fill out at time of installation for future reference.
Model No. --
Serial No. --
Machine Options --
Sales Rep. --
Sales Rep. phone no. --
Customer Number --
Installation Date --
Tennant Company
PO Box 1452
Minneapolis, MN 55440
Phone: (800) 553--8033 or (763) 513--2850
www.tennantco.com
CALIFORNIA PROPOSITION 65 WARNING:
Engine exhaust from this product contains chemicals known to the State of California to cause cancer,
birth defects, or other reproductive harm.
Specifications and parts are subject to change without notice.
Original instructions, Copyright E2000, 2001, 2002, 2003, 2004, 2005, 2006, 2008 TENNANT Company, Printed in U.S.A.

CONTENTS
1
3640 330580 (12--00)
CONTENTS
Page
SAFETY PRECAUTIONS 3.................
OPERATION 5..........................
OPERATOR RESPONSIBILITY 5.........
MACHINE COMPONENTS 7.............
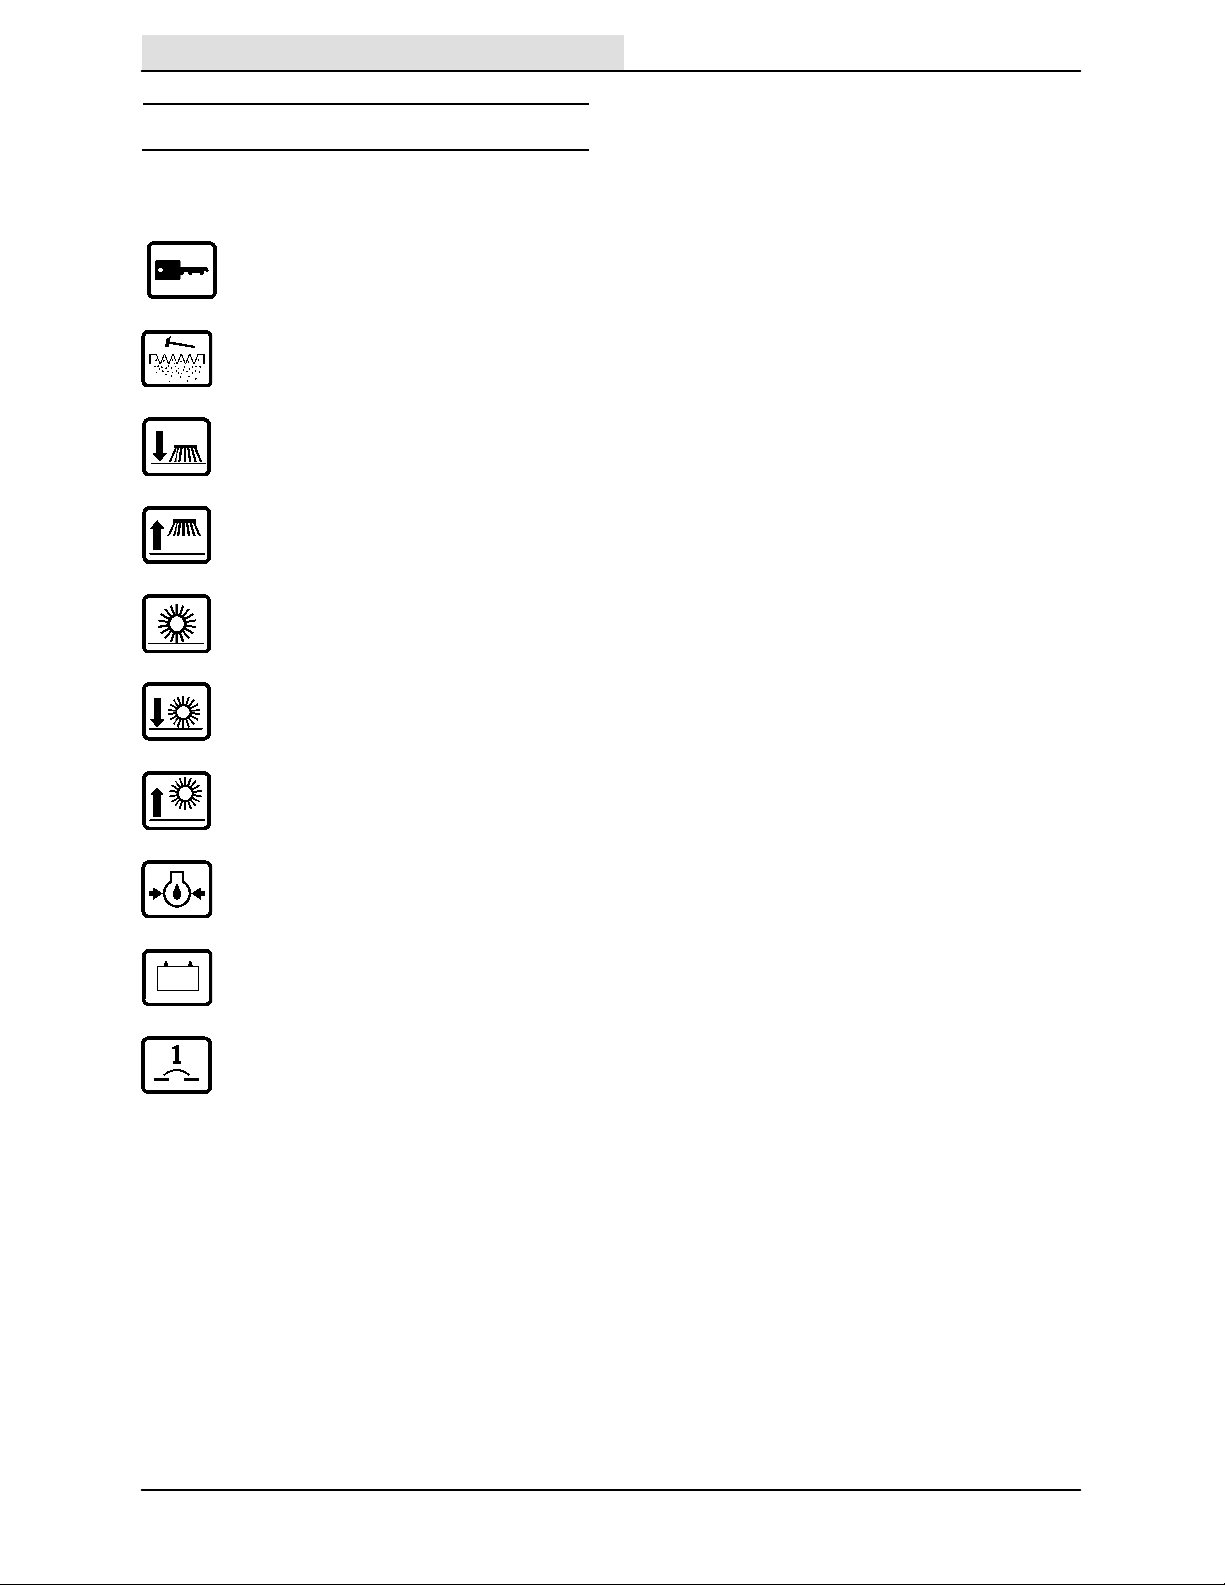
SYMBOL DEFINITIONS 8................
CONTROLS AND INSTRUMENTS 9......
OPERATION OF CONTROLS 10..........
DIRECTIONAL CONTROL LEVER 10...
CLUTCH HANDLE 12..................
MAIN BRUSH LEVER 12...............
SIDE BRUSH LEVER 13...............
ENGINE CHOKE KNOB 13.............
LOW OIL WARNING INDICATOR 13....
LOW BATTERY CHARGE
INDICATOR 14.....................
STEERING BAR 14...................
STEERING BAR ADJUSTMENT
KNOBS 14........................
IGNITION KEY SWITCH 15............
HOURMETER 15.....................
VACUUM WAND 15...................
CIRCUIT BREAKER 16................
THERMO SENTRYt16...............
FILTER SHAKER SWITCH 16..........
HOW THE MACHINE WORKS 17..........
PRE-OPERATION CHECKLIST 17.........
CHANGING AN LPG TANK 19................
STARTING THE MACHINE 21.............
SWEEPING AND BRUSH
INFORMATION 22....................
SWEEPING 23..........................
STOP SWEEPING 24....................
EMPTYING THE DEBRIS HOPPER 26.....
STANDARD HOPPER 26.................
HOPPER DUMP ASSIST
HANDLE (OPTION) 27.................
REPLACING THE BAG FILTER 28.........
CLEANING THE FILTER
COMPARTMENT 29...................
POST-OPERATION CHECKLIST 30........
OPERATION ON INCLINES 30............
OPTIONS 31..........................
WIDE TRACK TIRES AND HEAVY DUTY
CASTERS 31......................
MACHINE TROUBLESHOOTING 32.......
MAINTENANCE 33.........................
MAINTENANCE CHART 33...............
LUBRICATION 34........................
ENGINE 34..........................
HEAVY DUTY CASTERS (OPTION) 34..
FUEL SYSTEM 35.......................
FUEL FILTER AND SEDIMENT BOWL 35
GAS VALVE 35.......................
ENGINE 36..........................
AIR FILTER 36........................
SPARKPLUG 36......................
Page
SKIRTS AND SEALS 37..................
MAIN BRUSH SKIRTS 37..............
HOPPER DUST SEAL 37..............
REAR SKIRT 37......................
HOPPER LIP SKIRT 38................
FILTER COMPARTMENT
DOOR SEAL 38....................
VACUUM INLET PLATE 38................
CLEANING THE PANEL FILTER 39.........
BRUSHES 40..........................
MAIN BRUSH 40......................
REPLACING THE MAIN BRUSH 40..
CHECKING AND ADJUSTING MAIN
BRUSH PATTERN 42............
ROTATING THE MAIN BRUSH 43....
SIDE BRUSH(ES) 44..................
REPLACING THE SIDE
BRUSH(ES) 44..................
ELECTRIC MOTORS 44..................
BELTS AND CHAINS 45..................
VACUUM FAN BELT 45................
MAIN BRUSH BELT 45................
STATIC DRAG CHAIN 45..............
CLUTCH CABLE 45......................
TIRES 46...............................
PUSHING AND TRANSPORTING
THE MACHINE 47......................
PUSHING THE MACHINE 47.........
TRANSPORTING THE MACHINE 47..
STORING MACHINE 49...................
SPECIFICATIONS 50........................
GENERAL MACHINE
DIMENSIONS/CAPACITIES 50..........
GENERAL MACHINE PERFORMANCE 50...
POWER TYPE 51.........................
ELECTRIC MOTORS 51...................
TIRES 51................................
MACHINE DIMENSIONS 52................
INDEX 53...................................

CONTENTS
3640 330580 (12--00)
2

SAFETY PRECAUTIONS
3
3640 330580 (2--08)
SAFETY PRECAUTIONS
The following symbols are used throughout this
manual as indicated in their description:
WARNING: To warn of hazards or
unsafe practices that could result in
severe personal injury or death.
FOR SAFETY: To identify actions that
must be followed for safe operation of
equipment.
The machine is suited to sweep disposable
debris. Do not use the machine other than
described in this Operator Manual. The machine
is not designed for use on public roads.
The following information signals potentially
dangerous conditions to the operator or
equipment:
WARNING: Heavy hopper. Get help to
handle.
WARNING: Brush throws debris. Stop
motor before lifting hopper.
WARNING: Moving belt and fan. Keep
away.
WARNING: Engine emits toxic gases.
Severe respiratory damage or
asphyxiation can result. Provide
adequate ventilation. Consult with your
regulatory agency for exposure limits.
Keep engine properly tuned.
FOR SAFETY:
1. Do not operate machine:
-- Unless trained and authorized.
-- Unless operation manual is read and
understood.
-- In flammable or explosive areas unless
designed for use in those areas.
2. Before starting machine:
-- Check for fuel leaks.
-- Keep sparks and open flame away
from refueling area.
-- Make sure all safety devices are in
place and operate properly.
3. When using machine:
-- Do not pick up burning or smoking
debris, such as cigarettes, matches or
hot ashes
-- Go slowly on inclines and slippery
surfaces.
-- Use care when reversing machine.
-- Do not carry riders on machine.
-- Always follow safety and traffic rules.
-- Report machine damage or faulty
operation immediately.
4. Before leaving or servicing machine:
-- Stop on level surface.
-- Move directional lever into Park
position.
-- Turn off machine and remove key.
5. When servicing machine:
-- Avoid moving parts. Do not wear loose
jackets, shirts, or sleeves when
working on machine.
-- Use hoist or jack that will support the
weight of the machine.
-- Wear eye and ear protection if using
pressurized air or water.
-- Disconnect battery connections before
working on machine.
-- Keep flames and sparks away from
fuel system service area. Keep area
well ventilated.
-- Avoid contact with battery acid.
-- Use Tennant supplied or equivalent
replacement parts.
6. When loading/unloading machine
onto/off truck or trailer:
-- Turn off machine.
-- Use truck or trailer that will support
the weight of the machine.
-- Use winch. Do not push the machine
onto/off the truck or trailer unless the
load height is 380 mm (15 in) or less
from the ground.
-- Block machine tires.
-- Tie machine down to truck or trailer.

SAFETY PRECAUTIONS
3640 330580 (01--00)
4
The following safety labels are mounted on the
machine in the locations indicated. If these or any
labels become damaged or illegible, install a new
label in its place.
FOR SAFETY LABEL -- LOCATED
ON THE CONTROL PANEL
TOXIC GASES LABEL -- LOCATED
ON THE CONTROL PANEL
BACK STRAIN LABEL -- LOCATED ON THE
ENGINE COMPARTMENT COVER
FLYING DEBRIS WARNING LABEL -- LOCATED
ON THE MOTOR COMPARTMENT COVER
350841

OPERATION
5
3640 330580 (01--00)
OPERATION
OPERATOR RESPONSIBILITY
-The operator’s responsibility is to take care
of the daily maintenance and checkups of
the machine to keep it in good working
condition. The operator must inform the
service mechanic or supervisor when the
maintenance intervals are required as stated
in the MAINTENANCE section of this
manual.
-Read this manual carefully before operating
the machine. View the operation video
supplied with the machine.
FOR SAFETY: Do not operate machine,
unless operation manual is read and
understood.
-Check the machine for shipping damage.
Check to make sure the machine is
complete per shipping instructions.
-Change the LPG tank per the CHANGING
AN LPG TANK section of this manual.
-Fill the gas tank.
FOR SAFETY: When servicing machine,
keep flames and sparks away from fuel
system service area. Keep area well
ventilated.
-Check the engine oil.
0
7
3
2
4

OPERATION
3640 330580 (01--00)
6
-Keep your machine regularly maintained by
following the maintenance information in this
manual. We recommend taking advantage
of a regularly scheduled service contract
from your Tennant representative.
-Order parts and supplies directly from your
authorized Tennant representative. Use the
parts manual provided when ordering parts.
-After the first 50 hours of operation, follow
the recommended procedures stated in the
MAINTENANCE CHART.

OPERATION
7
3640 330580 (01--00)
MACHINE COMPONENTS
A
B
C
DE
F
G
H
350659
A. Debris hopper
B. Vacuum wand (option)
C. Filter compartment
D. Main brush
E. Side brush
F. Accessory bin
G. Engine compartment
H. Vac wand extension (option)

OPERATION
3640 330580 (01--00)
8
SYMBOL DEFINITIONS
These symbols identify controls, displays, and
features on the machine:
Start
Filter shaker switch
Side brush(es) down and on
Side brush(es) up and off
Main brush down pressure
Main brush down and on
Main brush up and off
Low engine oil indicator
Low battery / alternator indicator
Circuit breaker #1

OPERATION
9
3640 330580 (01--00)
CONTROLS AND INSTRUMENTS
A
B
C
D
E
FF
G
H
I
J
K
NM L
O
350657
A. Main brush lever
B. Side brush lever
C. Directional control lever
D. Clutch handle
E. Steering bar
F. Steering bar adjustment knobs.
G. Vacuum wand (option)
H. Filter shaker switch
I. Engine choke knob
J. Ignition key switch
K. Hourmeter
L. Circuit breaker
M. Low battery charge indicator
N. Low oil warning indicator
O. Beverage holder

OPERATION
3640 330580 (01--00)
10
OPERATION OF CONTROLS
DIRECTIONAL CONTROL LEVER
The directional control lever controls the
machine’s speed and direction of travel. The
machine has three forward speeds: second, first,
and third; one reverse speed; as well as neutral
and park settings.
The speed selection pattern is designed to allow
the operator to move the control lever quickly
between second speed and reverse. The neutral
setting is located midway between these
positions. Since reverse and second speed will be
used most often for routine sweeping, the area
between these positions is called the working
range. The directional control lever positions are
labeled near the base of the directional control
lever in the following order:
PARK: Pull the directional control lever toward you
as far as it will go. The directional control lever
should always be in the PARK position when
starting, stopping, or leaving the machine
unattended while the machine is powered on.
REVERSE: Move the directional control lever to
the left, then one position forward from the PARK
position. The machine will move backward when
the clutch handle is squeezed.

OPERATION
11
3640 330580 (01--00)
NEUTRAL: Push the directional control lever
halfway between the REVERSE position and the
SECOND SPEED position. The machine will not
move forward when the clutch handle is squeezed
while in NEUTRAL. Do not leave the machine
powered on in NEUTRAL while the machine is
unattended.
SECOND SPEED: Push the directional control
lever one position forward from the NEUTRAL
position. The machine will move forward when the
clutch handle is squeezed. Use SECOND SPEED
for normal sweeping.
FIRST SPEED: Move the directional control lever
to the left, then one position forward from the
SECOND SPEED position. The machine will
move forward when the clutch handle is
squeezed. Use FIRST SPEED on inclines and
slippery surfaces.
THIRD SPEED: Move the directional control lever
to the left, then forward as far as it will go. The
machine will move forward when the clutch handle
is squeezed. Use THIRD SPEED for sweeping in
wide open areas or for transport to the dumping
area when the hopper is full.

OPERATION
3640 330580 (01--00)
12
CLUTCH HANDLE
The clutch handle engages the machine’s
propelling system when the direction control lever
is positioned in a forward or reverse position. The
farther the clutch handle is squeezed toward the
steering bar, the faster the machine will travel, up
to its maximum in the selected position.
Braking: To stop the machine at any time,
regardless of direction of travel, release the clutch
handle. The machine will immediately slow down,
then stop completely.
MAIN BRUSH LEVER
The main brush lever raises and lowers the main
brush. The main brush rotates automatically when
the machine is powered on. The main brush
rotates whether in the raised or lowered position.
Main brush down: Move the main brush lever to
the left, out of the raised position, then allow it to
fall forward into the sweeping position.
Main brush up: Move the main brush lever
backward, then to the right to raise and set the
main brush in the raised position.

OPERATION
13
3640 330580 (01--00)
SIDE BRUSH LEVER
The side brush lever raises and lowers the side
brush. The side brush will rotate automatically
when lowered. The side brush does not rotate
when raised.
Side brush down and on: Move the side brush
lever to the right, out the raised position, then
forward to the desired brush down pressure
setting.
Side brush up and off: Move the side brush lever
backward, then to the left to raise and set the side
brush in the raised position.
ENGINE CHOKE KNOB
The engine choke knob controls the choke.
On: For cold starting, pull the engine choke knob
out.
Off: Push the choke knob in.
LOW OIL WARNING INDICATOR
The low oil warning indicator will illuminate when
the engine oil level drops below a certain level.
When the engine oil level is too low, the engine
will automatically shut itself off.
The engine will not restart and the indicator will
not go out until the proper amount of engine oil
has been added.

OPERATION
3640 330580 (01--00)
14
LOW BATTERY CHARGE INDICATOR
The low battery charge indicator will illuminate
when the battery charging system is not
functioning properly. If the light remains on after
the engine starts, contact TENNANT service
personnel.
STEERING BAR
Use the steering bar to steer the machine.
STEERING BAR ADJUSTMENT KNOBS
The steering bar adjustment knobs allow you to
move and lock the steering bar into a position that
is most comfortable for you. Pull both adjustment
knobs out at once to raise or lower the steering
bar.

OPERATION
15
3640 330580 (01--00)
IGNITION KEY SWITCH
The ignition switch turns the engine on and off
using a key.
On: Turn the key clockwise as far as it will go and
release it to the on position.
Off: Turn the key counterclockwise.
HOURMETER
The hourmeter records the number of hours the
machine has been in use. Use this information as
a guide to indicate when routine maintenance
needs to be performed.
VACUUM WAND (OPTION)
The vacuum wand uses the machine’s vacuum
system. Use the vacuum wand to pick up debris in
narrow or partially enclosed areas that cannot be
swept by the machine. Fully insert the vacuum
wand into the machine when not in use.

OPERATION
3640 330580 (2--06)
16
CIRCUIT BREAKER
The circuit breaker is a resetable electrical circuit
protection device designed to stop the flow of
current in the event of a circuit overload. If the
circuit breaker is tripped, reset it manually by
pressing the reset button after the breaker has
cooled down.
If the overload that caused the circuit breaker to
trip is still present, the circuit breaker will continue
to stop current flow until the problem is corrected.
The circuit breaker Is located on the instrument
panel.
The chart below shows the circuit breaker and the
electrical components it protects.
Circuit
Breaker Rating Circuits Protected
CB1 15 A Ignition
Side brush(es)
Shaker motor
THERMO SENTRYt
The Thermo Sentrytwill automatically turn the
machine’s engine off in case of a fire in the
hopper. If the Thermo Sentrytis tripped, it will
automatically reset itself after cooling down.
FILTER SHAKER SWITCH
The filter shaker switch activates the filter shaker
motor. The shaker motor shakes debris from the
panel filter. Machines with a bag filter do not have
a filter shaker motor or switch.
Make sure the filter compartment door is closed
properly, then press the switch. The filter shaker
motor will shake the filter for 15 seconds, then
stop automatically. Remove loose debris from the
panel filter compartment door when the shaker
motor stops.
NOTE: The filter shaker will operate while the
engine is running. Be sure to turn the engine off
before shaking the filter.

OPERATION
17
3640 330580 (01--00)
HOW THE MACHINE WORKS
The operator steers the machine by using the
steering bar. The directional control lever controls
the forward or reverse direction of the machine.
The clutch handle engages the propelling system
when it is squeezed toward the steering bar. The
clutch handle will also stop the machine when it is
released.
The side brush sweeps debris into the path of the
main brush. The main brush sweeps debris from
the floor into the hopper. The vacuum system
pulls dust and air through the main brush
compartment and the dust filter.
When sweeping is finished, press the filter shaker
switch (option) to clean the panel filter (option) if
the machine has these options. Clean the panel
filter compartment. Empty the hopper.
If the machine has a bag filter, check the filter bag
and replace if full. Empty the hopper.
PRE-OPERATION CHECKLIST
-Check under the machine for fluid leaks
(fuel, oil).
-Check fuel level.
FOR SAFETY: When servicing machine,
keep flames and sparks away from fuel
system service area. Keep area well
ventilated.

OPERATION
3640 330580 (01--00)
18
-Check the engine oil level.
-LPG powered machines: Check for LPG
odor or frosting on hoses or components
indicating an LPG leak.
-Check controls for proper operation.
-Check maintenance records to determine
service requirements.
Table of contents
Other Tennant Floor Machine manuals

Tennant
Tennant 1220 Product manual

Tennant
Tennant 5700 User manual

Tennant
Tennant T3e User manual

Tennant
Tennant 1180 Product manual

Tennant
Tennant 6200D User manual

Tennant
Tennant 2500XPD User manual

Tennant
Tennant 7400 User manual

Tennant
Tennant S30 Training manual

Tennant
Tennant Alfa SA2000 User manual

Tennant
Tennant sentinel User manual

Tennant
Tennant 2360 Product manual

Tennant
Tennant 6200LP User manual

Tennant
Tennant EC2 Product manual

Tennant
Tennant 5700XP User manual

Tennant
Tennant ATLV 4300 Training manual

Tennant
Tennant T7 User manual

Tennant
Tennant 6400IC User manual

Tennant
Tennant E5 User manual

Tennant
Tennant 140E Product manual

Tennant
Tennant 750 User manual