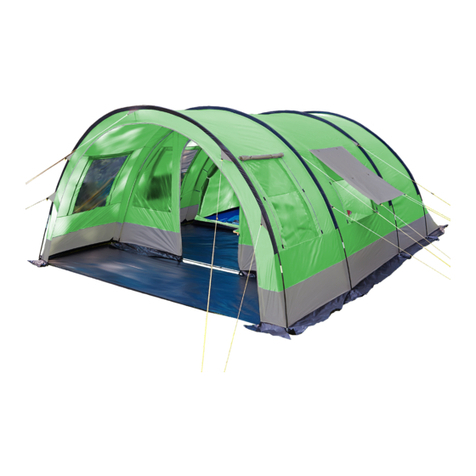
Tentandtable.com BT-PP48WT4P User manual

Assembly
Instructions
SECTIONAL
POLE TENTS
30´x40´/ 40´x40´
30´x60´/ 40´x60´
30´x80´/ 40´x80´
30´x100´/ 40´x100´

• Aluminum side and center poles
• Rope and grommet lace lines
• Ring and snap rain flap closures
• Sealed valances with velcro closures
• Removable ropes (standard on 30´/40´)
• Side and center pole tie ropes
• Sidewall rope (permanently installed)
• Storage bags
• Guy ropes (one per pole— two per
corner pole)
• Tent canopy (16 oz., blockout vinyl)
Canopy-top— in 2 pieces, plus any
mid-section extenders
See (appendix A.)for layout options
(Stake Note: to expedite tent orders we
include available stakes— this could be
40˝single or double head option)
Inspect the tent to make sure that
there are no holes or tears
• Recommended tools: sledge hammer/
step ladders/ tarp(s)/ tape measure
Note: Tent and Table tents are designed
for 1/2˝ rope or 2˝ webs and ratchet
• When building or assembling anything
above shoulder height, wear a hard hat
• Steel toe boots are recommended
• Inspect the site, look for overhead and
underground obstructions—such as
utilities
• Call your local utility to have utility
lines marked (call 3–5 days ahead)—
call811.com is a good resource—
‘click’ 811 in Your State
• Inspect all ropes and tie lines
• Inspect poles, making sure there are
no bends or breaks
• Replace or repair any items in poor
condition
STEP 2. SAFETY CHECK LIST
STEP 1. CHECK ITEM LIST
Center Poles (tent size/quantity)
30x40 (1) / 30x60 (x2) / 30x80 (x3) / 30x100 (x4)
40x40 (1) / 40x60 (x2) / 40x80 (x3) / 40x100 (x4)
Canopy- section example
Guy ropes
Side Poles (tent size/quantity)
30x40 (14) / 30x60 (18) / 30x80 (22) / 30x100 (x26)
40x40 (16) / 40x60 (20) / 40x80 (24) / 40x100 (x28)
Stakes (tent size/quantity)
30x40 (18) / 30x60 (22) / 30x80 (26) / 30x100 (30)
40x40 (20) / 40x60 (24) / 40x80 (28) / 40x100 (32)
1
716 832-TENT (8368)
(or)

• Spread tarps (sold separately)
• Unload poles and tent canopy
• Lay canopy over tarp
• Remove slack
• Square the canopy, measure from
corner to corner— measurement should
be the same for second set of corners
• All guy ropes/webs—should be pulled
to the ground, away from canopy
• Lace sections together— start at center
and work outward
• A basic 40ft. tent will have two canopy
sections—with one ‘mid’ section for
every additional 20ft of tent
• Lace the loops and snap the closures,
See (figure A)
Special Note:
• For 30,´ 40´and 60´wide tents, a two
piece crown connector is provided,
to help secure the sections together
•
Take it up through the center grommet(s),
then cap it with the nut end
• The center pole would
then get installed
in the connector
STEP 3. LAY OUT TENT
STEP 4. LACING CANOPY
Position tarp and tent in the exact position desired
Lay tarp down first
Mid-section
Center hole
opening and
grommet
Closure
Section 1
Section 2
Closure-ring
Rain Flap
Lace loop
(start)
(outer end)
End-section
End-section
Section seam
Lay tent on top of tarp
Stretch ropes away from canopy
• Starting at Center ridge, push first
loop through corresponding grommet
• Continue lacing the loops, from the
middle out—pull tight at every loop,
as you go
• Snap the closures and close rain flap
as you progress outward
• When you get toward the outer end, lace
the last two or three loops backwards
and tie off the connecting loops
• Last, attach sections using ring and clip
FIGURE A.
2
716 832-TENT (8368)

• Lay all poles, near grommet opening,
touching the edge of canopy
• Poles should be perpendicular to
tent (except corner poles, see drawing)
• Set aside center pole(s)
• Lay stakes near each pole
• Mark stake line (see figure B)
• See (appendix A) for other sizes
and pole positions
• Double check that poles are touching
edge of canopy
• Using poles as a guide, measure 1 foot
in from end for side poles—
(approximately 6 feet from edge of
valance)— and 1 foot in / 2 feet over
for corner poles
• Hammer the stakes, leaving 6˝showing
above the ground
(sledge hammer required)
FIGURE B. - STAKE LOCATIONS
30´
10´
40´
Stake Line
Stake Line
Poles
STEP 5. POSITION POLES (30X40 TENT)
Poles
Approx. 6ft.
from valance
(sides)
1FT. in
(corners)
1FT. in
&
2FT. over
• Stakes should be vertical as they go
down
• Attach corner poles and guy ropes first
• Attach guy ropes—remember to leave
enough slack to raise poles,
See (figure B.)
STEP 6. HAMMERING STAKES
Correct Incorrect
3
716 832-TENT (8368)

• Locate metal grommet holes,
on the underside of the canopy
• Insert pin end of pole
• Start with corner poles
• All four corner poles should be
installed FIRST
• Stand poles up—this is done in steps,
a 60º angle is require, for each corner
pole—then vertical, after all four
corners are ready
• Ropes should be attached
• A commonly used knot for securing
a rope to stake is the clove-hitch
1.) Make two loops
2.) Cross loops by placing second loop
over the first
3.) Place the combined loops over stake
Option: loops can be form directly
on stake
4.) Pull on both ends to tighten rope
Note: outward force tightens and
inward force loosens the knot—when
making adjustments
5.) Excess line should be pulled half-
way up the rope and tied off
• Grab center pole(s) walk under canopy
(two people required)
• Insert center pole pin through metal
plate and grommet, at center of canopy
• To raise pole, have one person hold the
pole near the upper half and person
two, at the bottom end—raise upward
and vertical
• For multiple poles; Insert first pole
(as above), keep angle at 45 degrees to
allow more stability, as you work on the
other pole(s)
• Install next center pole in vertical
position—then, go back to first pole,
lift and adjust to vertical
STEP 8. RAISING CENTER POLE(S)
60º angle
towards
center
45º angle
towards center
STEP 7. RAISING CORNER POLES
Multiple
center poles
(cutaway view— showing inside of canopy)
If your tent is 60ft. or longer start with one center pole
3.) 4.)
1.)
2.)
FIGURE B. CLOVE-HITCH KNOT
4
716 832-TENT (8368)

16´-(30ft.)
18´-(40ft.)
7´
(30´wide tents)
includes 16´center pole
(40´wide tents)
includes 18´center pole
• Continue around the tent raising all
side poles—now, at a vertical angle
• Adjust corner poles (exactly vertical)
and tighten ropes before finishing the
side poles
• 3 people needed for this next step:
have one person stand at the outside,
center of tent—
Visually check center pole alignment,
as it relates to horizontal center
• Two others should be adjusting and
Straightening center poles
• Next, readjust side poles— tighten ropes
• Tighten guy ropes accordingly, to correct
any lean at top of tent
(careful not to over correct)
• Secure center poles with tie ropes—
to prevent strong winds from detaching
pole pins from canopy
• A.) Pull tie rope down about 6 ft.
begin first loop
• B.) Then, pull it back taut, to create
a locked tension
• C.) Wrap the rope around the pole
4x, to create a tight coil
• D.) Lastly, pull the end of the rope
through the top loop
• Secure other poles to canopy, using
tie ropes
FINISHED TENT
A. B. C. D.
STEP 10. SECURE CENTER POLES
STEP 9. STRAIGHTENING POLES
With one eye closed,
visually align center poles
Stand in center
of tent, outside
of canopy
(cutaway view— showing all center poles)
(2) Guy ropes
per corner pole
(1) per side pole 5
716 832-TENT (8368)
20´
10´
20´
20´

Mid Section Kits
(sold separately, to extend length)
30ft Wide
Mid Kit
(example) See TentandTable.com for more information.
Mid-section (only) kits available
for 30ft. and 40ft. wide tents—
to extend your sectional tent
6
1.) Loosen side pole ropes
2.) Remove center pole(s)
3.) Roll out tarp, under tent
4.) Remove side poles
5.) Undo all velcro (if applicable)
6.) Remove corner poles
7.) Unlace the canopy top—
unclip the rain flap to
access loops
8.) Fold canopy sections,
see (figure C)
9.) Bag the canopy sections
• Fold to center • Fold those halves
to center
• Fold one side over
• Roll tightly
FIGURE C.
STRIKE PROCEDURE
716 832-TENT (8368)
16´
7´
20´
30´ 20´
20´
(x4)

Appendix A.
• Plans— showing pole location
and section seams
30X40
TENT
30X60
TENT
30X100
TENT
30X80
TENT
40X40
TENT
40X60
TENT
40X100
TENT
40X80
TENT
Pole positions
Canopy Section Seams
(gray line)
This manual suits for next models
6
Table of contents
Other Tentandtable.com Tent manuals
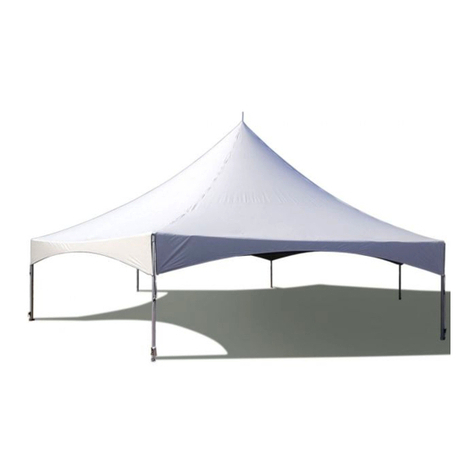
Tentandtable.com
Tentandtable.com 40 Hex User manual
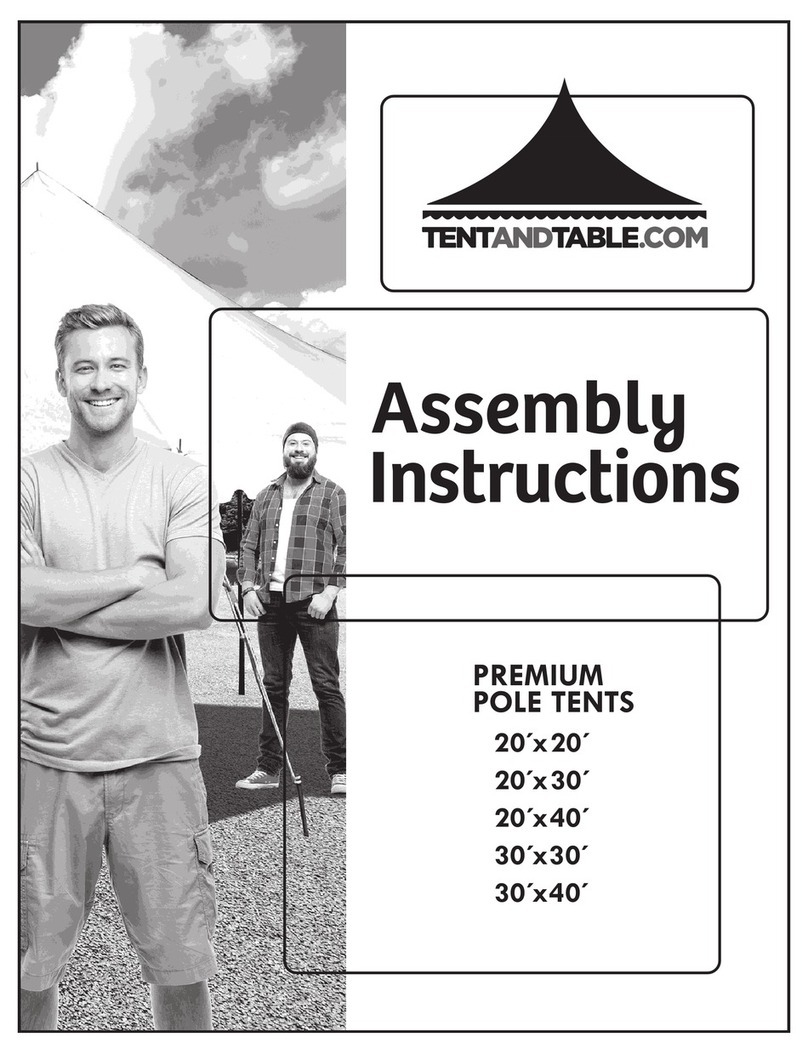
Tentandtable.com
Tentandtable.com Premium Pole Tent 20' x 20' User manual
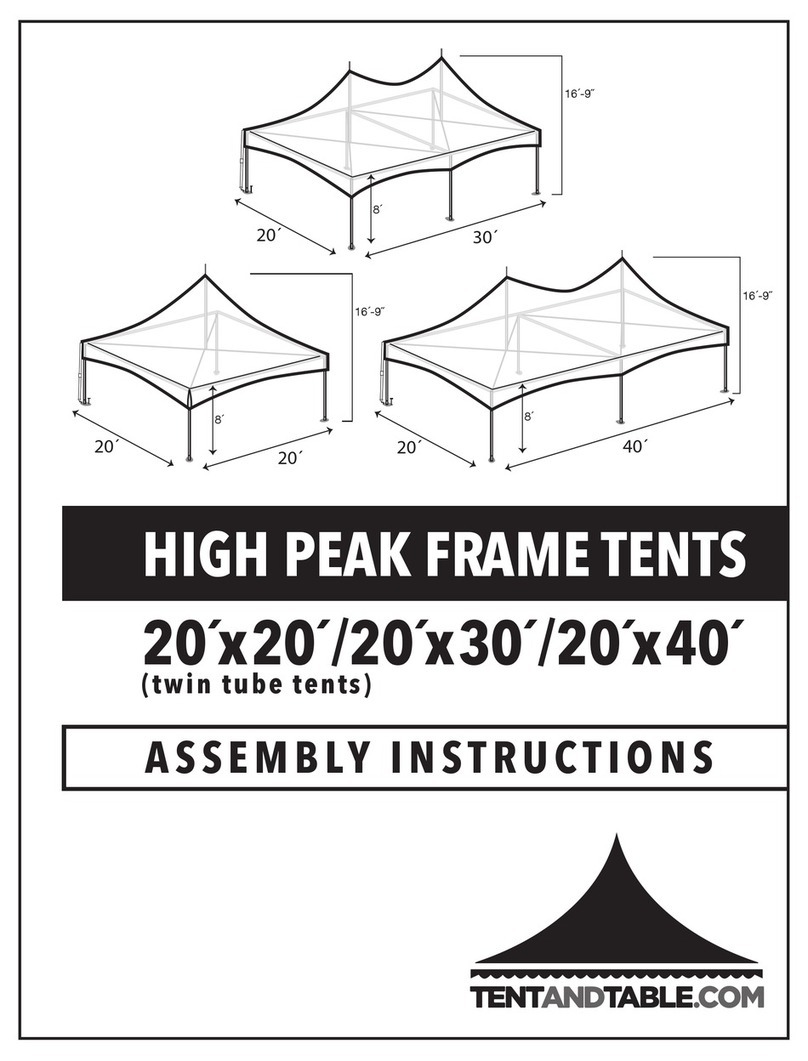
Tentandtable.com
Tentandtable.com 716 832-TENT User manual
Tentandtable.com
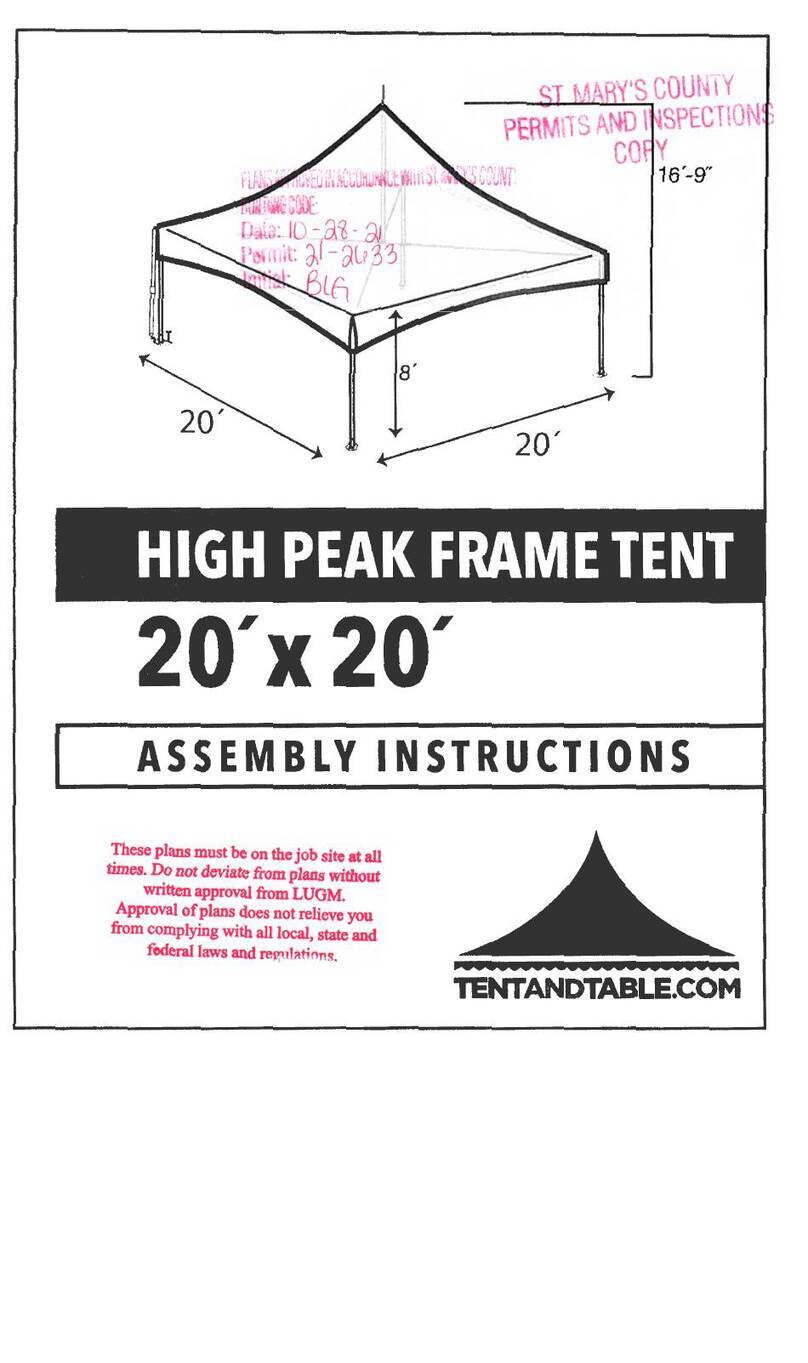
Tentandtable.com HIGH PEAK FRAME TENT 20 x 20 User manual
Tentandtable.com
Tentandtable.com WEST COAST FRAME TENT 20x40 User manual
Popular Tent manuals by other brands

SMRT TENT
SMRT TENT SUMMIT SUITE owner's manual

RioOutdoors
RioOutdoors 6F-DH installation instructions
ShelterLogic
ShelterLogic Pop-Up 22538 Assembly instructions
Snow Peak
Snow Peak Land Breeze Pro Air Duo product manual

anko
anko 43-170-920 instruction manual

Vispronet
Vispronet Event Tent Select 3x4 m Assembly instructions

