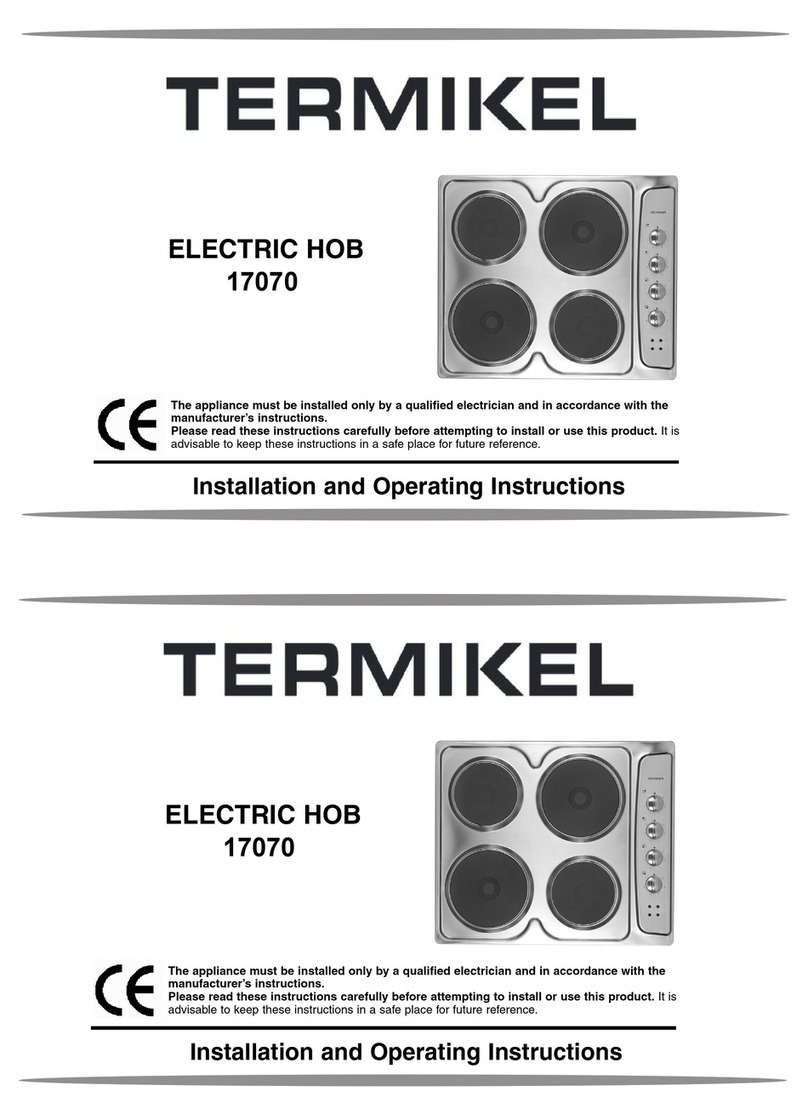
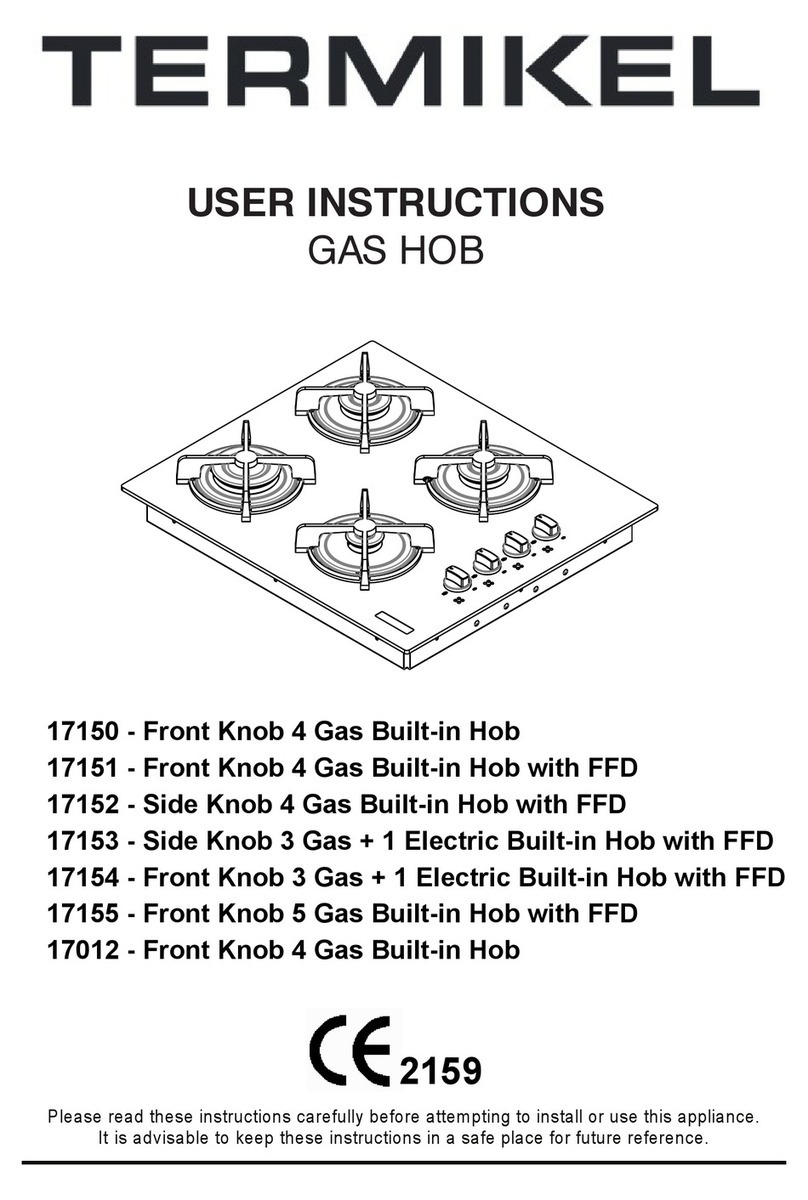
Termikel 17056 User manual

Please read these instructions carefully before attem pting to install or use this appliance.
It is advisable to keep these instructions in a safe place for future reference.
17056
USER INSTRUCTIONS
GAS HOB

--
Introduction
Thank you for choosing this Sovereign appliance. It has been
designed to give years of trouble-free use provided it is installed
and maintained correctly.
Please read these instructions carefully before installing or using
your appliance. It is advisable to keep your purchase and installation
receipts with these instructions in a safe place for future reference.
Included is som e important safety inform ation in addition to
guidelines and recomm endations that will enable you to
take full advantage of all the functions available.
This quality appliance has been tested and certified to m eet all
applicable UK electrical and safety standards.
This appliance m ust be installed and connected in accordance
with current regulations by a qualified electrician.
After unpacking the appliance ensure that there is no visible
damage. If the appliance has been dam aged during transit, do
not use it, contact your retailer im mediately.
1
Termikel appliance. It has been
Termikel appliance. It has been
Termikel appliance. It has been
Termikel appliance. It has been
Termikel appliance. It has been
Termikel appliance. It has been
Termikel appliance. It has been
Termikel appliance. It has been
Termikel appliance. It has been
electrical and safety standarts.
CONTENTS:
Section 1. Installation
Section 2. Safety Advice
Section 3. Operating the Appliance
Section 4. Maintenance

1 .7 5 k w B u rn e r
D escription O f Th e Appliance
S tain less S te el S u rface
1 .7 5 k w B u rn e r
G as
B u rn er
C o n tro l
Knobs
S p a rk
Ig n itio n
3 .0 k w ‘R a p id ’ B u rn e r 1 .0 k w B u rn e r
P a n S u p p o rt
3
--
MODEL
HOB TYPE Ϯ GAS GLASS HOB
GAS TYPE / PRESSURE / ( II2H3BP )
SMALL BUERNER
MEDIUM BURNER
BIG BURNER
TRIPLE BURNER -
ELECTRICAL HOTPLATE -
TOTAL POWER
IGNITION AUTOMATIC
SECURITY TAP WITH LOC
FLAME FAILURE DEVICE YES
NOB POSITION &ZKEd
VOLATAGE- CURRENT 220 V- 6 A
FREQUENCY
WEIGHT
DIMENSIONS
WITDTH ( MM) Ϯϵ0 mm
DEPTH ( MM) 510 mm
HEIGHT ( MM) 85 mm
LPG ( G30 30 mbar )
Ͳ
ϭx1.75 w
1x3 w
ϰ75 w
50-60 Hz
ϱ g
Injector Diameters of Cooker Burner
Gas Type Small Burner Medium Burner
Big Burner
G 20 20 mBar
G 25 25 mBar
G 30 30 mBar
G 31 37 mBar
G 30 50 mBar
Natural Gas
Consumption (kW/h)
LPG Consumption
(gr/h)
0,72
0,72
0,50
0,50
0,43
1
73
0,97
0,97
0,65
0,65
0,58
1,75
127
1,15
1,15
0,85
0,85
0,75
3
218
SEAL
BUILT-IN HOB
BENCH
18
BRACKET
^ĞĐƚŝŽŶŽĨzŽƵƌŽŽŬĞƌ
1-
2- ŝŐƵƌŶĞƌ
DĞĚŝƵŵƵƌŶĞƌ ϯ-1 NoƵƌŶĞƌŽŶƚƌŽů<ŶŽď
ϰ-2 NoƵƌŶĞƌŽŶƚƌŽů<ŶŽď
1
2
3
4
260
480

Section 1. Installation
1.1. Appliance Dim en sions
The following dim ensions are supplied for guidance purposes only. You
should accurately measure your appliance and cabinetry before
commencing installation
Dimensions shown are in mm
Your hob is supplied with a fixing kit and seal to ensure that the hob is
securely fitted/sealed to the work surface.
1.2. G eneral Installation Advice
The L aw states that gas appliances m u st be in stalled by a fully
qu alified G a s E n gine er!
R e m o v e a ll p a c k a g in g m a te ria ls a n d a n y p ro te c tiv e film a p p lie d to th e
a p p lia n c e s u rfa c e s .
W ip e th e s ta in le s s s te e l s u rfa c e w ith a s o ft d a m p c lo th .
The kitchen/room where this appliance is to be installed must have
adequate ventilation. Your Gas Engineer will inspect the room and
advise you accordingly.
A cooker hood may be installed above the hob.
A m inim um distance of 650mm must be m aintained between the hob
and a cooker hood positioned directly above.
5
--
1
2
3
4
260
480

This hob should not be installed where it can be affected by draughts.
Your G as Engineer will inspect the proposed position of installation
and advise you accordingly.
This hob should be connected to the natural gas supply by means of an
approved flexible hose (not supplied).
The ignition is m ains operated. Connect the appliance cable/13amp
plug to an adjacent 13amp socket ensuring that the cable is kept well
clear of surfaces that are likely to become hot.
A 3amp fuse is fitted to the plug.
Under no circumstances should you ever check for gas leaks using a
match or naked flame.
This applian ce as supplied is designed to run on natural gas
only. How ever, should you w ish to operate your appliance on
L P G you r G a s E n gin ee r m a y be ab le to c arry ou t a con ve rs ion
for you. LP G conversion kits are available from S overeign at an
additional cost.
Any changing, adjustment or cleaning of gas injectors must be carried
out by a suitably qualified G as Engineer.
Full details of gas pressure requirements etc are provided on the
appliance data plate.
Section 2. Safety Advice
∞
N e v e r a llo w c h ild r e n to p la y w ith th is a p p lia n c e o r o p e r a te t h e
a p p lia n c e u n s u p e rv is e d .
∞
T h is a p p lia n c e is m a n u fa c tu re d a n d in te n d e d fo r D O M E S T IC u s e
o n ly . T h e g u a ra n te e o ffe r e d w ith th e a p p lia n c e is n o t v a lid fo r a n y
in s ta lla tio n in a c o m m e r c ia l e n v ir o n m e n t.
∞
A lw a y s tu r n o ff th e e le c tric ity s u p p ly b e fo re c le a n in g th e e x te r n a l
s u rfa c e s o f th e a p p lia n c e .
∞
T h e e x te r n a l s u rfa c e s o f th is a p p lia n c e g e t h o t d u r in g u s e . T a k e
c a re w h e n u s in g th e a p p lia n c e a n d k e e p c h ild re n w e ll a w a y .
∞
T h is a p p lia n c e m u s t b e in s ta lle d b y a s u ita b ly q u a lifie d G a s
E n g in e e r .
∞
S h o u l d y o u r g a s h o b d e v e l o p a f a u lt , c a l l t h e S o v e r e ig n
S e r v ic e H e l p li n e o n 0 1527 -573010 .
6
--

S ection 3. O perating The Appliance
E a c h b u rn e r is o p e r a te d b y a c o n tr o l k n o b (s e e d ia g r a m b e lo w ).
S e ttin g ‘0 ’ is O F F . T h e s m a ll fla m e s y m b o l is L O W a n d th e la rg e fla m e
s y m b o l is H IG H .
T o ig n ite a b u rn e r, p re s s a n d tu r n th e c o rr e s p o n d in g c o n tr o l k n o b a n ti -
c lo c k w is e u n til th e la rg e fla m e s y m b o l is re a c h e d a n d p r e s s th e ig n itio n
b u tto n u n til th e b u r n e r lig h ts . W h e n th e b u r n e r h a s lit a d ju s t th e fla m e
in te n s ity to th e d e s ire d s e ttin g .
Use pans that have a thick, flat solid base. Always ensure that the pan is
positioned central over the relevant burner in order to avoid the pan
becom ing unstable.
Control Knob
1.
operates the Top Right Hand burner (1.75 kw)
Control Knob
2.
operates the Top Left Hand b urner ( 3 kw)
7
--
C o n tro l
K n o b
1.
2.

Section 4. M aintenance
Disconnect the hob from the electricity supply and ensure that it
has been allowed to com pletely cool down before carrying out
cleaning or maintenance.
C le a n th e s ta in le s s s te e l s u rfa c e w ith a d a m p c lo th o r s p e c ia lis t
s ta in le s s s te e l c re a m . D o n o t u s e a b ra s iv e s , c a u s tic c le a n e rs o r
s h a rp o b je c ts
R e m o v e th e p a n s u p p o rts a n d w a s h th e m in w a rm s o a p y w a te r.
T h e g a s b u rn e rs s h o u ld b e c le a n e d re g u la rly in o rd e r to a v o id th e
h a rm fu l b u ild -u p o f s p ills . R e m o v e th e b u rn e r c a p a n d s k irt fro m
th e ‘fix e d ’ b u rn e r b o d y a n d w a s h th e m in w a rm s o a p y w a te r (s e e
d ia g ra m b e lo w ).
W h e n th e a b o v e p a rts a re re m o v e d , c le a n th e a re a a ro u n d th e
b u rn e r b o d y w ith w a rm s o a p y w a te r. G e n tly c le a n a r o u n d th e
in je c to r a n d s p a rk e le c tro d e .
R e fit th e b u rn e r s k irt a n d c a p o n to th e re le v a n t b u rn e r b o d y
e n s u rin g th a t th e y a re p o s itio n e d c o rre c tly .
N .B . T h e b u r n e r w ill
n o t r e - ig n it e i f t h e s k ir t a n d c a p a r e n o t lo c a t e d o n th e b u r n e r
b o d y c o r r e c tly .
O th e r th a n m a in ta in in g th e a p p lia n c e in a c le a n w o rk in g c o n d itio n ,
th e re is n o o th e r ‘u s e r’ m a in te n a n c e th a t n e e d s to b e c a rr ie d o u t.
If y o u r h o b d e v e lo p s a f a u lt d u rin g it s in itia l g u a ra n te e p e rio d
p le a s e c o n ta c t o u r S e rv ic e H e lp L in e . F u ll c o n ta c t d e ta ils a re
p ro v id e d o n P a g e 2 a n d 6 o f th is in s tru c tio n b o o k .
Burner Cap
Burner Sk irt
Injector
Burner Body
8
--

4
Table of contents
Other Termikel Hob manuals
