1
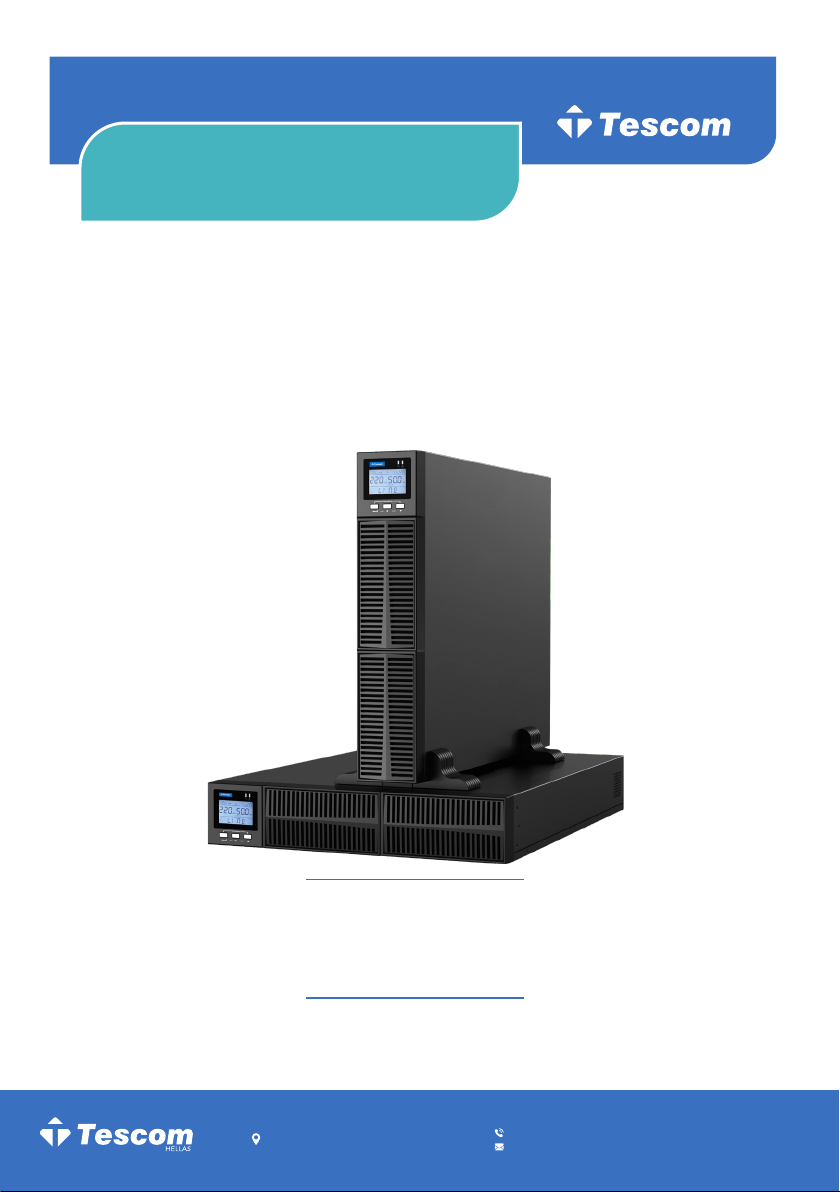
NEOLINE PRO �1/1 �1-3 kVA �ONLINE UPS
USER MANUAL
1 Safety Information
1.1 UPS safety information
⚫Read all safety information and operating instructions carefully before attempting to
install, service or maintain the UPS. Save this manual properly for reuse.
⚫This UPS is intended for indoor use only.
⚫Do not operate this UPS in direct sunlight, in contact with fluids, or where there is
excessive dust or humidity.
⚫Be sure the air vents on the UPS are not blocked. Allow adequate space against
the wall for proper ventilation.
⚫Do not open the UPS case as you will, there is a high risk of electric shocks inside.
All connection/wiring/servicing must be performed by a qualified electrician.
⚫Do not connect to the equipment like hair dryer or electric heater.
⚫Do not use liquid extinguisher if there is a fire, a dry powder extinguisher is
recommended.
CAUTION
UPS has high voltage inside, do not repair it by yourself. If any questions, please
contact local service center or dealer.
1.2 Battery safety information
⚫Environmental factors impact battery life. Elevated ambient temperatures, poor
quality utility power, and frequent short duration discharges will shorten battery life.
Replacing battery periodically can help to keep UPS in normal state and assure
backup time required.
⚫Battery installing or replacing should be performed by a qualified electrician. If you
want to replace the battery cable, please purchase it from our local service center
or distributors to avoid fever and lighter which can cause fire by inadequate power
capacity.
⚫Batteries may cause electric shocks and have a high short circuit current, follow
below requirements before installing or replacing the batteries.
A. Remove wristwatches, rings, jewelry and other conductive materials.
B. Only use tools with insulated grips and handles.
C. Wear insulated shoes and gloves.
D. Do not put the metal tools or parts on the batteries.
E. Before disconnecting the terminals from the batteries, cut off all the loads
to the batteries first.