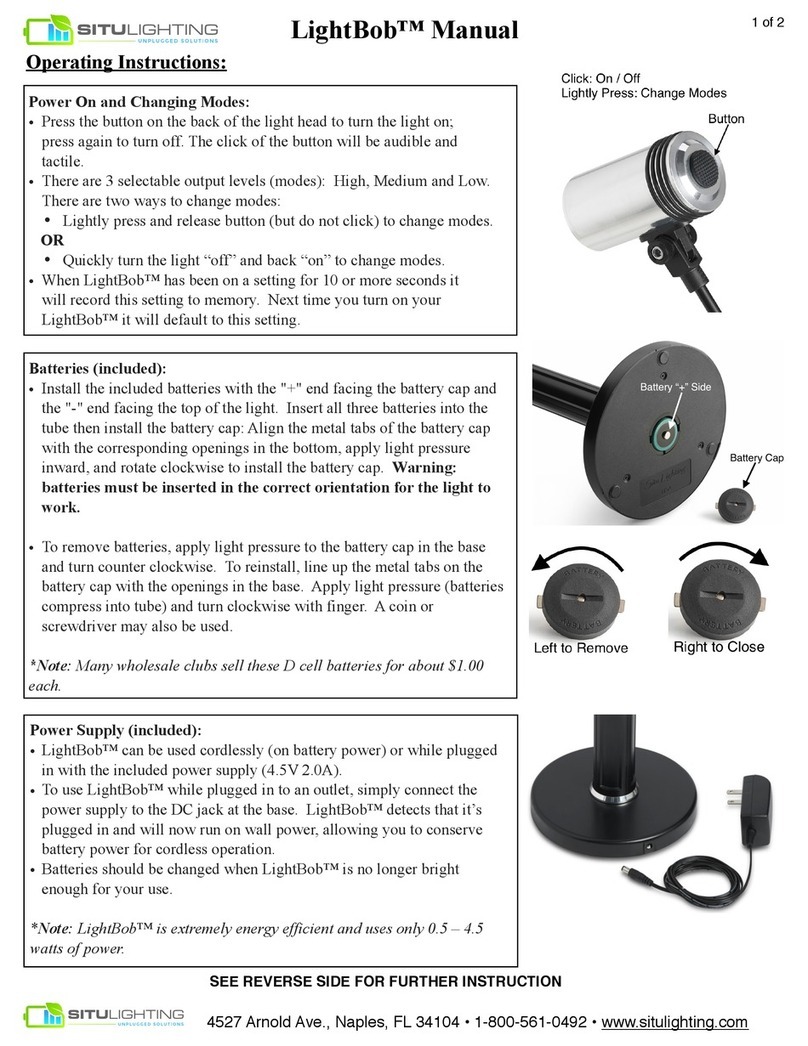
Page 2 of 6Version: 4
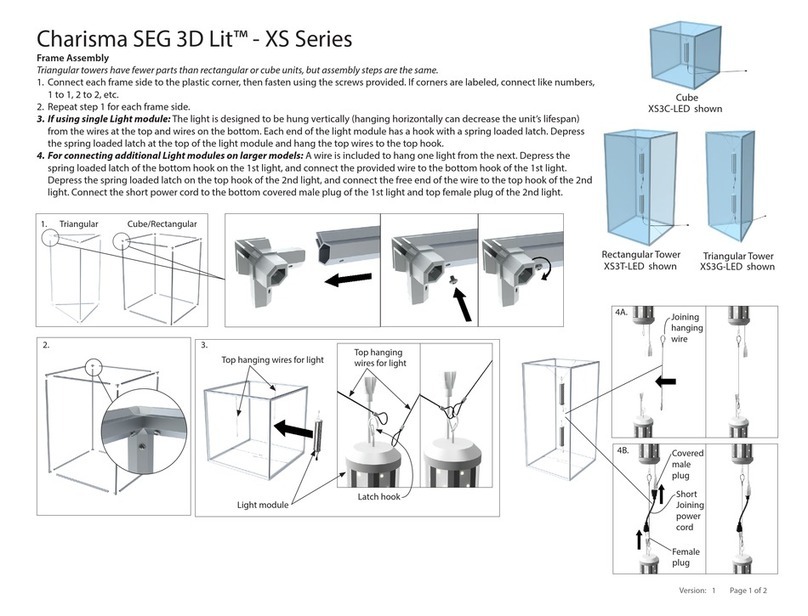
Page 2 - Connect Electrical Components
1. At each break in the extrusion, identify the orange or white electrical connector. Then connect the white female
connectors to their matching male connectors and the orange female connector to their matching male connector.
The connectors must fully“click” together.
2. It is normal for the last female white connector to be unconnected to anything else.
3. If there are multiple cables, connect those with matching colors.
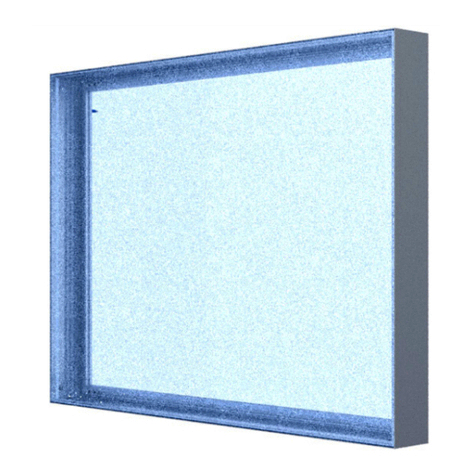
Charisma™ SEG Slim Prole Light Box - XSL Series
ELECTRICAL NOTE:
This sign is intended to be
installed in accordance with the
requirements of Article 600 of
the National Electrical Code and/
or other applicable codes. This
includes proper grounding and
bonding of the sign.
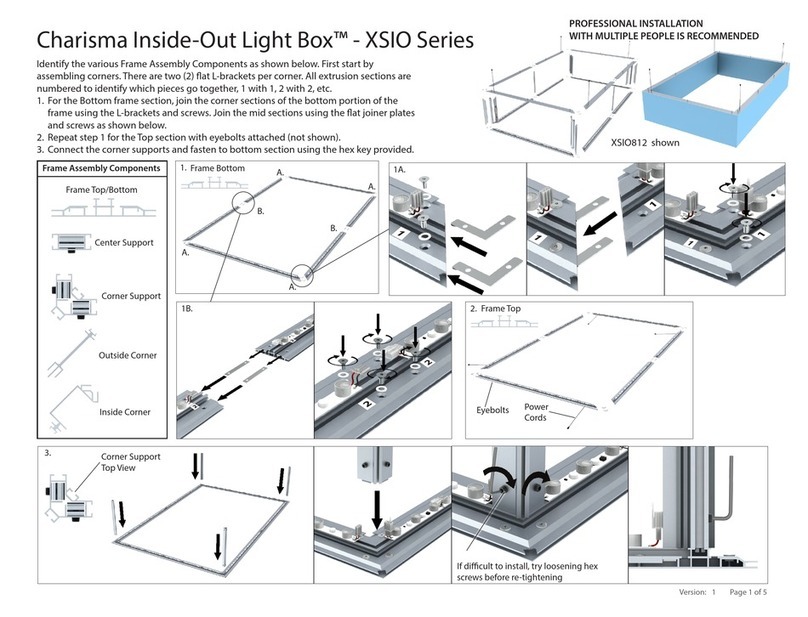
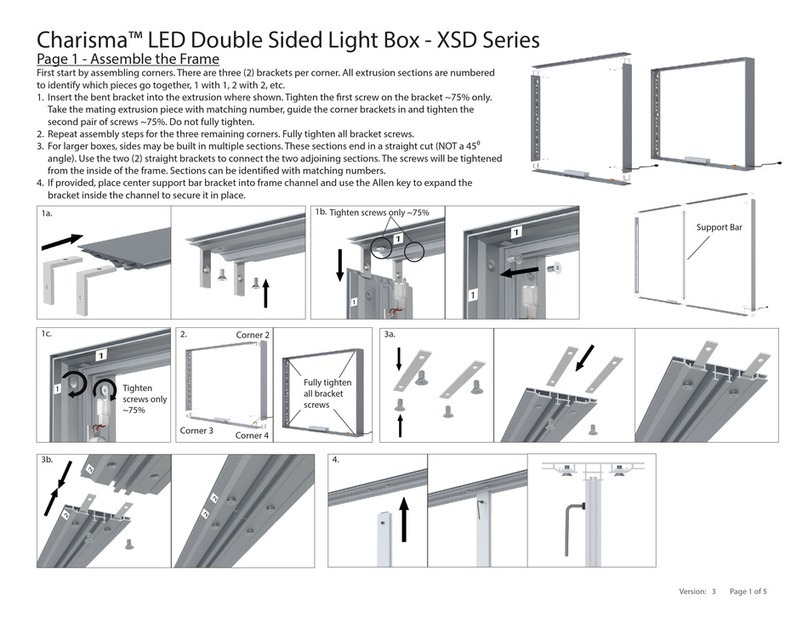
Page 2 - Assemble the Frame
First start by assembling corners. There are two brackets per corner. All extrusion sections are numbered to identify which pieces
go together, 1 with 1, 2 with 2, etc.
1. Insert the at L bracket with the 4 set screws into one extrusion segment as shown. Lightly screw into place, DO NOT fully
tighten.
2. Insert the bent bracket into the same extrusion section. Lightly screw into place, DO NOT fully tighten.
3. Take the mating extrusion piece with matching number. Guide the two corner brackets in.
4. Alternately tighten screws at the corner while rocking the extrusion and bracket as needed to get a tight t. Don’t fully tighten
screws until all screws are in. If you have an issue with the screw grabbing the bent corner, try loosening the screw on the other
end and using the screw that is in as a handle to move the bracket until the holes line up.
2.
1.
Light Strip to
Light Strip
First Light Strip to
Power Supply
Power Supply to Plug
Unconnected last female
connector is normal
